


Posted by Mindy Eggen
on December 27, 2023

Hello crafty friends! This is Mindy with you today to share two ways you can use your Hero Transfers. The holidays may be over but I'm here still dreaming of snow which I never thought I'd say. When you live in Wisconsin, it just feels weird to celebrate the holiday with no snow on the ground so instead, I'm bringing the snow to my cards!

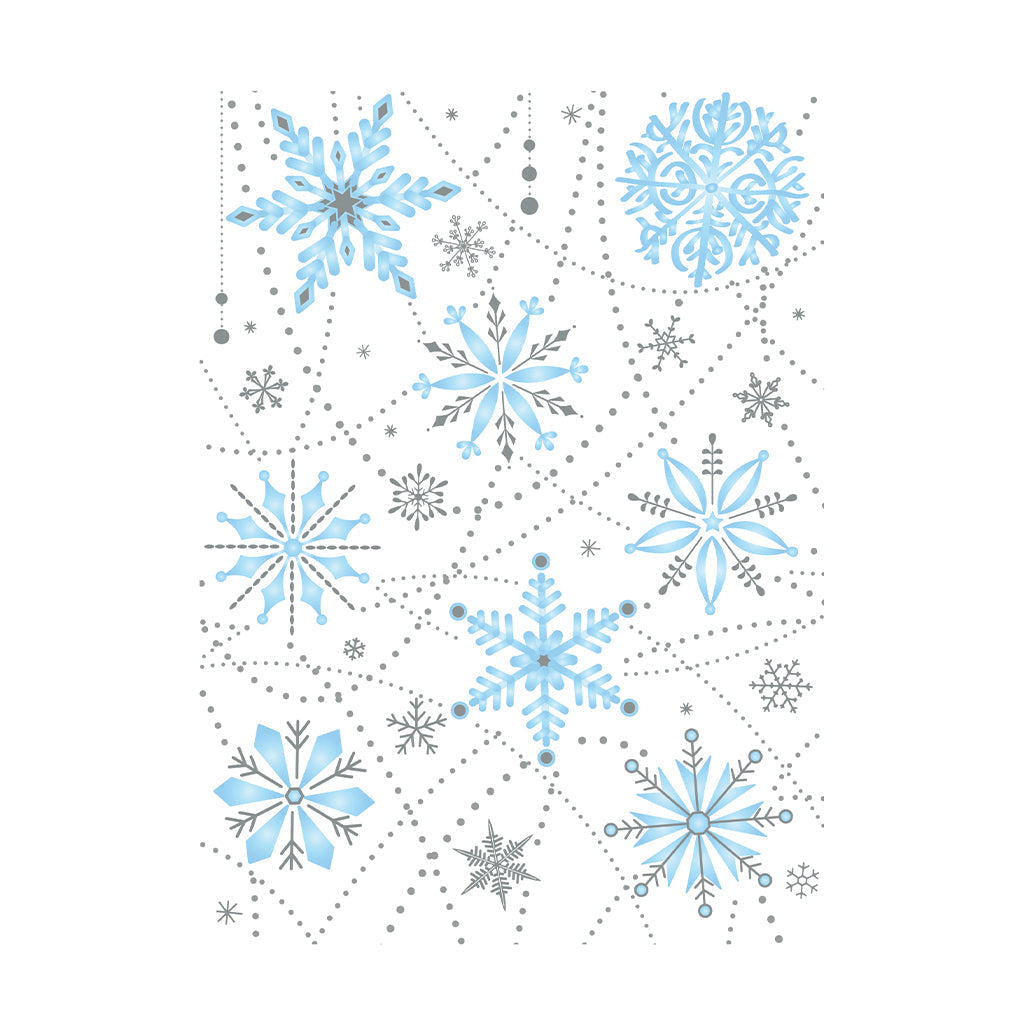
One of the first ways I'm going to show you is inspired by Jennifer McGuire. She shared this in her LIVE and I couldn't wait to try. It's especially magical when using the Snowflake Hero Transfers, but I suggest looking through your stash and trying it with something you may already have.
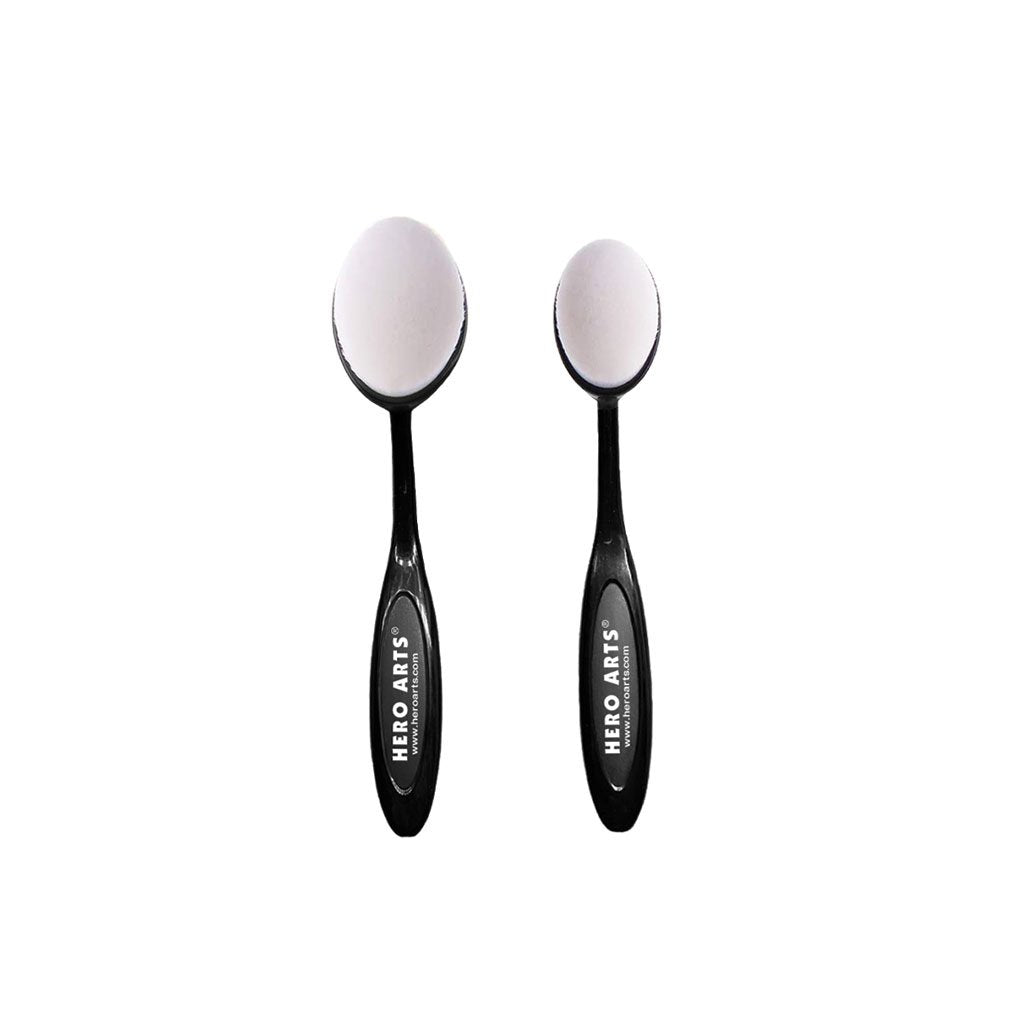
I covered an entire card front of Deluxe Smooth White Cardstock with the Snowflake Hero Transfer that I trimmed down to 4 1/4" x 5 1/2". Then I ink-blended over the top of the transfer with Cornflower, Indigo and Grape Juice ink using my blending brushes.

The transfers will resist the ink just like heat embossing and once you are done ink blending, you can buff away the excess ink. It leaves such a magical effect on your cards.
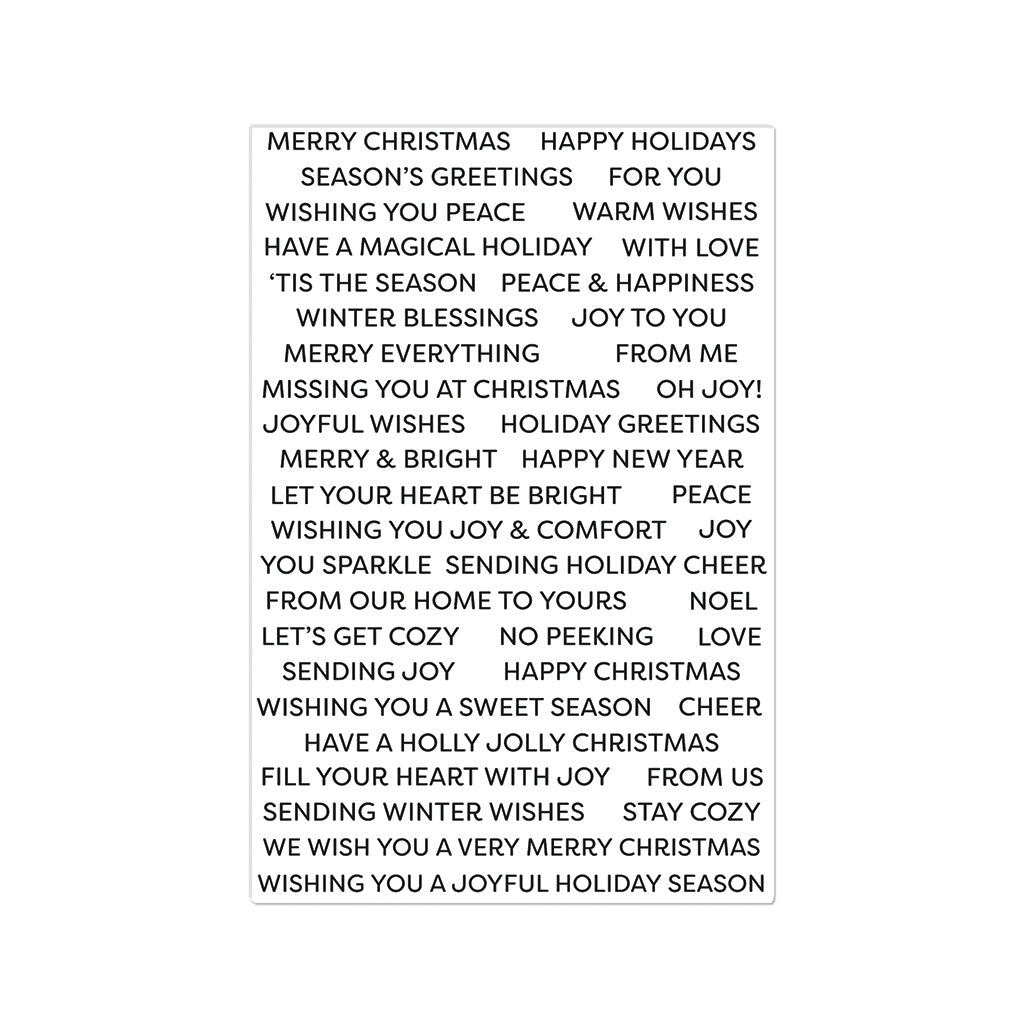
I finished off this panel using sentiments from the Christmas Sentiment Strips and Sentiment Strips die stamped in Pitch Black onto White cardstock.
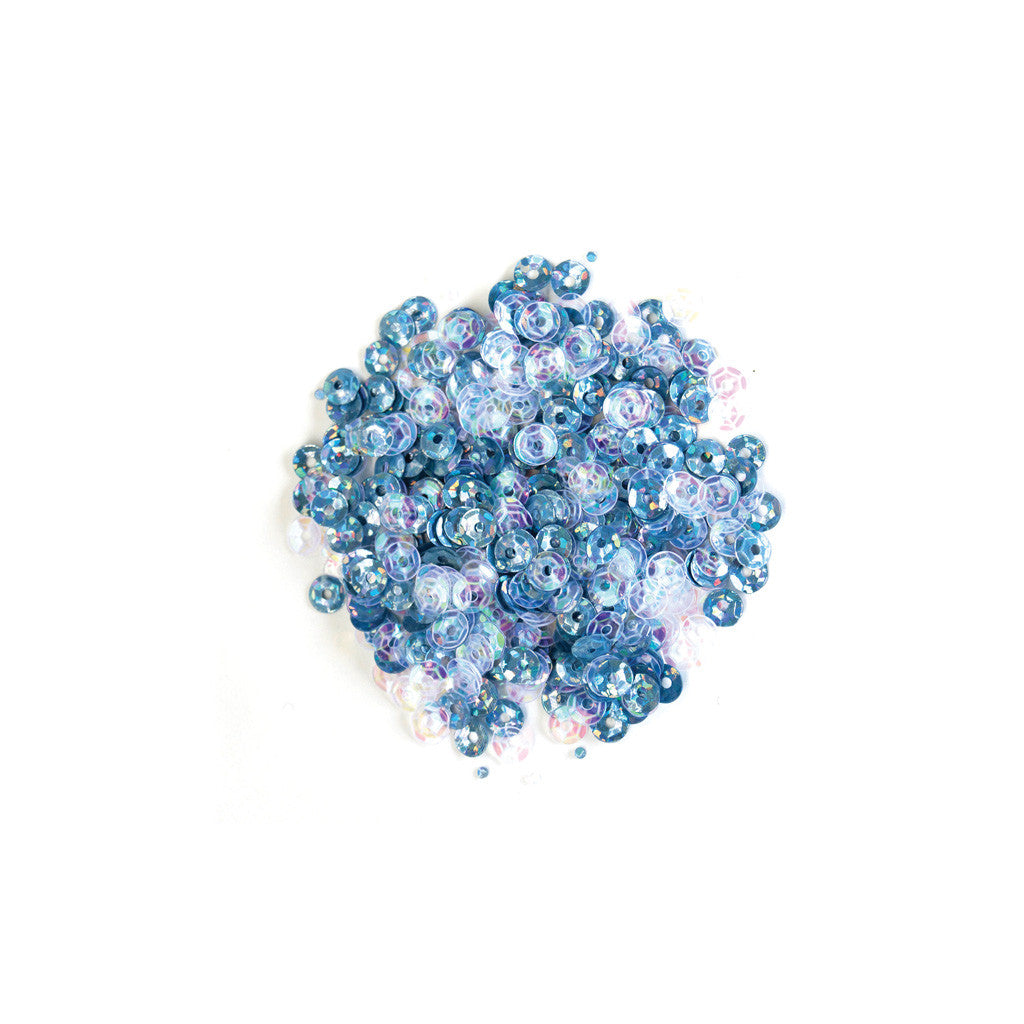
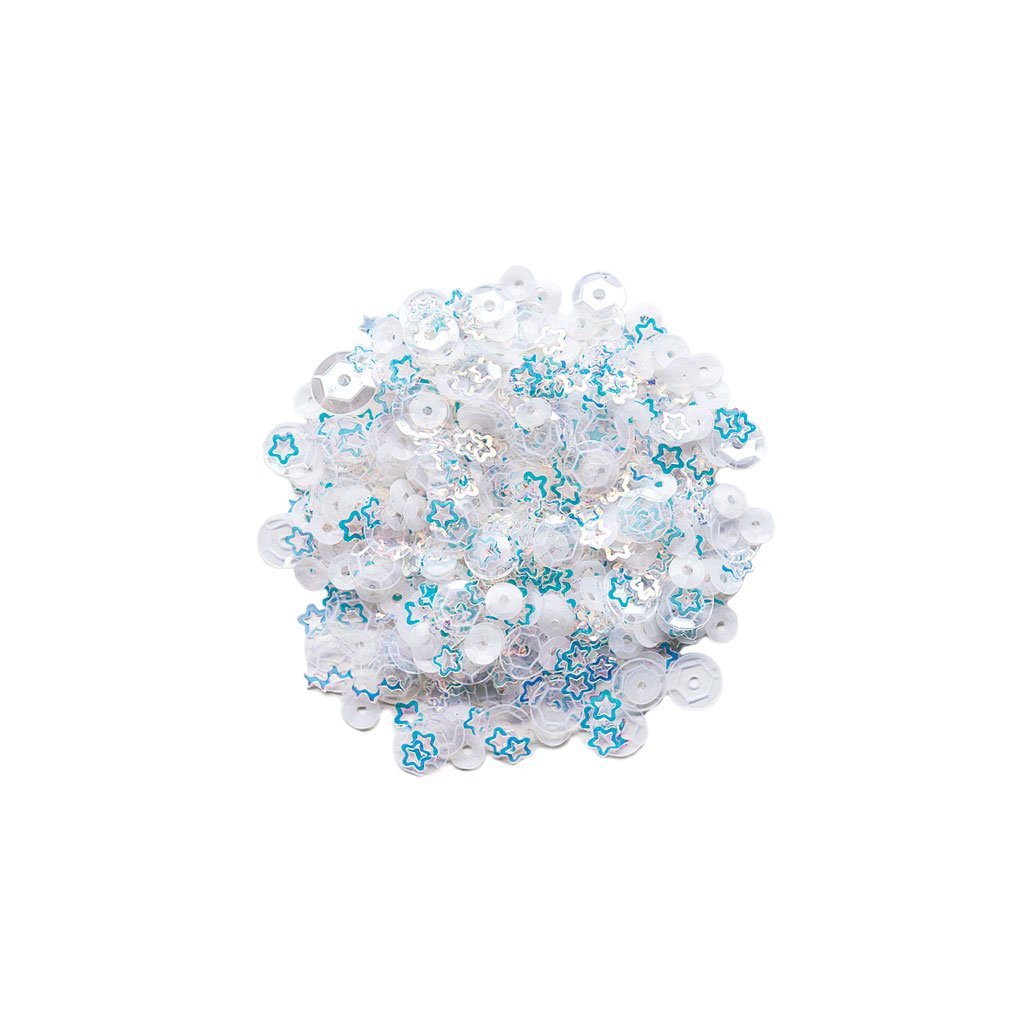
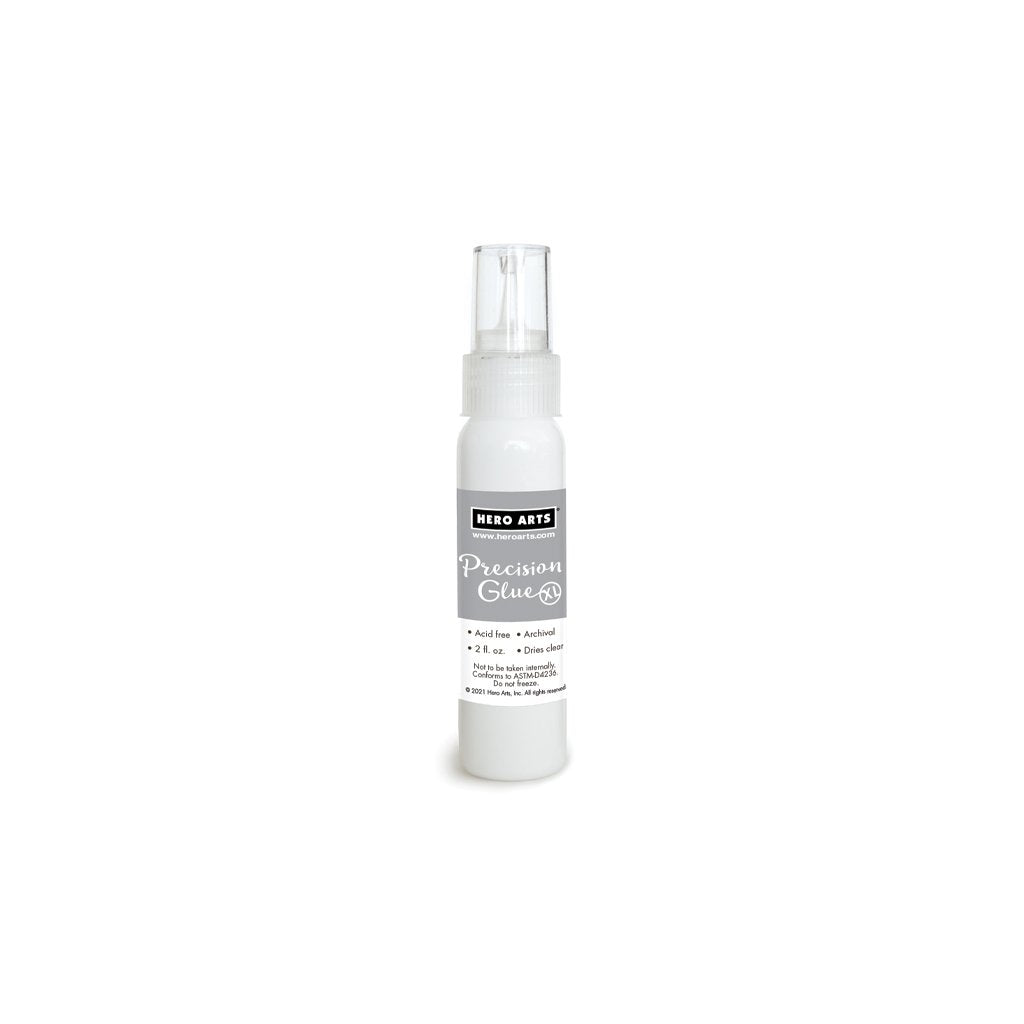
For a bit more sparkle, I added the Winter Sequins Mix around the sentiment, attaching them with Precision Glue and adding a dab of Sparkle Clear Lacquer to the center.

My next card is one of my favorite ways to use Hero Transfers and that is creating a shaker card. For this card, I again trimmed out my Snowflake Hero Transfer to 4 1/4" x 5 1/2" and this time added it to a piece of Acetate cut to about the same size.

I die-cut an arch window using the Arches Infinity Dies out of White cardstock and used double sided tape to attach my acetate window.
I created my well with foam tape on the back of the window and added in some of the Winter Sequins and also Icicle Sequins Mix.

The background is simply an ink-blended background using the same colors as I did in my previous card: Cornflower, Indigo and Grape Juice.
I removed the backing of the foam tape and placed my blended panel over the top so I have a beautiful background to my winter window.

When using the Christmas Sentiments Strips, you are able to create multiple sentiments at once so I had plenty left over to add to my shaker card.
These cards are so magical and a fun way to use your Hero Transfers.
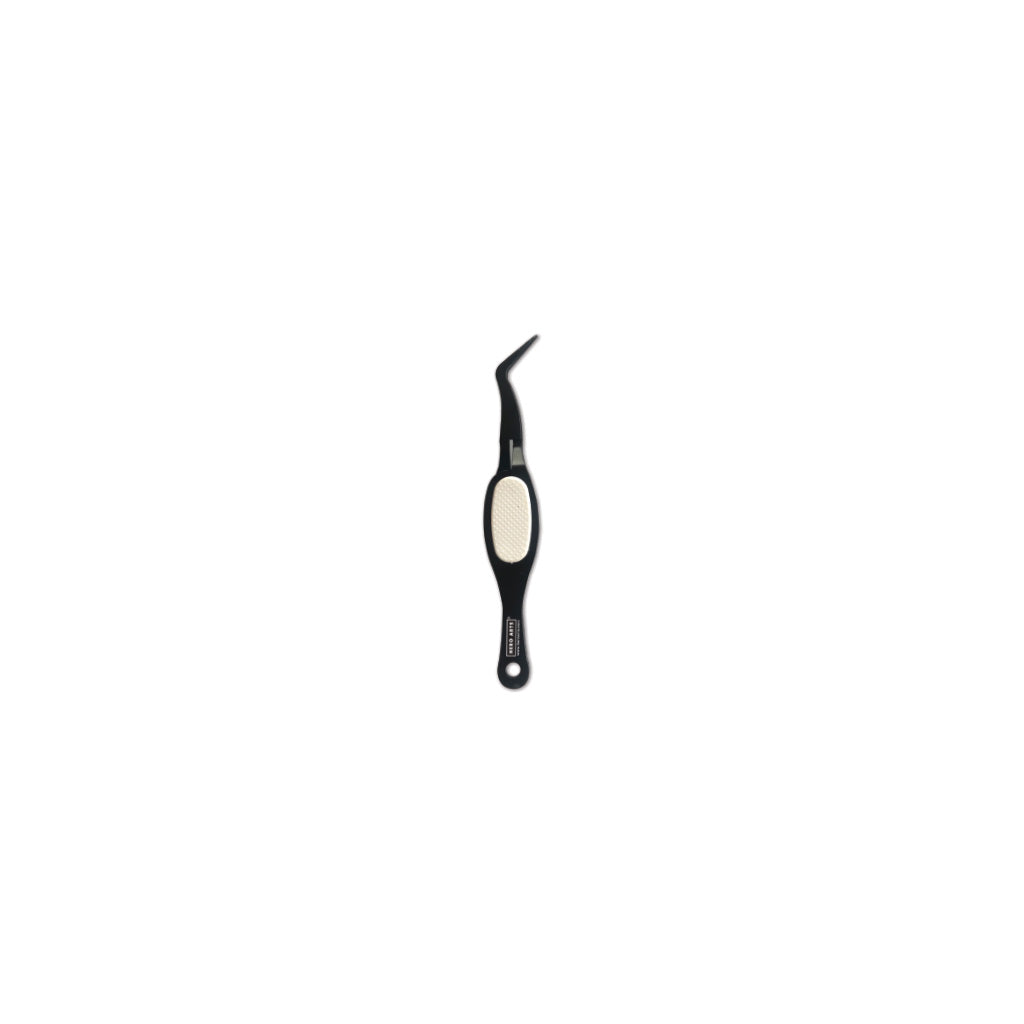
Some additional supplies I used that I find helpful are the Hero Arts Precision Glue and Tweezers.
Hope you enjoyed today's inspiration. Thanks so much for stopping by!

Click on products to shop:
|



























































































1 comment
Gorgeous creations!