Hello Lady! - Hero Arts
on July 13, 2023

Hello Lady!

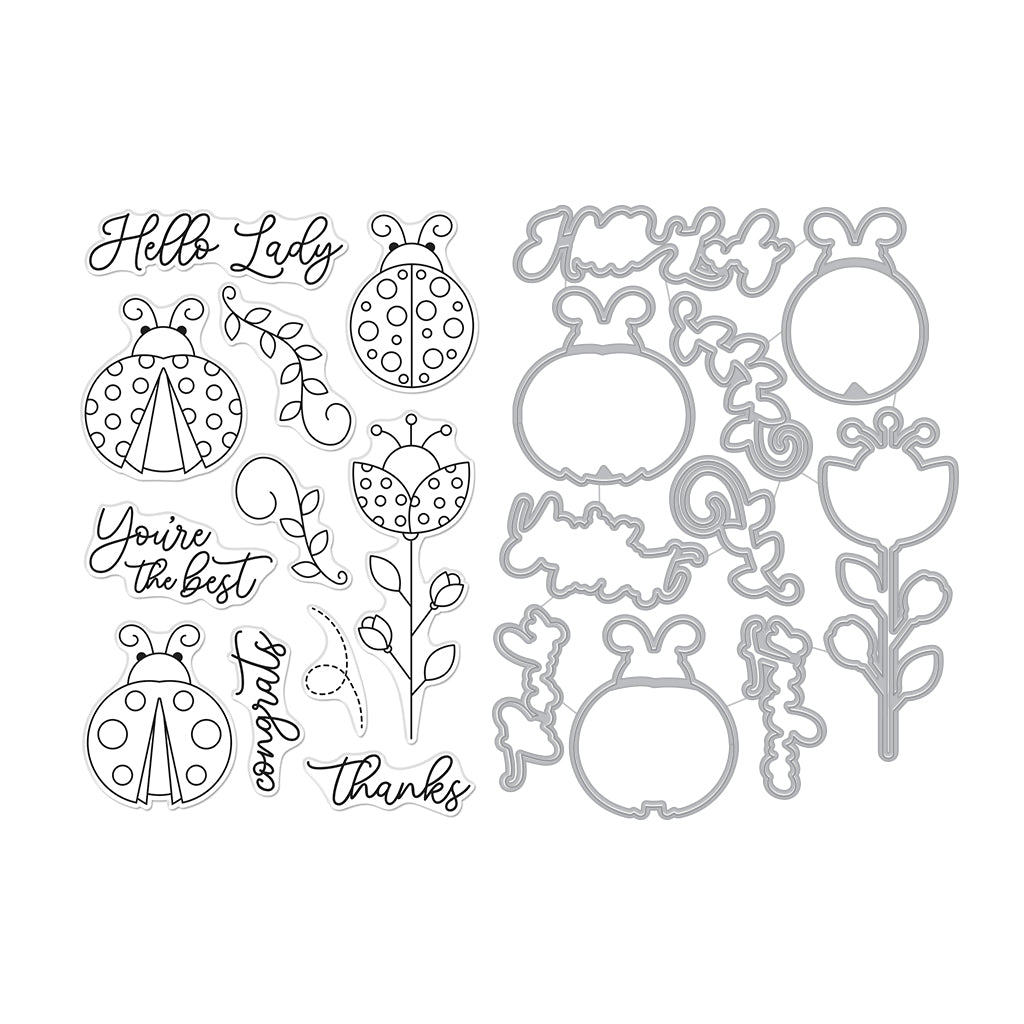
Good morning! Jess here with a cheerful card featuring the cutest ladybugs from the new Hello Lady stamp set!

To start I stamped one of the ladybugs from Hello Lady three times onto Dove White cardstock with Embossing & Watermark Ink and heat-embossed them with Detail Black Embossing Powder. I colored them with Copic markers and then die-cut them with the coordinating dies. I also colored the white edges of the die cuts with a green Copic marker to match my background better and added a few accents with a white gel pen. Then I stamped a sentiment from Hello Lady onto Pitch Black cardstock with Embossing & Watermark Ink and heat-embossed it with White Embossing Powder before die-cutting it with the coordinating die.

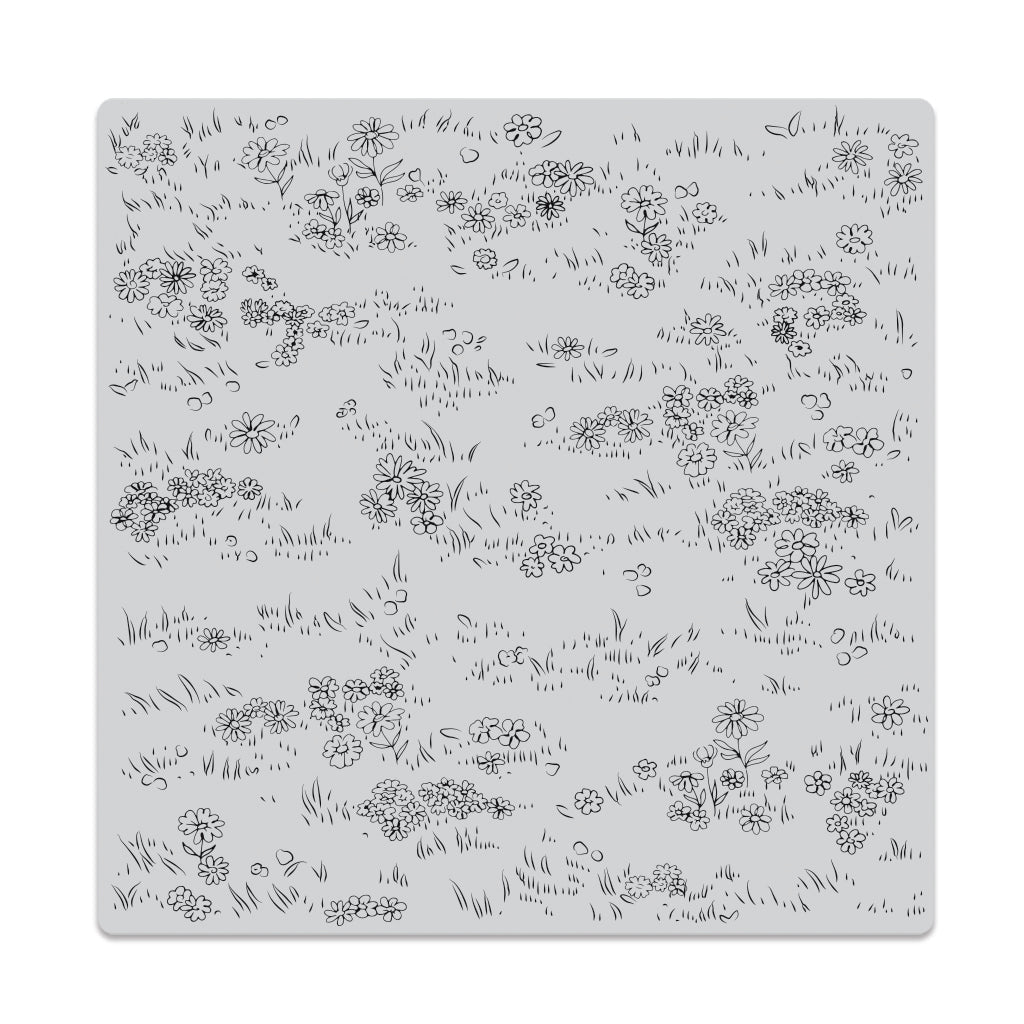
Next I stamped the Meadow Floor Bold Prints stamp onto a panel of Shamrock cardstock with Intens-ified Black ink. I also stamped some of the dashed trails from Hello Lady onto the panel with Embossing & Watermark Ink and heat-embossed them with Detail Black Embossing Powder. Then I used foam mounting tape to adhere my sentiment and ladybugs to the panel. And finally I applied a thin layer of Crystal Clear Lacquer to the ladybug wings. The dried lacquer gives the wings a beautiful shine that really catches the light when you tilt the card! I love the fun and summery feel of this card!

Thanks so much for stopping by today and have a fantastic week!

Click on products to shop:

SB369 Hello Lady Bundle (E) | Hero Arts
HA ]
CM712 Hello Lady | Hero Arts
HA ]
CG918 Meadow Floor Bold Prints | Hero...
HA ]
PS340 Hero Hues Premium Cardstock...
HA ]
PS323 Hero Hues Premium Cardstock...
HA ]
PS325 Hero Hues Dove white | Hero Arts
HA ]
AF419 Clear Embossing & Watermark Ink...
HA ]
AF435 Intens-ified Black Ink Pad |...
HA ]
PW119 Detail Black | Hero Arts
HA ]
PW122 White Detail Embossing Powder |...
HA ]
NK350 Crystal Clear Lacquer Pen |...
HA ]

Leave a comment

Your email will not be published. Please note, comments need to be approved before they are published.


  • How to Make a Stitched Christmas Ornament Card, S3-584, S3-585, E3D-042, SDS-235

    Categories:Die Cutting

    How to Make a Stitched Christmas Ornament Card

    Create a festive Christmas card featuring a stitched ornament, elegant layered die cuts, shimmering gold accents, and an embossed snowflake background. In this step-by-step tutorial, you'll learn how to stitch directly onto cardstock, create dimensional die-cut embellishments, add heat-embossed sentiments, and assemble a polished holiday card. This project is perfect for cardmakers who would like to try stitching on cardstock for the first time. The...

  • How to Create a Simple Foiled Floral Card with Copic Markers, BP-351, BP-374, S5-526

    BP-351

    How to Create a Simple Foiled Floral Card with Copic Markers

    Create an elegant floral greeting card featuring hot foiling, vibrant Copic coloring, and a unique shaped card base. In this step-by-step tutorial, you'll learn how to foil detailed floral images, add dimension and color with alcohol markers, create a shaped arch card, and finish the design with a coordinating foiled sentiment and embellishments. This project is perfect for cardmakers who want to expand their hot...

  • How to Make a Christmas Snow Globe Card: Step-by-Step Holiday Truck Tutorial, S4-1576, S6-222, BP-378

    BP-001

    How to Make a Christmas Snow Globe Card: Step-by-Step Holiday Truck Tutorial

    Introduction Create a festive Christmas snow globe card featuring a holiday truck, decorated presents, snowy trees, dimensional layers, and a textured winter background. In this step-by-step tutorial, you'll learn how to build an intricate die-cut scene, assemble layered holiday elements, create depth with foam adhesive, and use embossing for added texture. This project is perfect for cardmakers who enjoy scene building and layered die-cut designs....