Creating a Focal Point from a Background - Hero Arts
on April 25, 2023

Creating a Focal Point from a Background

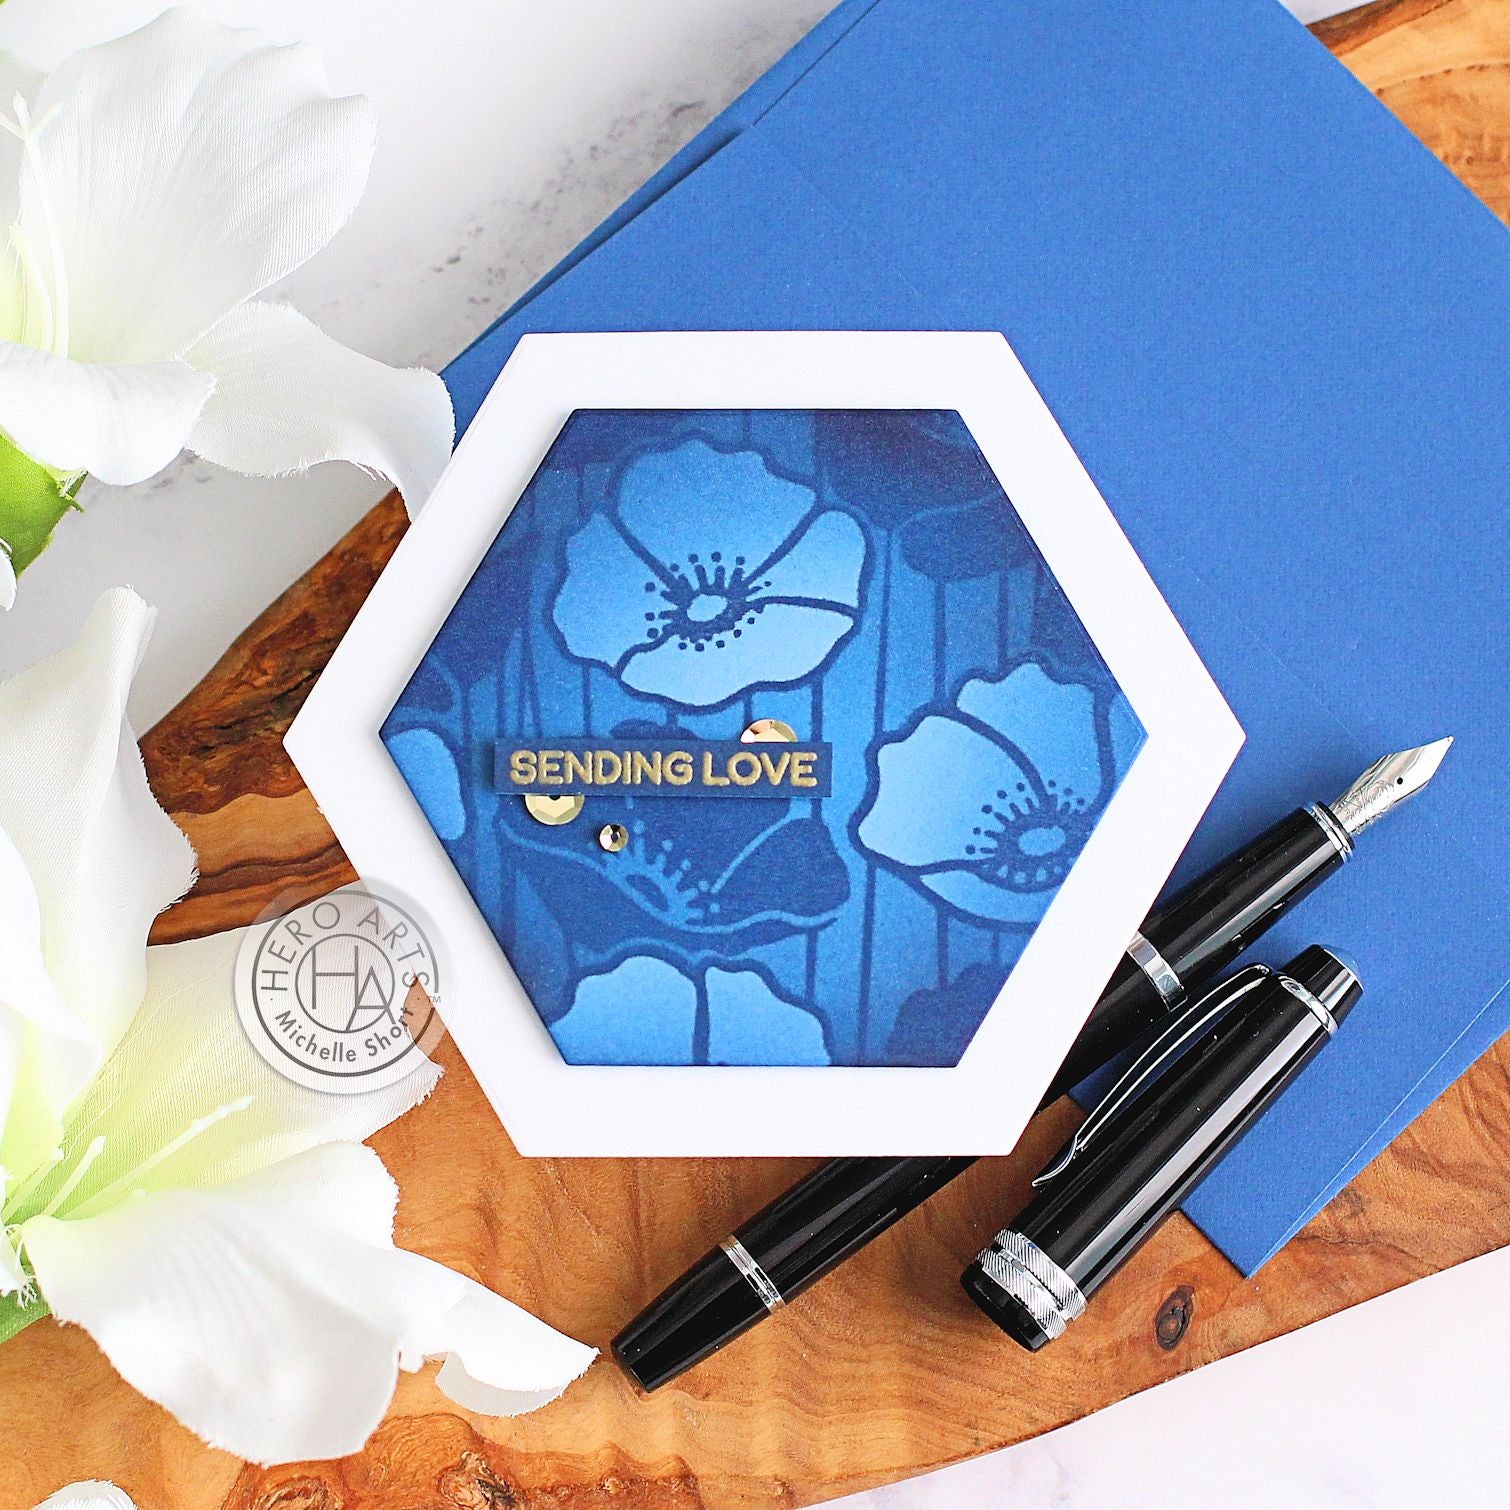
Hello there, Michelle here and today I have a card to share with you using Poppy Field Bold Prints. Bold Prints are essentially background stamps, but they can be so much more! If you take a portion of the background image, it automatically creates a focal point.
Poppy Field by Michelle Short for Hero Arts

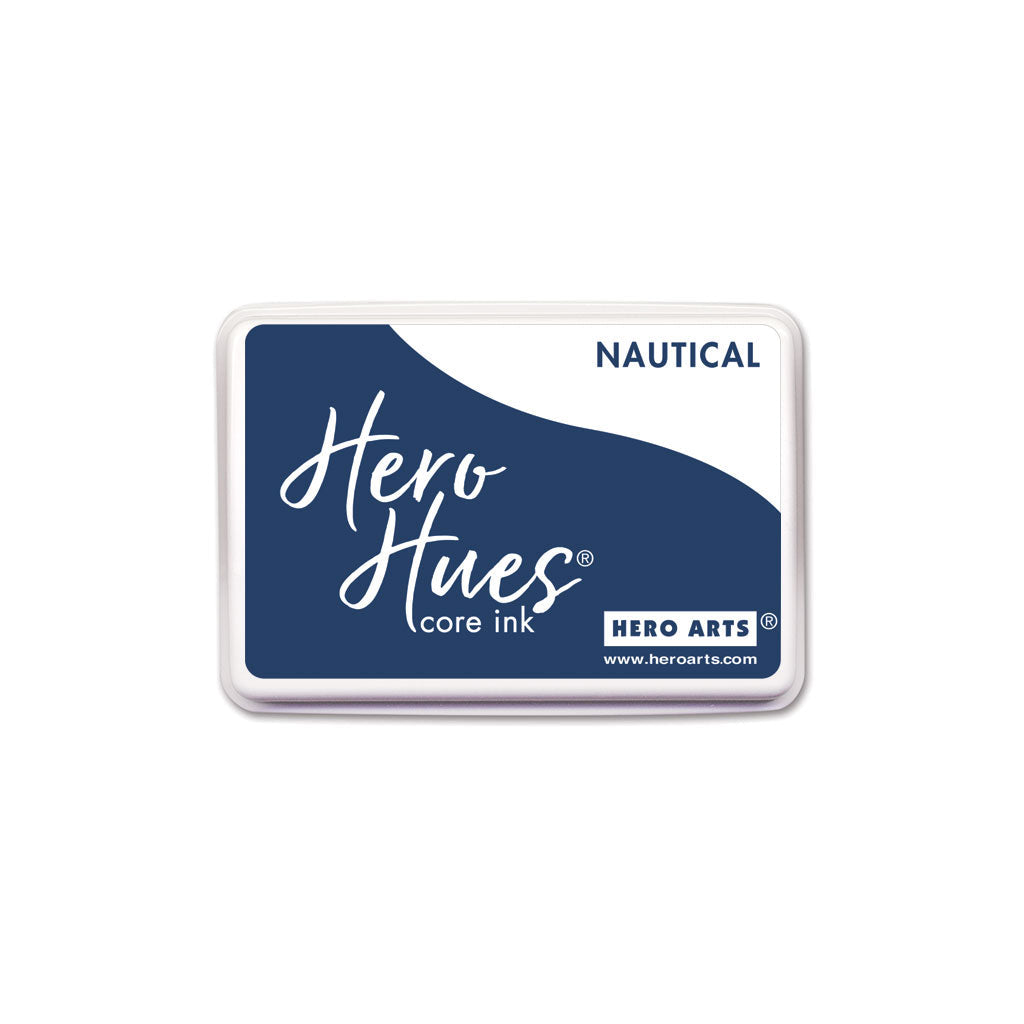
I started off my card by stamping Poppy Field Bold Prints on to a panel of Perwinkle cardstock using Nautical Core ink. It was then die cut using Hexagon Infinity Dies. I also stamped the image on to masking paper, before fussy cutting around the non-solid/outline poppies using scissors.
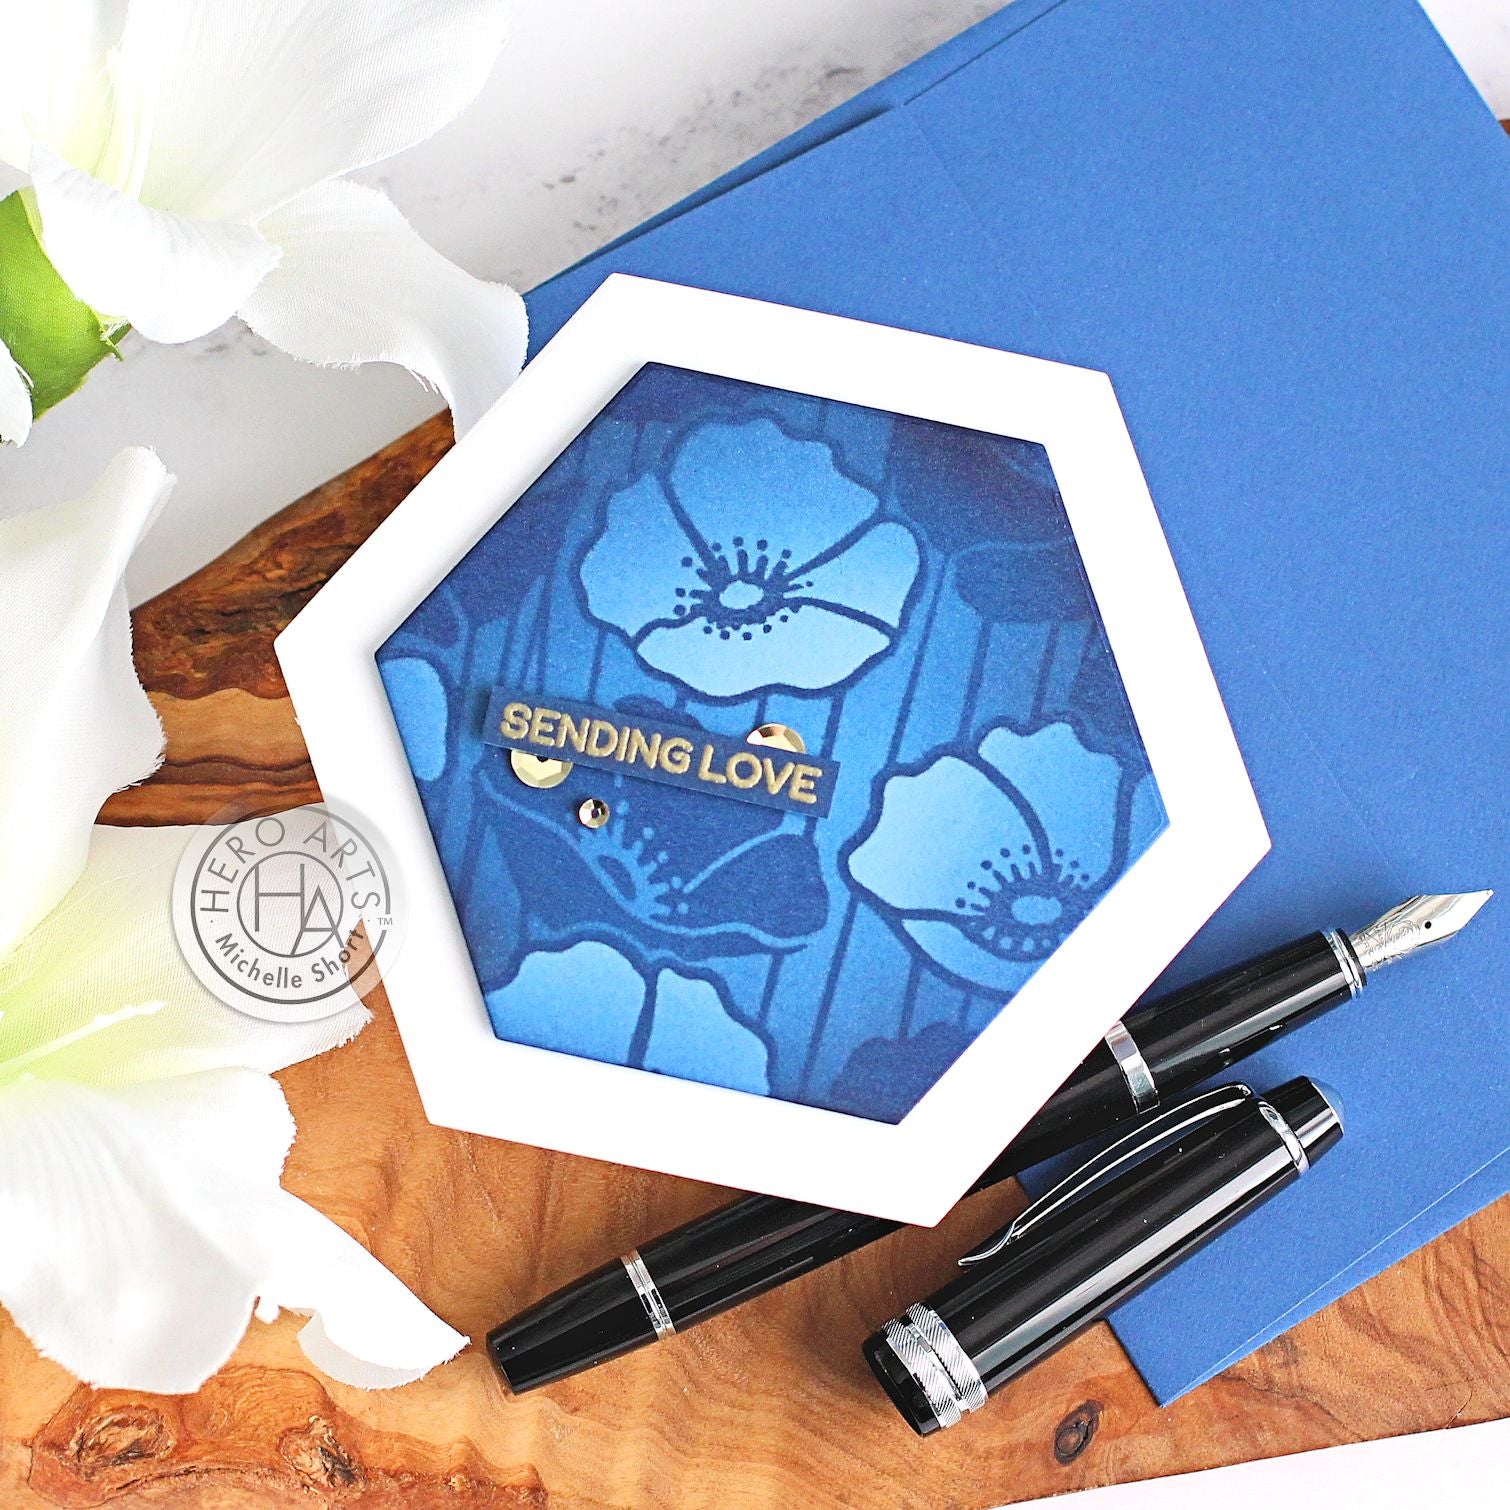
Poppy Field by Michelle Short for Hero Arts

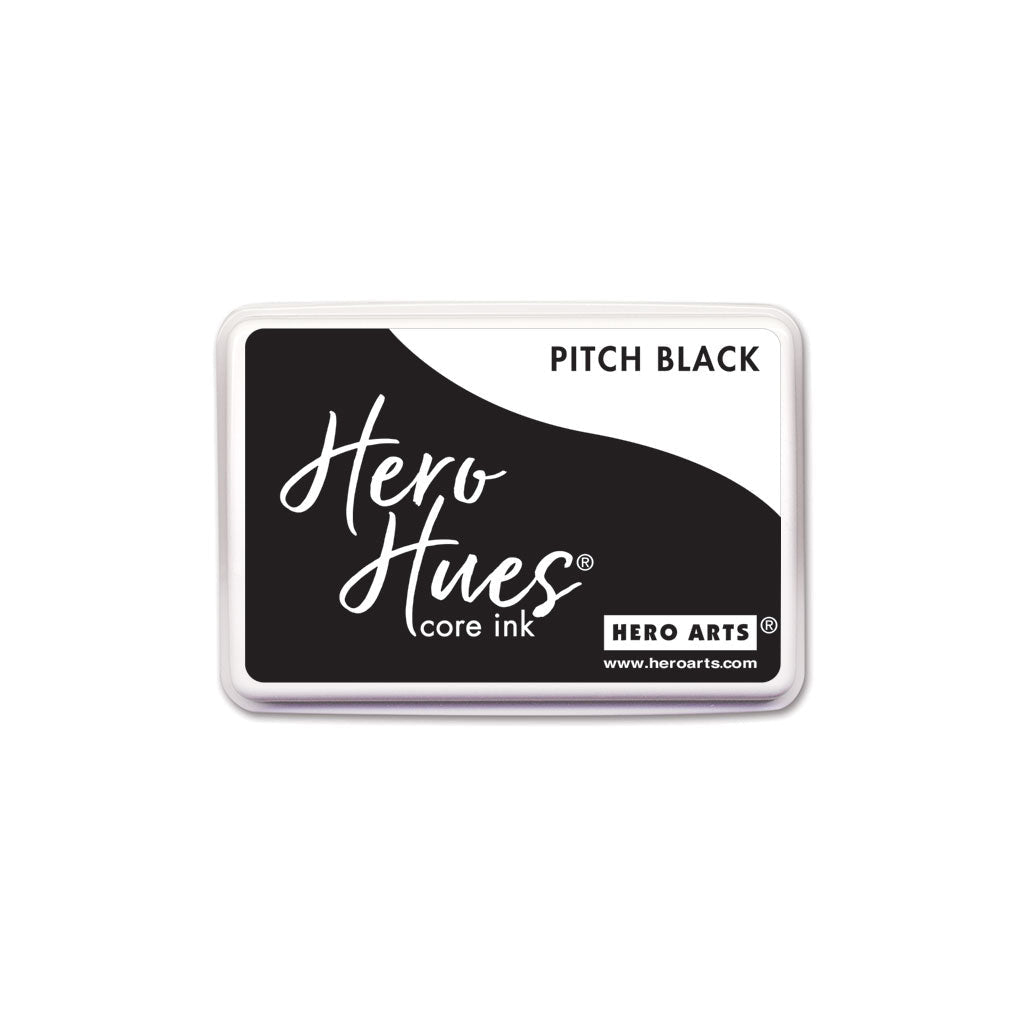
I placed the masks on top of the poppies and then using Ink Blending Brushes, I blended on Perwinkle Core ink first, covering most of the panel but with a lighter hand in the middle. I then blended on Nautical Core ink, focusing this colour on the edges of the hexagon. To darken the edges even further, I blended on a little Pitch Black Core ink.
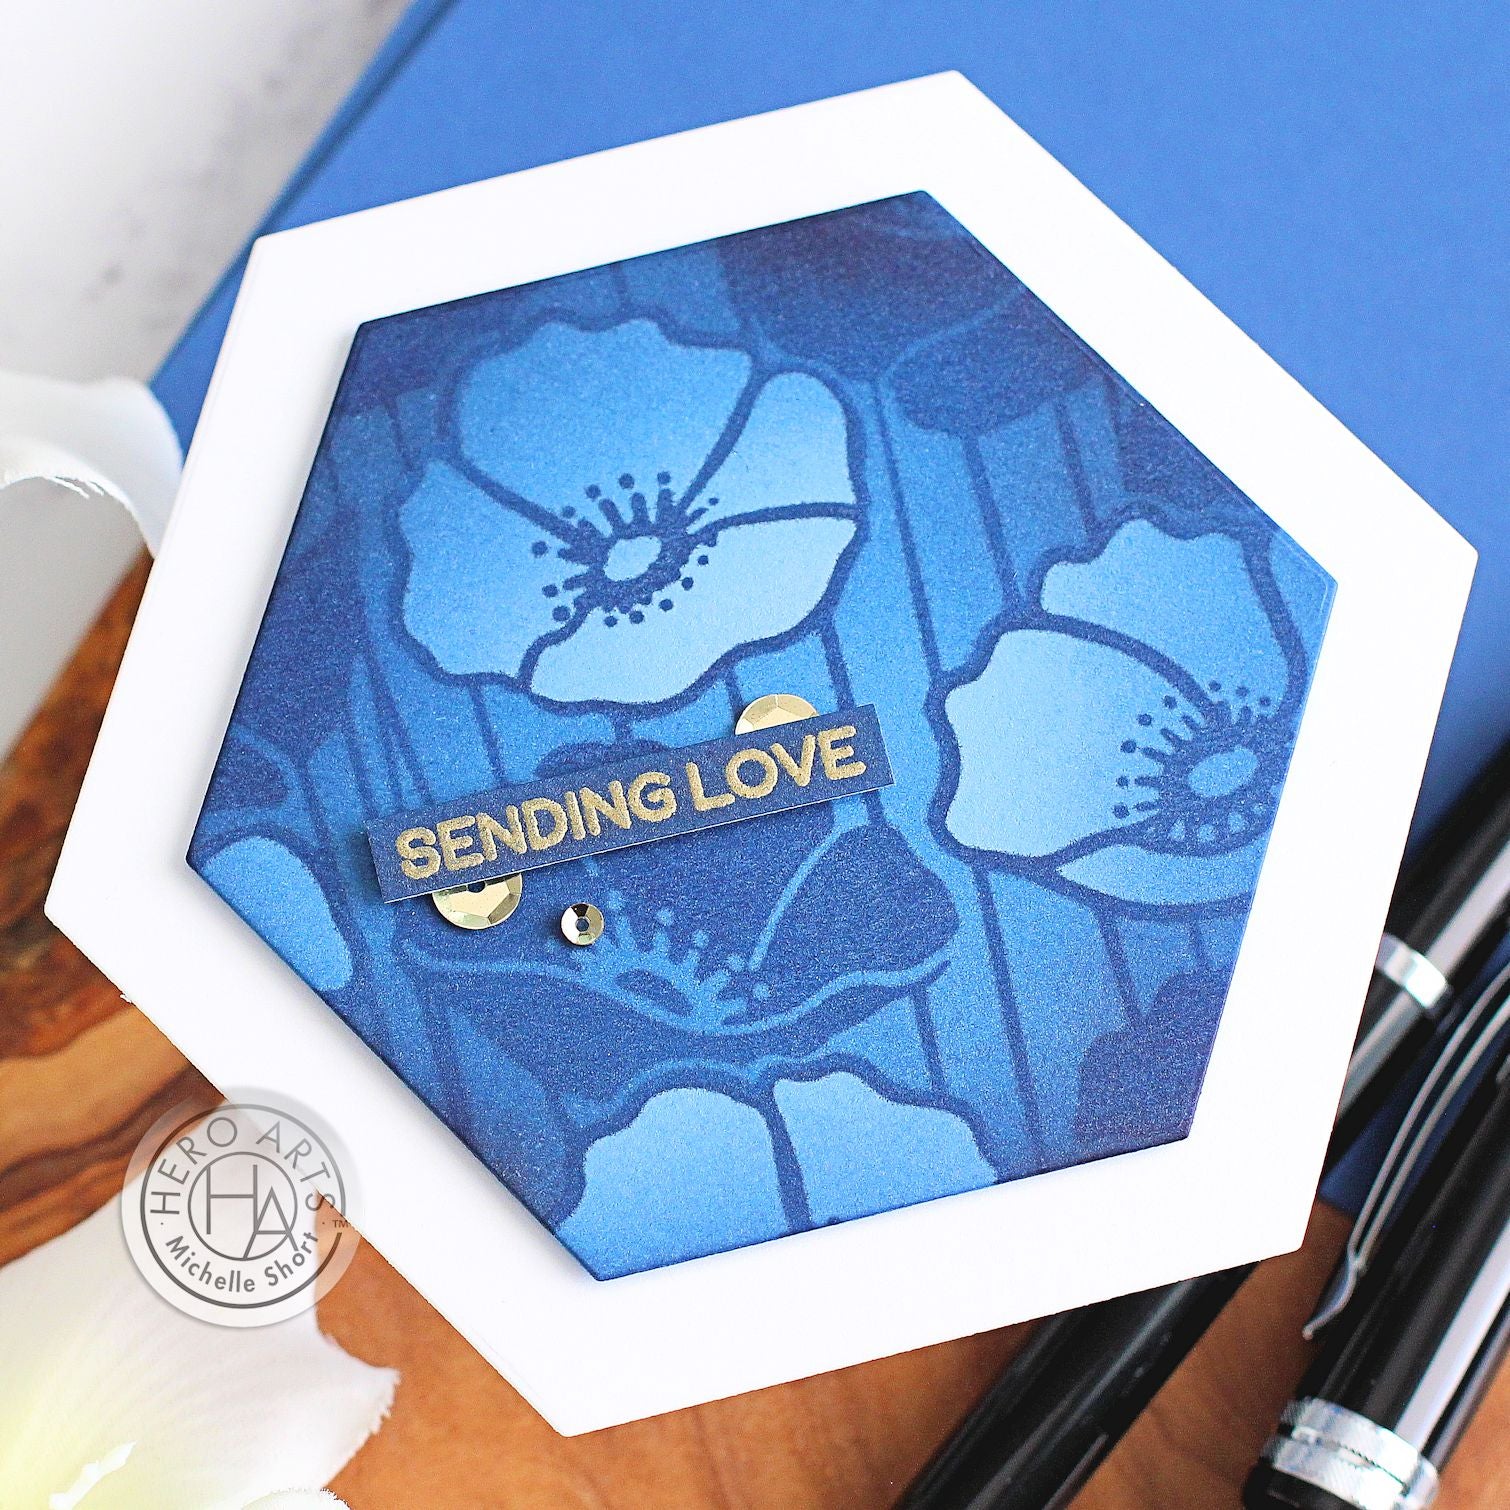
Poppy Field by Michelle Short for Hero Arts

The masks were removed and the panel then blended again with Perwinkle and Nautical inks, using the residual left on the brushes. I die cut two larger hexagons from Deluxe Smooth White cardstock and on one, added a score line to create a hinge, added adhesive to the hinge and then adhered, back to back, to the other one to create a hexagon shaped card base.
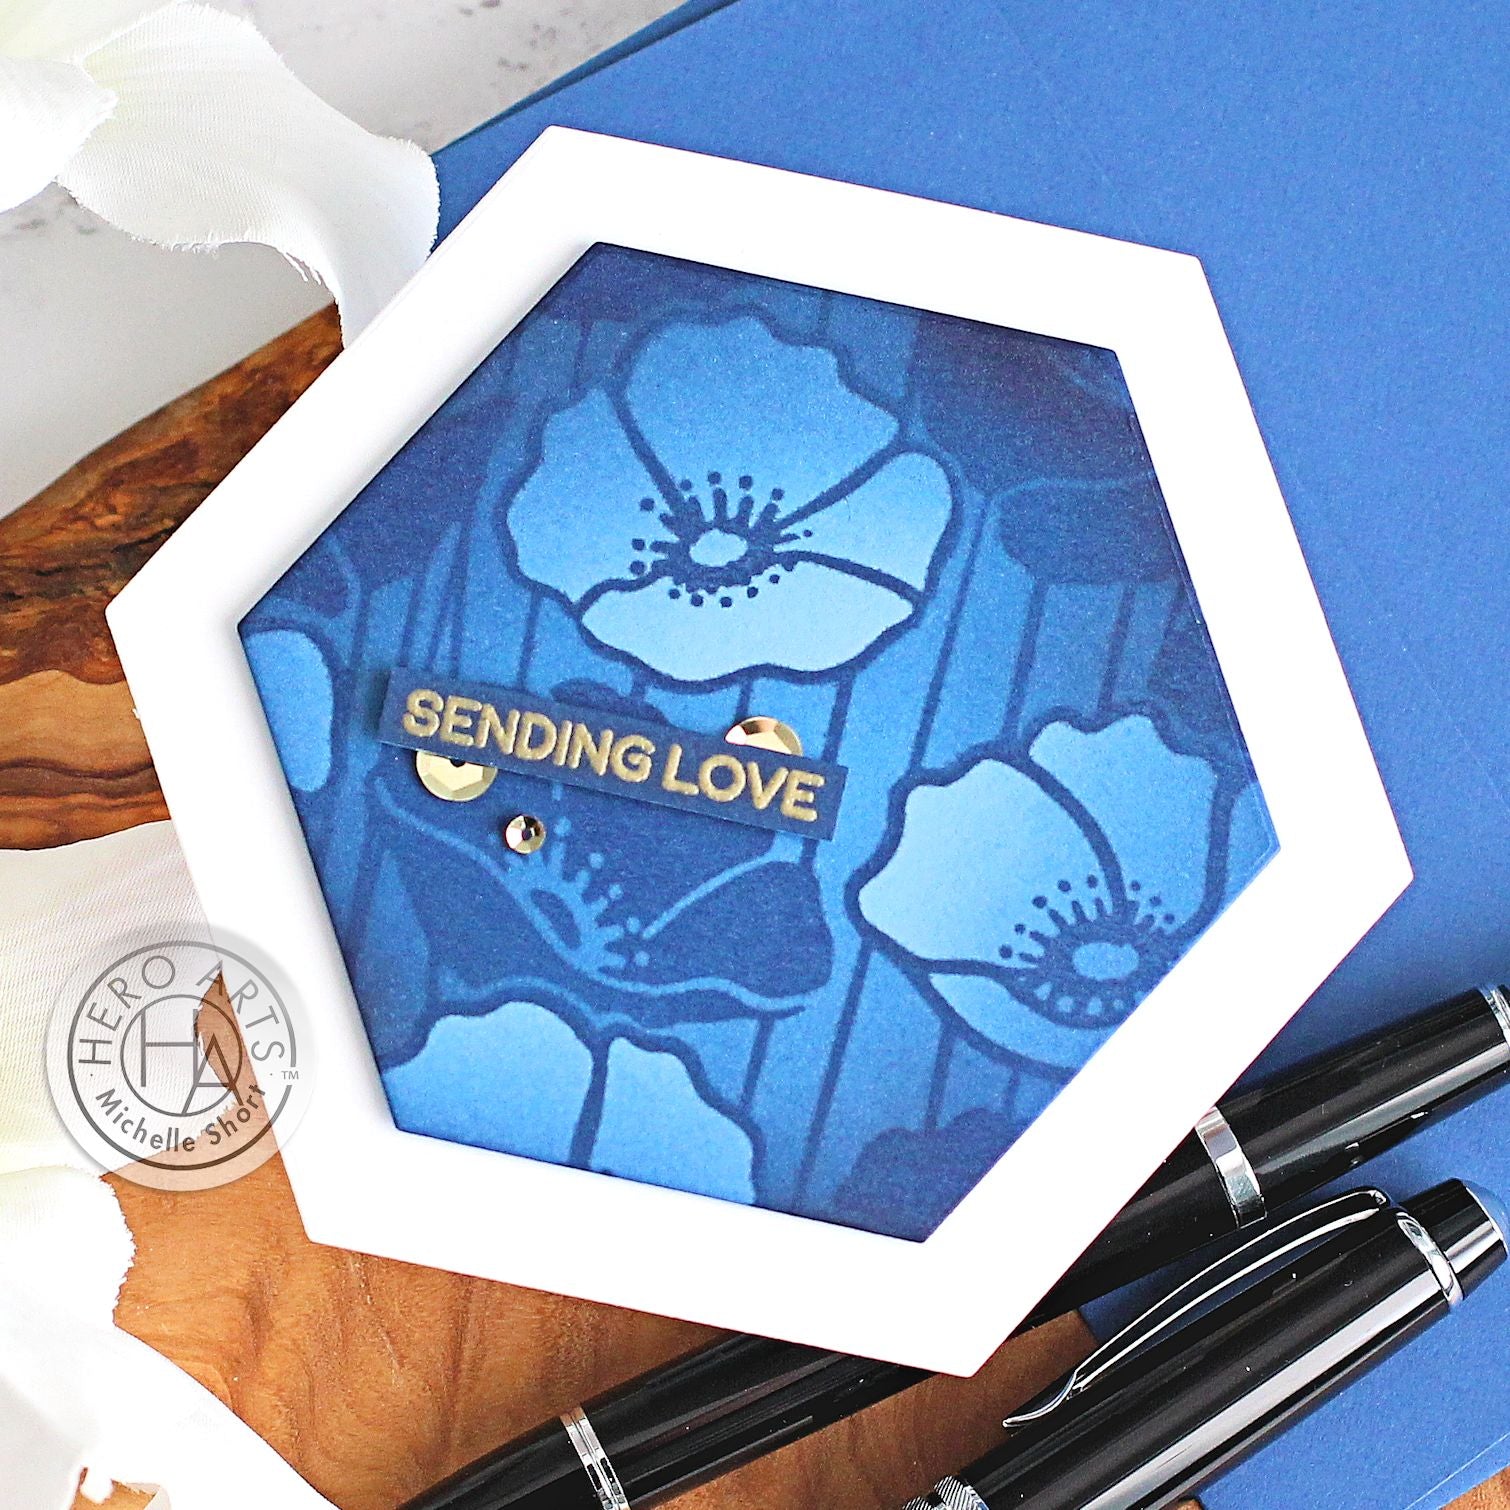
Poppy Field by Michelle Short for Hero Arts

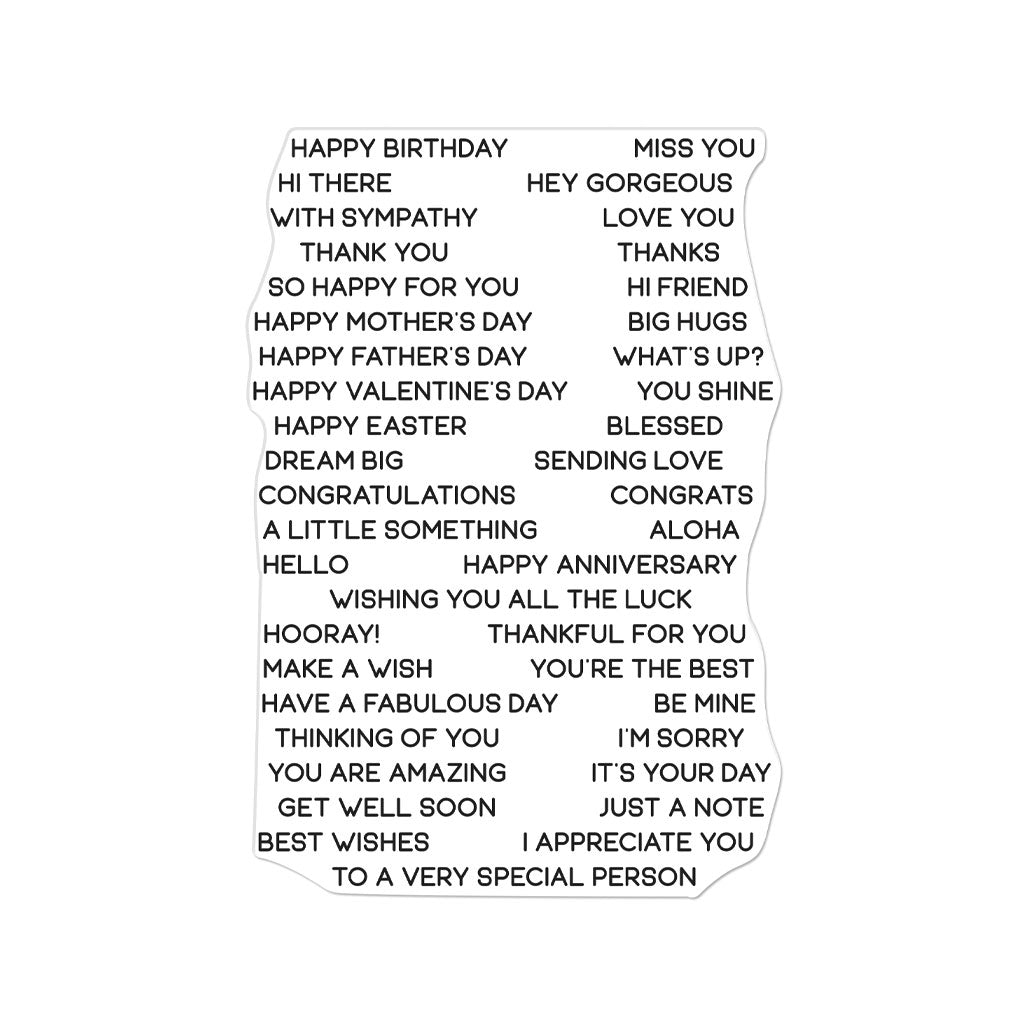
The poppy panel was adhered on top using thin foam tape. I then stamped Everyday Sentiment Strips on to more Perwinkle cardstock using Clear Embossing & Watermark Ink. I applied Gold Embossing Powder and heat set. I blended Nautical Core ink on top, wiped the embossing with a dry cloth and then die cut using the Sentiment Strips Fancy Die.

The sentiment was adhered to the card with more thin foam tape and then embellished with sequins.

Although I created a hexagon shaped card today, the Poppy Field panel would work well on an A2 card too, for a focal point. Thank you so much for stopping by today, I hope you have a great day!

Click on products to shop:
CG898 Poppy Field Bold Prints | Hero...
HA ]
DI846 Hexagon Infinity Dies (H) |...
HA ]
CM673 Everyday Sentiment Strips |...
HA ]
DF087 Sentiment Strips Fancy Die (F)...
HA ]
MI005 Hero Tools Ink Blending Brush...
HA ]
AF700 Periwinkle Core Ink | Hero Arts
HA ]
AF706 Nautical Core Ink | Hero Arts
HA ]
AF764 Pitch Black Core Ink | Hero Arts
HA ]
AF419 Clear Embossing & Watermark Ink...
HA ]
PW100 Gold Embossing Powder | Hero Arts
HA ]
PS782 Deluxe Smooth White Cardstock...
HA ]
PS315 Hero Hues Premium Cardstock...
HA ]

Leave a comment

Your email will not be published. Please note, comments need to be approved before they are published.

1 comment

Barbara-Jean Kubik,

Fantastic card!


  • How to Make a Cute Autumn Squirrel Card with Fall Adventures Dies, S4-1573, S5-738, S3-591, STP-292, S5-740

    Categories:Die Cutting

    How to Make a Cute Autumn Squirrel Card with Fall Adventures Dies

    Create a charming autumn card featuring an adorable squirrel dressed in overalls and surrounded by pumpkins, apples, hay bales, colorful leaves, and harvest-themed accents. In this step-by-step tutorial, you'll learn how to assemble layered character dies, create dimensional autumn accessories, stamp a coordinating sentiment, and build a cheerful fall scene full of seasonal details. This project is perfect for cardmakers who enjoy character-based die-cut scenes...

  • How to Make a Cookie-Loving Chompster Birthday Card, S5-778, S5-779, STP-295

    Categories:Die Cutting

    How to Make a Cookie-Loving Chompster Birthday Card

    Create a fun birthday card featuring Chompster enjoying his favorite snack. In this step-by-step tutorial, you'll learn how to assemble the Chompster character, create dimensional cookies, build a colorful propeller hat, and arrange all the die-cut pieces into a playful birthday card design. This project is perfect for cardmakers who enjoy character-based die cutting and whimsical birthday cards. By combining the Top It Off and...

  • How to Make a Festive Felt Santa Ornament | Spellbinders

    Categories:Die Cutting

    How to Make a Festive Felt Santa Ornament | Spellbinders

    A handmade felt Santa ornament is a colorful way to add stitching, texture, and personality to your Christmas décor. In this detailed tutorial, you’ll learn how to die cut wool felt, organize and layer the individual pieces, add embroidery stitches and beads, and finish the project with a secure backing and hanging loop. The Festive Santa Etched Dies create a playful Santa holding a decorated...