Posted by Emily Midgett
on July 18, 2023

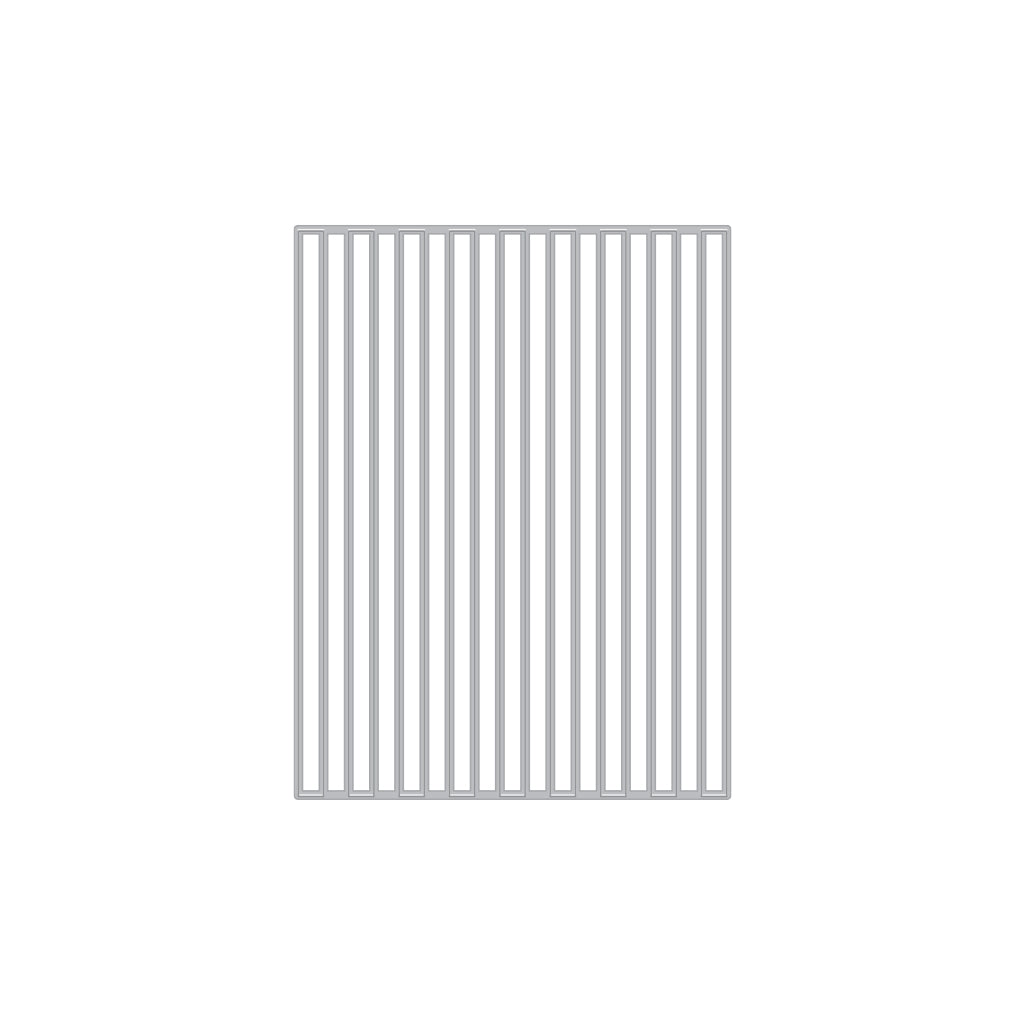
Hi friends! Emily Midgett here with you today, and I have some inspiration to share using the super fun Weaving Fancy Die ! I will admit, this die intimidated me a bit when we first received it. I am not one of those clever types who can mentally put things like this together, but after playing with it a bit, I found it to be extremely easy and very intuitive to use I used Mindy's extremely helpful video as a reference to start, but once I got the hang of it (very quickly, especially for me!), I was able to create three different woven projects lickety-split, though my favorite was the berry basket that I used for today's card. Let's get started with the details!

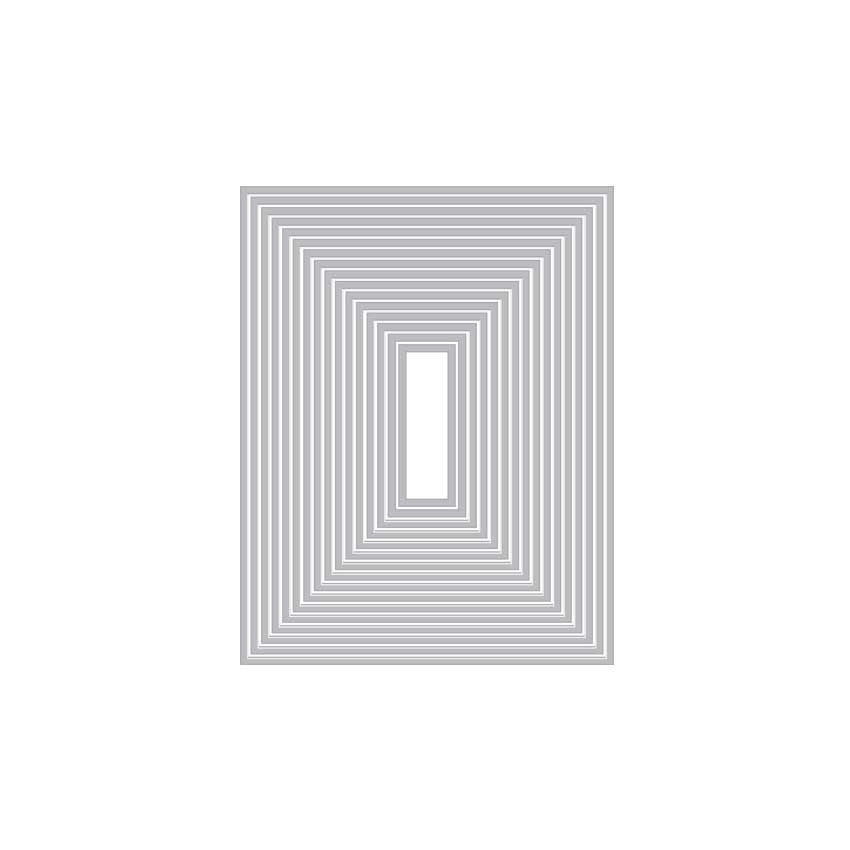
To create my berry basket, I began by die cutting the W eaving Fancy Die from Nautical cardstock. I wove the navy blue strips as demonstrated in the video, adding a 1/8" strip of white just below the top of my basket. I adhered the basket to a piece of copy paper using super strong tape, then used the Nesting Rectangle Infinity Dies to die cut the woven background down to a smaller "basket" size. You could use your trimmer for this, but I found that the crisp die cut edges were super clean and made it look that much more realistic as a basket! I reserved three of the extra Nautical strips from the weaving die cuts. I popped one up at the top of the basket using foam tape to create the lip of the basket, then added two more at an angle for the "handles." I centered them and popped them up using more foam adhesive, then added a white enamel dot to the center for a "hinge." I think it turned out so sweet, just ready to be filled with juicy berries!!

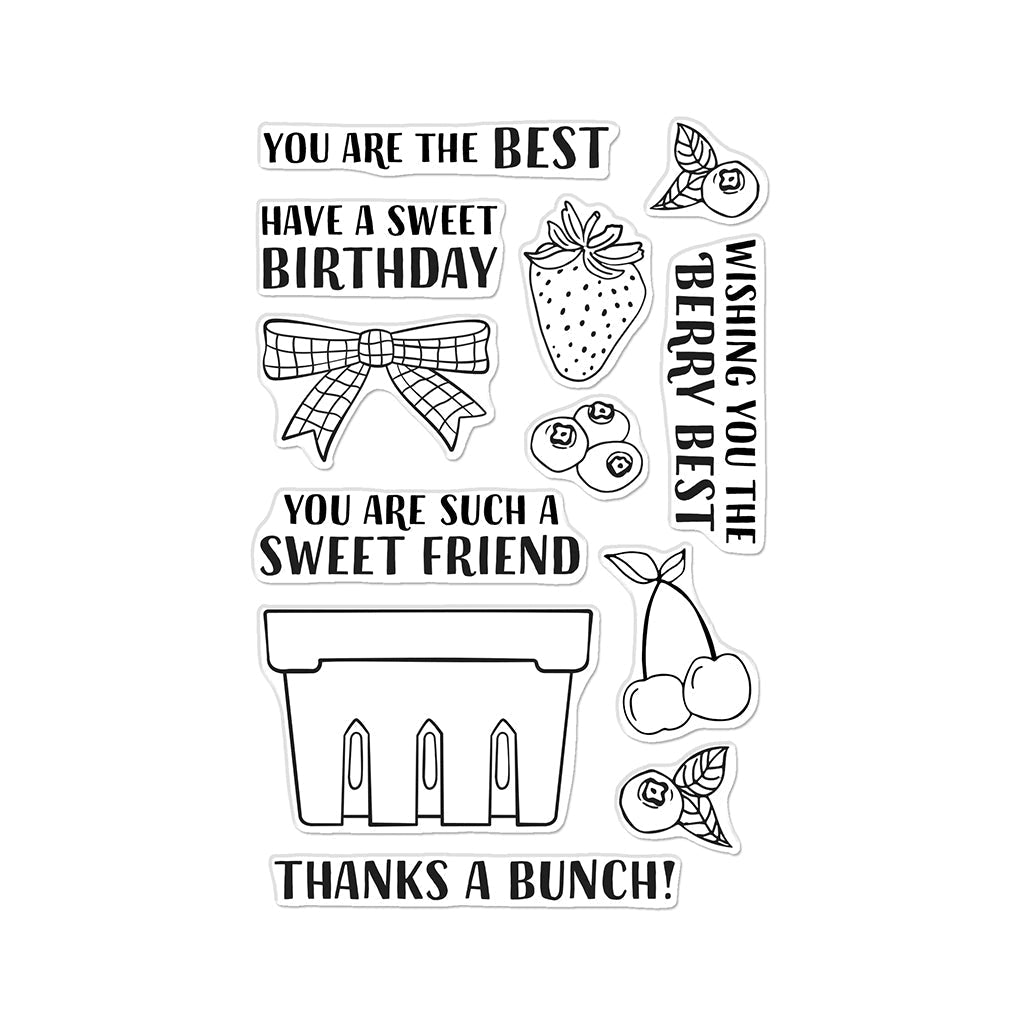
To fill up my newly-constructed berry basket, I stamped a bunch of berries from the Berry Basket stamp set (the bundle is sold out right now, but should be back in stock soon!) using Intens-ified Black ink on white cardstock, then used my Copic markers to add color to the images. Because I had colored the leaves a muted shade of teal, I thought that the bright blue blueberries looked a bit garish, so I added a "glaze" of very pale teal to the blueberries. This gives them a more muted overall look, as well as making their undertone match perfectly with the leaves.

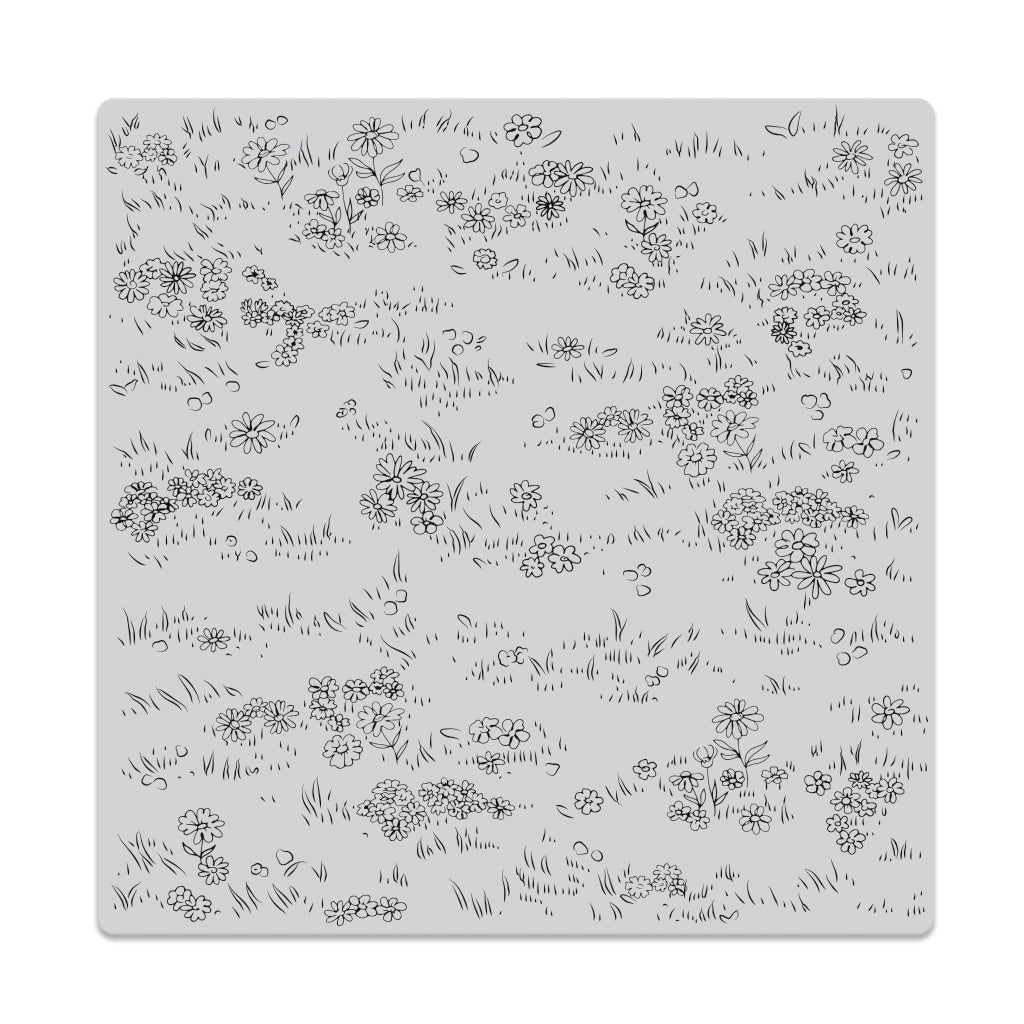
For the background, I stamped the Meadow Floor Bold Prints background on a smaller-than-A2 rectangle of white cardstock using Dusty Blue ink, then again with Embossing Ink , then covered it with White Satin Pearl embossing powder to create a muted, but textured, meadow background. Combining your colorful dye inks with the semi-transparent White Satin Pearl embossing powder gives you the power to create a rainbow of pearlescent embossing colors! I dotted the meadow with a red Copic marker to imply that this was from where the berries had been plucked! I used the same shades of ink and embossing powder to stamp a greeting from the Berry Basket stamp set. Finally, I arranged all of the die cuts and stamped elements on my card front, adhering them with foam adhesive for extra dimension.
Well, that's all for my project today! If you've been intimidated with the Weaving Fancy Die , as I had been, I promise you it's so much easier than you'd think! I encourage you to try it out, because it adds such amazing texture to your cards. Thanks so much for reading, and have a marvelous day!

|