

Posted by Yana Smakula
on August 13, 2018

Hello Hero Arts fans! Welcome back for another episode of the Color Layering video series !

In this video & episode I am taking a closer look at the Color Layering Mountain Lion set! I have several cards to share and of course a few different color combos to explore.
Watch the video tutorial below to learn how I made the cards I'm sharing today.
If you’re having a problem viewing this video, please try watching it HERE in HD on YouTube
Hero Arts always have recommended ink color combinations for all of their color layering stamp sets and this is a great starting point. The color combos they recommend are true and tested colors and work fabulously. I tried several colors from my stash to stamp the lions.
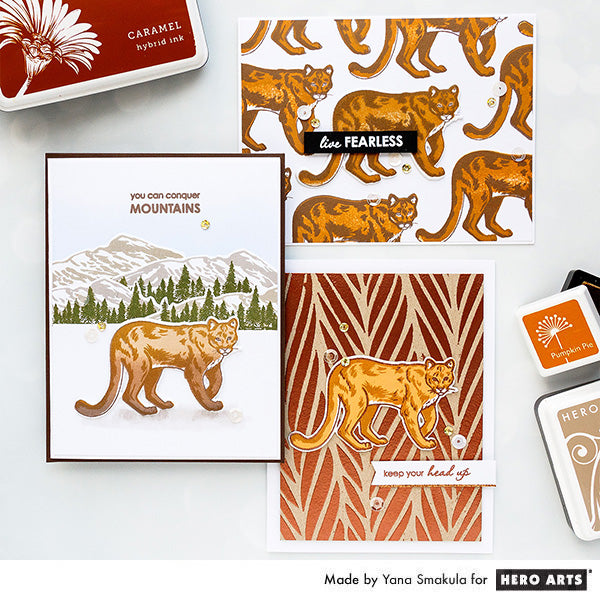
I used (in the following order: outline layer, detail layer, solid layer):
- Cup O' Joe , Pumpkin Pie , Butter Bar
- Cup O' Joe , Pumpkin Pie , Soft Brown
- Cup O' Joe , Caramel , Soft Apricot
- Cup O' Joe , Caramel , Brown Ombre
All of these gave me a slightly different, yet still very real-looking mountain lion. Let’s dive into the cardmaking part of this post & video!
I love to stamp background patterns using my individual images so for my card #1 I used lion image to stamp a lion pattern. I went with Cup O' Joe and Caramel ink color combo.
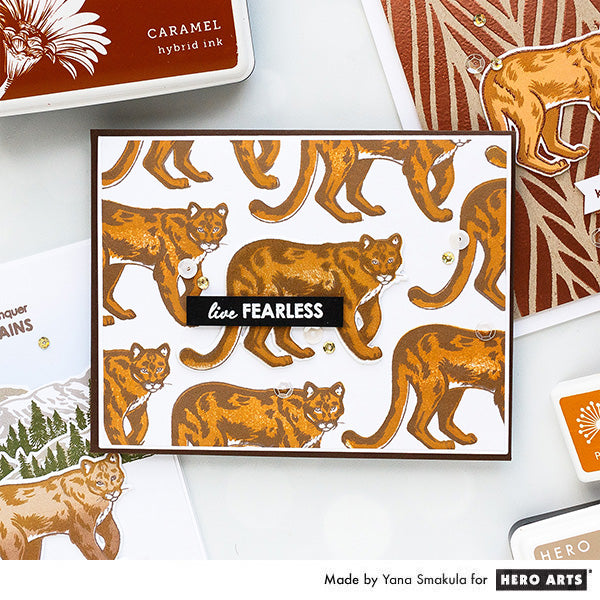
I never get tired of the beauty of Color Layering stamps and I am still very much fascinated by them. Here I used just one image, yet thanks to the Color Layering I have a lot of detail on this simple stamped pattern.
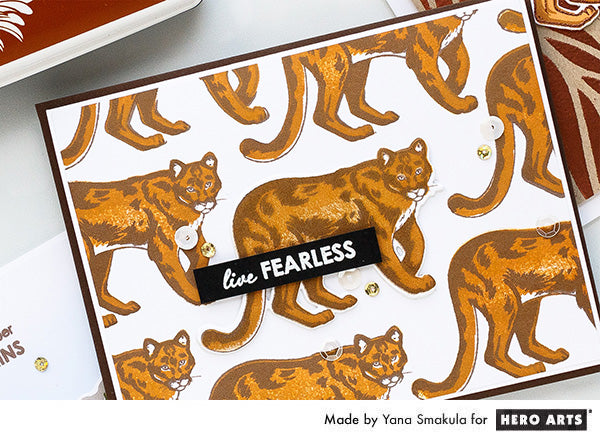
To create a sentiment for this card I white heat embossed Live Fearless onto black paper - I used Detail White embossing powder . I trimmed my stamped pattern panel down slightly, I cut about 1/8” off and I adhered it onto an A2 white top folding card base.
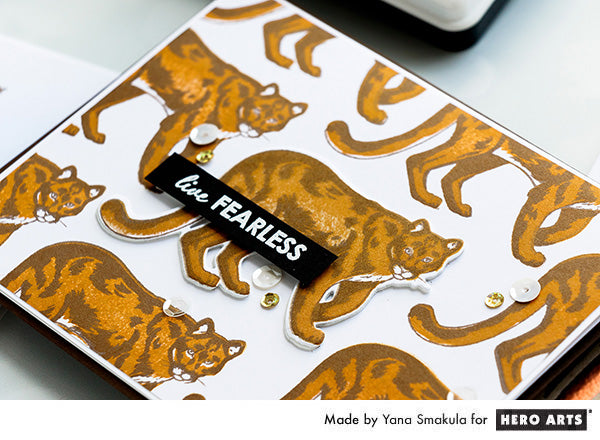
I also wanted to add dimension to this card, so I used a coordinating die and die-cut a lion out of sticky foam adhesive. It’s thin, so it won't create too much bulk on the card, yet will still add some dimension. I foam mounted the sentiment on top of my lion and embellished card using Champagne mix sequins .
For my card #2 I wanted to use the "You Can Conquer The Mountains" sentiment so I knew I needed to stamp mountains for my card.
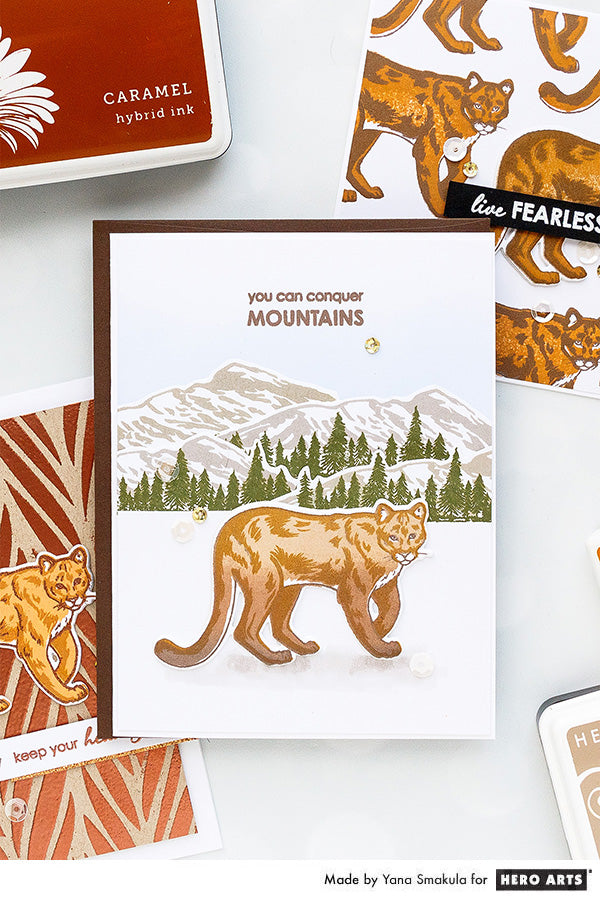
There is one mountain image in the Mountain lion stamp set, I stamped it using Wet Cement ink . I also wanted to add some greenery to the mountains so I looked through my stash and came across Road Trip stamp set and I carefully stamped the tree line in Forever Green ink overlapping the mountains.
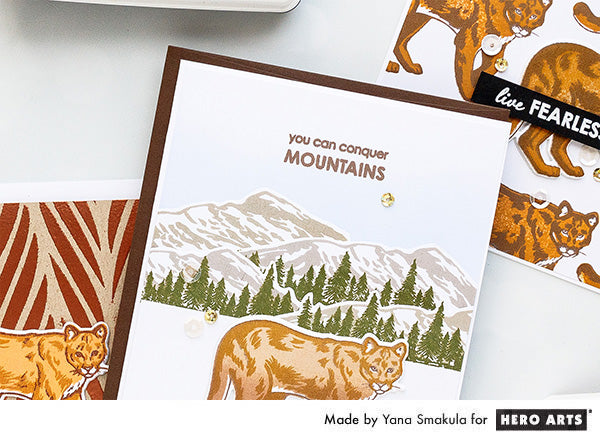
I stamped this several times and used my scissors to cut each image out. I inked blended a light blue sky using Soft Sky ink and once again foam mounted my lion on top.
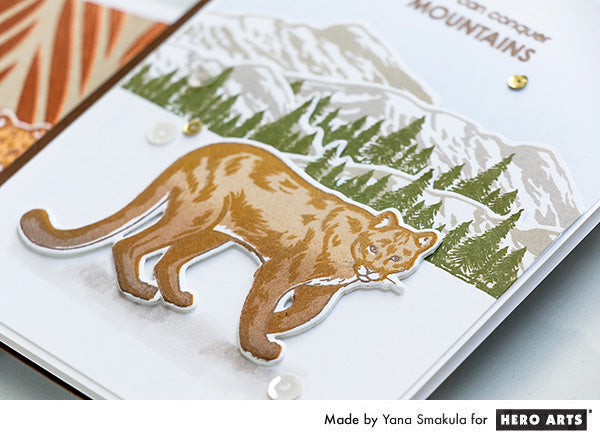
I used my Copic markers in C1 and C3 to add some shading under the lion and help ground him on the card.
For my last project for today I used a background I made some time ago using Long Leaves stencil and Copper embossing powder .
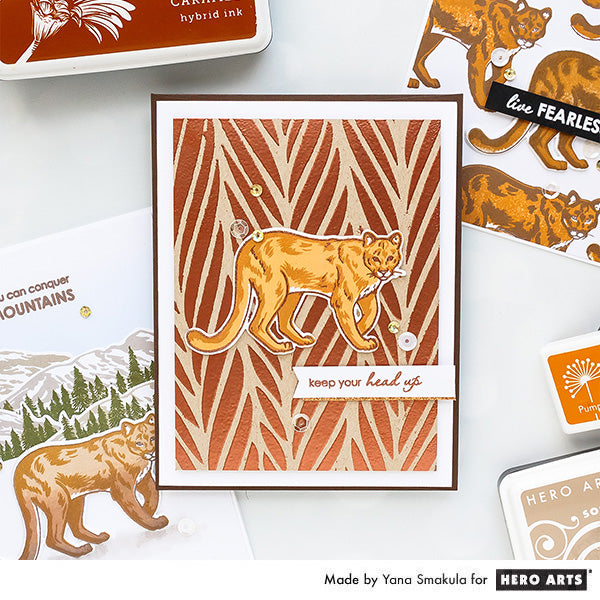
I also used the same Copper embossing powder to heat emboss the outline of my lion and make him a better fit for this card.
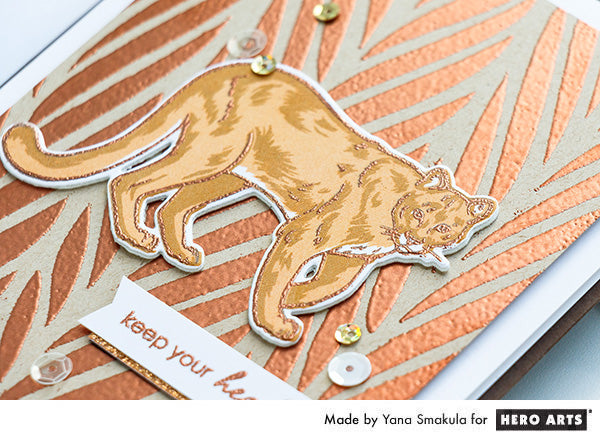
I went with the “Keep your head up” sentiment and once again embellished my card using Champagne mix sequins .
Have fun stamping!
























































































