Posted by Ilina Crouse
on August 14, 2023

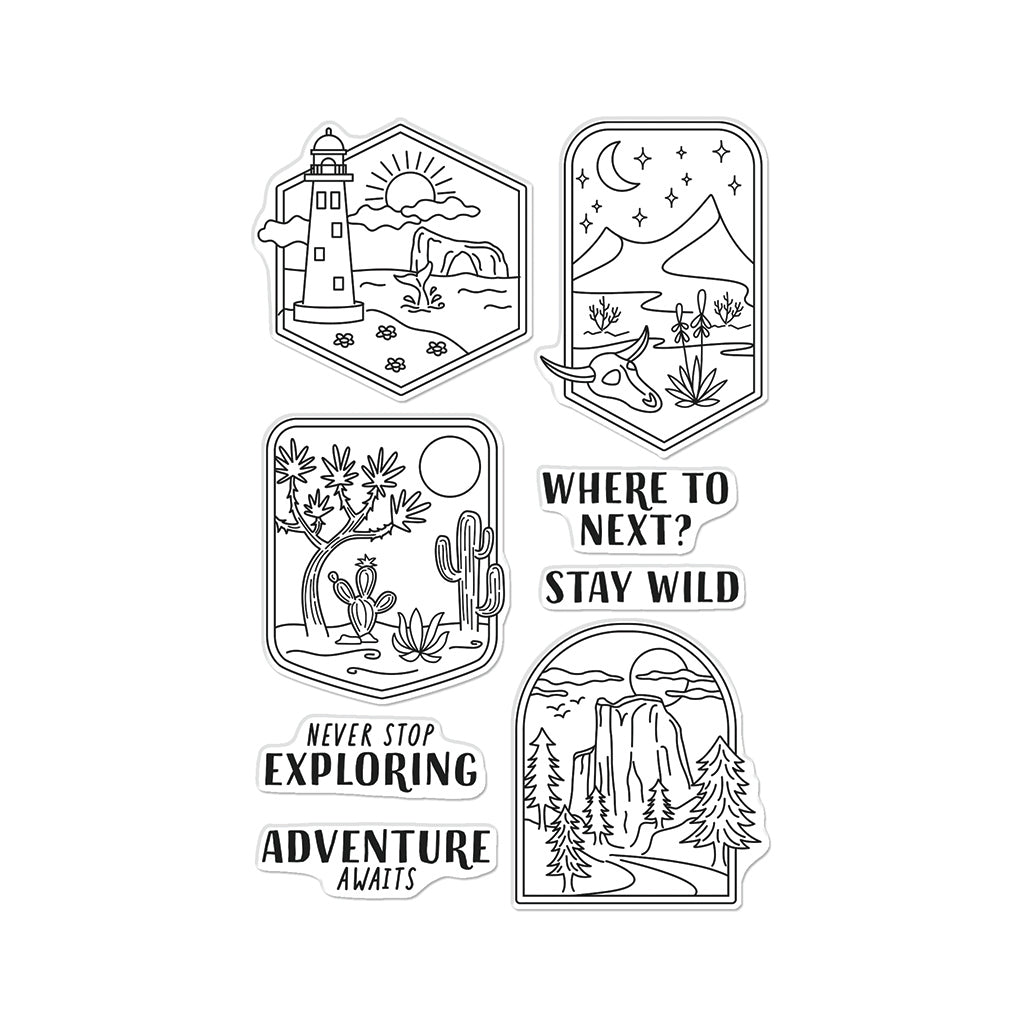
Hi everyone, Ilina here! Today I am sharing a card and video showing how to add dimension using stencils with clean lines. Graphic stencils work great for this technique. For today's card I used the new Graphic Mountains Stencil along with a sentiment from the Where to Next? stamp set.
Watch the video below, or click HERE to watch it on YouTube.
To make the card, I started by ink blending the different areas on separate pieces of Deluxe Smooth White cardstock. I lined up the stencil with the bottom right corner of my cardstock pieces, so I had the placement the same for all four layers and made it easier to trim the pieces down to the desired size afterwards (I made a 4 1/4" x 5 1/2" card, but the stencils is about 6" x 6", so you can make other sizes).
I wanted the sun to be on the right hand side, so I flipped the stencil over and stenciled from the back side.

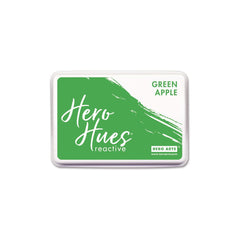
I stenciled the trees (they are mountains, but i used them as trees) using Green Apple Reactive ink and I didn't worry about going over the lines, since I was cutting out that part to create the different layers. Also I didn't ink blend the entire stencil, just the parts I needed (watch the video above to see how I accomplished that).
The second part was the valleys – or if you want them to look like mountains – you can use brown ink. I used Key Lime Fizz Reactive ink. I only ink blended that area and a little bit above and below to use the lines as cutting guides.
I repeated the process for the sun (Lemon Drop) and sky (Pool Party). Next, I trimmed the layers using my scissors. I trimmed the sky piece to 4 1/4" x 5 1/2" and used it as a guide to trim the rest of the pieces.

Next, I used Hero Arts Precision Glue and foam tape to adhere the layers together and add dimension, I alternated between the two, so my card didn't end up too bulky. If you are hand delivering the card and like dimension you can adhere each layer using foam tape. I only adhered the sun and mountains/trees layers with foam tape and the other two layers with Precision Glue.
Next, I stamped the sentiment using Embossing and Watermark Ink on Pitch Black cardstock, embossed in white and cut to a strip that I adhered across the panel. I added a few black enamel dots from the Neutral Enamel Dots pack to finish off the card.
Thank you so much for stopping by. Hope you have an amazing day!

|