Transparent Texture with Stencils & Glitter Paste
Posted by Lydia Fiedler on November 17, 2023

Transparent Texture with Stencils & Glitter Paste

Hi stampy friends! Lydia here. Before I start I wanted to say thanks to everyone who attended our recent Holiday Stamp-Along! Your cards were so beautiful and it was really fun hanging out with you! I'll see you at the next one in January

Today I have a mixed media layering project for you that is ALL about the up-close experience that the person receiving your card will get. I don't know about you but I love to get cards that have fun textures on them - lots to look at and feel. So that's what I set out to do with today's project.

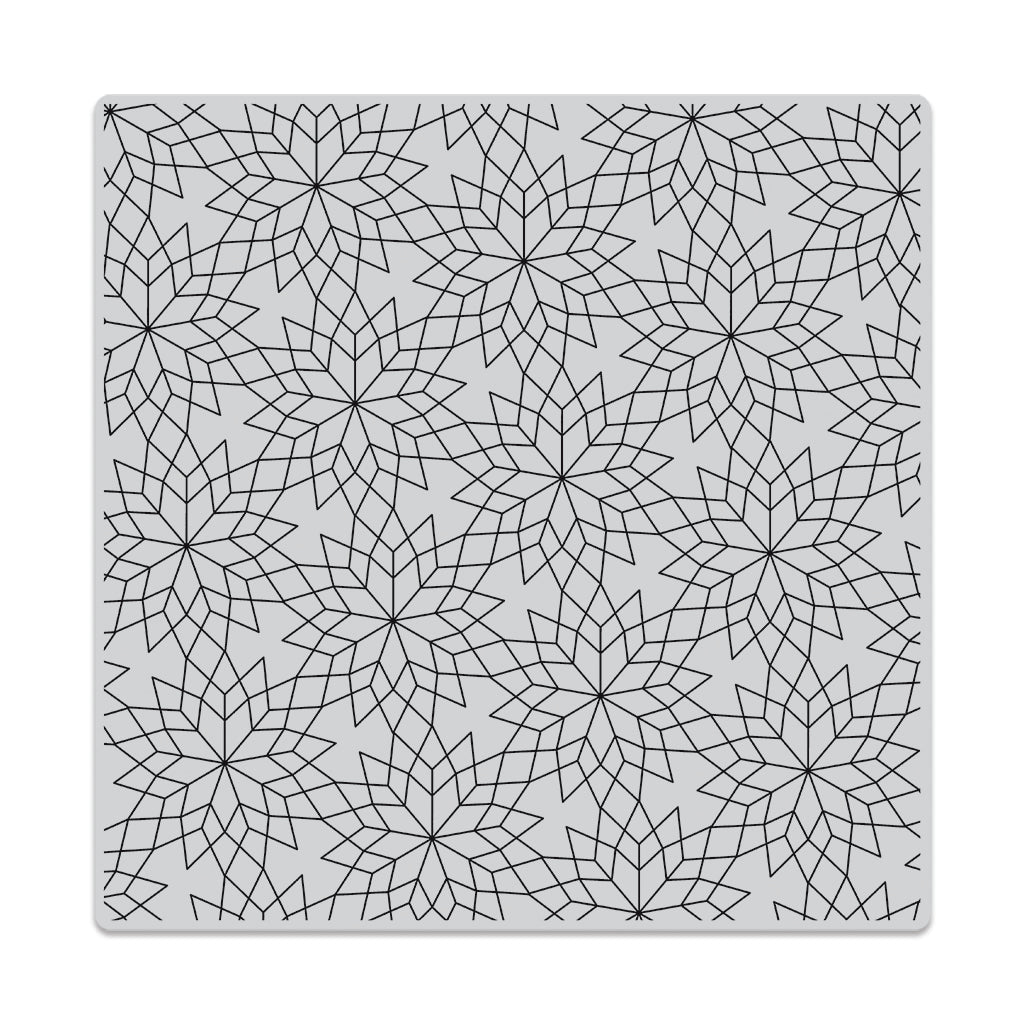
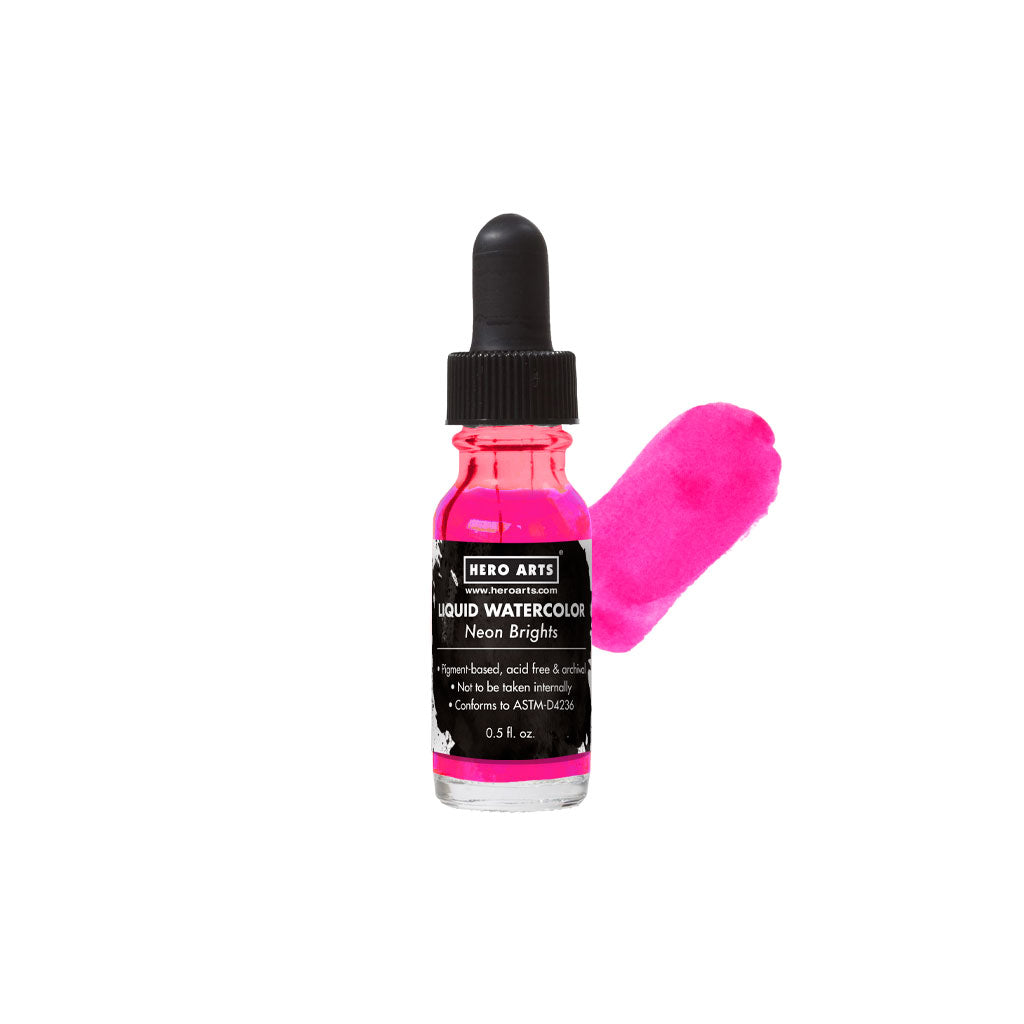
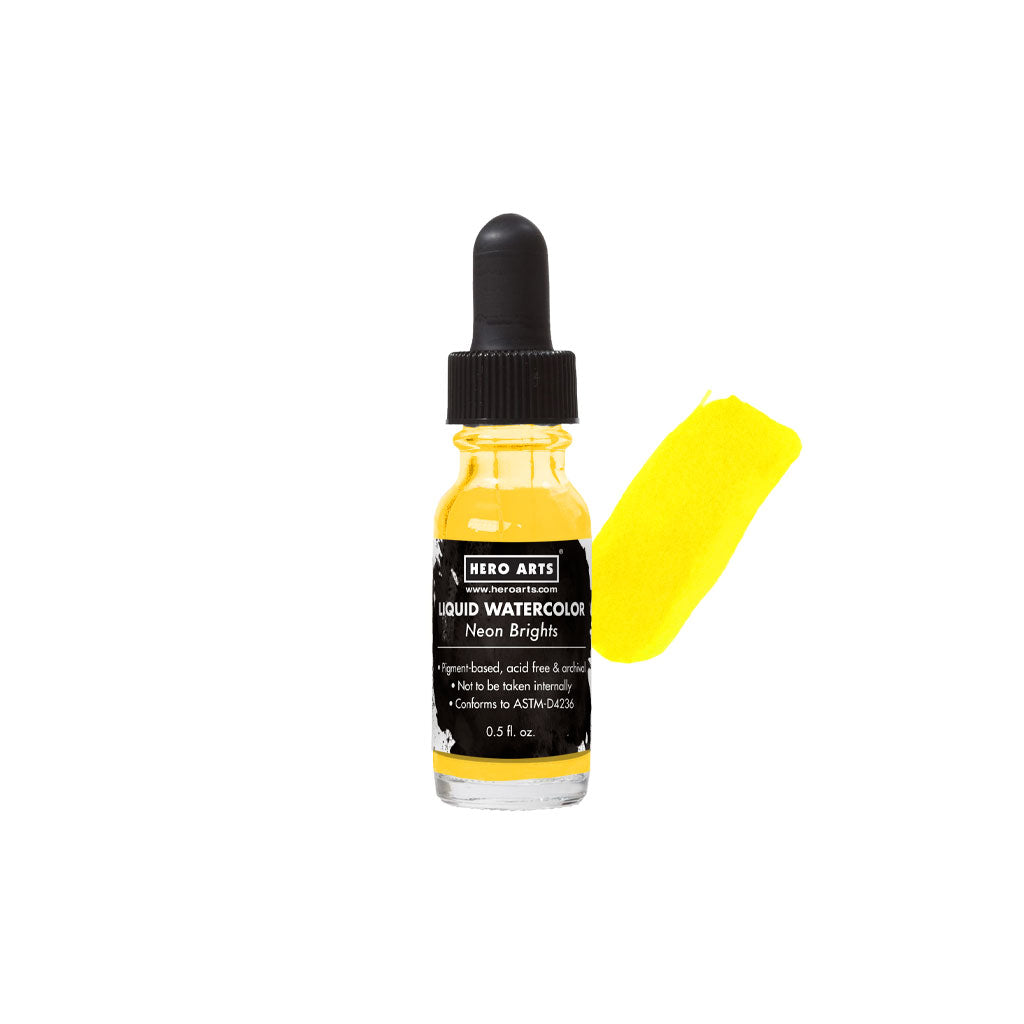
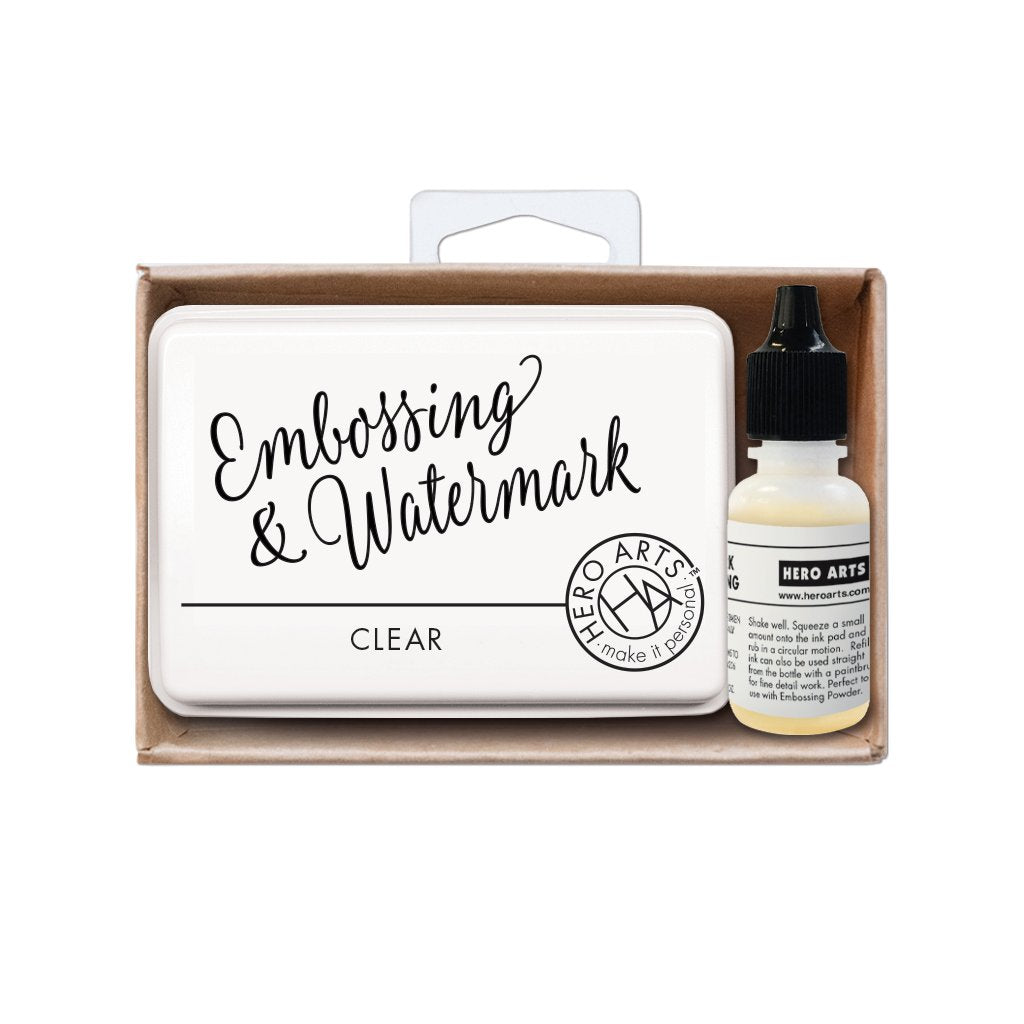
The colorful layer is made by creating a resist with the Starflakes Bold Prints stamp and Clear Embossing & Watermark Ink on photo paper. Then I just added the Brights Liquid Watercolors in Pink and Sunshine

You can see a hint of the next step here, but glitter photography being the challenge it is, we'll need to go in for a closeup. 

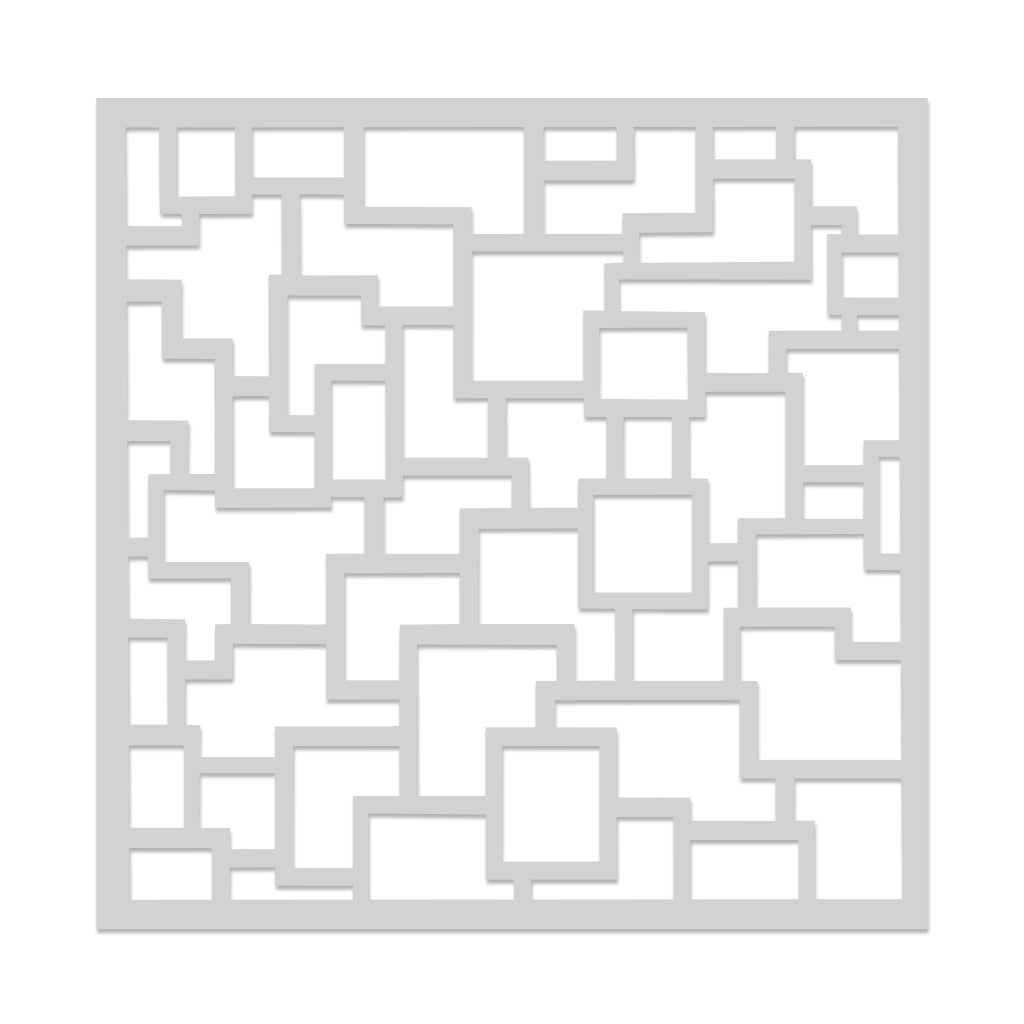
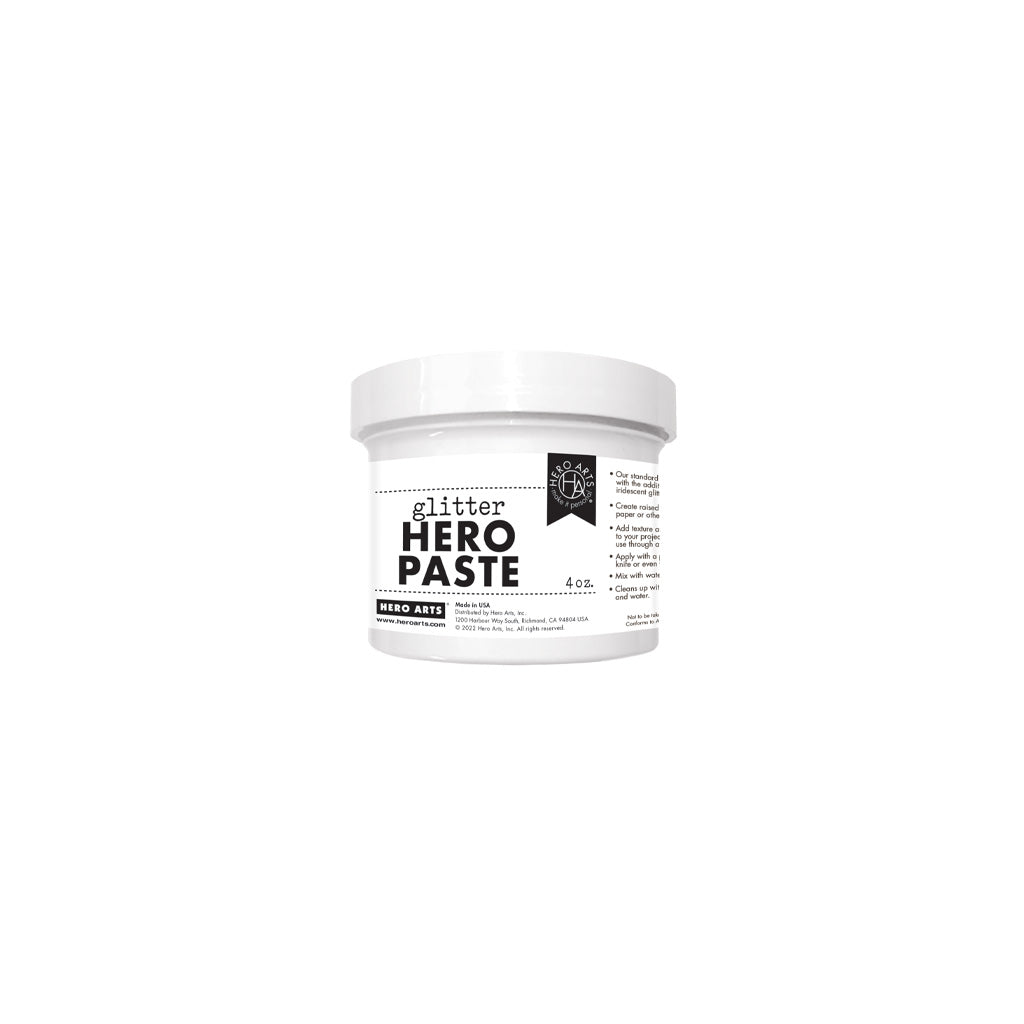
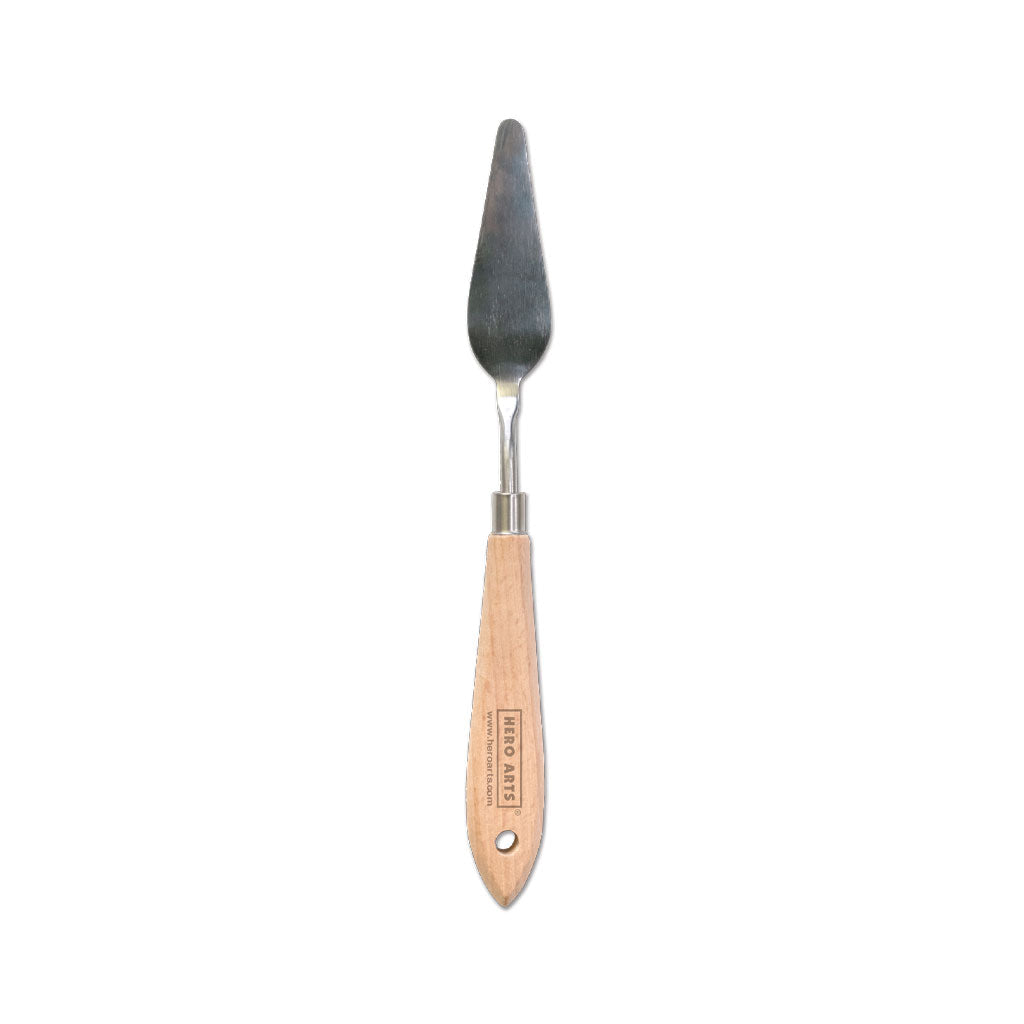
Grab your Glitter Hero Paste, your palette knife and your Mixed Frame Stencil, and let's add a layer of geometric, Glitter Hero Paste onto the smooth, shiny surface of the watercolored photo paper. Look at that fun geometric layer - so much sparkle. And don't worry - this doesn't activate the watercolor, so your details are perfectly preserved.

The transparency of the Glitter Hero Paste lets all that techniquey, colorful goodness you create shine through. 

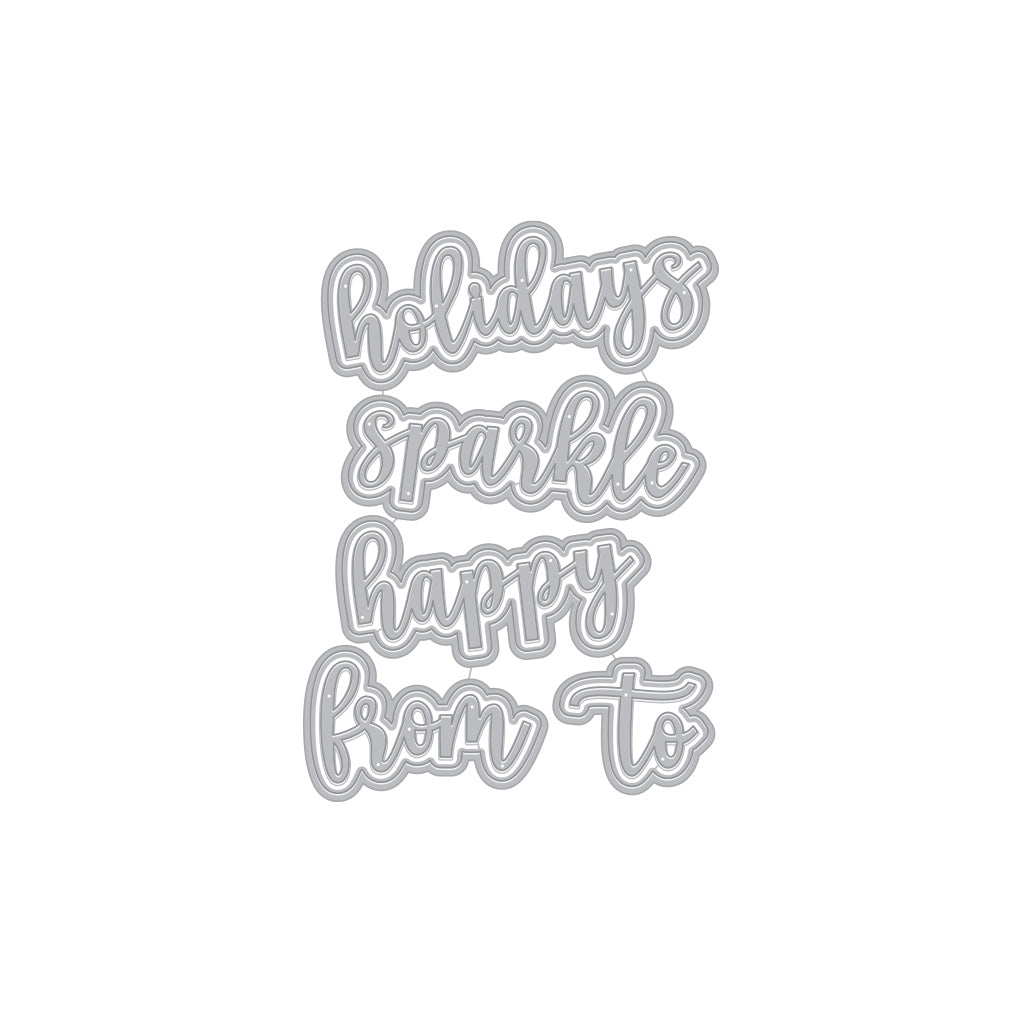
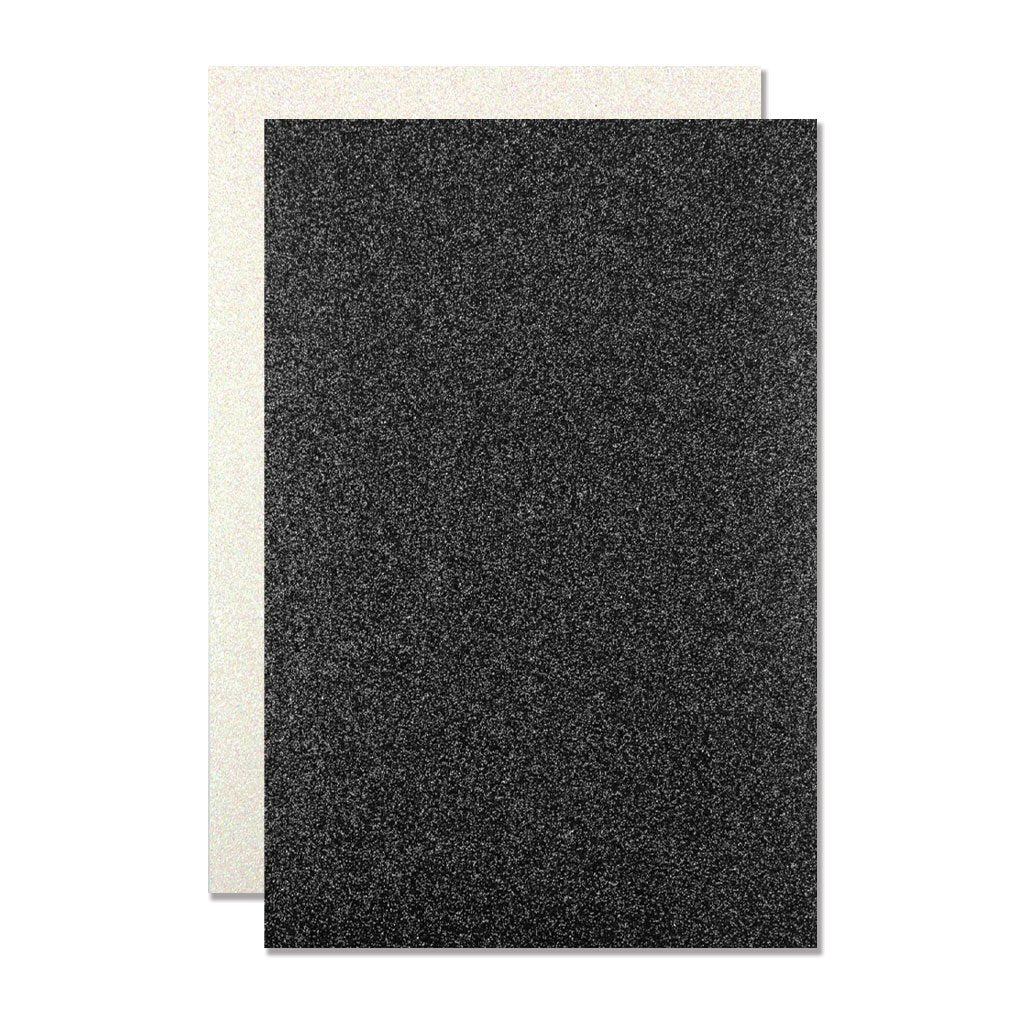
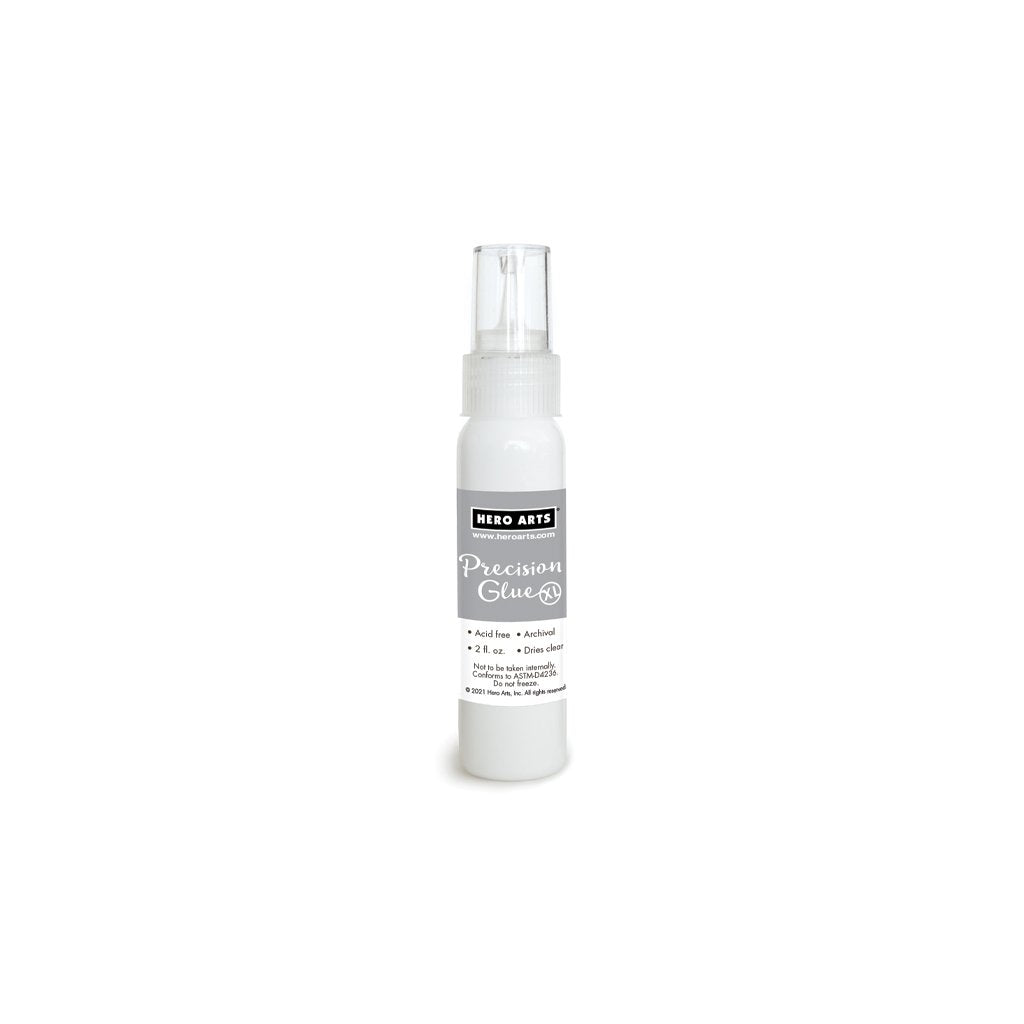
Let that layer completely dry before adding a sentiment. I used Basics Glitter Paper and the Holiday Words Fancy Dies and Precision Glue. Just a tip when gluing on an uneven surface like this - put the card in your MISTI and hold the item down with a magnet until it dries - it will be flat and perfectly adhered.

Thanks for stopping by today!

 Click on products to shop:

Mixed Media Stamp-Along 2024 | Hero Arts
HA ]
SA261 Mixed Frame Stencil | Hero Arts
HA ]
CG920 Starflakes Bold Prints | Hero Arts
HA ]
DF090 Holiday Words Fancy Dies (D) |...
HA ]
PD136 Liquid Watercolor Neon Brights...
HA ]
PD133 Liquid Watercolor Neon Brights...
HA ]
AF470 Embossing & Watermark + Reinker...
HA ]
NK353 Hero Paste Glitter | Hero Arts
HA ]
HT215 Hero Tools Palette Knife | Hero...
HA ]
PS777 Glitter Paper Basics | Hero Arts
HA ]
GW102 Precision Glue XL | Hero Arts
HA ]

  • Hummingbird Garden Sympathy Card Tutorial with Layered Stencils and 3D Embossing

    Categories:Embossing

    Hummingbird Garden Sympathy Card Tutorial with Layered Stencils and 3D Embossing

    Hi, crafty friends! Lea Lawson here with you today, creating a card featuring the beautiful new Butterfly Garden collection by Simon Hurley. I’m sharing my step-by-step process in easy-to-follow photos and instructions! To start, we are going to ink blend the Layered Hummingbird Garden stencils in numbered order. Align stencil 1 over top of a 6” x 9” Classic White cardstock panel, then ink blend...

  • Ink Blending for Cardmaking: Tips, Techniques, and Tools for Beautiful Results

    Beginner’s Guide to Cardmaking

    Ink Blending for Cardmaking: Tips, Techniques, and Tools for Beautiful Results

    Hello cardmakers, Lisa Tilson here, and today we’re going to be talking about ink blending. This is such an integral part of cardmaking, as ink blending can be used for many different designs in many ways. You might want to blend inks to create a background for a stamped or die-cut scene. You might want to add ink blending onto a stamped, pressed, or foiled...

  • 2 Floral Birthday Card Ideas with the Just Add Cake Cardmaking Kit

    BD-1049

    2 Floral Birthday Card Ideas with the Just Add Cake Cardmaking Kit

    Hello there, Michelle Short here and I am delighted to be sharing two cards today using the Just Add Cake Birthday Cardmaking Kit. Both cards feature the Garden Party Etched Dies. I combined them with the shaker domes and sequins on the first card, and for the second, combined them with the mug from Birthday Brew Etched Dies, as well as some extra colours of...