Glittery Holiday Stencil Background
Posted by Maria Willis on October 14, 2022

Glittery Holiday Stencil Background

Hey everybody! It's Maria here and I've got a sparkly, wintery, holiday card to share today but before I get to that... Have you heard about the Holiday Cheer Card Drive Hero Arts is hosting?

Send in your "Merry Everything" themed cards by November 18th and not only will your card be donated to a good cause, but it will be shown off at the Hero Arts Factory Store Sale on December 3rd. You'll be entered to win prizes too! Fun, right?! CLICK HERE for all of the details.

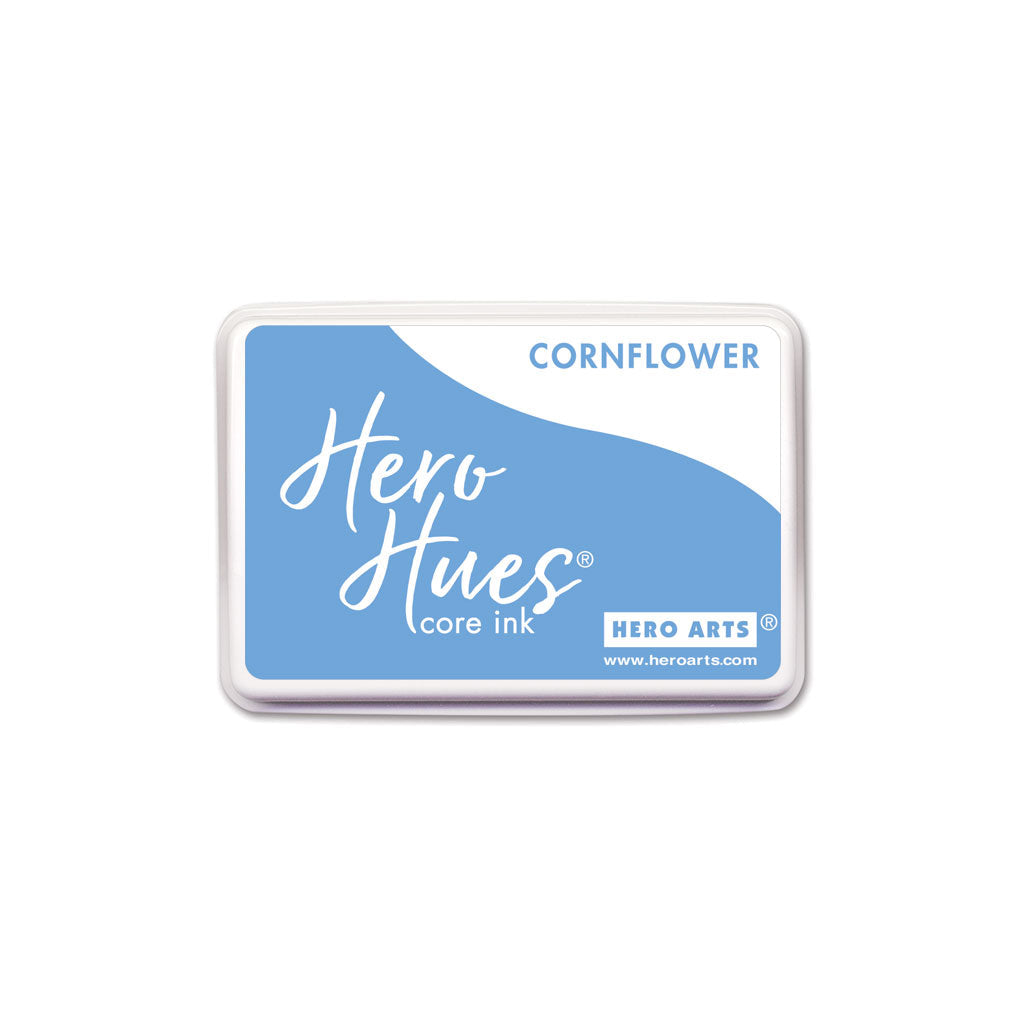
Ok, on to my card (which would be a perfect addition the holiday card drive so I may just have to send it in). I started with a 4.25" x 5.5" piece of white cardstock and used the Holiday Pattern Stencil and an ink blending brush to add Cornflower and Indigo ink. Next, I used my palette knife and added Hero Glitter Paste to the top of that.

I ink-blended the edges of my background with Pool Party Reactive ink and then cut the piece down to 4 " x 5.25" and added it to a Peacock mat.

Then I used the Season Words Fancy Die set to cut my sentiment out of Cherry and White Glitter cardstocks. I glued the pieces together and added them to my card with foam tape. The final step was to add some red enamel dots and that was it!

This card was very easy to make but boy does that glitter paste add some wow-factor! Ok, that is it for today and I hope you all have a most amazing day!

Crafty hugs,

Click on products to shop:
DF091 Season Words Fancy Die (D) |...
HA ]
SA214 Holiday Pattern Stencil | Hero...
HA ]
NK353 Hero Paste Glitter | Hero Arts
HA ]
HT215 Hero Tools Palette Knife | Hero...
HA ]
AF426 Pool Party Reactive Ink | Hero...

HA ]
AF702 Cornflower Core Ink | Hero Arts
HA ]
AF704 Indigo Core Ink | Hero Arts
HA ]
PS303 Hero Hues Premium Cardstock...
HA ]
PS344 Hero Hues Premium Cardstock...
HA ]
PS777 Glitter Paper Basics | Hero Arts
HA ]
CH328 Sunset Hero Hues Enamel Dots |...
HA ]

  • Hummingbird Garden Sympathy Card Tutorial with Layered Stencils and 3D Embossing

    Categories:Embossing

    Hummingbird Garden Sympathy Card Tutorial with Layered Stencils and 3D Embossing

    Hi, crafty friends! Lea Lawson here with you today, creating a card featuring the beautiful new Butterfly Garden collection by Simon Hurley. I’m sharing my step-by-step process in easy-to-follow photos and instructions! To start, we are going to ink blend the Layered Hummingbird Garden stencils in numbered order. Align stencil 1 over top of a 6” x 9” Classic White cardstock panel, then ink blend...

  • Ink Blending for Cardmaking: Tips, Techniques, and Tools for Beautiful Results

    Beginner’s Guide to Cardmaking

    Ink Blending for Cardmaking: Tips, Techniques, and Tools for Beautiful Results

    Hello cardmakers, Lisa Tilson here, and today we’re going to be talking about ink blending. This is such an integral part of cardmaking, as ink blending can be used for many different designs in many ways. You might want to blend inks to create a background for a stamped or die-cut scene. You might want to add ink blending onto a stamped, pressed, or foiled...

  • 2 Floral Birthday Card Ideas with the Just Add Cake Cardmaking Kit

    BD-1049

    2 Floral Birthday Card Ideas with the Just Add Cake Cardmaking Kit

    Hello there, Michelle Short here and I am delighted to be sharing two cards today using the Just Add Cake Birthday Cardmaking Kit. Both cards feature the Garden Party Etched Dies. I combined them with the shaker domes and sequins on the first card, and for the second, combined them with the mug from Birthday Brew Etched Dies, as well as some extra colours of...