Metallic Spray Peacock
Posted by Rosie Lopez on February 08, 2024

Metallic Spray Peacock

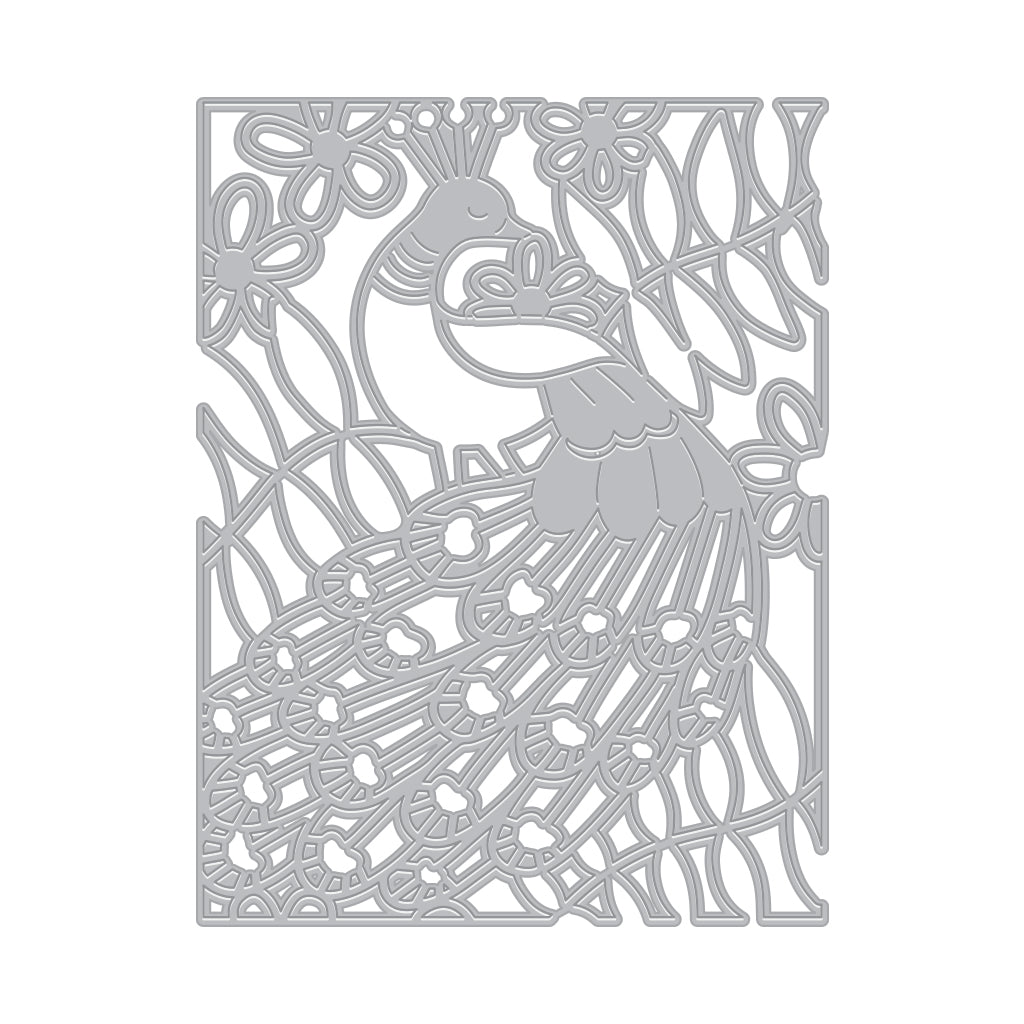
Hi there! It's Rosie and I am so excited to share a project with you today. When this Peacock Cover Plate Die from the February release came in the mail I could hardly contain myself. I immediately knew wanted to pair it with the Two-Tone Metallic Sprays.

Peacock card

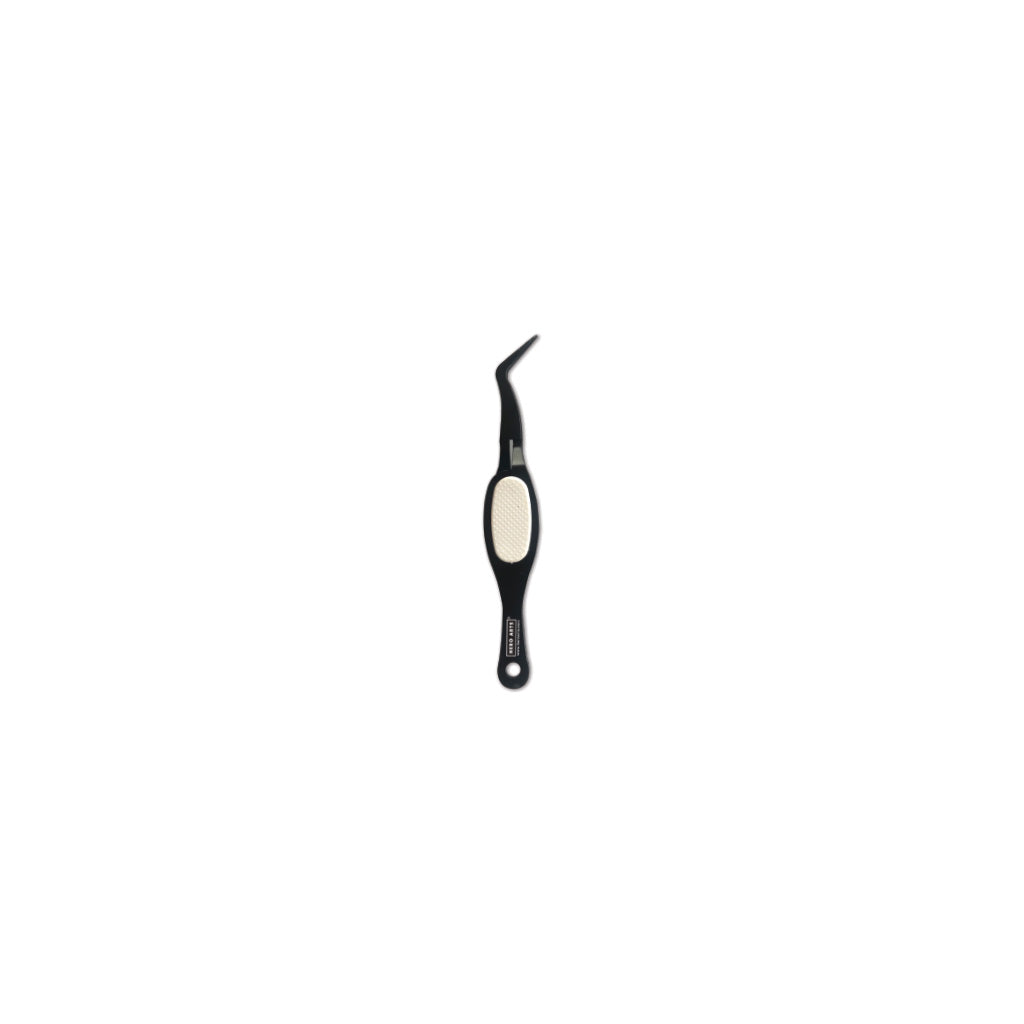
I die cut the the Peacock Cover Plate from Luxe White Watercolor Paper. This paper is pretty thick so I did run it through my machine vertically and horizontally but at a slight angle. I pushed all the negative pieces out using the tip of my Reverse Grip Tweezers

Peacock Card

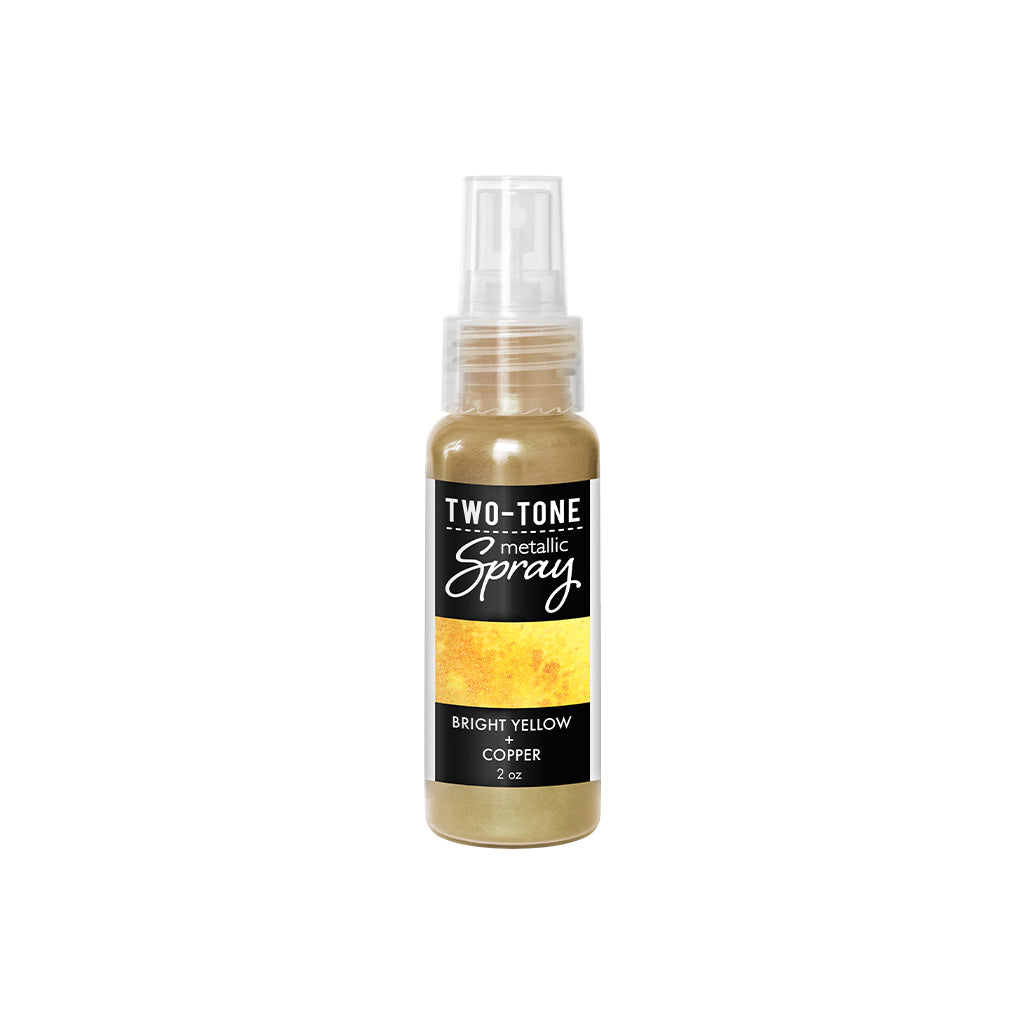
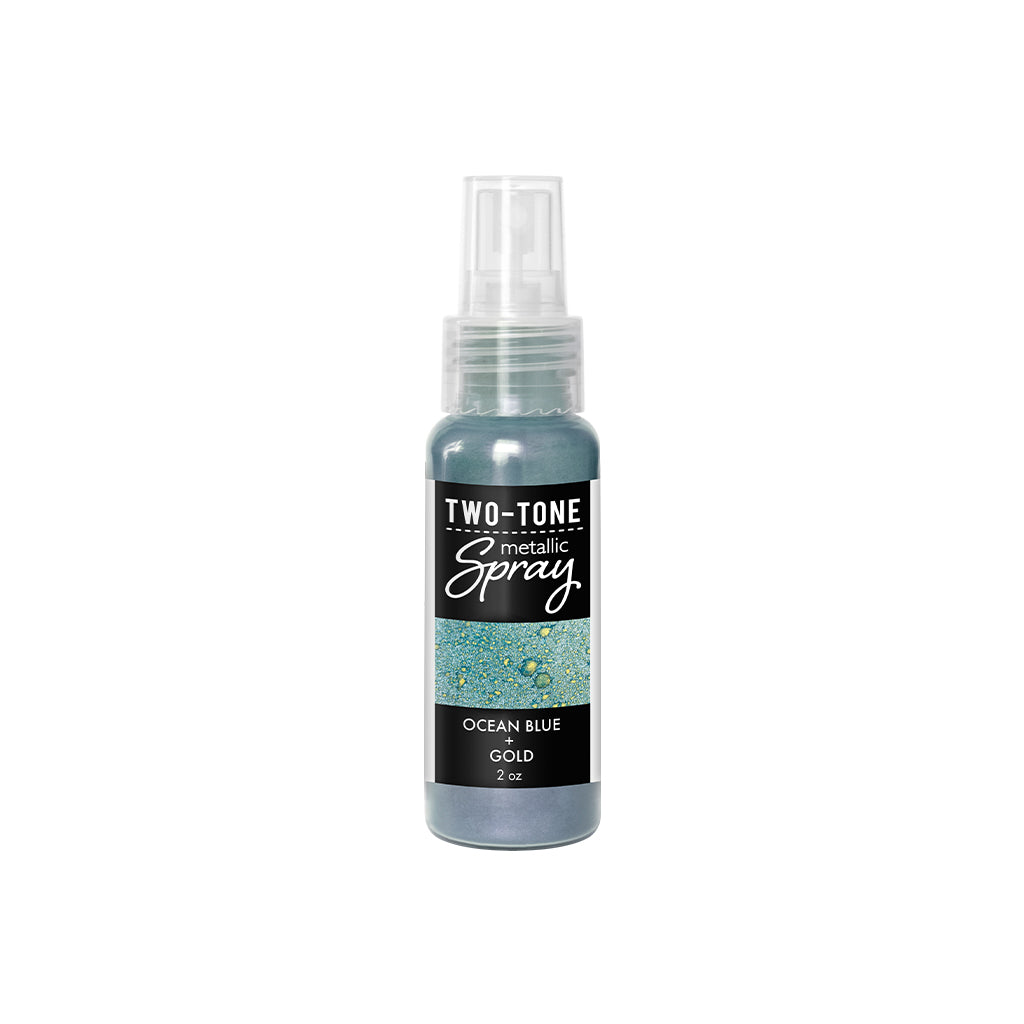
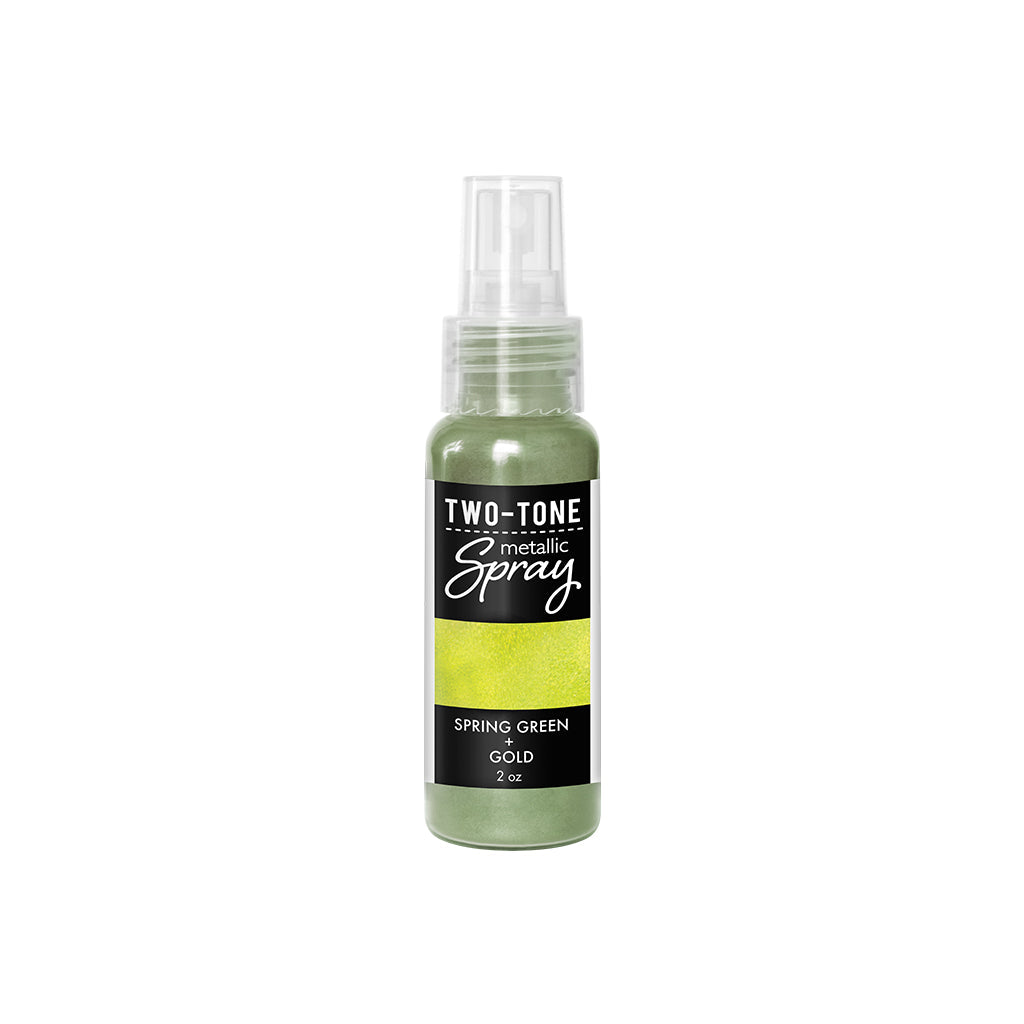
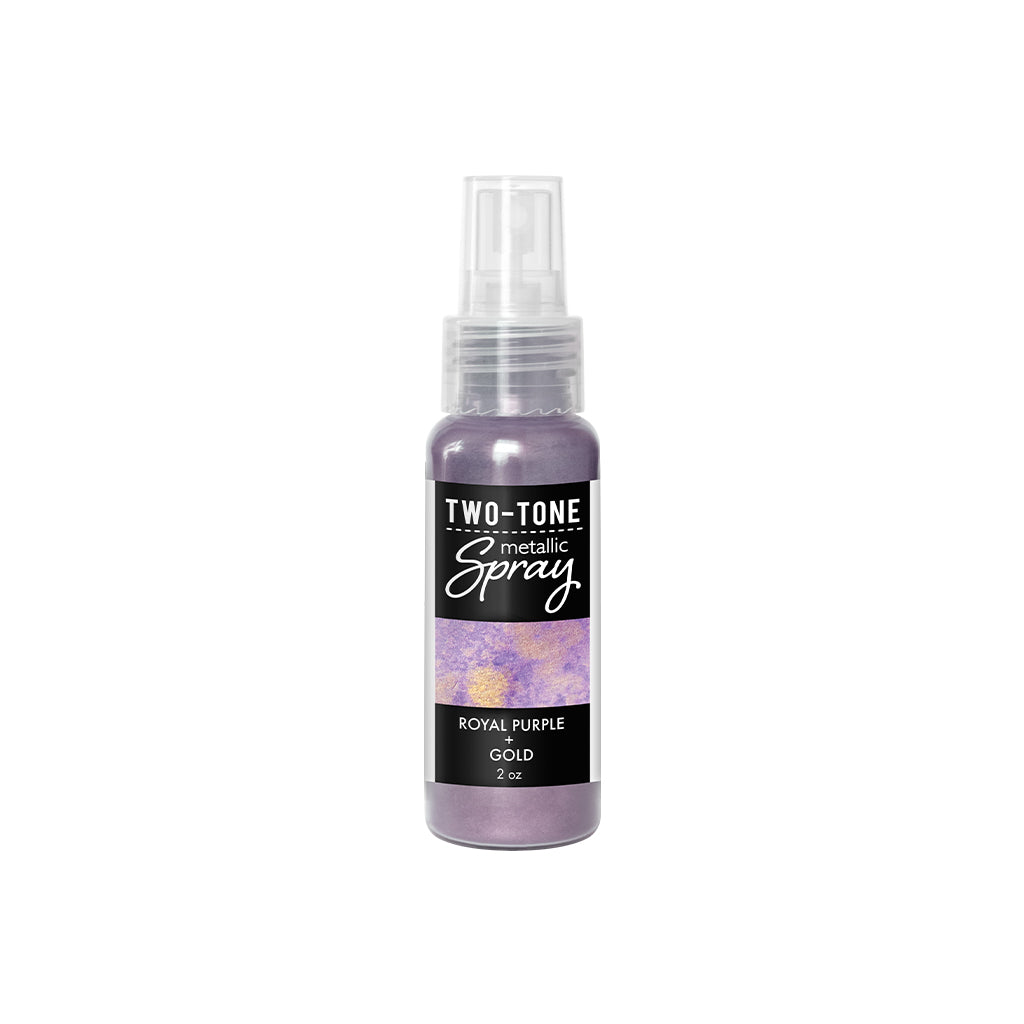
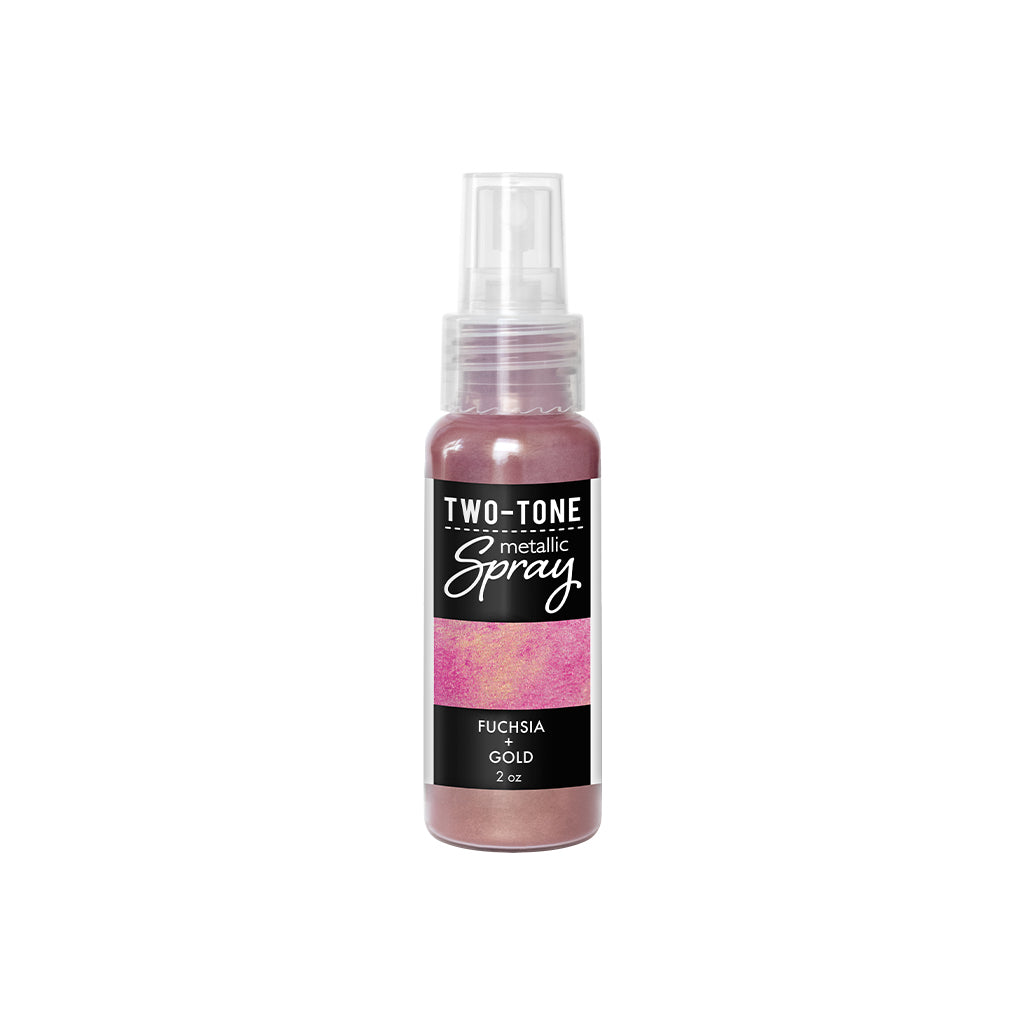
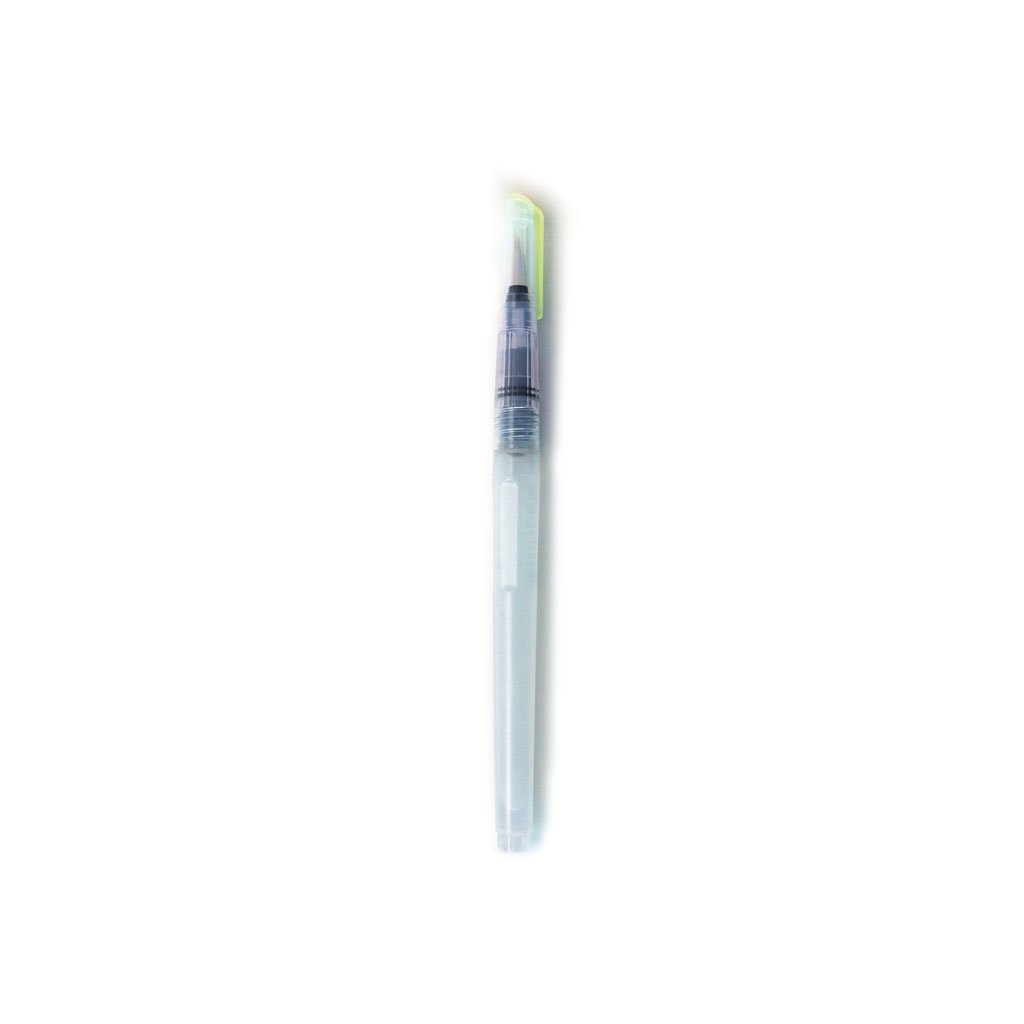
I loosely masked off the peacock with washi tape to prep the piece. I sprayed the flowers with Bright Yellow Two-Tone Metallic Spray and the leaves with Spring Green Two-Tone Metallic Spray. I did use a little water and the Water Flow Brush to get a little more coverage and blending. I let that absorb just a bit and then carefully peeled the washi tape off. There was some bleeding under the washi but that was okay with me. Then I masked off the the leaves and flowers with the same washi and sprayed the peacock with Fuchsia Two-Tone Metallic Spray, Ocean Blue Two-Tone Metallic SprayRoyal Purple Two-Tone Metallic Spray. I focused the Fuchsia near the head and body, the Ocean Blue in the middle and the Royal Purple at the end of the tail. Again, I used the waterflow brush to help move some of the color. I let this dry completely before moving on. 

Close up peacock card

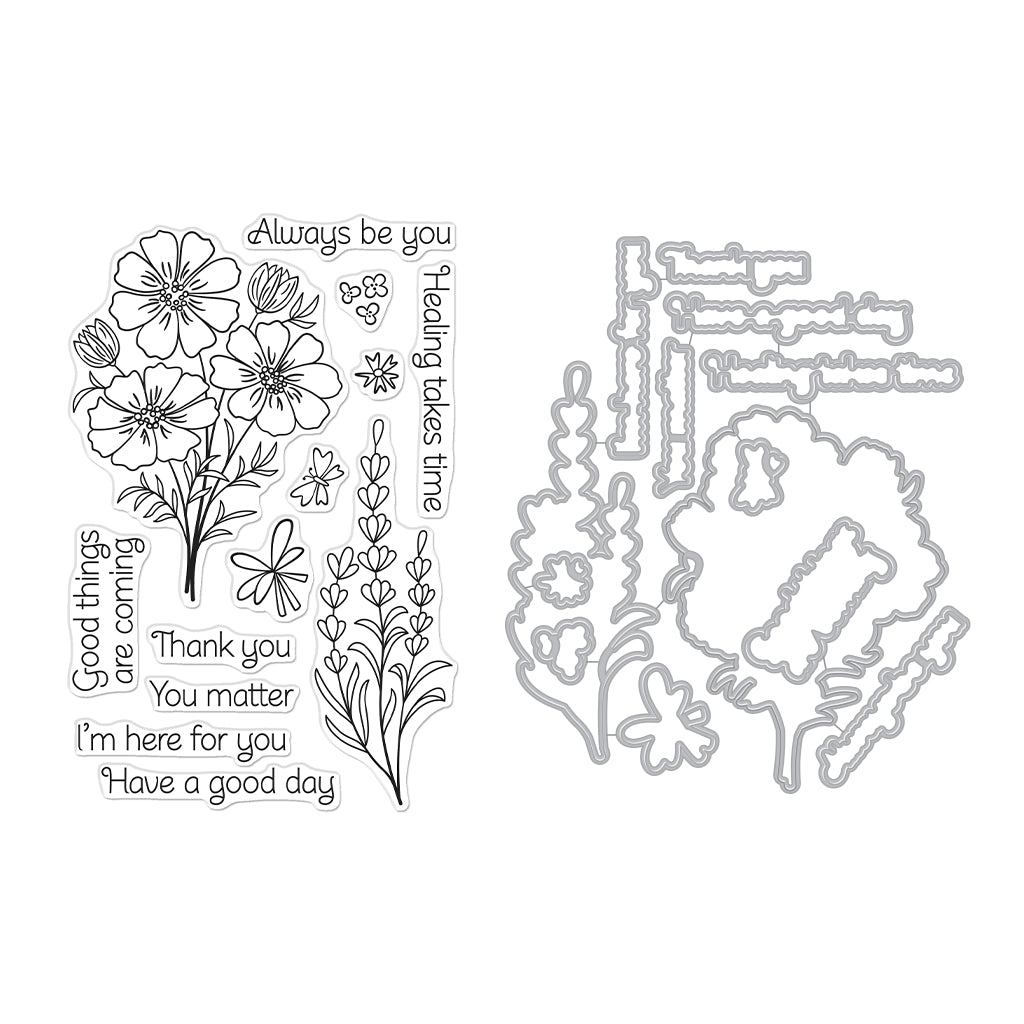
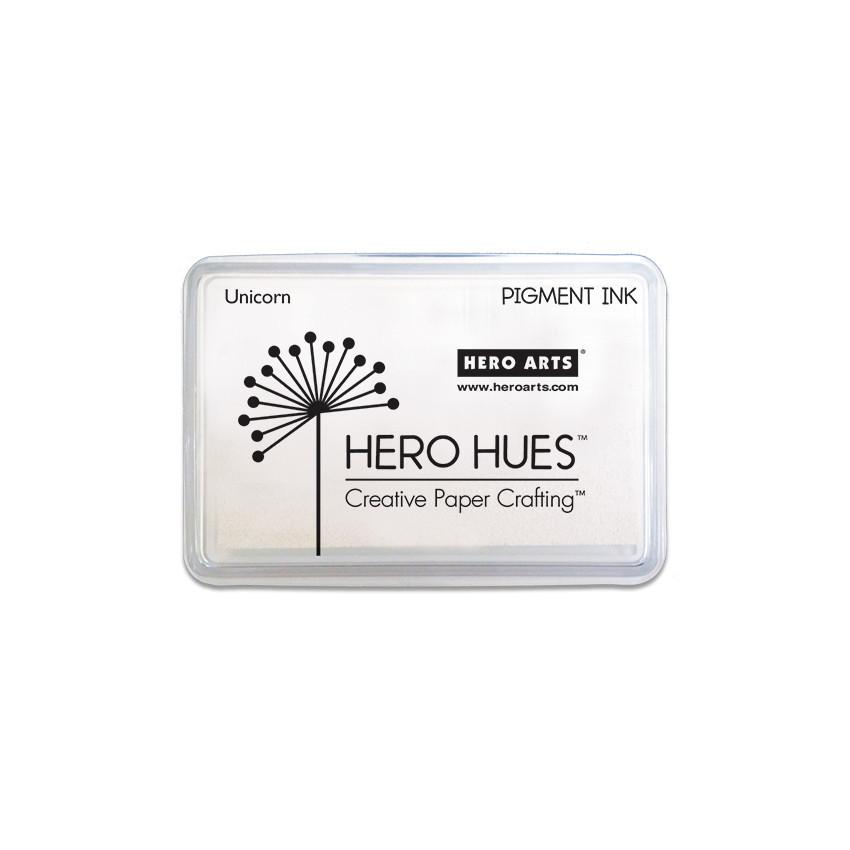
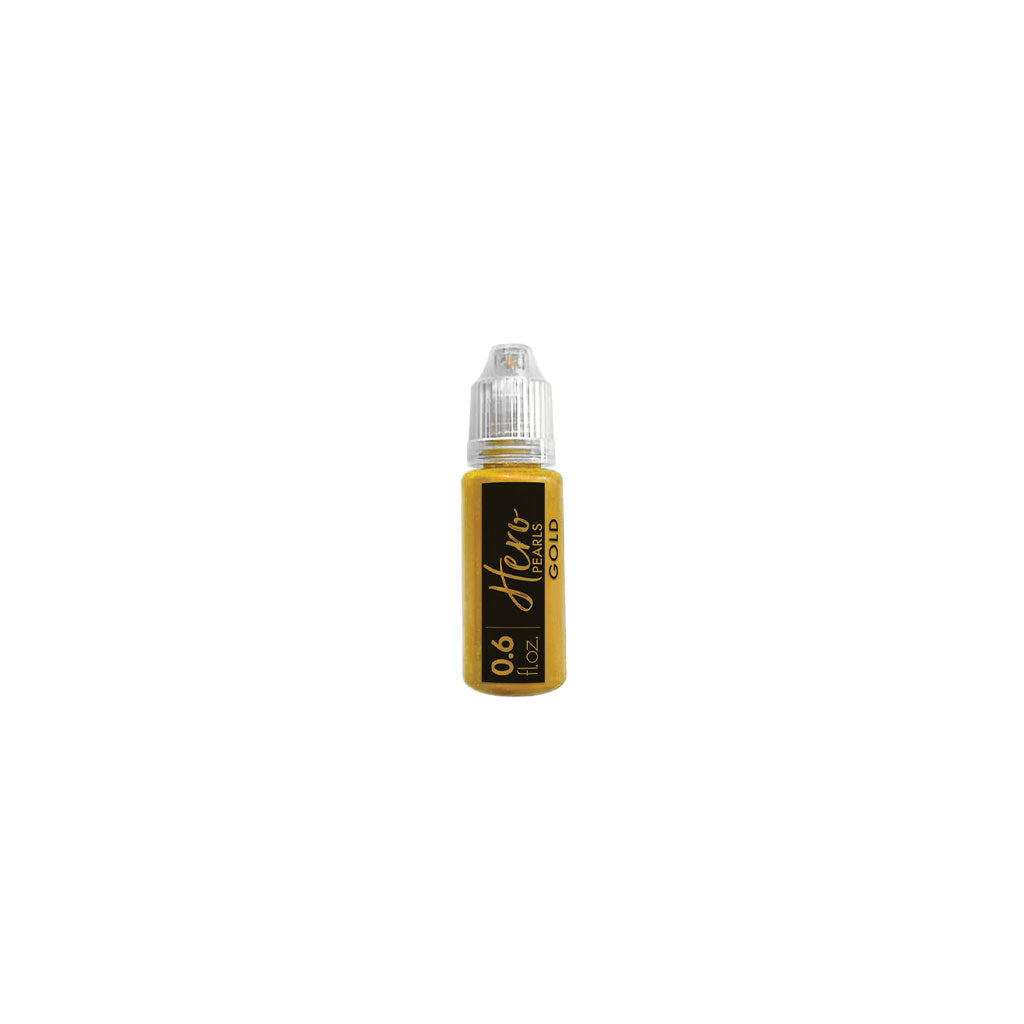
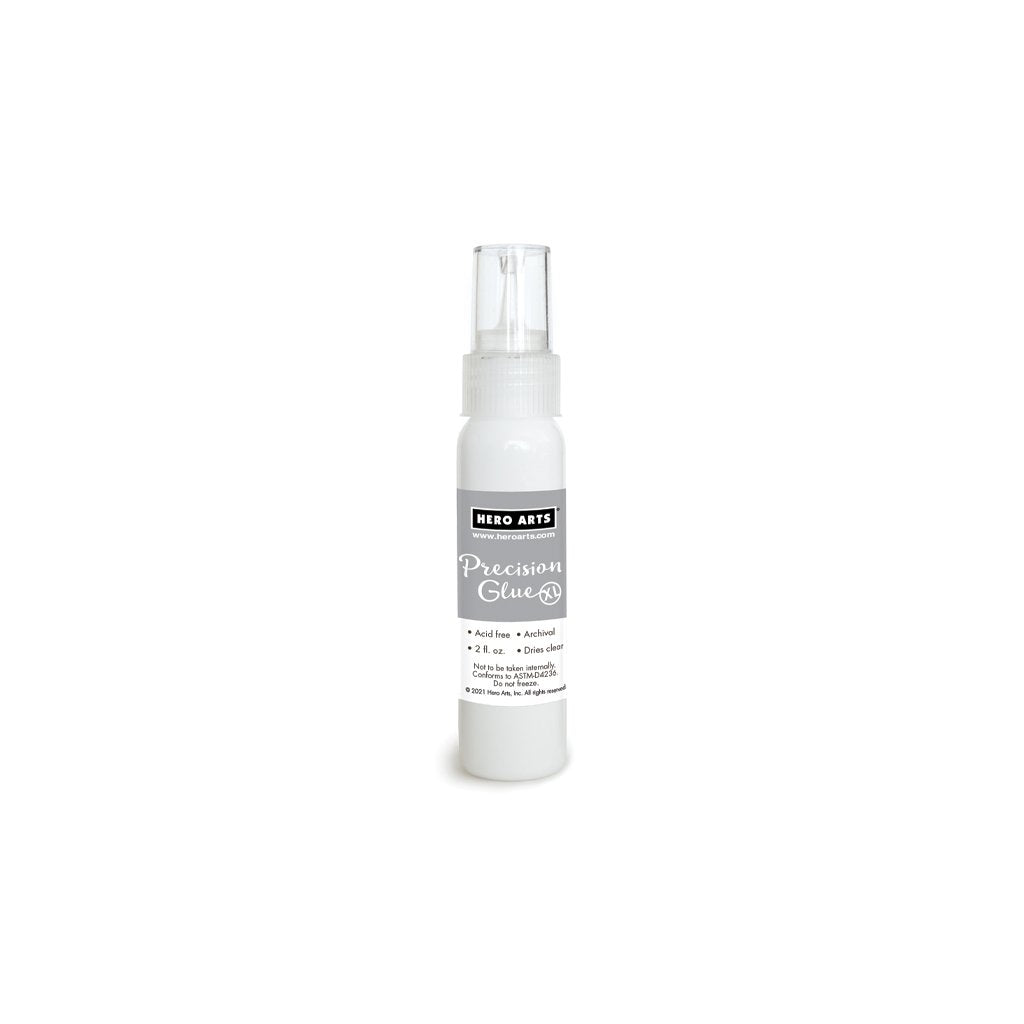
I adhered the die cut panel to a Pitch Black card panel using Precision Glue. I stamped the sentiment form the Cosmos and Lavender Bundle with Unicorn White pigment ink and heat embossed with Detail White Embossing Powder on Pitch Black cardstock. I used the coordinating die to cut it out. I placed that sentiment in the bottom right corner to draw your attention from the top of the peacock to the tail. To finish off this card I used Gold Hero Pearls on the tail feathers and the crest. 

Thanks for stopping by today and I hope you have a crafty weekend!

Click on products to shop:
DF194 Peacock Cover Plate (F) | Hero...
HA ]
SB399 Cosmos and Lavender Bundle (D)...
HA ]
HR701 Two-Tone Metallic Sprays...
HA ]
WM203 Bright Yellow + Copper Two-Tone...
HA ]
WM204 Ocean Blue + Gold Two-Tone...
HA ]
WM202 Spring Green + Gold Two-Tone...
HA ]
WM201 Royal Purple + Gold Two-Tone...
HA ]
WM200 Fuchsia + Gold Two-Tone...
HA ]
PS323 Hero Hues Premium Cardstock...
HA ]
PS781 Luxe White Watercolor Paper |...
HA ]
AF249 Unicorn Pigment Ink | Hero Arts

HA ]
PW122 White Detail Embossing Powder |...
HA ]
NK440 Gold Hero Pearls | Hero Arts
HA ]
GW102 Precision Glue XL | Hero Arts
HA ]
PD103 Water Flow Brush | Hero Arts
HA ]
HT204 Hero Tools Reverse Grip...
HA ]

  • Hummingbird Garden Sympathy Card Tutorial with Layered Stencils and 3D Embossing

    Categories:Embossing

    Hummingbird Garden Sympathy Card Tutorial with Layered Stencils and 3D Embossing

    Hi, crafty friends! Lea Lawson here with you today, creating a card featuring the beautiful new Butterfly Garden collection by Simon Hurley. I’m sharing my step-by-step process in easy-to-follow photos and instructions! To start, we are going to ink blend the Layered Hummingbird Garden stencils in numbered order. Align stencil 1 over top of a 6” x 9” Classic White cardstock panel, then ink blend...

  • Ink Blending for Cardmaking: Tips, Techniques, and Tools for Beautiful Results

    Beginner’s Guide to Cardmaking

    Ink Blending for Cardmaking: Tips, Techniques, and Tools for Beautiful Results

    Hello cardmakers, Lisa Tilson here, and today we’re going to be talking about ink blending. This is such an integral part of cardmaking, as ink blending can be used for many different designs in many ways. You might want to blend inks to create a background for a stamped or die-cut scene. You might want to add ink blending onto a stamped, pressed, or foiled...

  • 2 Floral Birthday Card Ideas with the Just Add Cake Cardmaking Kit

    BD-1049

    2 Floral Birthday Card Ideas with the Just Add Cake Cardmaking Kit

    Hello there, Michelle Short here and I am delighted to be sharing two cards today using the Just Add Cake Birthday Cardmaking Kit. Both cards feature the Garden Party Etched Dies. I combined them with the shaker domes and sequins on the first card, and for the second, combined them with the mug from Birthday Brew Etched Dies, as well as some extra colours of...