Posted by Kelly Taylor
on October 13, 2022

Hello Crafters! It's Kelly Taylor here and today we are going to be adding dimension to our die cuts with Copic markers.

I die cut all my pieces out of our Deluxe Smooth White cardstock using the new Santa's Sleigh Fancy Die . This cardstock is great for Copic coloring. I cut several trees and presents. I also stamped the Santa from our Holiday Peg Dolls Bundle . I had to have someone driving the sleigh right? I began coloring the Santa first using several colors to create dimension in his coat and face. Of course his rosy cheeks.

The nice thing about coloring your die cuts with markers is it allows you to add different colors to different sections easily. I used some grays to add shadows to the lip of the sleigh. I used reds to color the main body of the sleigh, adding shading under the lip as well as the left and right sides. For the bottom of the sleigh I used a yellow gold combination. This intricate part of the die is my absolute favorite. The trees and presents are super easy to color thanks to the etched lines in Santa's Sleigh Fancy Die . I decided I needed to build a scene around the whole thing!

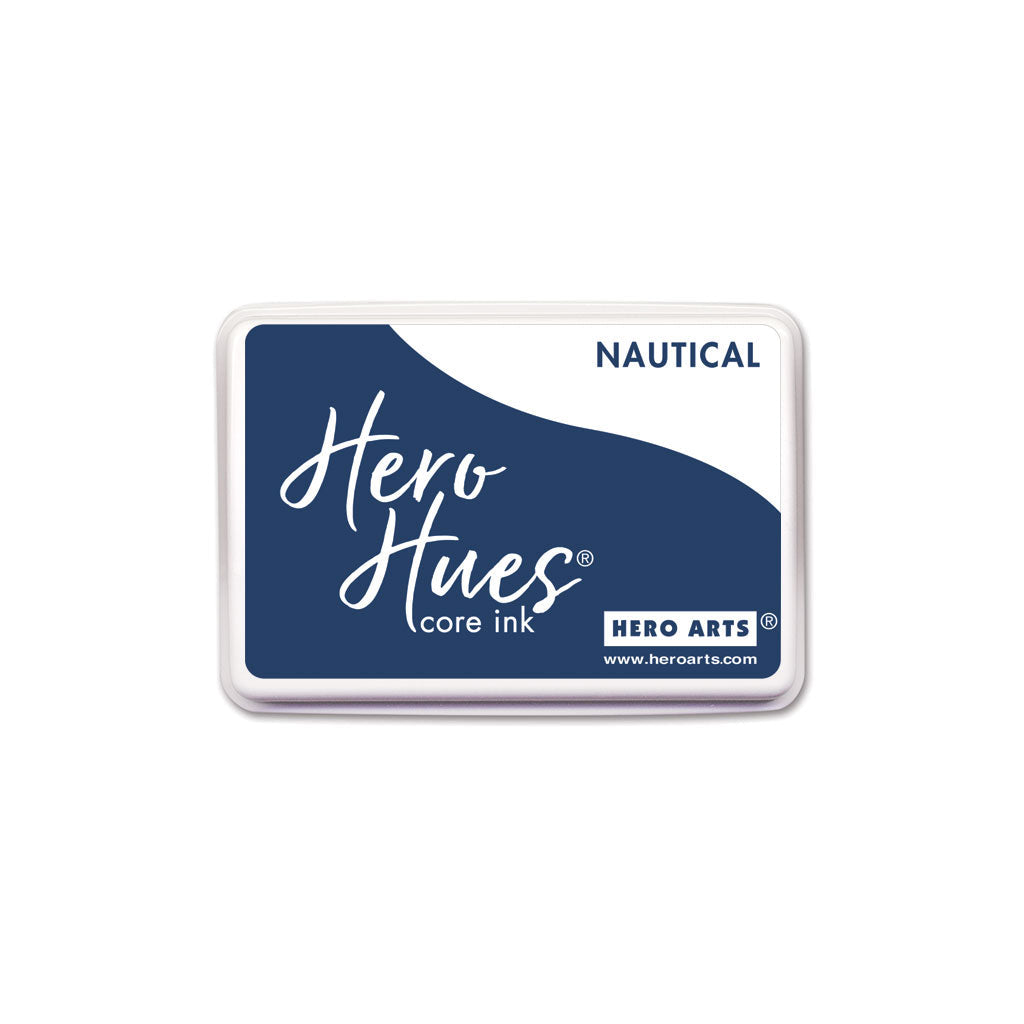
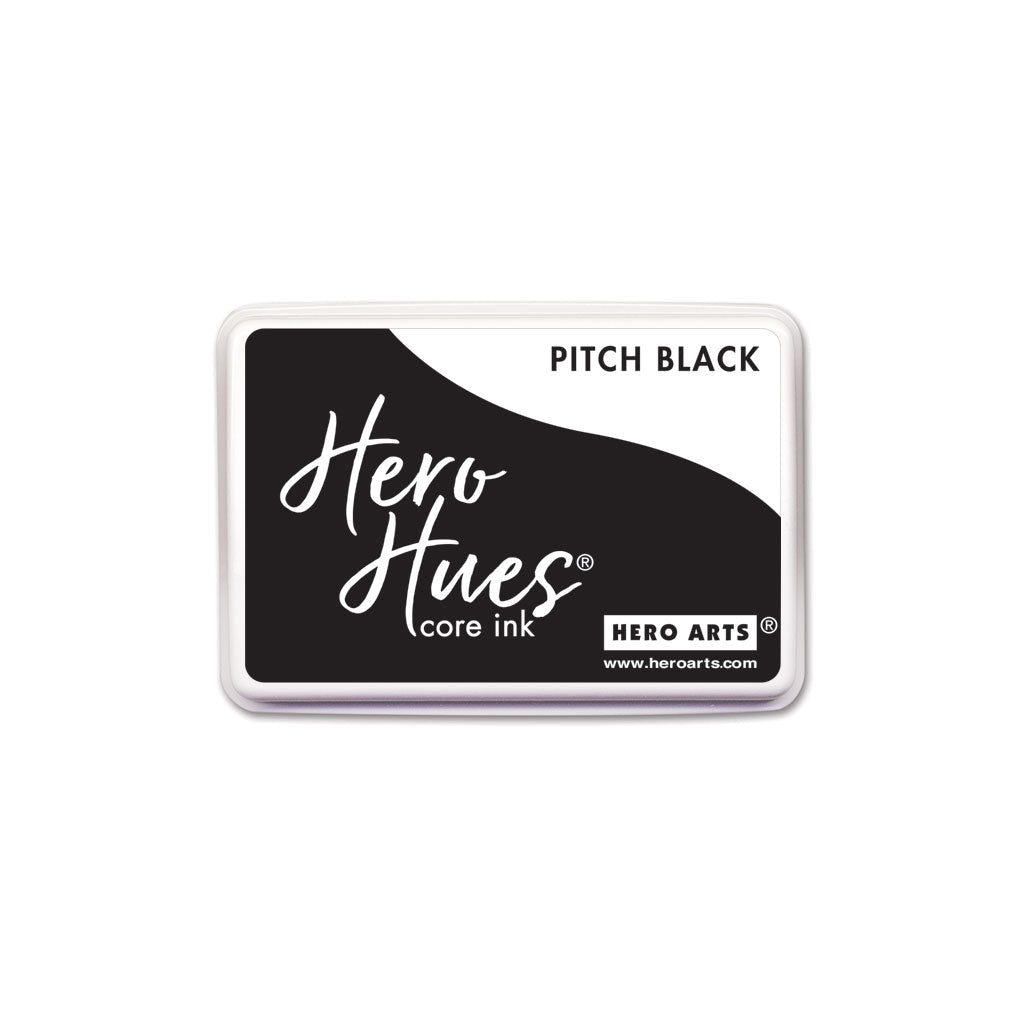
I stamped some "magic" under Santa's sleigh using our Holiday Borders and Icons . I heat embossed it on my Deluxe Smooth White cardstock using Clear Embossing and Watermark Ink and Sparkle Embossing Powder . The glitter is so pretty! Once that was done I masked my horizon line and then ink blended on Summer Sky, Deep Ocean , Nautical , and Pitch Black to create my sky. I used Passion Flower to shade the snow too. The sky felt a little plain so I used the snowflakes from Holiday Borders and Icons and stamped them lightly using Unicorn Pigment Ink . I adhered everything flat with Precision Glue .
I finished the whole card off with an embossed sentiment on Nautical cardstock using our White Detail Embossing Powder .
I have a video showing the entire process over on my YouTube channel if you'd like to check it out! Thanks so much for joining me!

|