

Posted by Jayne Nelson
on September 26, 2017

When was the last time that you made a card using a die cut image as the focal point of your design? Hero Arts has created a large selection of Paper Layering dies that make beautiful, dimensional designs, perfect for any occasion and any card style. Today, I'm using the new Paper Layering Sunflower die, paired with a few sentiments, to make a colorful encouragement card.

To make my card, I started by creating a multi-colored background panel by taping a piece of green cardstock to a piece of pool cardstock. Before cutting the taped panel vertically into two pieces, I embossed a pretty, script sentiment from the You Are Loved Messages set onto the lower, right corner. Then, I secured both panels to a celadon card base with foam tape. I embossed a second sentiment, also from the You Are Loved Messages set, onto a strip of pool cardstock and then secured the sentiment across the card with foam tape.
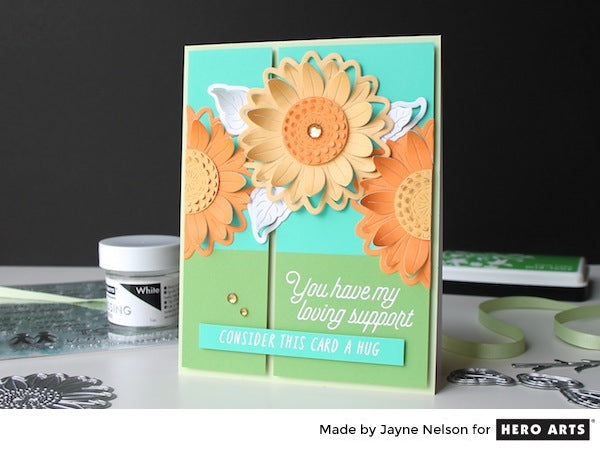
Using the lovely Paper Layering Sunflower die, I cut two sunflowers, one from yellow cardstock and one from orange cardstock. Using my paper trimmer to ensure a straight edge, I cut the orange sunflower in half. Next, I "popped-up" the partially cut petals on all three flowers, pushing each petal from the back of the flower and then gently curling each petal around a small pencil or paintbrush. The result is a three-dimensional, lifelike flower blossom! In person, the effect is really amazing! Using liquid glue, I secured the orange sunflower halves along the left and right edges of the card. I nestled the yellow sunflower between the other flowers and secured it to the card with adhesive dots at the center.
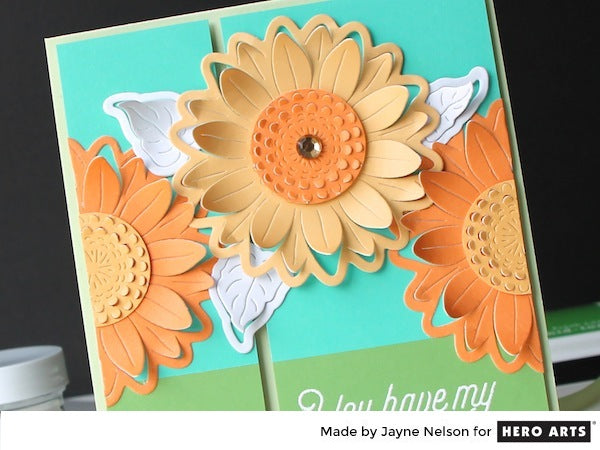
To make the flower centers, I cut two additional flowers, from yellow and orange cardstock. I used a circle punch to cut closely around each center section. I also cut the yellow flower center in half. Before securing the centers to each flower, I popped-up each partially cut scalloped design, from the back, to create more dimension. Then, I used the three leaf dies, included with the Paper Layering Sunflower die, to cut three, white leaves that I gently curled and secured behind the yellow sunflower with adhesive. I finished the card with a trio of shiny, gold gems.
I hope that you are inspired to try a dimensional, paper layering die soon. Wishing you a wonderful, crafty week,
























































































