

Posted by Michelle Short
on January 06, 2018

We are back with another look at the January My Monthly Hero release! The kit will be available on Monday, January 8th at 1pm Eastern/10am Pacific. We’ll be sharing ideas for using the main kit and the optional add-on products all weekend long, so stay tuned for more inspiration! Now let’s join Michelle, who is sharing another look at the main kit, available on Monday!
Hello there, today I am using the main stamp set from the kit as my focal point. As you can see, I kept the card very clean and simple, keeping the focus on the beautiful ornate love word.

I first took a panel of white cardstock cut to 4" x 5.25" and stamped the bottom layer of the love word on to it using Passion Flower ink (included in the kit). I then took the top layer and stamped this using black ink. I wanted to keep the card just white, black and the pink/purple shade for a sleek look. Although the layers are fairly easy to line up, a stamping tool did help.
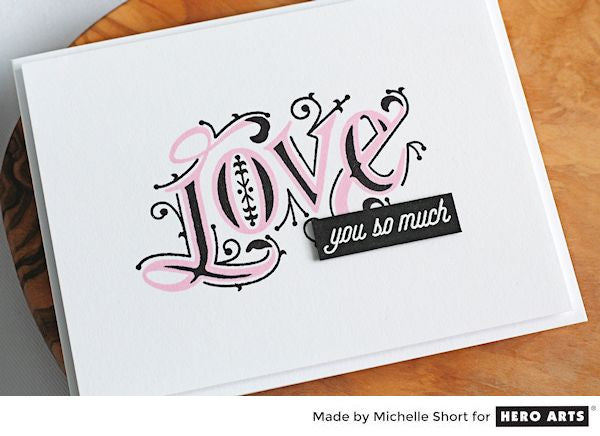
I took the 'you' and 'so much' from the set and stamped these on to a strip of black cardstock using Versamark Ink. I applied white embossing powder and heat set. This was added to the panel with foam tape. To finish off, the panel was added to a white card base with foam sheet and double sided tape.
Win a kit before you can buy it! Just leave a comment on this (and every) Countdown to Creativity post! We’ll randomly draw one lucky winner from all the comments left across all countdown posts, and announce the winner first thing Monday morning, January 8, before the kit launches at 1 pm Eastern. The more you comment, the more chances to win!
Good luck!
























































































