

Posted by Libby Hickson
on April 03, 2018

Hello! Today I have two cards to share with you, featuring some of the fabulous new dies introduced with the April My Monthly Hero release. These dies are so much fun to use for your festive cards - great for birthdays, congratulations, retirements or any other celebrations!
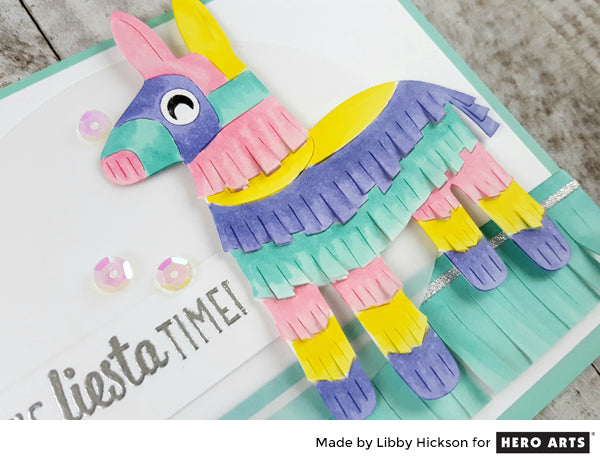
My favorite die from this release is the Paper Layering Pinata! It's so adorable. I didn't use them on this card, but the set also includes dies to cut little candy pieces - so fun!
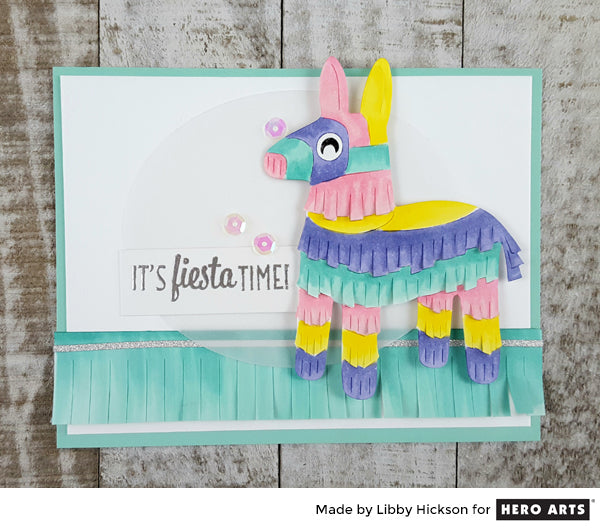
I die cut him in white, then colored with my Copic markers. I love the texture the fringe adds - the die partially cuts the paper, so you can pop it up a little. That's what makes the Paper Layering dies so much fun! I also used the Fiesta Fringe Fancy Die on this card too. This die cuts fringe 1.75" long, which you can trim to get the length of fringe that works best for your card. Here, I made it considerably shorter. I colored the fringe with my Copics as well, to match my pinata.
The vellum was cut with the Oval Infinity Dies, the message is embossed in silver and from a new stamp set with a matching name - It's Fiesta Time. I finished the card with some iridescent sequins from the Seashore sequin mix.
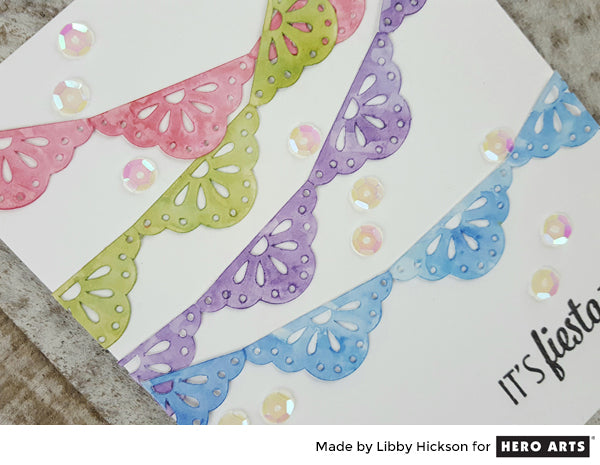
This next card is quick, easy and fun! I used the new Decorative Edge Fancy Die - cut four times, and colored with Liquid Watercolors.

I was excited to try the brand new Purple Liquid Watercolor - it is gorgeous!! I added banners in Indigo, Moss and Strawberry. Again I used the same message, and finished the card with sequins.
Thanks for stopping by!
























































































