Video: Silhouetted Images Against Inked and Stenciled Backgrounds with Nichol
on November 23, 2018

Video: Silhouetted Images Against Inked and Stenciled Backgrounds with Nichol

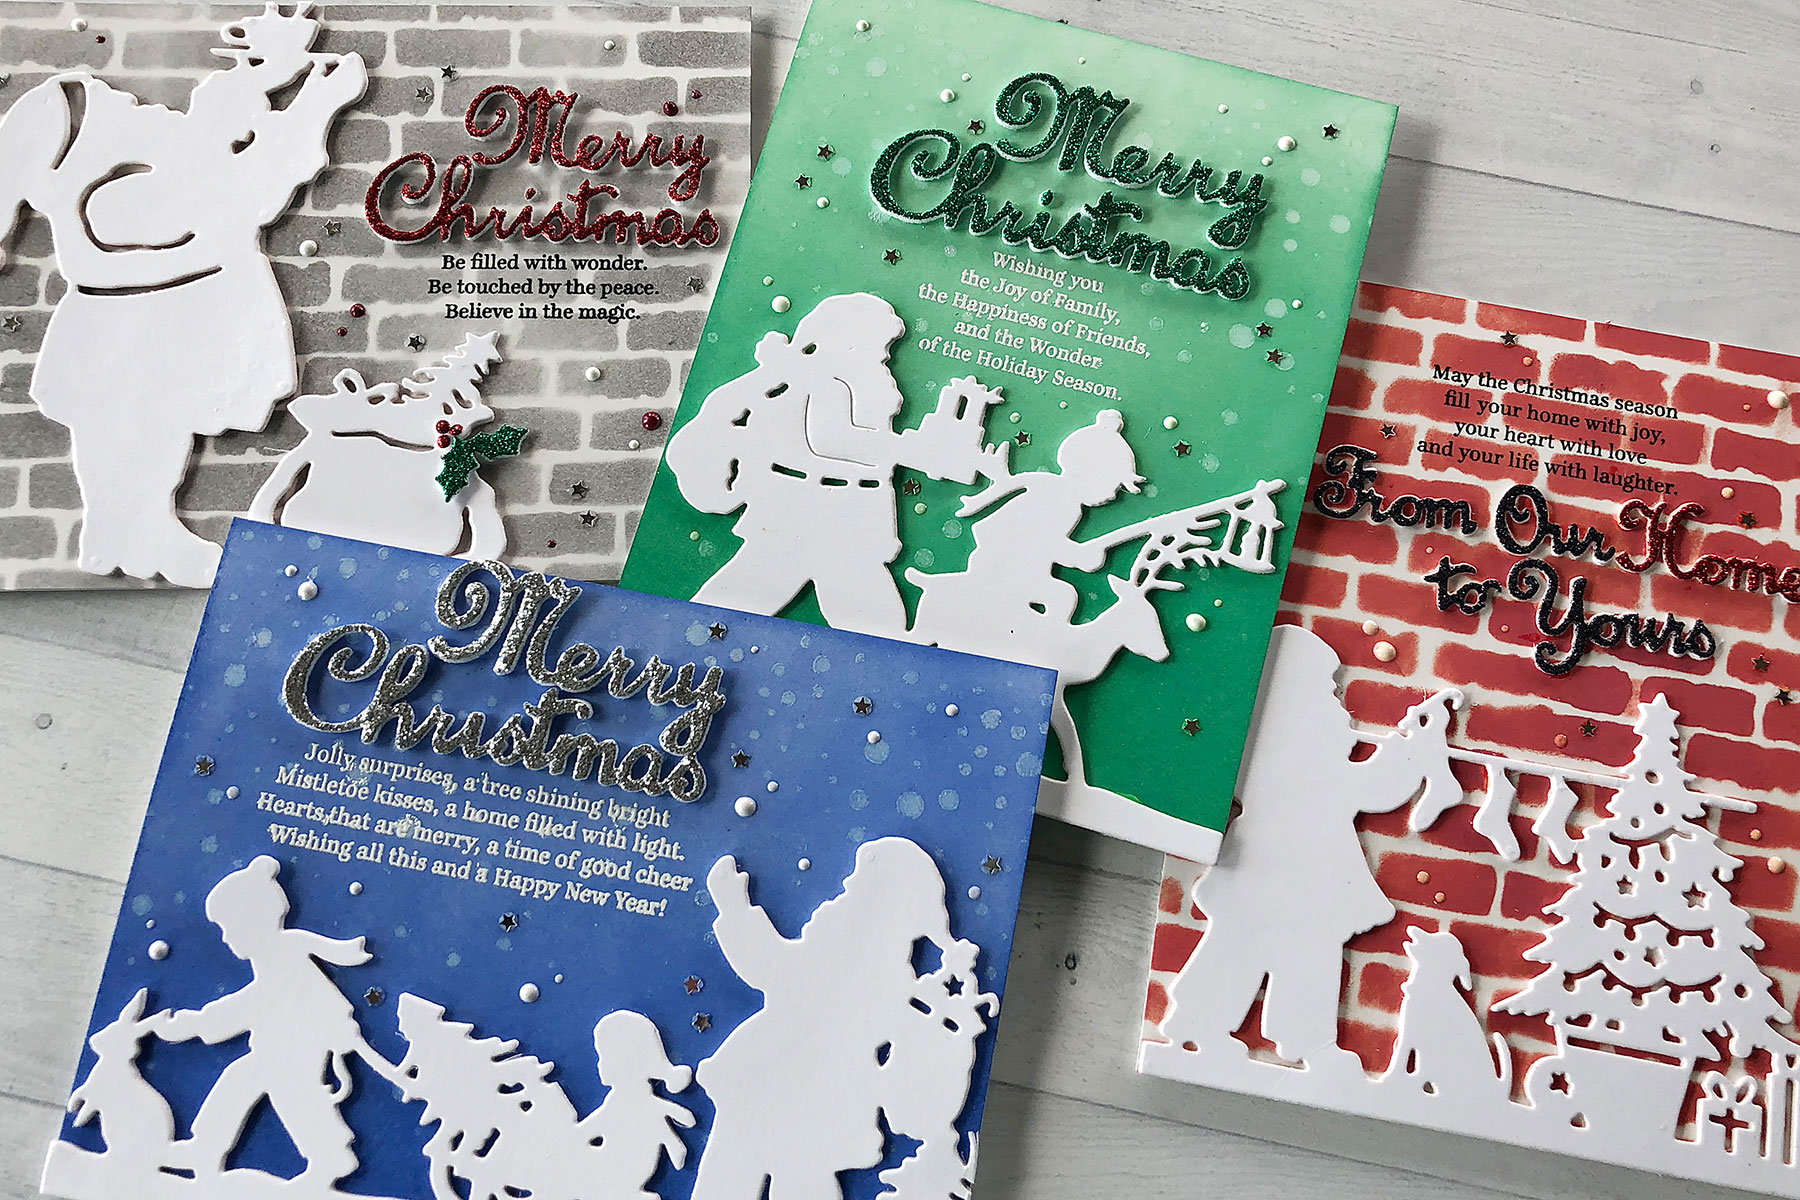
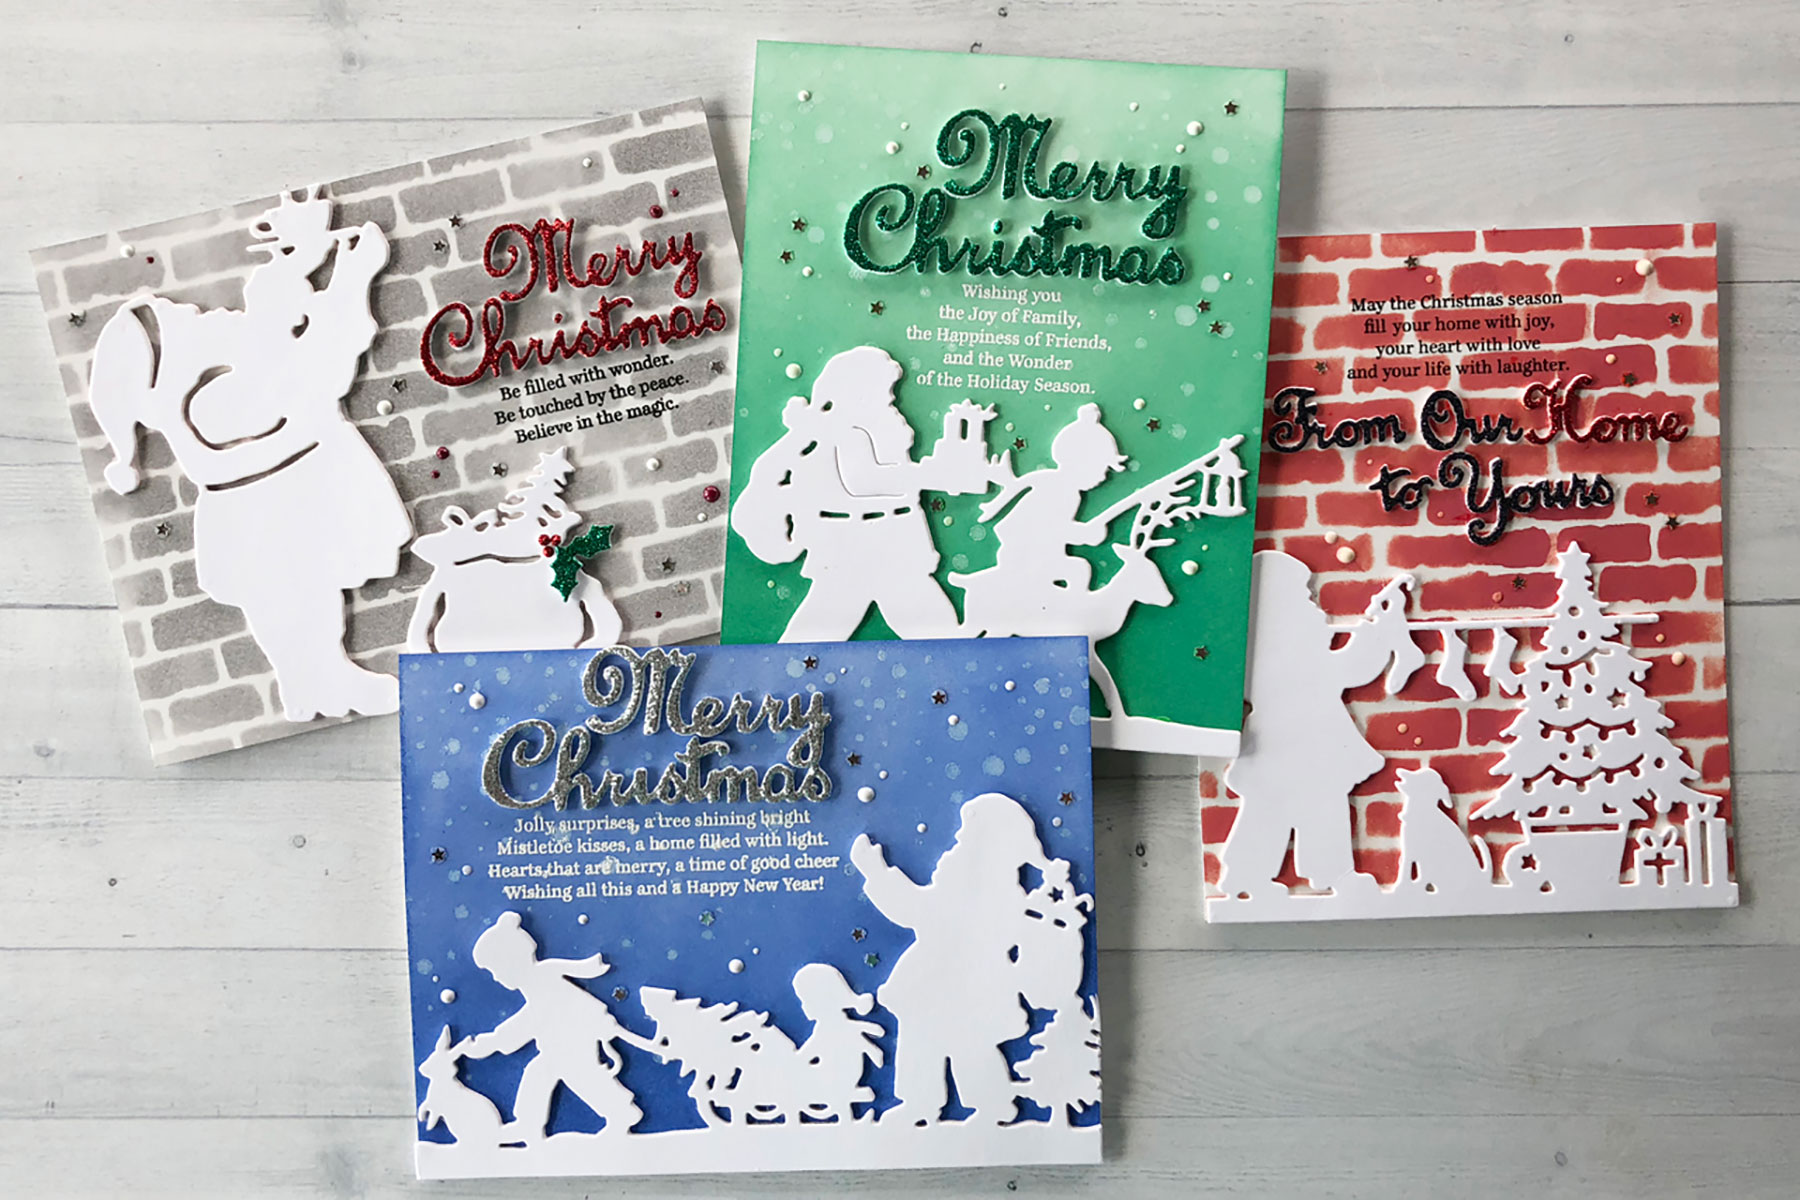
Hello everyone. This is Nichol Spohr and I’m so thrilled to be sharing a set of four Christmas cards with dies from the A Sweet Christmas Collection by Sharyn Sowell. Simple inking and stenciling provides the perfect backdrop for these detailed silhouette dies! Die cut greetings paired with a stamped sentiment provides the perfect accompaniment to the design.
Video: Silhouetted Images Against Inked and Stenciled Backgrounds by Nichol Spohr for Spellbinders

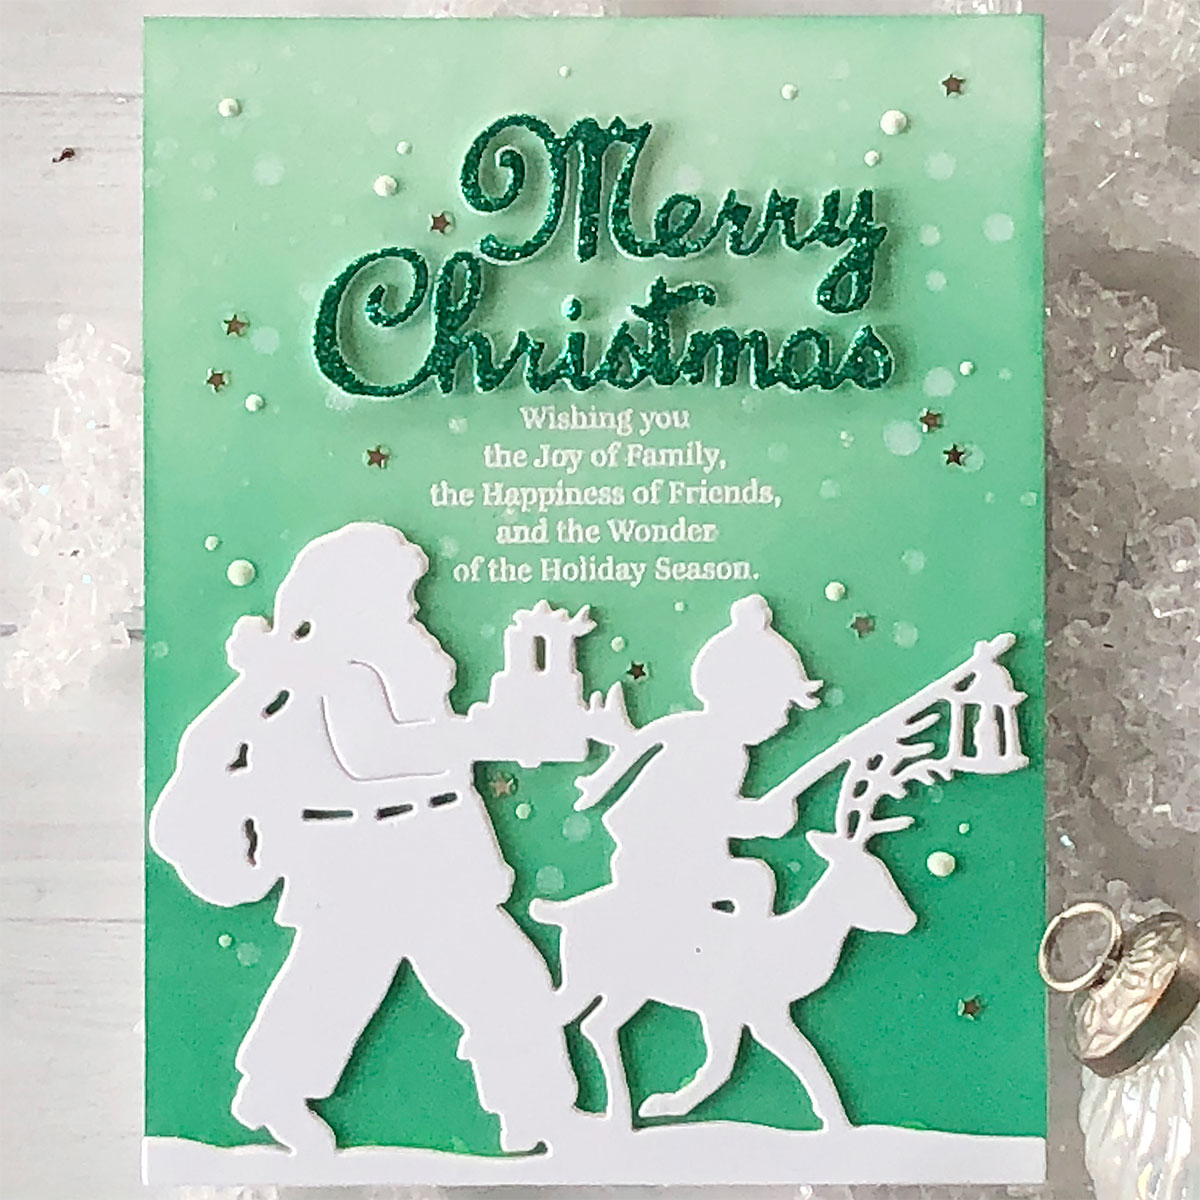
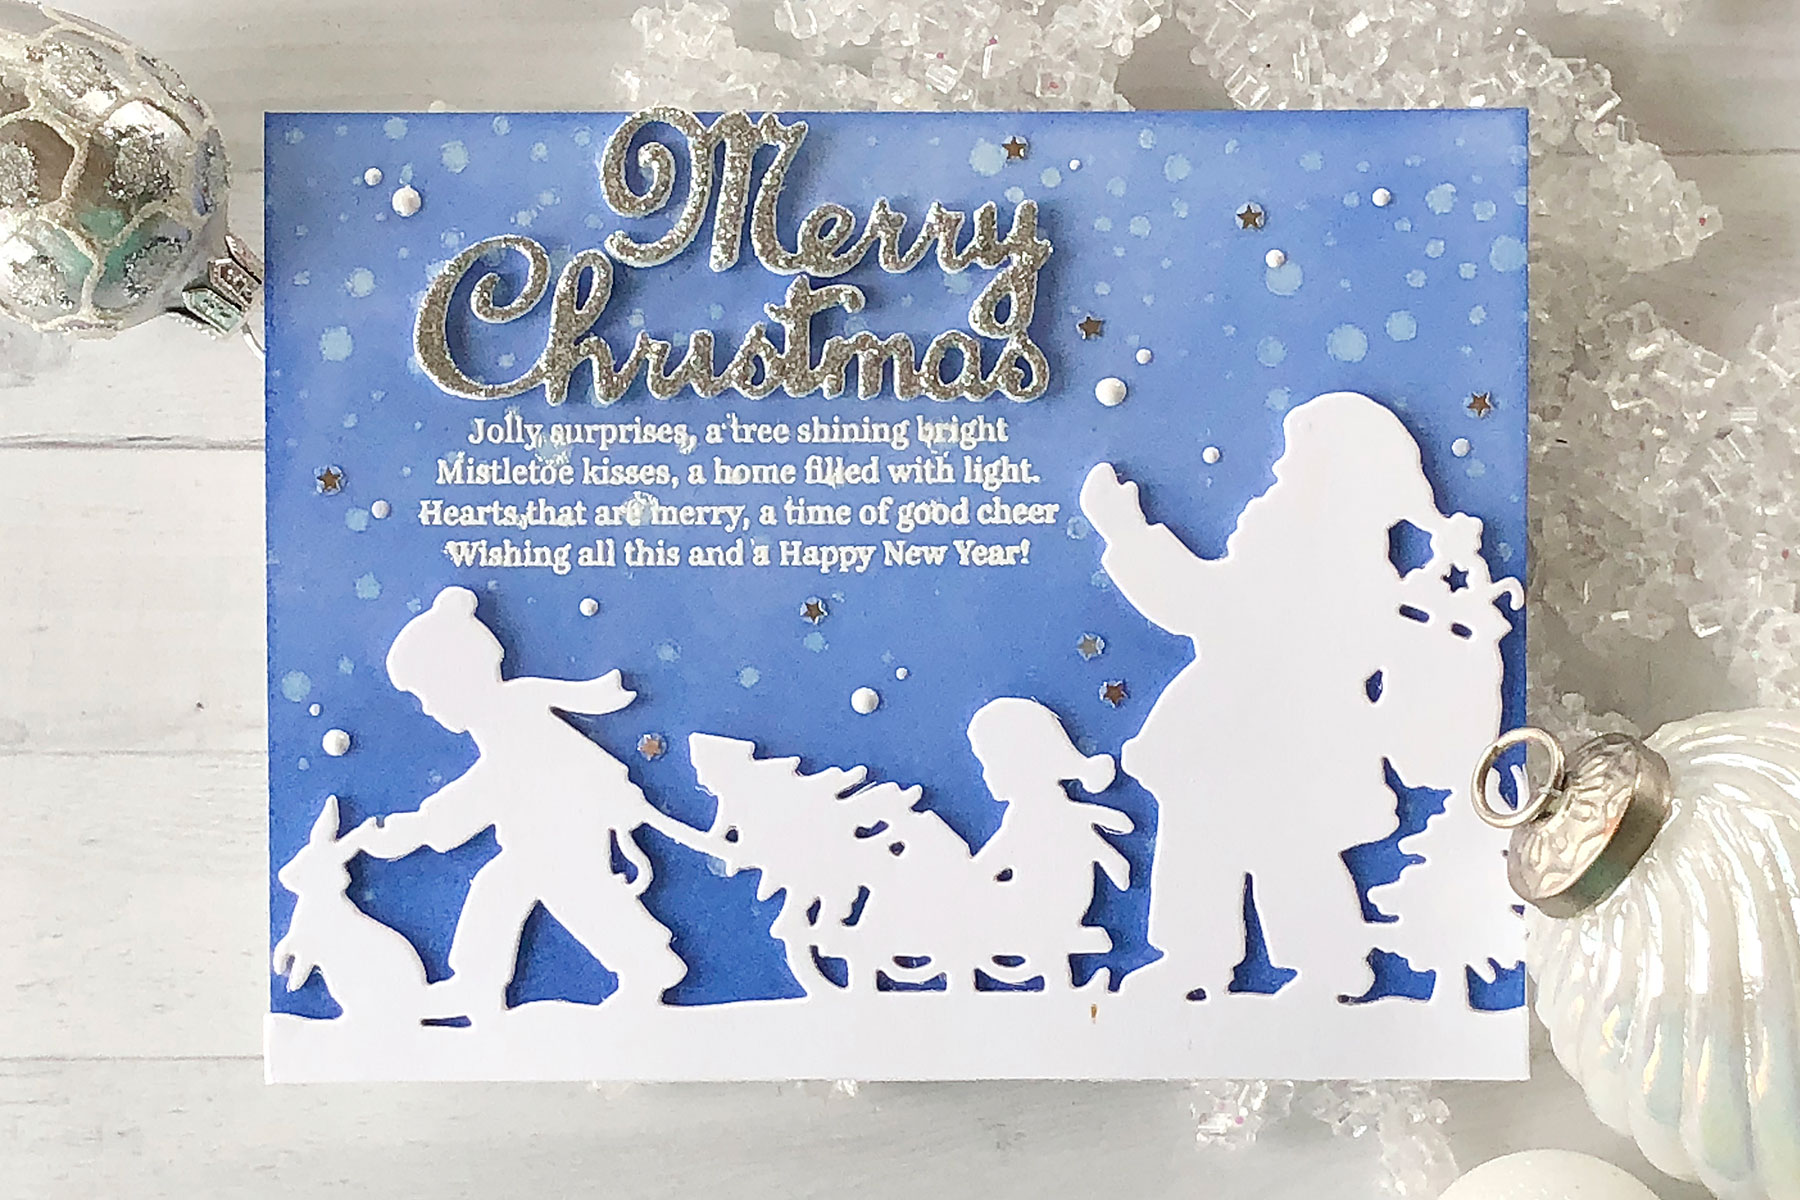
The backgrounds for the first two cards were created by applying Lucky Clover and Blueprint Sketch Distress Oxide Inks to Bristol Smooth Cardstock with Ink Blending Tools. Stenciling was applied over the inked backgrounds with white pigment ink and allowed to air dry. You can speed up this step with a heat tool, if you prefer. The Lighting The Way and Santa Parade Dies were each die cut three times and glued one on top of another before being adhered along the bottom edge of each background. The slight dimension from applying one on top of another helps the silhouetted image pop off the background.

Video: Silhouetted Images Against Inked and Stenciled Backgrounds by Nichol Spohr for Spellbinders

Sentiments phrases were stamped on the backgrounds with clear embossing ink and heat embossed with white embossing powder. “Merry Christmas” was die cut from glittered cardstock adhered to Fun Foam with Stick It Adhesive and adhered in place on both cards.

Video: Silhouetted Images Against Inked and Stenciled Backgrounds by Nichol Spohr for Spellbinders

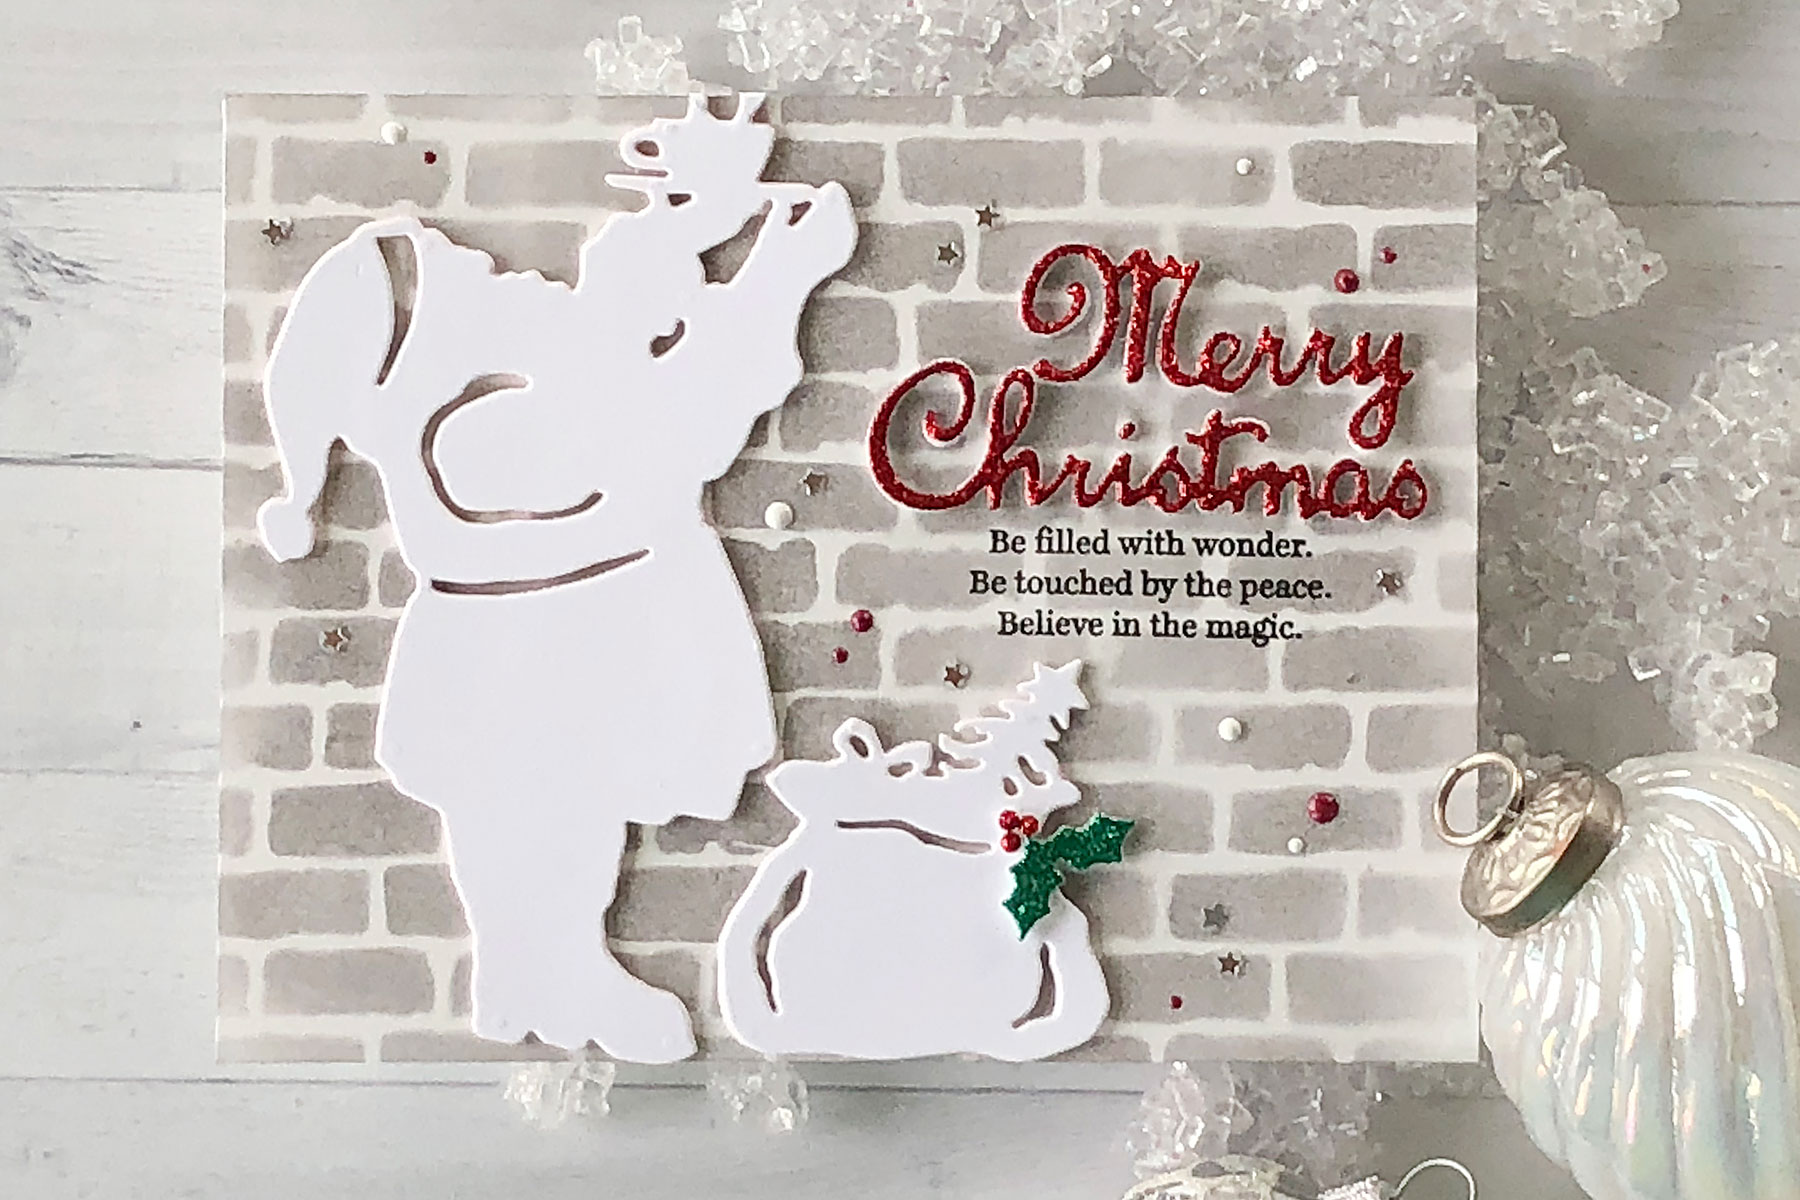
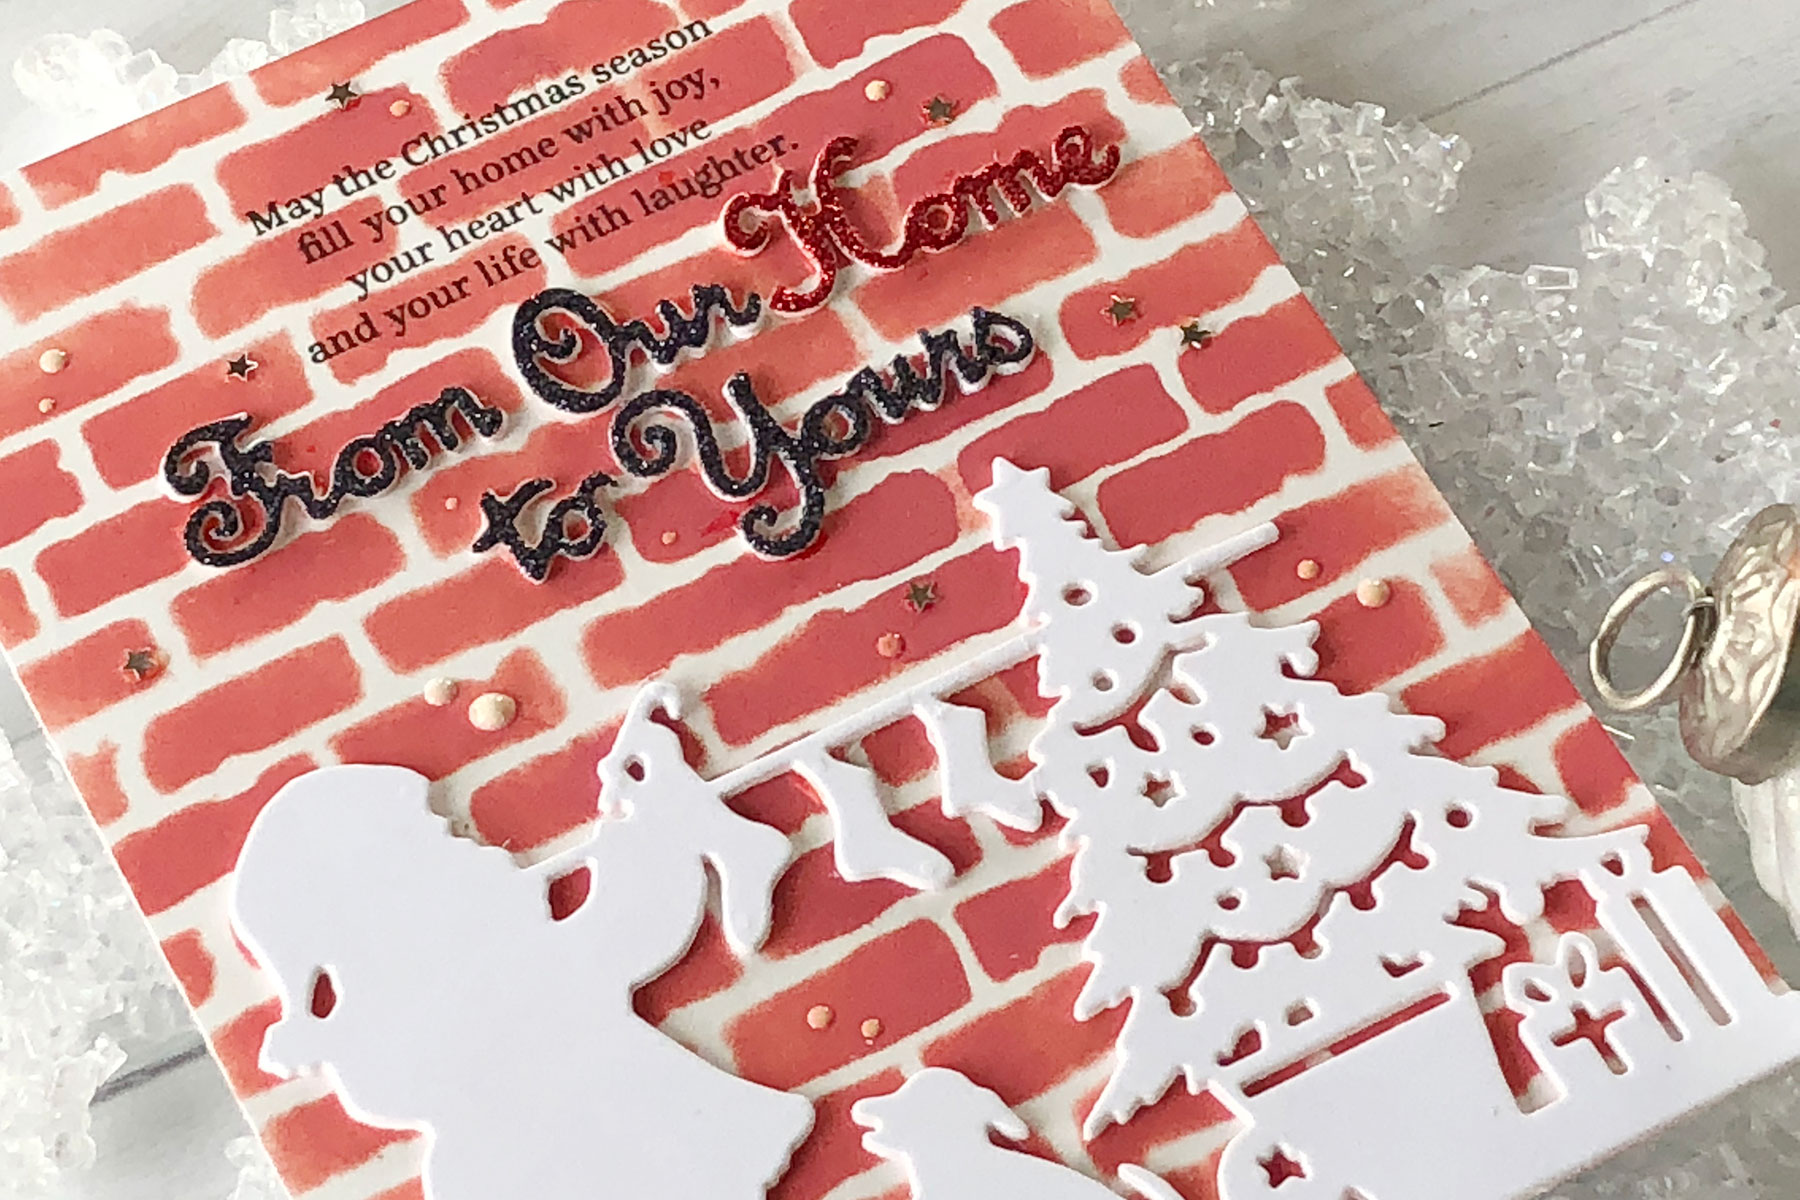
A brick stencil was inked on the next two backgrounds using Fired Brick and Hickory Smoke Distress Inks.

Video: Silhouetted Images Against Inked and Stenciled Backgrounds by Nichol Spohr for Spellbinders

The Hanging Stockings and From Our Home To Yours Dies were die cut three times each, glued one on top of another, and adhered to each brick background as shown. “Merry Christmas” and “From Our Home To Yours” were die cut from glittered cardstock adhered to Fun Foam with Stick It Adhesive and glued in place on both cards.

Video: Silhouetted Images Against Inked and Stenciled Backgrounds by Nichol Spohr for Spellbinders

All four designs were finished with Nuvo Crystal Drops and a scattering of silver mini star confetti.

Video: Silhouetted Images Against Inked and Stenciled Backgrounds by Nichol Spohr for Spellbinders

VIDEO TUTORIAL

Watch video tutorial below or on Youtube to learn how to make this project:

Spellbinders Supplies:

Other supplies:

Bristol Smooth Cardstock; Neenah Smooth Cardstock; Simon Says Stamp Crimson Glitter, Emerald Glitter, Black Cardstock, Silver Cardstock; Mama Elephant Season’s Wishes Stamp Set, Mama Elephant Peaceful Wishes Stamp Set; Simon Says Stamp Falling Snow Stencil; Tim Holtz Bricked Stencil; Ranger Tim Holtz Lucky Clover, Fired Brick, Blueprint Sketch Distress Oxide Ink, Tim Holtz Hickory Smoke Distress Ink, Lawn Fawn Yeti White Pigment Ink, Tsukineko Versamark Ink, Versafine Onyx Black Ink; Lawn Fawn White Embossing Powder; Tonic Nuvo Crystal Drops in Gloss White and Autumn Red; Pretty Pink Posh Silver Mini Star Confetti; Fun Foam; Stick It Adhesive I hope this has inspired you to try silhouetted Christmas images against inked and stenciled backgrounds. Thank you so much for joining me today and I look forward to sharing more die cutting ideas with you soon!

Video: Silhouetted Images Against Inked and Stenciled Backgrounds by Nichol Spohr for Spellbinders

Leave a comment

Your email will not be published. Please note, comments need to be approved before they are published.

1 comment

Patricia Wilson,

Wow! So very cute! You make me want to buy all those dies. Thanks for all you do!


  • How to Make a Funny Christmas Penguin Card: Merry & Barely Holding It Together, SDS-243

    Categories:Die Cutting

    How to Make a Funny Christmas Penguin Card: Merry & Barely Holding It Together

    Create a hilarious holiday card featuring an exhausted penguin, a spilled glass of wine, and the all-too-relatable sentiment "Merry & Barely Holding It Together." In this step-by-step tutorial, you'll learn how to assemble layered die-cut characters, create a dramatic winter sky with ink blending, add embossed sentiments, and finish the design with snowy splatter effects. This project is perfect for cardmakers who enjoy humorous Christmas...

  • November 2026 Stencil of the Month Preview & Tutorials – Banana Bread

    Categories:Kits & Clubs>Stencil of the Month

    November 2026 Stencil of the Month Preview & Tutorials – Banana Bread

    Our November 2026 Stencil of the Month Club preview & tutorials are here! Here’s a look at the design for this month – Holiday Harmony: Please note, new Subscription Sign-Up Window will now open on the 6th of each month and close on the 27th (once existing club members subscriptions have been processed.) If there is additional inventory remaining, then they will be made available...

  • November 2026 2D Embossing Folder of the Month Preview & Tutorials – Wonky Check

    Categories:Kits & Clubs>Embossing Folder of the Month

    November 2026 2D Embossing Folder of the Month Preview & Tutorials – Wonky Check

    Our November 2026 2D Embossing Folder of the Month preview & tutorials are here! Exclusive 2D Embossing Folder adds texture and dimension to any project. Size will generally be 5.5" x 8.5" and can be used to make slimline, 5" x 7", and a variety of sized projects. Spellbinders Monthly Clubs are exclusively designed by our in-house creative team, curated with care, and delivered with...