Rainbowitis Card using Jane Davenport’s ColorSticks
Posted by Spellbinders Team on January 24, 2019

Rainbowitis Card using Jane Davenport’s ColorSticks

Hi there – thank you for joining me again to learn a little more about the stunningly versatile ColorSticks from Jane Davenport and Spellbinders.  Today I'm going to show you a few different techniques that you can use to make a bright and beautiful card just like this one. For those who don’t know me, I’m Kate Palmer, Aussie artist and devoted Davenpeep, though I’m better known as Sparkle Tart online because I love all things sparkly!  You can find me tapping away on my blog, posting projects and techniques over on YouTube or sharing snapshots over on Instagram (@k8palmer or @planningwithsparkletart) – I love to share and I can’t wait to show you what I’ve created for you all today!
Rainbowitis Card using Jane Davenport’s ColorSticks

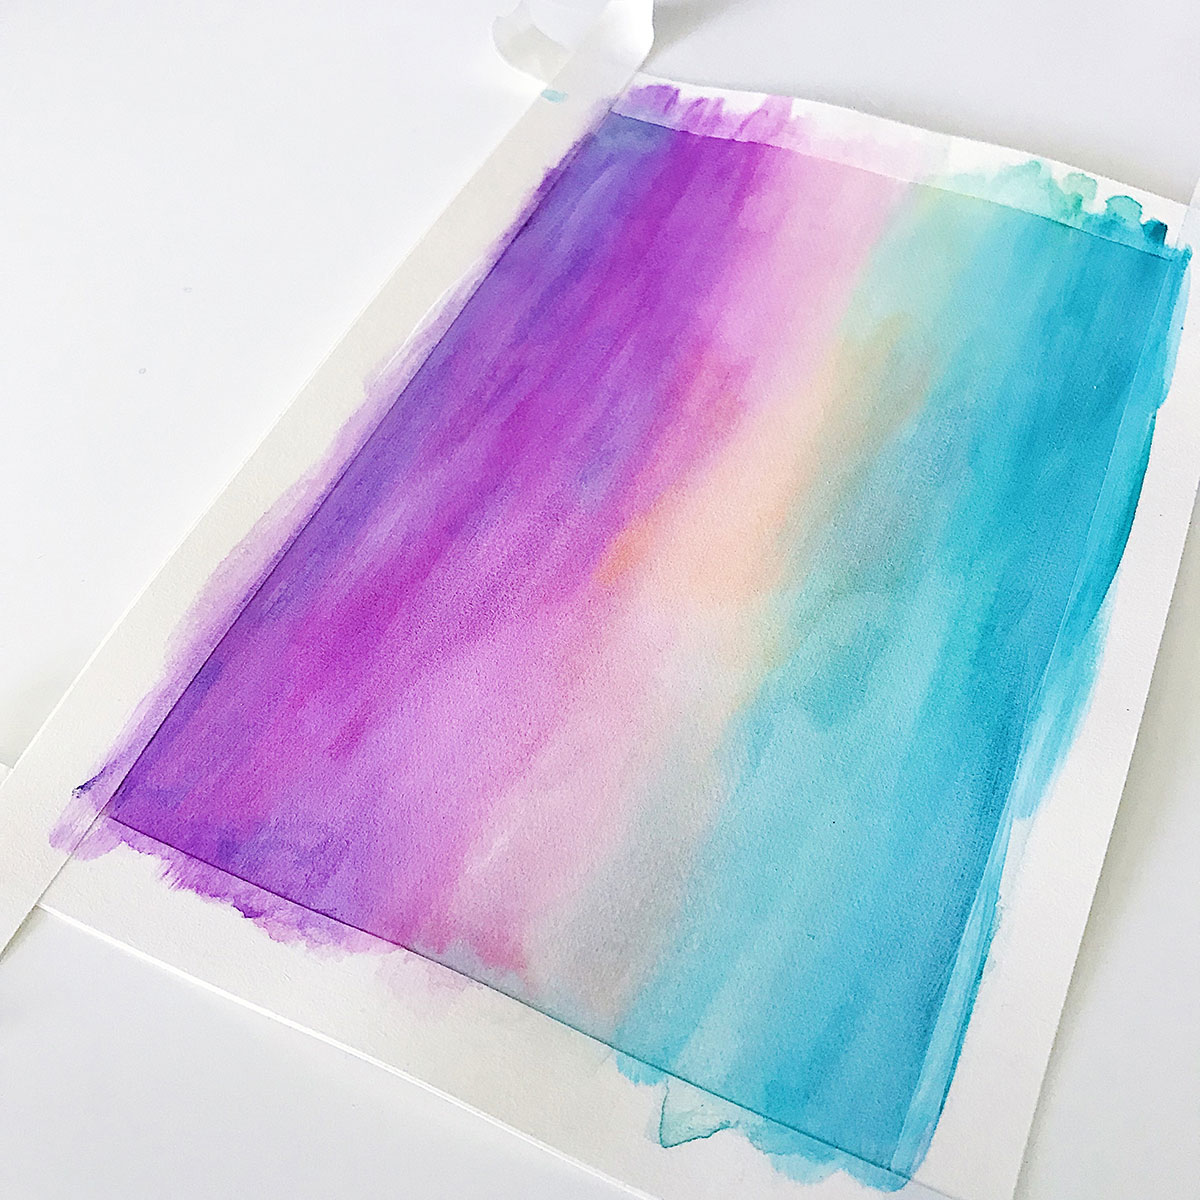
You might have seen my previous post where I colored a very simple face using Jane's product range and one of the main products I used were ColorSticks.  These are glorious creamy sticks which dissolve in water creating a beautiful transparent paint.  There is so much more you can do with these, so I thought I'd show you one of my favorite ways to use ColorSticks to make a background that you can use for a card, page, tag well anything! Now it's not super easy to show you the entire process in photos so I've made a short video to show you what I've done to add the color to the background and create this card, I also have a few basic steps below in case you prefer to wing it. Step 1: Cut watercolor card to size and tape onto work surface.  Scribble on various ColorSticks from the bright Soul Window set making sure to overlap some of the colors - I've created a very rough H shape of color.  Use a small wet Magnetic Personality Brush to activate the color and blend roughly until the entire piece of card is colored.  While still damp apply a small amount of gesso onto the card and use a dry brush to blend the gesso into the colored background and allow to dry completely.  The color will darken as it dries.

Rainbowitis Card using Jane Davenport’s ColorSticks

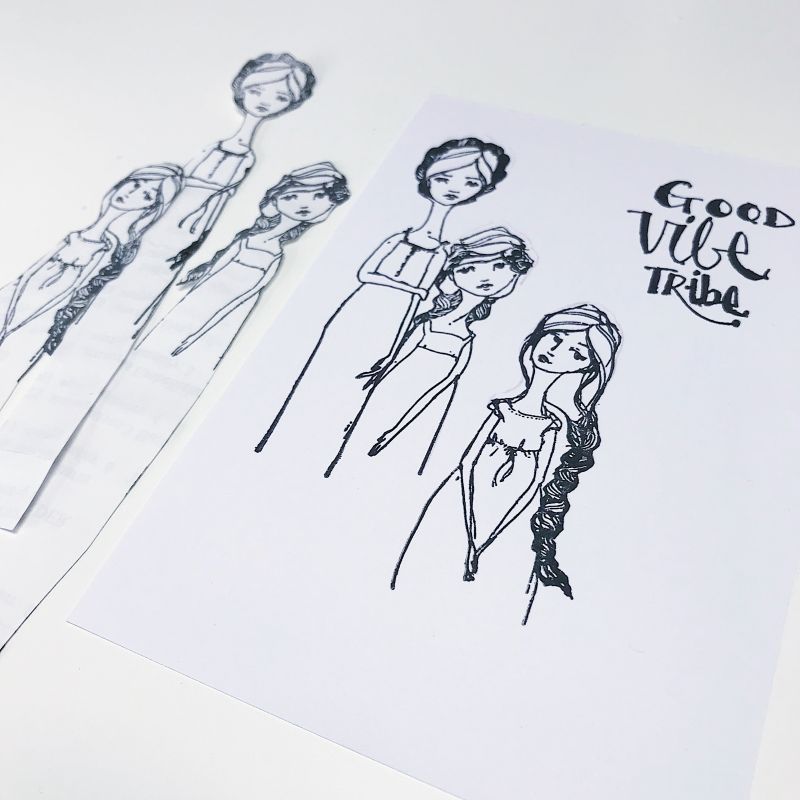
Step 2: Using Janes gorgeous Friendship girls and Cave Black Squid ink - stamp images 3 times each.  Once onto your colored background, once onto some scrap paper to make masks and once onto your card front (this will be the position of your images on the finished card).

Rainbowitis Card using Jane Davenport’s ColorSticks

Step 3: Carefully cut the dresses out from the colored card and the full stamped designs from the scrap paper.

Rainbowitis Card using Jane Davenport’s ColorSticks

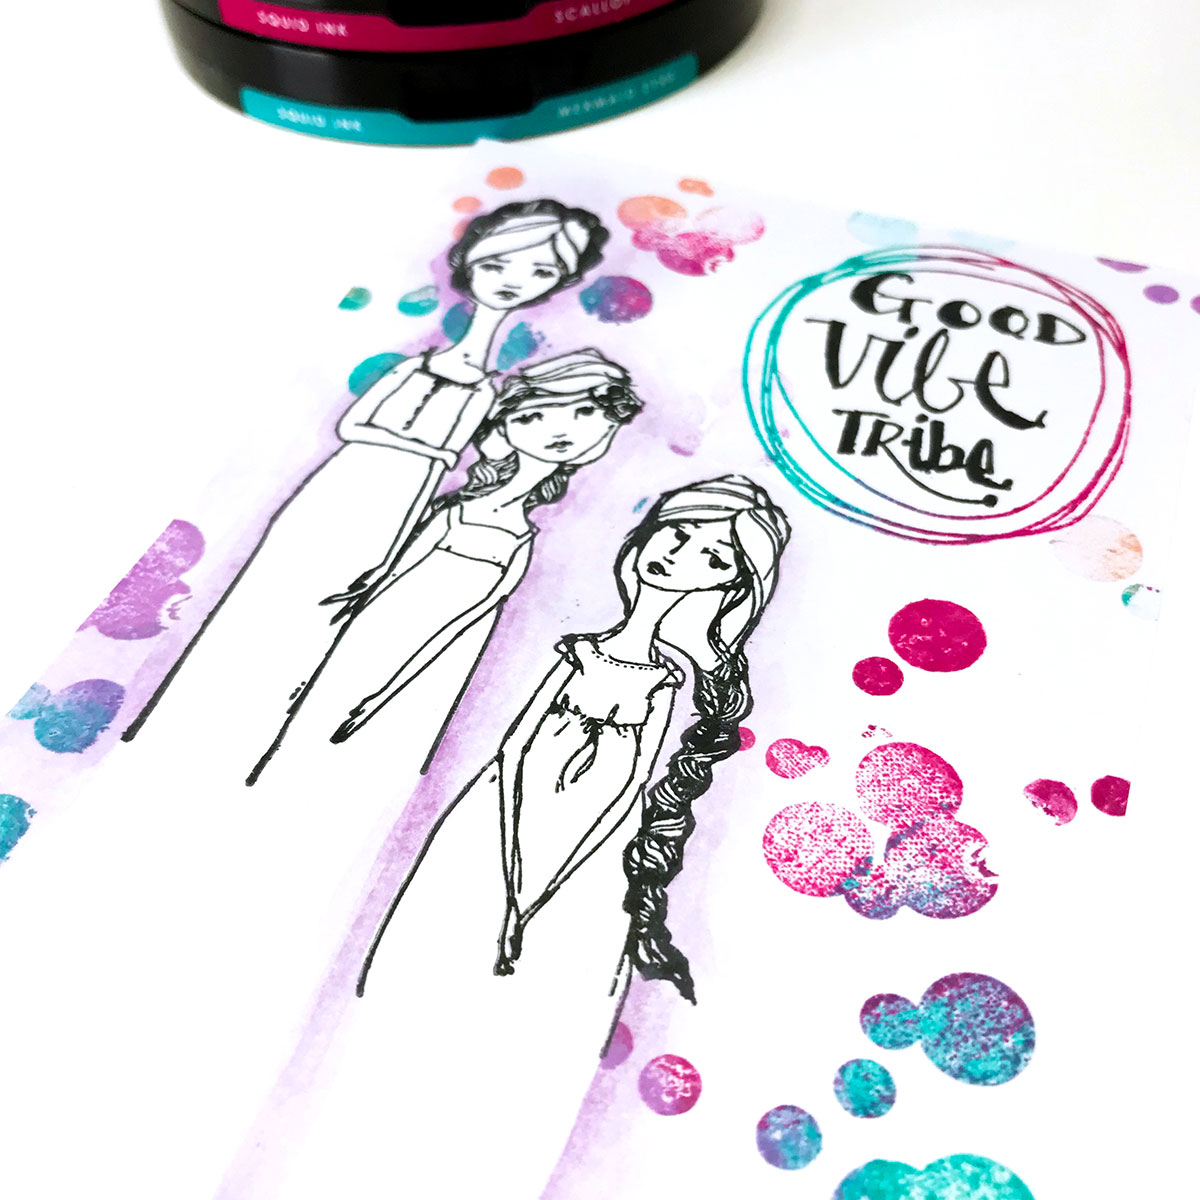
Step 4: Cover images on the card front with pre-prepared masks, then using several colors of Squid ink (JD-032 Mermaid Eyes, JD-004 Scallop Shell, JD-005 Sea Anemone, JD-034 Sun Kissed and JD-037 Squid Ink Cave Black) - stamp dot pattern and Good Vibe Tribe words over the card.  Outline the girl images in purple using both a watercolor pencil and ColorSticks.

Rainbowitis Card using Jane Davenport’s ColorSticks

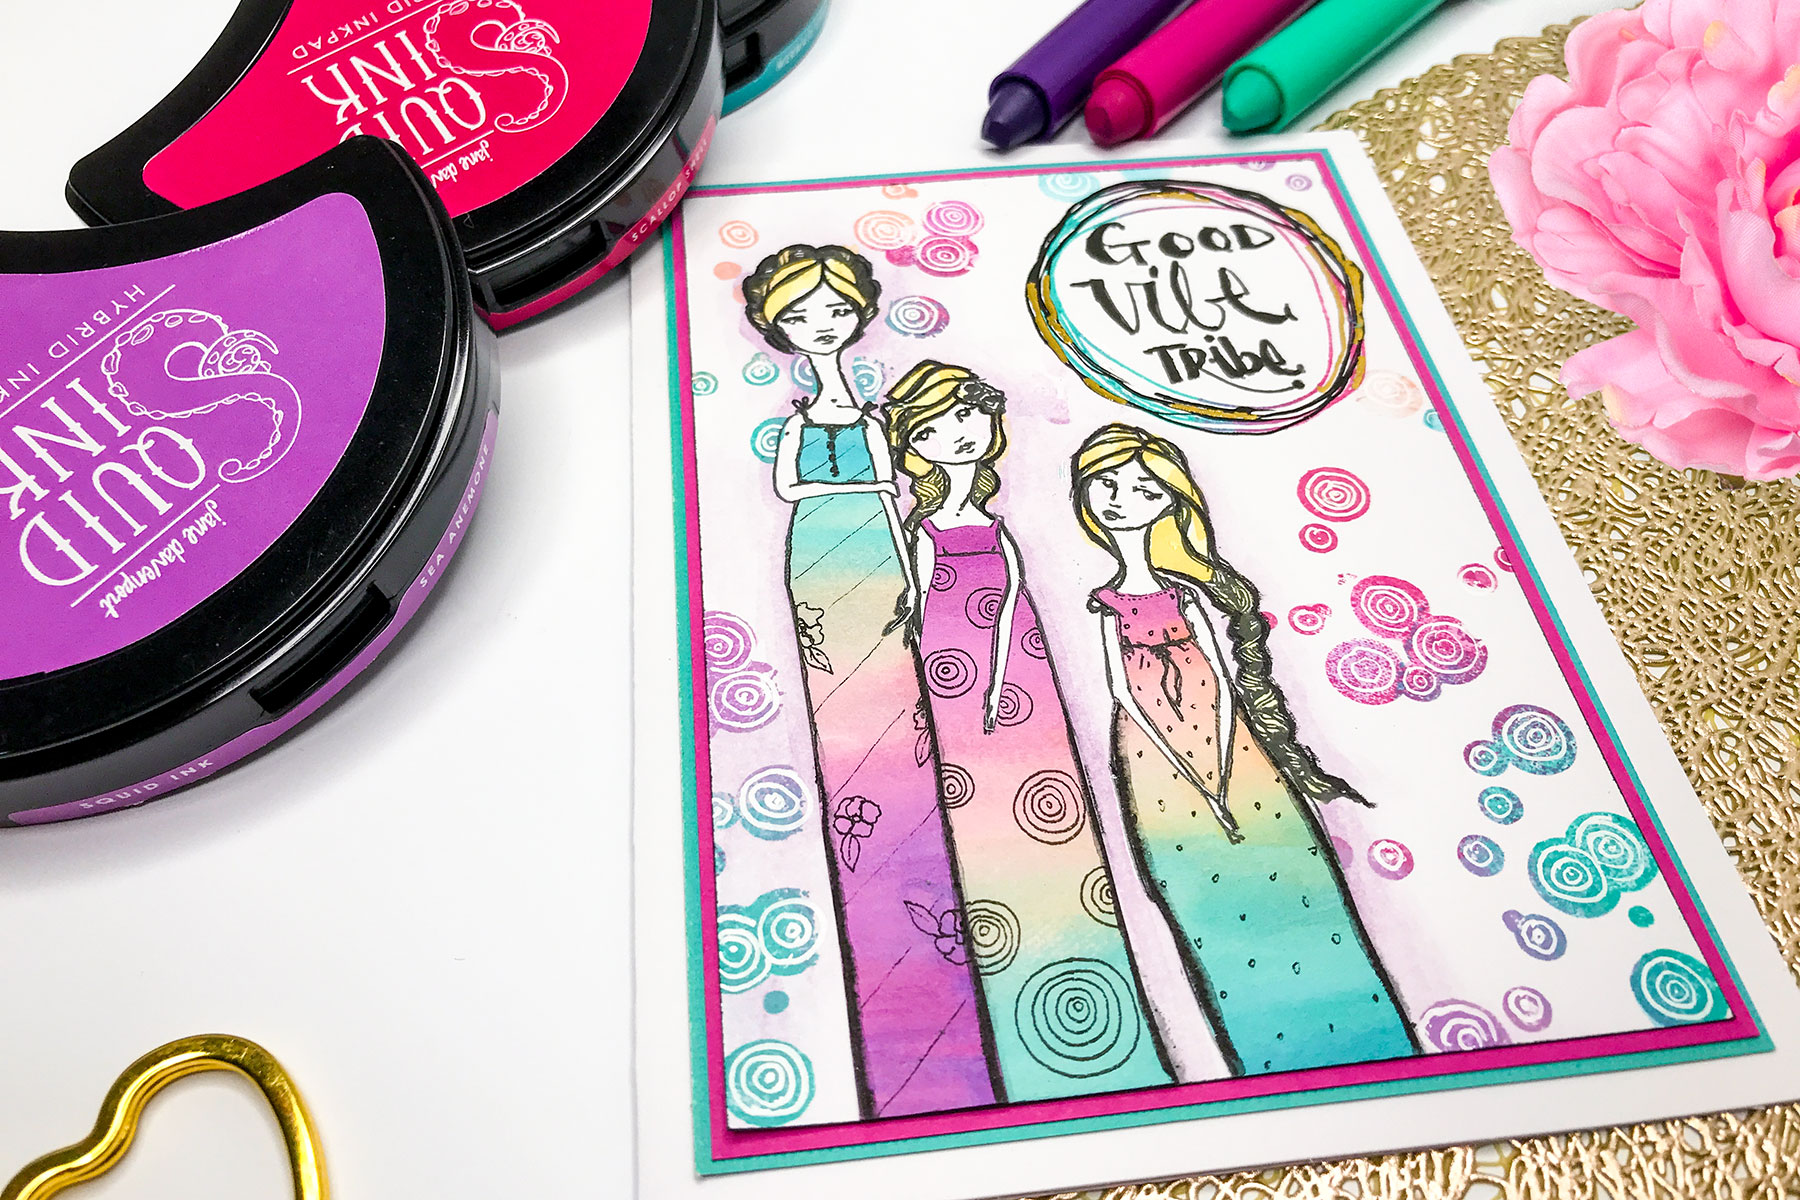
  Step 5: Glue the colored dresses onto card front and trim off any overhanging pieces.  Edge the card front in black by gently running the Cave Black ink along each edge.

Rainbowitis Card using Jane Davenport’s ColorSticks

Step 6: Add small bits of glue using a glue pen and when almost dry cover in gold foil.  Mount onto coordinating colors of backing card and you are finished.

Rainbowitis Card using Jane Davenport’s ColorSticks

Spellbinders Supplies:

Other supplies:

Janes Gesso, Arches Smooth Watercolor Paper 185gsm, Fine Tip Waterbrush, Caran D’Arche Watercolor Pencil, low tack tape, Card for layering, Copic Multi Liner 0.3, Sharpie White extra fine paint pen, Glue pen, Carbon pen and Gold Foil Thank you so much for joining me for a play with my new Jane Davenport ColorSticks from Spellbinders, I hope this gives you a few more ideas for using all those pretty colors to create something of your very own! Remember to search the Spellbinders blog for other great ideas using Jane Davenport supplies, my fellow teamies share the most amazing ideas! oxox Kate    

Leave a comment

Your email will not be published. Please note, comments need to be approved before they are published.


  • Just Add Cake, S3-495, S4-1522, S5-635, S4-1450, S4-1476

    Spellbinders Blog

    Create an Easy Interactive Birthday Card with Spellbinders Card Spinners

    Hi, crafty friends! Lisa Tilson here, and I'm delighted to be with you today sharing a fun interactive birthday card featuring the new Spellbinders Card Spinners. If you've ever wanted to add movement to your handmade cards without complicated mechanisms, these spinners make it incredibly easy! For today's project, I'm using the Large Card Spinner to create an adorable birthday monster that spins with just a...

  • Colorful Halloween Card Tutorial with Scalloped Frames, E3D-180, S6-272

    CS-8-101

    Halloween Card with Embossed Scalloped Frames and Drac Die Set

    Turn layered scalloped frames into a colorful Halloween gallery wall! This step-by-step tutorial shows how to emboss and arrange the Scalloped Frames, assemble the adorable Drac character from Simon Hurley's Halloween Hugs Collection, and create a playful handmade Halloween card full of dimension and color.