Happy Labor Day, crafty friends! Our offices are closed on Monday, Sept. 7. Support returns Tuesday, Sept. 8. Until then, stay crafty!
20% off Sitewide*
20% off Sitewide*
20% off Sitewide*
20% off Sitewide*
20% off Sitewide*
20% off Sitewide*
20% off Sitewide*
20% off Sitewide*
20% off Sitewide*
20% off Sitewide*
Item added to your cart
Shop by
Posted by Spellbinders Team on October 06, 2018
Jane Davenport Artomology | Mixed Media Card & Journal Insert with Mayline
Hi! Mayline here with you again and I am excited to be sharing my second guest post on the Spellbinders blog. For today’s post, I’ve created one card and one mixed media journaling that I made for the first time. That is why I am so excited to share this project with you.
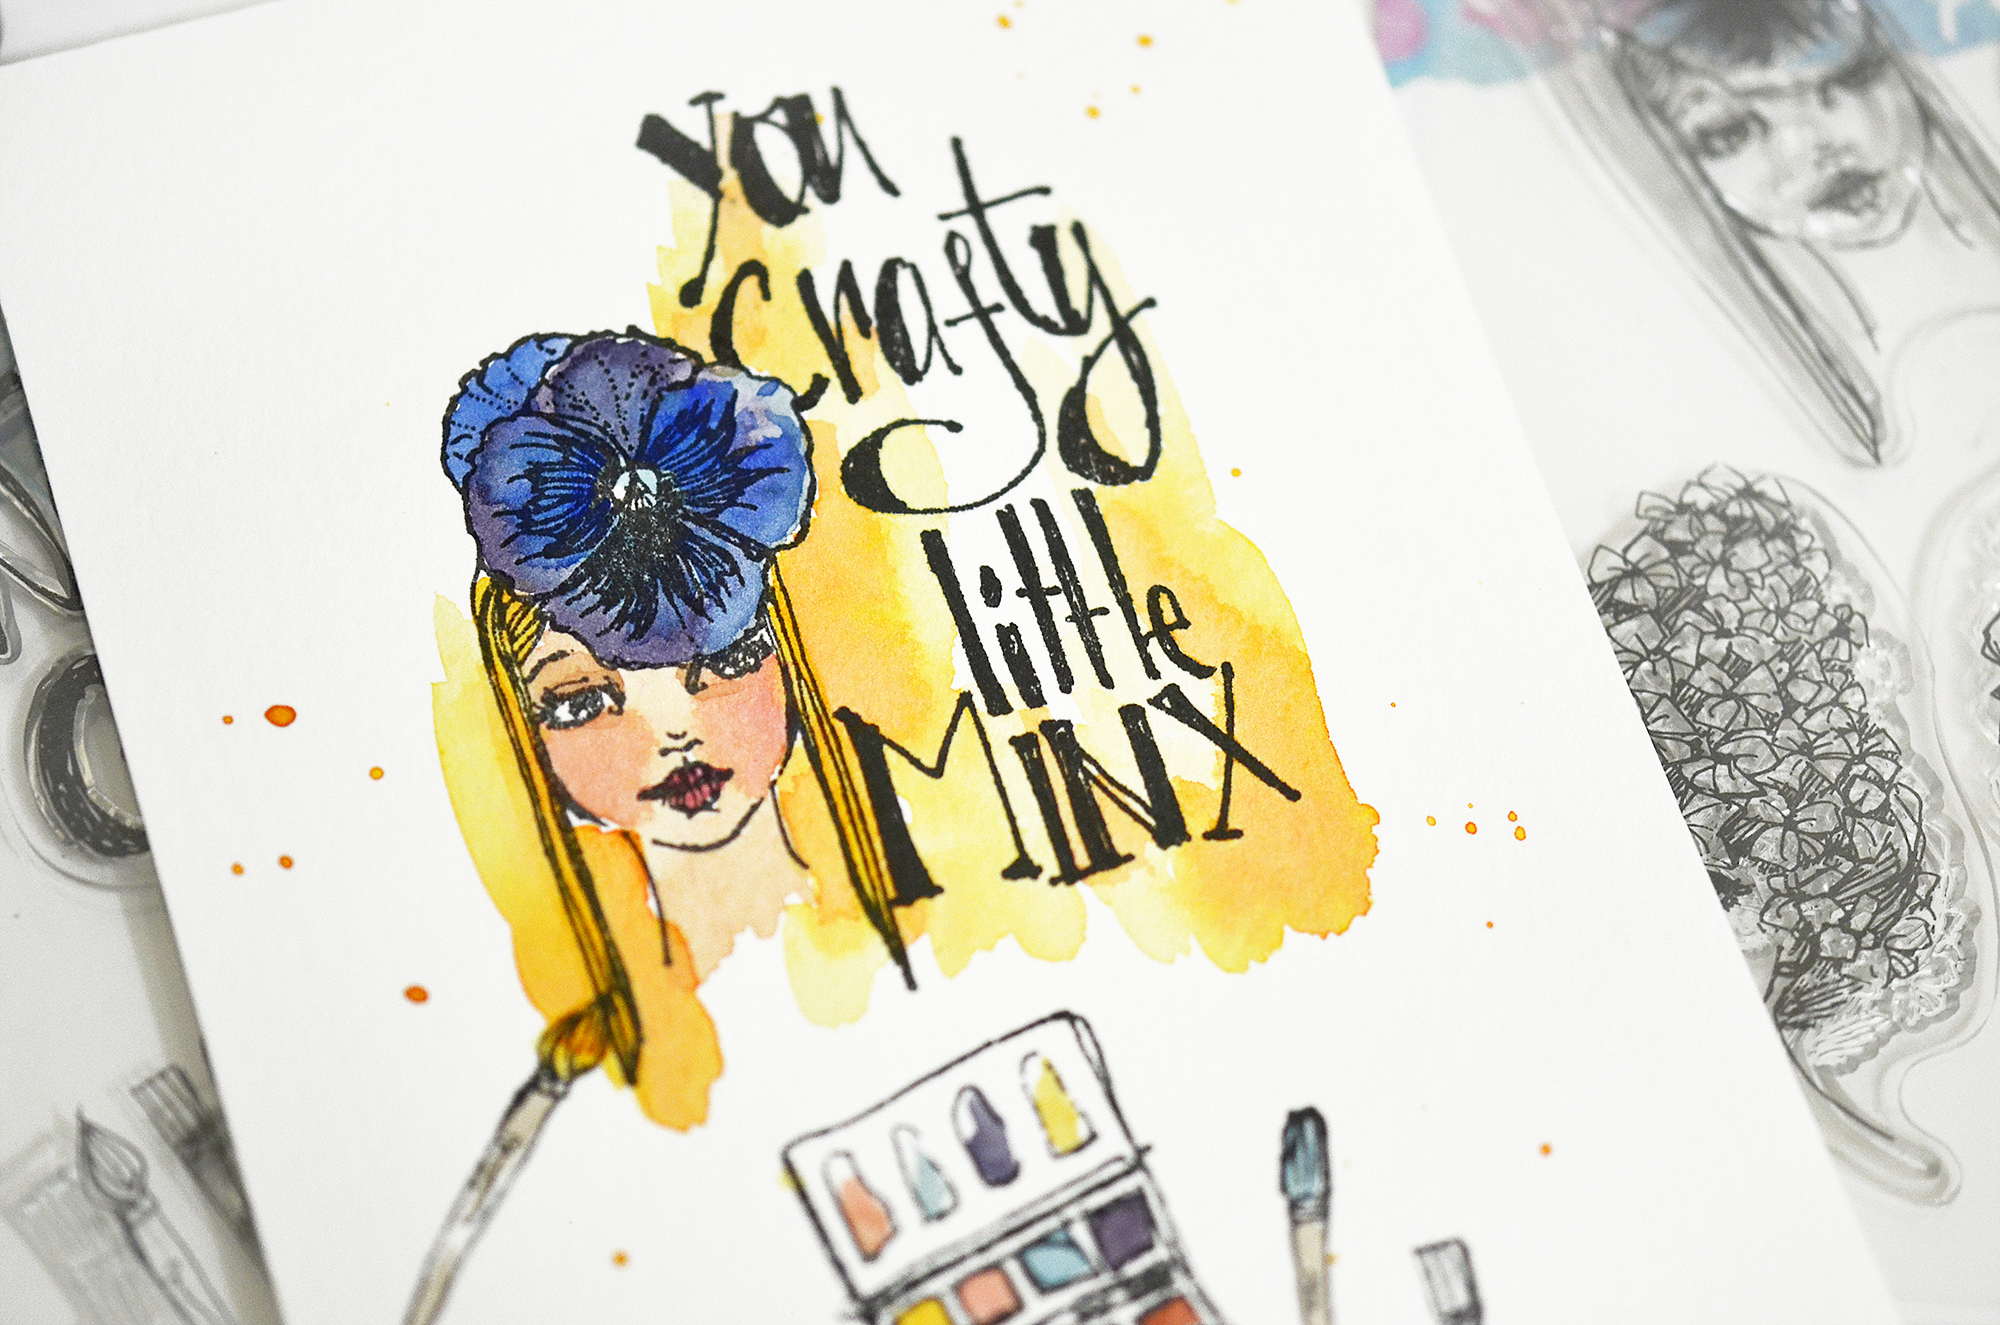
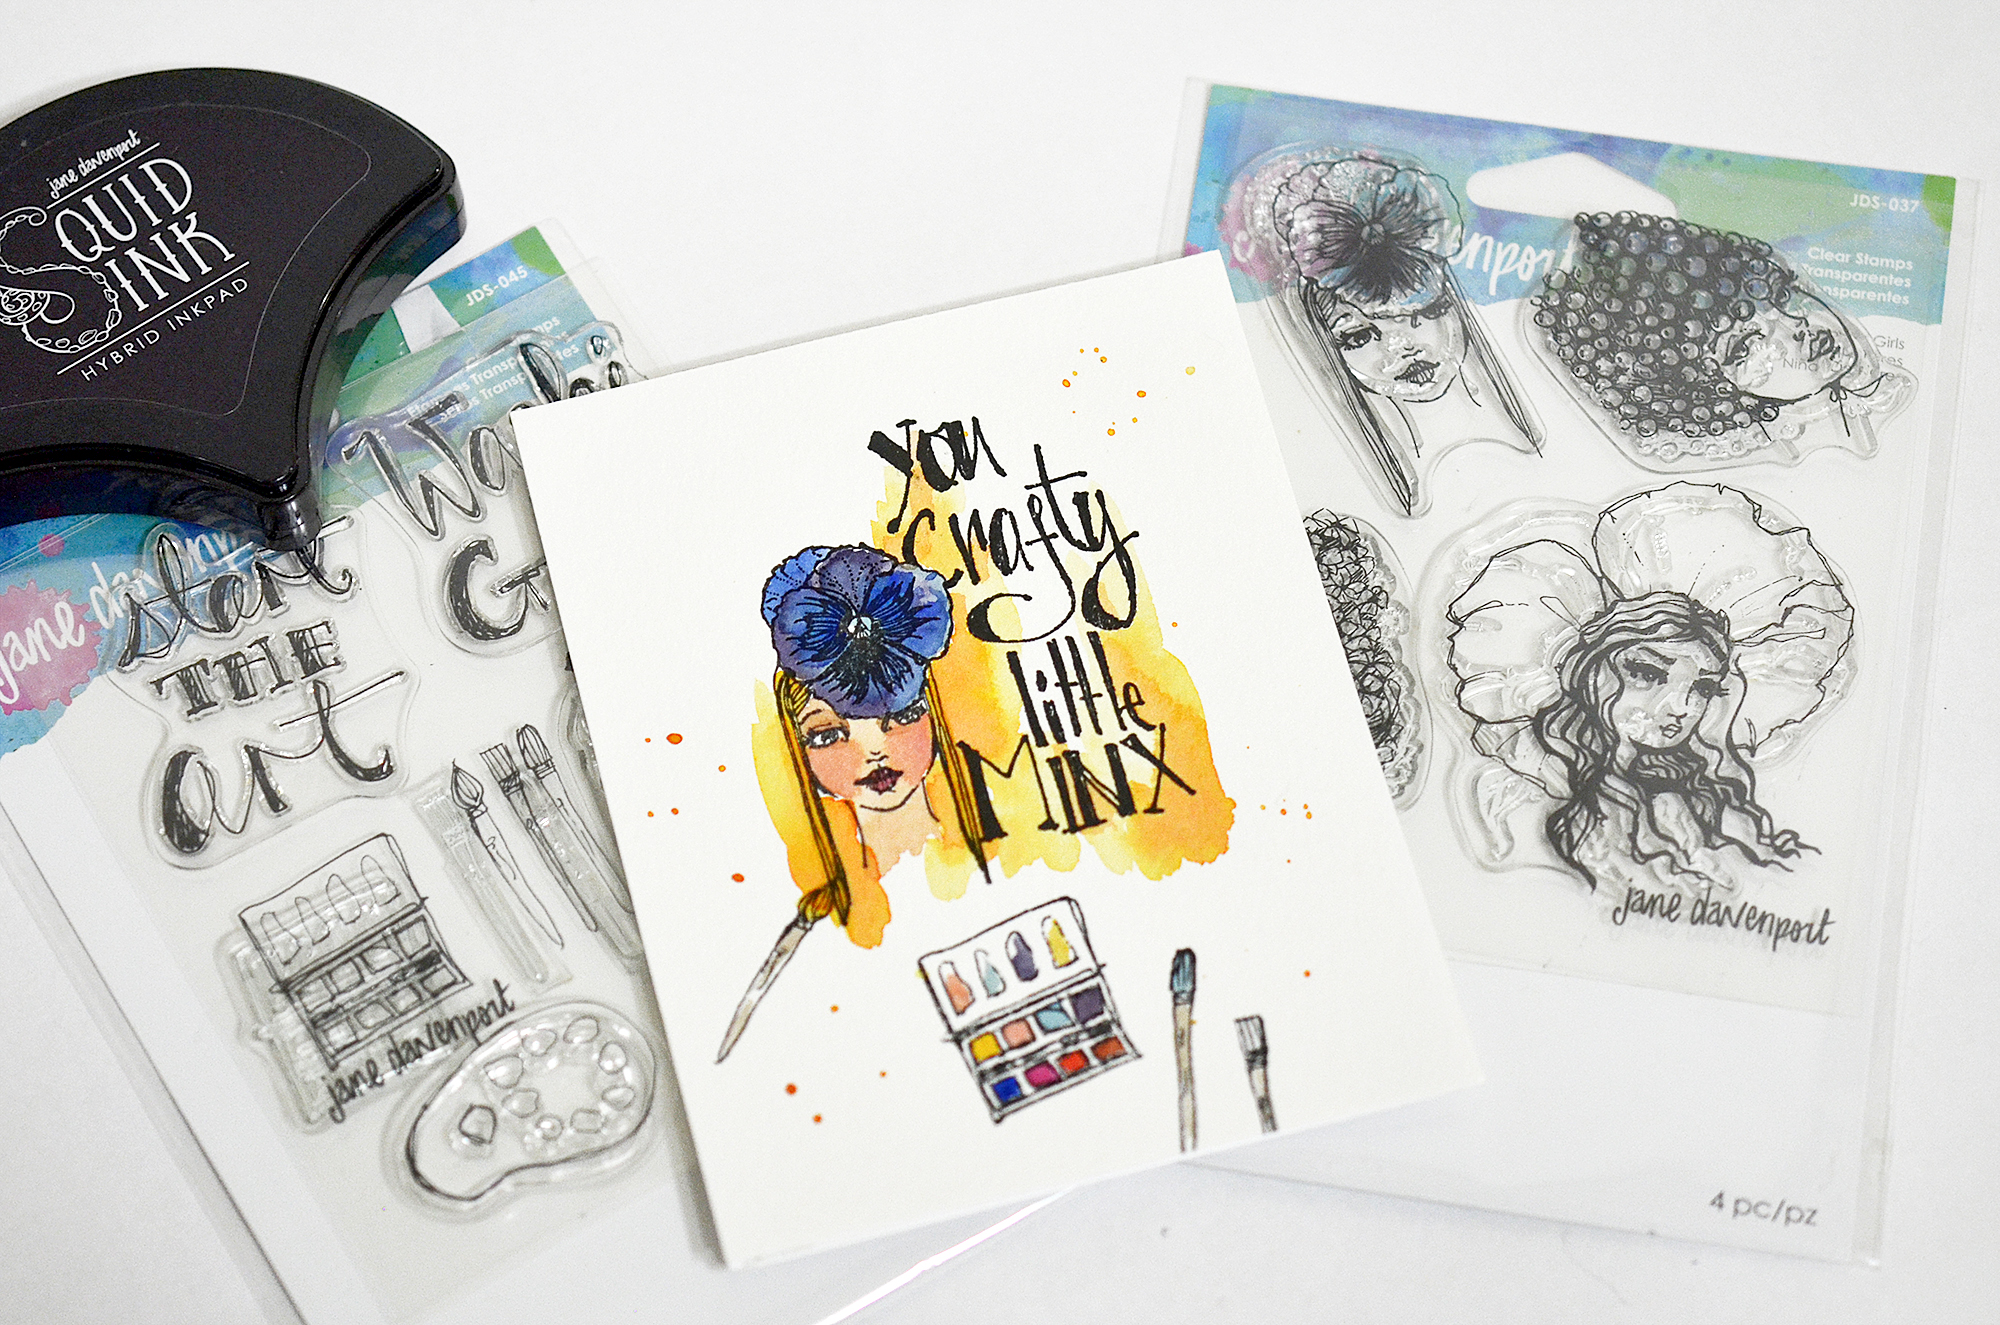
Here is my card for today:
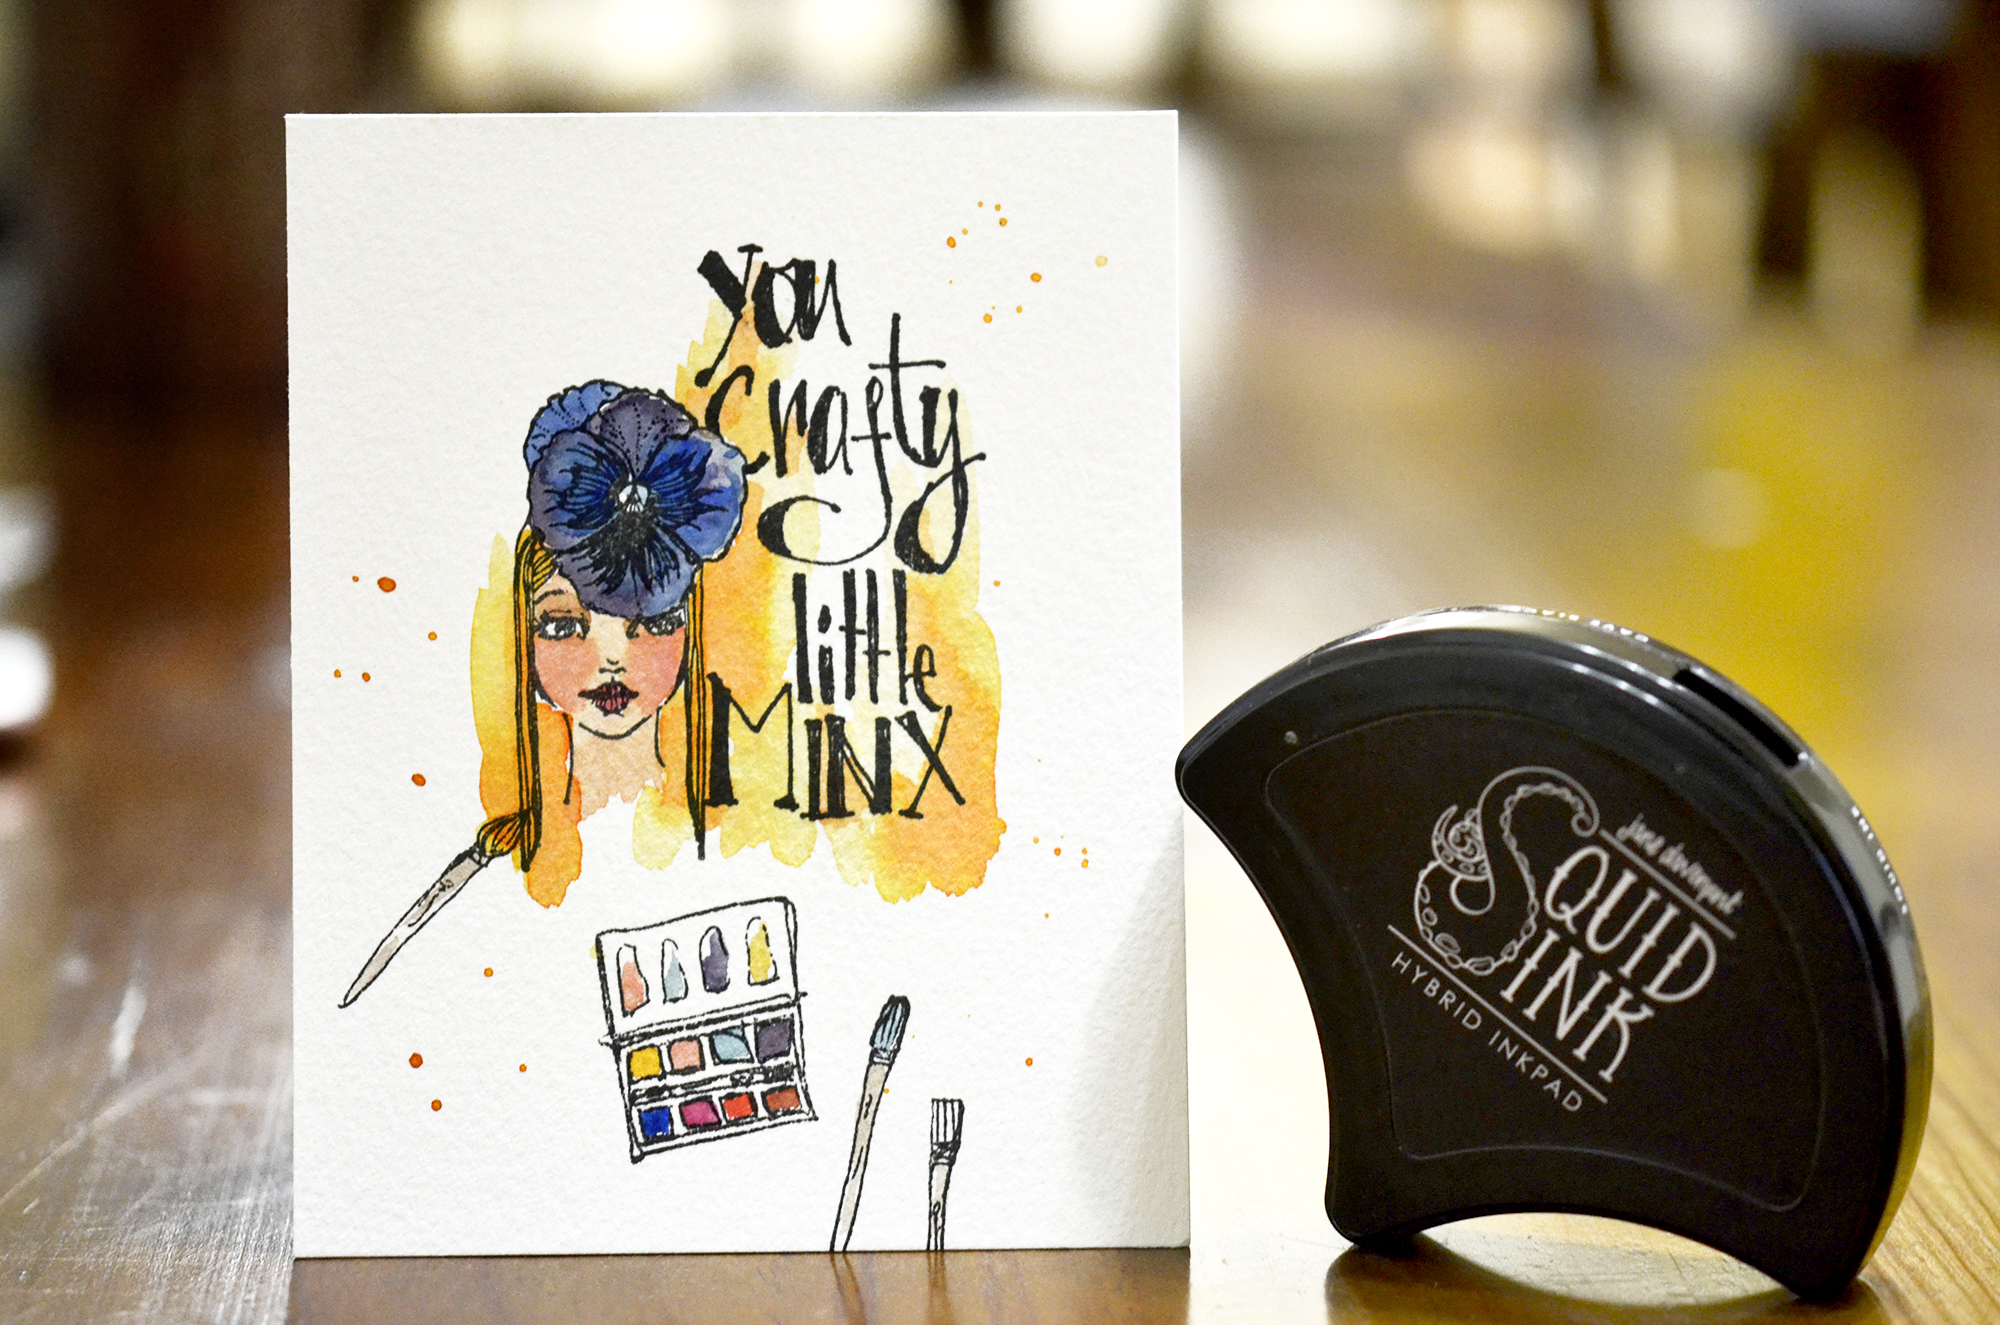
To start off, I stamped one of flowers girl images from Flower Girls Clear Stamps on 4-1/4 by 5-1/2 sized watercolour paper. Next, I stamped a sentiment from Crafty Minx Clear Stamps using a masking technique on the panel.
I stamped a painting palette and brush images on the panel. I coloured them using watercolour paints. Lastly, I add yellow colour splashes to the panel for creating a fun texture.
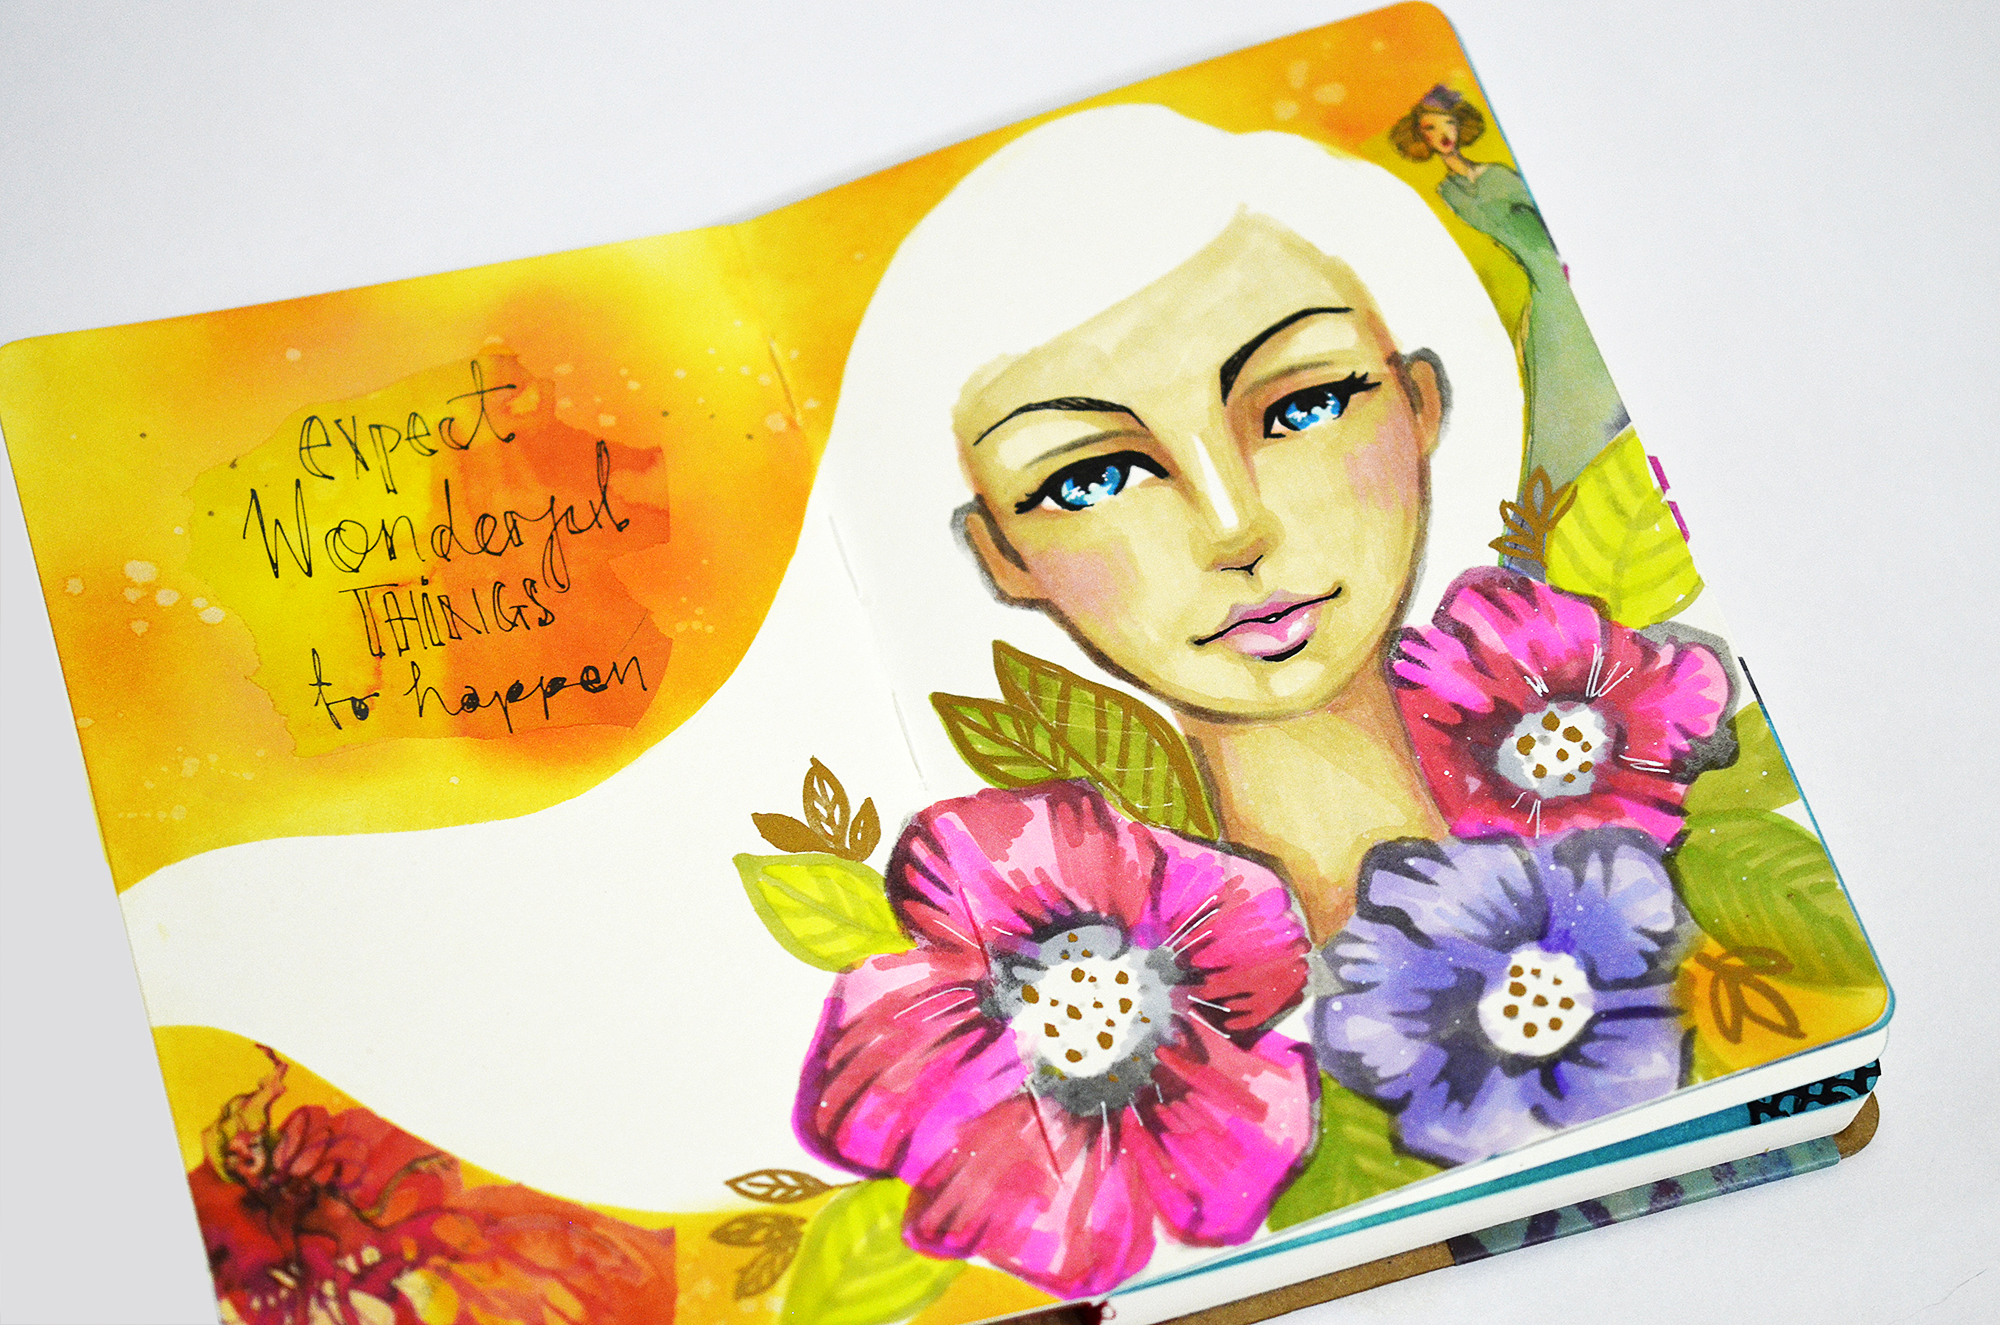
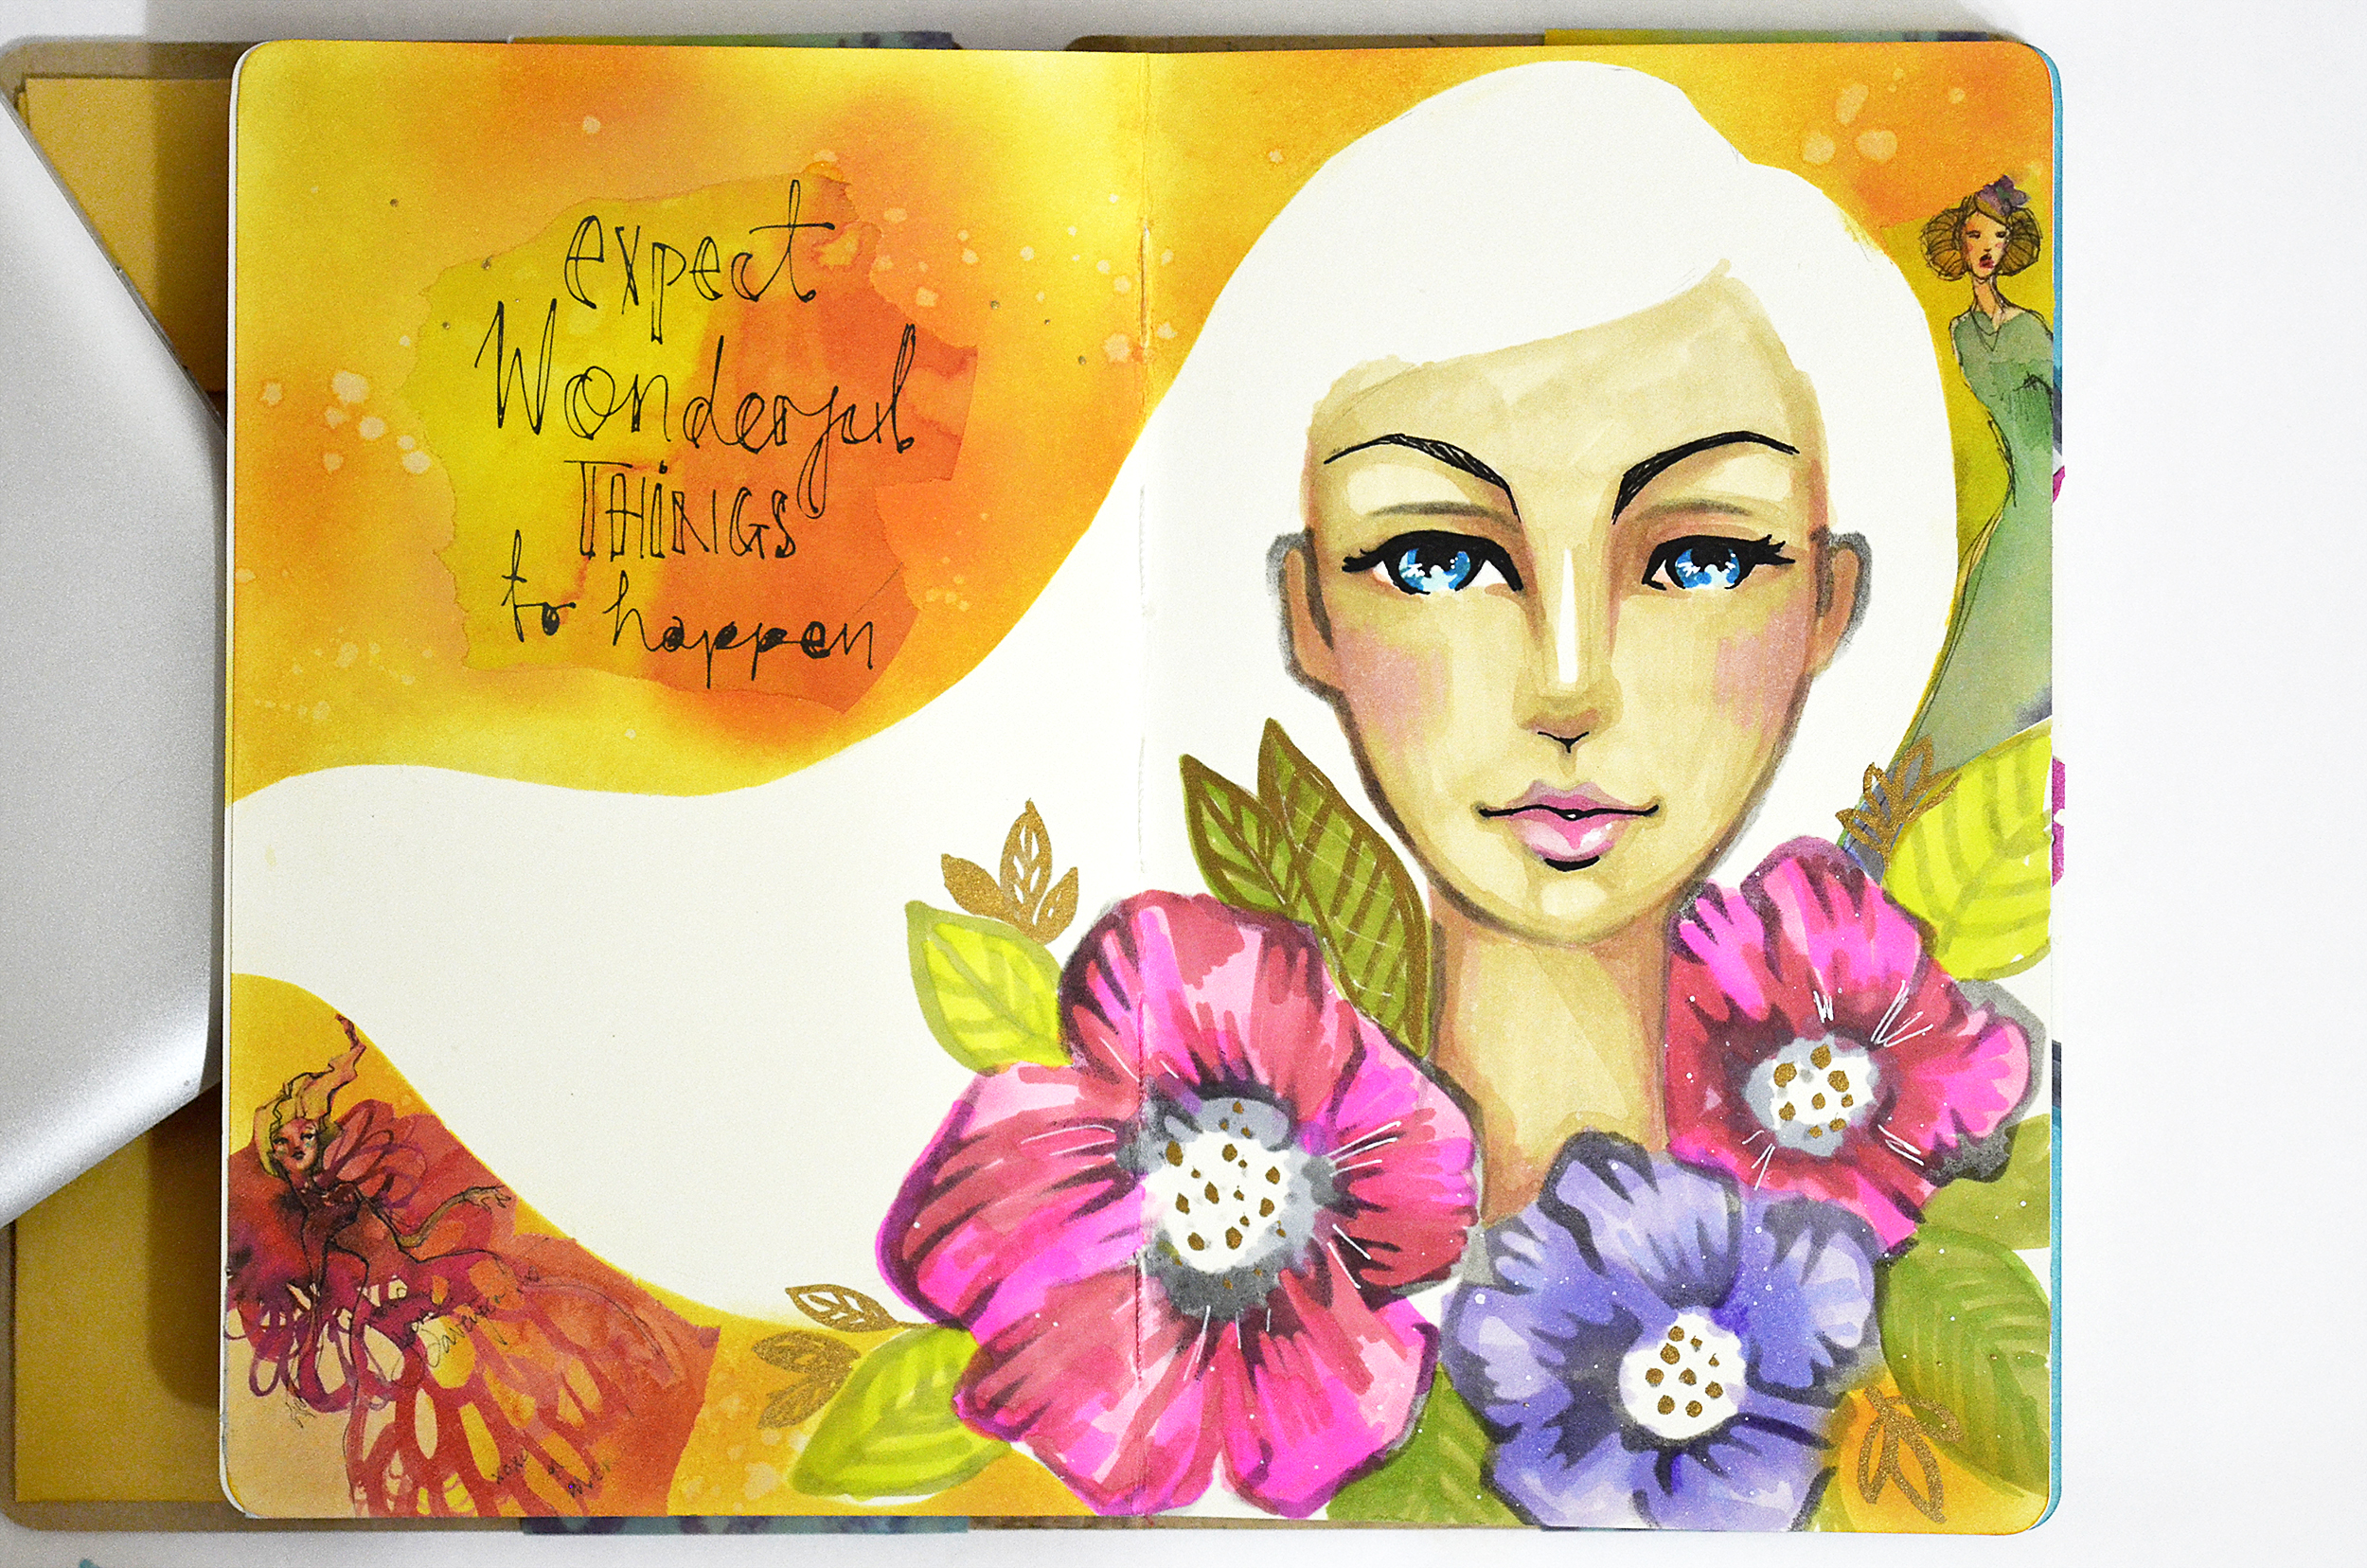
Here is my mixed media journaling!
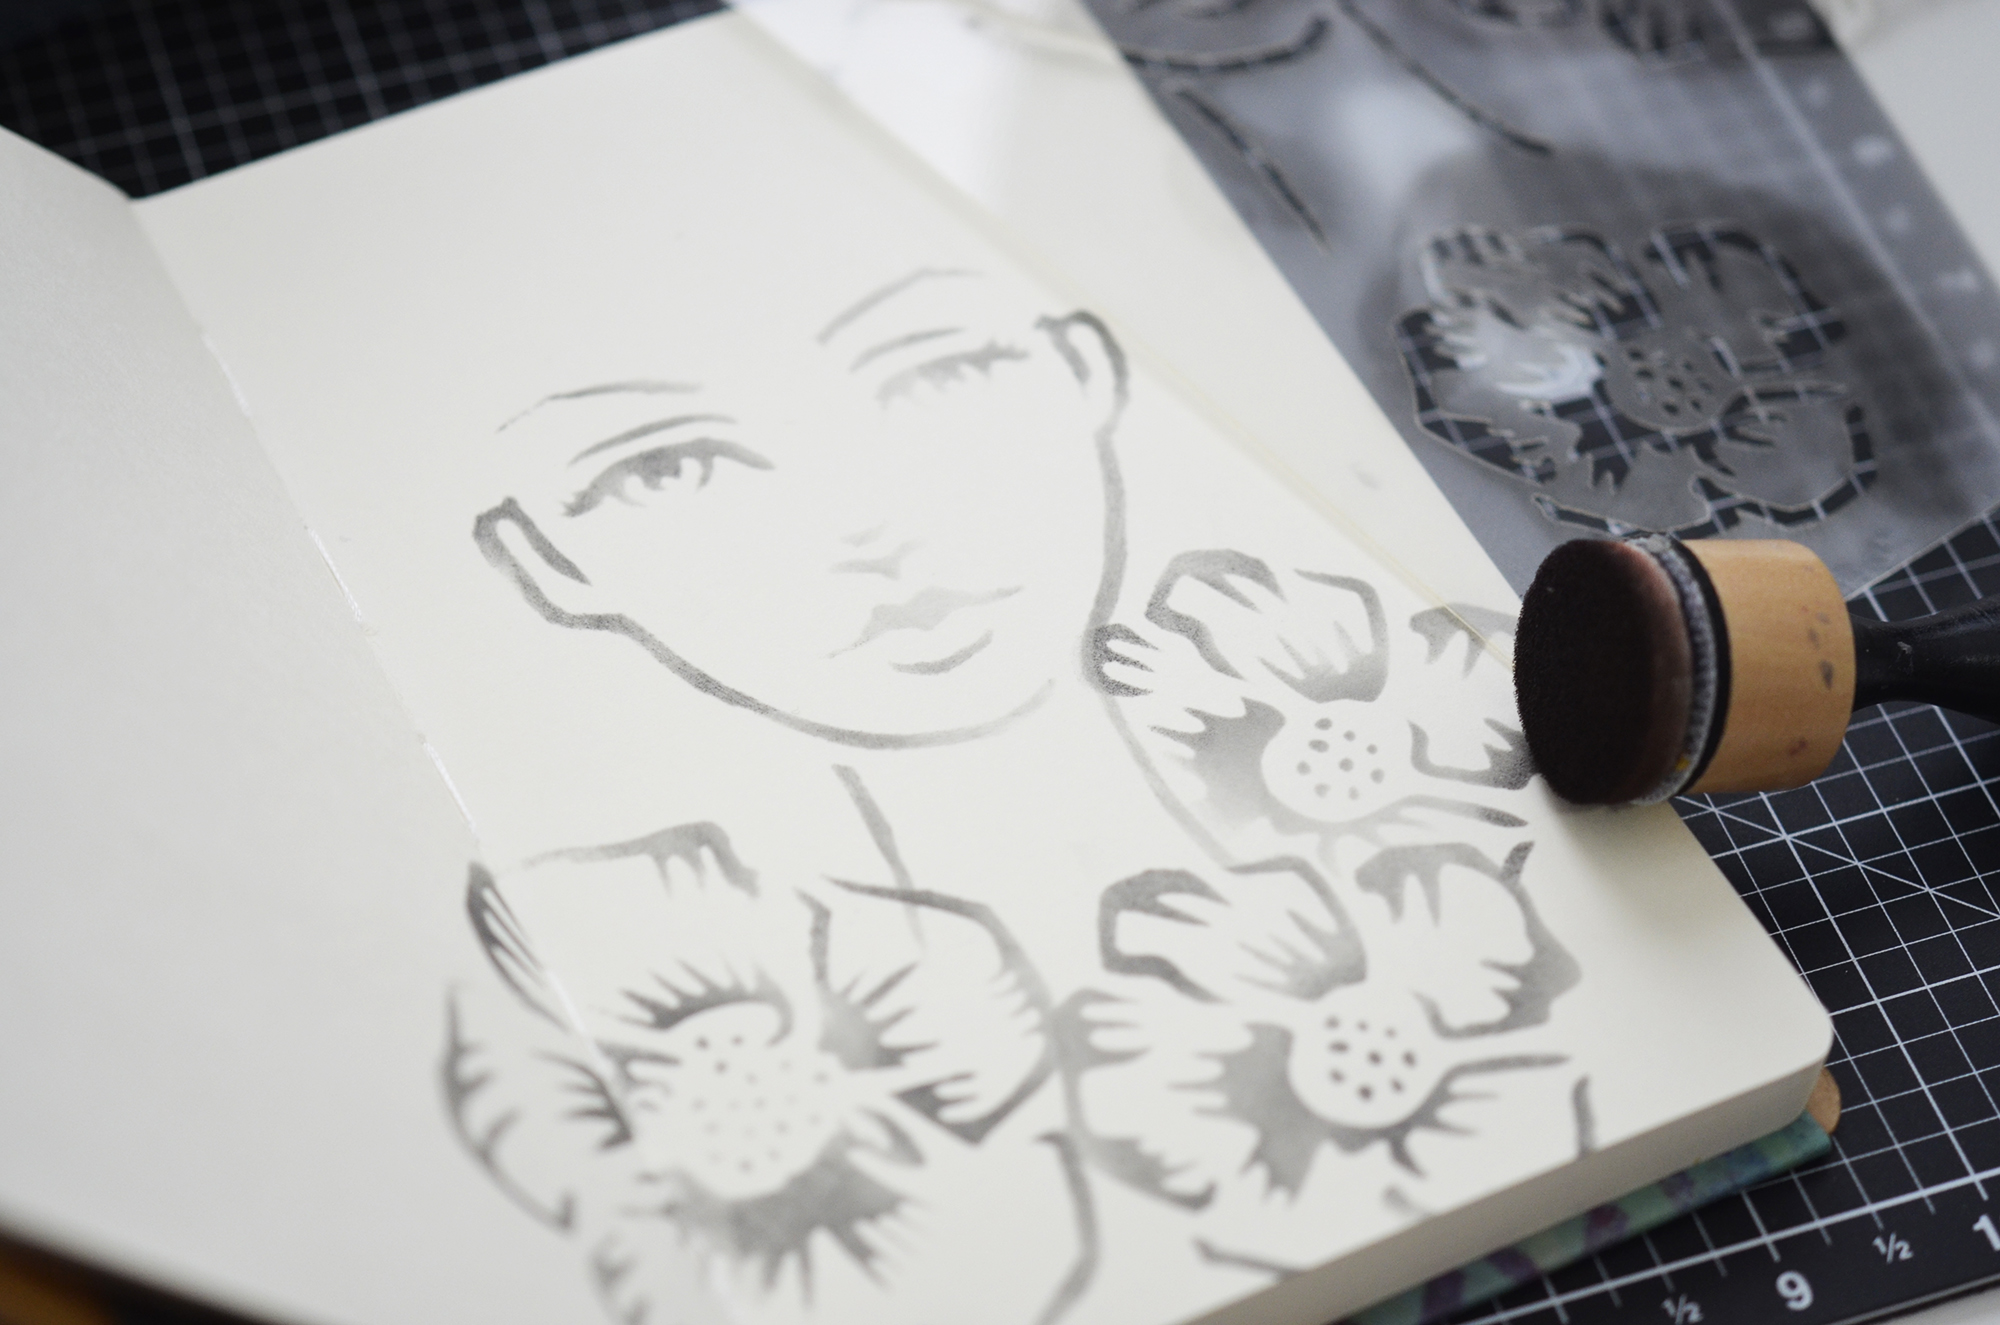
To start off, I placed one of Flower Girl stencils onto a paper and secured in place with low tack tape.
Then, dabbed into Squid Ink Cave Black to pick up the colour. I gently pressed a blender sponge through the stencil. I continued pressing the sponge to colour the areas.
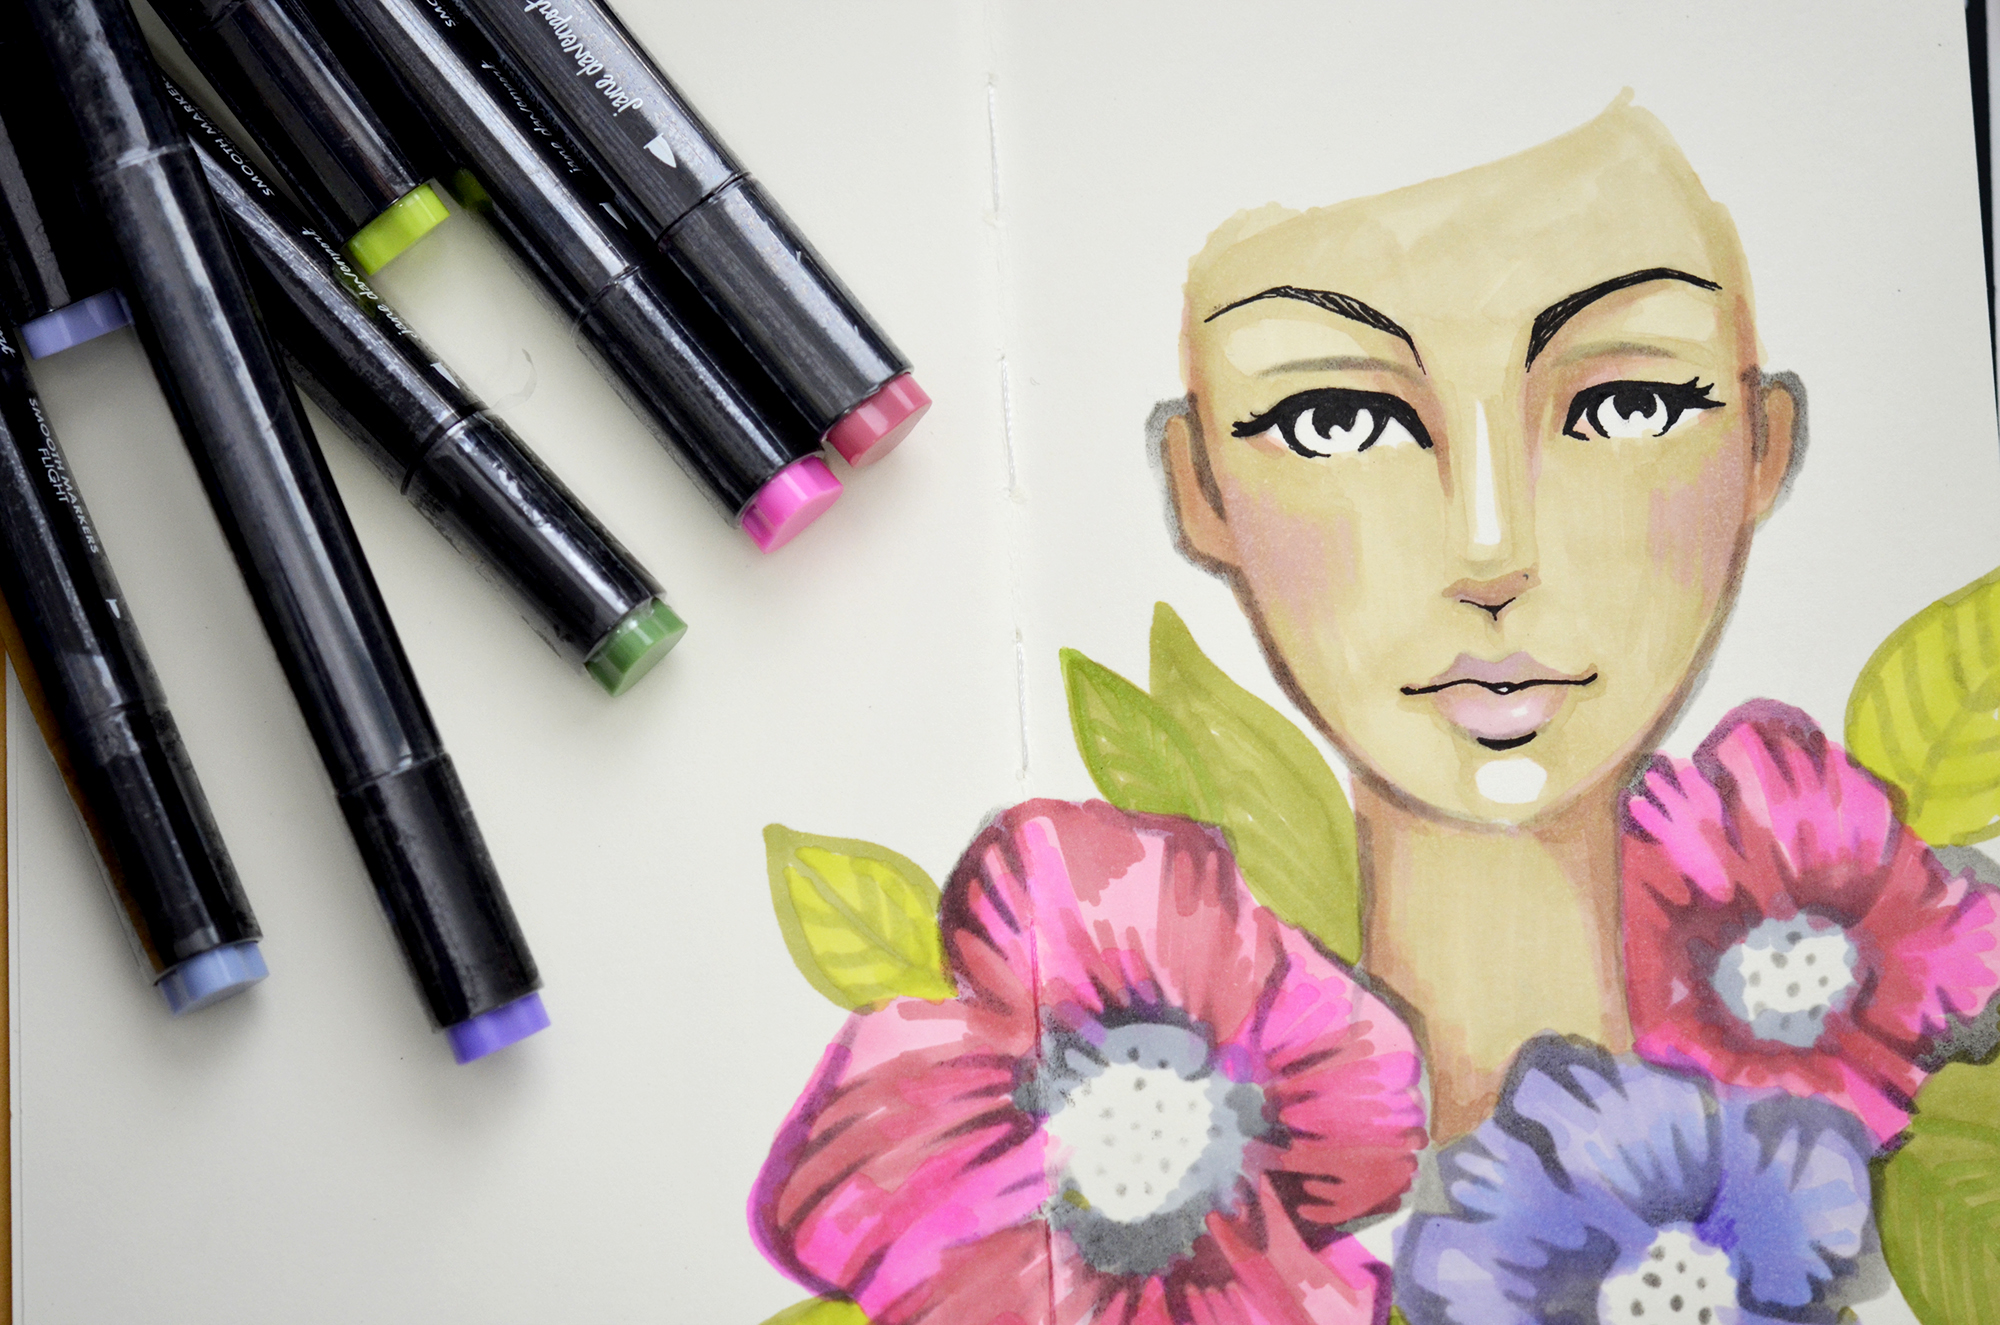
Next, I watched Jane's colourings tutorial from YouTube. This tutorial helped me a lot to learn how to use smooth markers.
Also, this project was inspired by her tutorial. If you are interested you can watch it below:
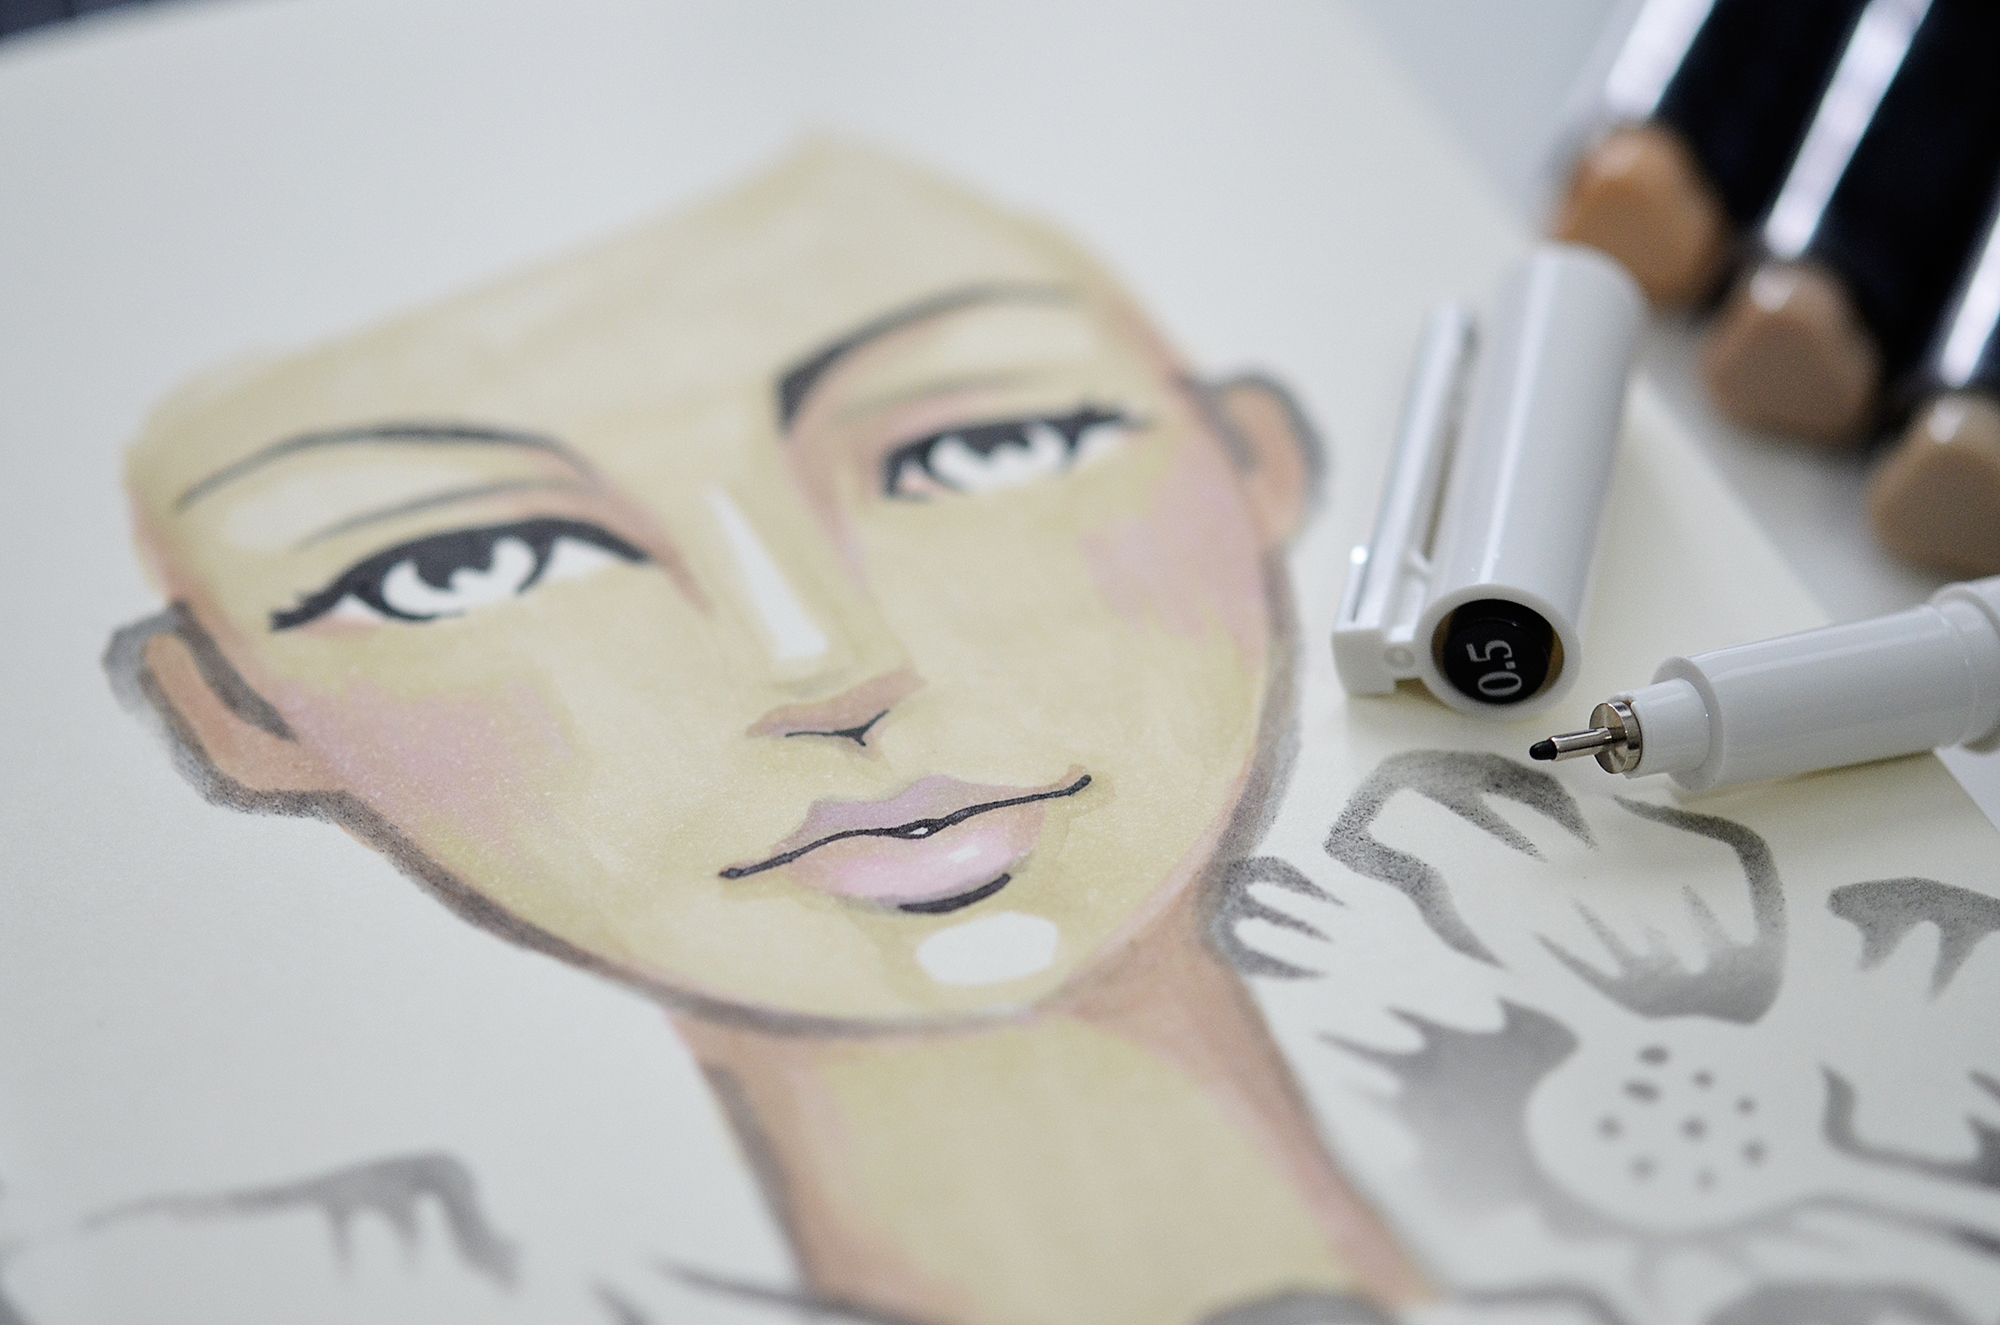
To show the clear face shape, I used a black pen to draw eyes and lips. And I coloured flowers using Smooth Markers – Feathered Friends and Mermesmerizing.
To make a fun background, I drew a hair shape using a pencil and then I covered some area that I did not want to blend. After that, I blended open area and it turned out to be an awesome hairstyle.
Here is the final look. After I blended it, I added water splashes to the yellow background area and then used Washi Girls Washi Sheets to create a fun background. Lastly, I put a brush in the ink bottle (Squid Ink Gold Bullion) and then drew few leaves.

I hope you enjoyed today’s my project. Thank you for stopping by!
Hi, crafty friends! Lisa Tilson here, and I'm delighted to be with you today sharing a fun interactive birthday card featuring the new Spellbinders Card Spinners. If you've ever wanted to add movement to your handmade cards without complicated mechanisms, these spinners make it incredibly easy! For today's project, I'm using the Large Card Spinner to create an adorable birthday monster that spins with just a...
Turn layered scalloped frames into a colorful Halloween gallery wall! This step-by-step tutorial shows how to emboss and arrange the Scalloped Frames, assemble the adorable Drac character from Simon Hurley's Halloween Hugs Collection, and create a playful handmade Halloween card full of dimension and color.
Celebrate treasured memories with a handmade vintage journal featuring interactive pages, pockets, vintage photos, and layered embellishments. This step-by-step tutorial showcases creative ideas for building meaningful double-page spreads with Esther Glas' Turn the Page collection.