


Posted by Spellbinders Paper Arts
on September 17, 2019

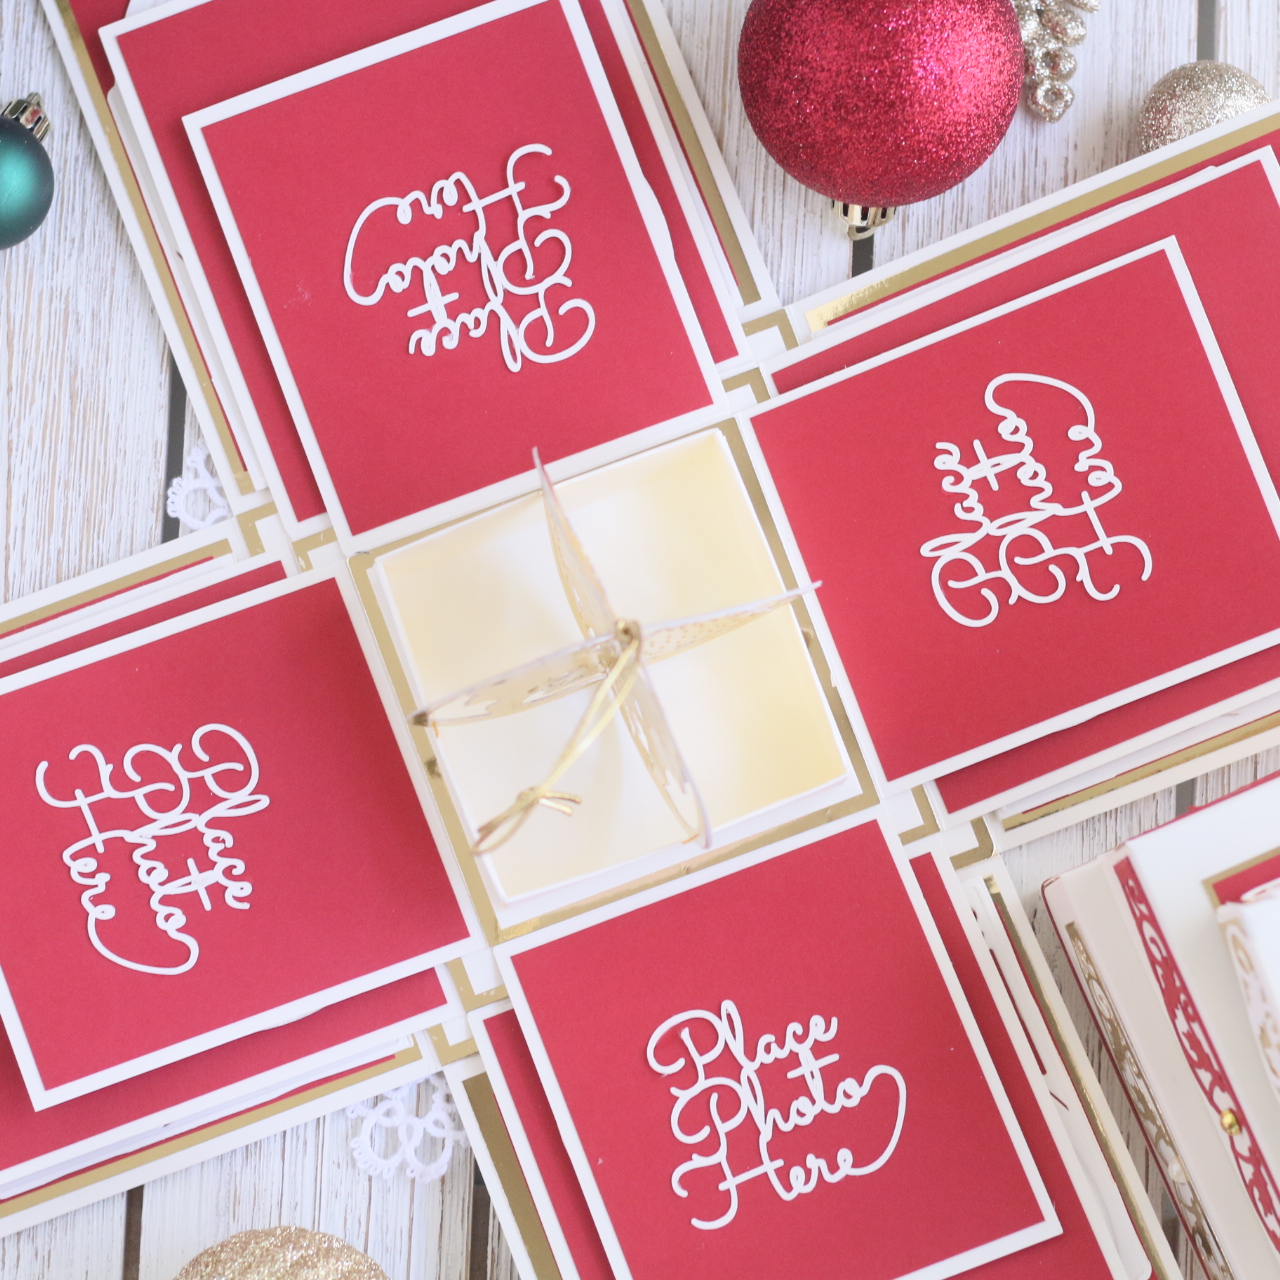
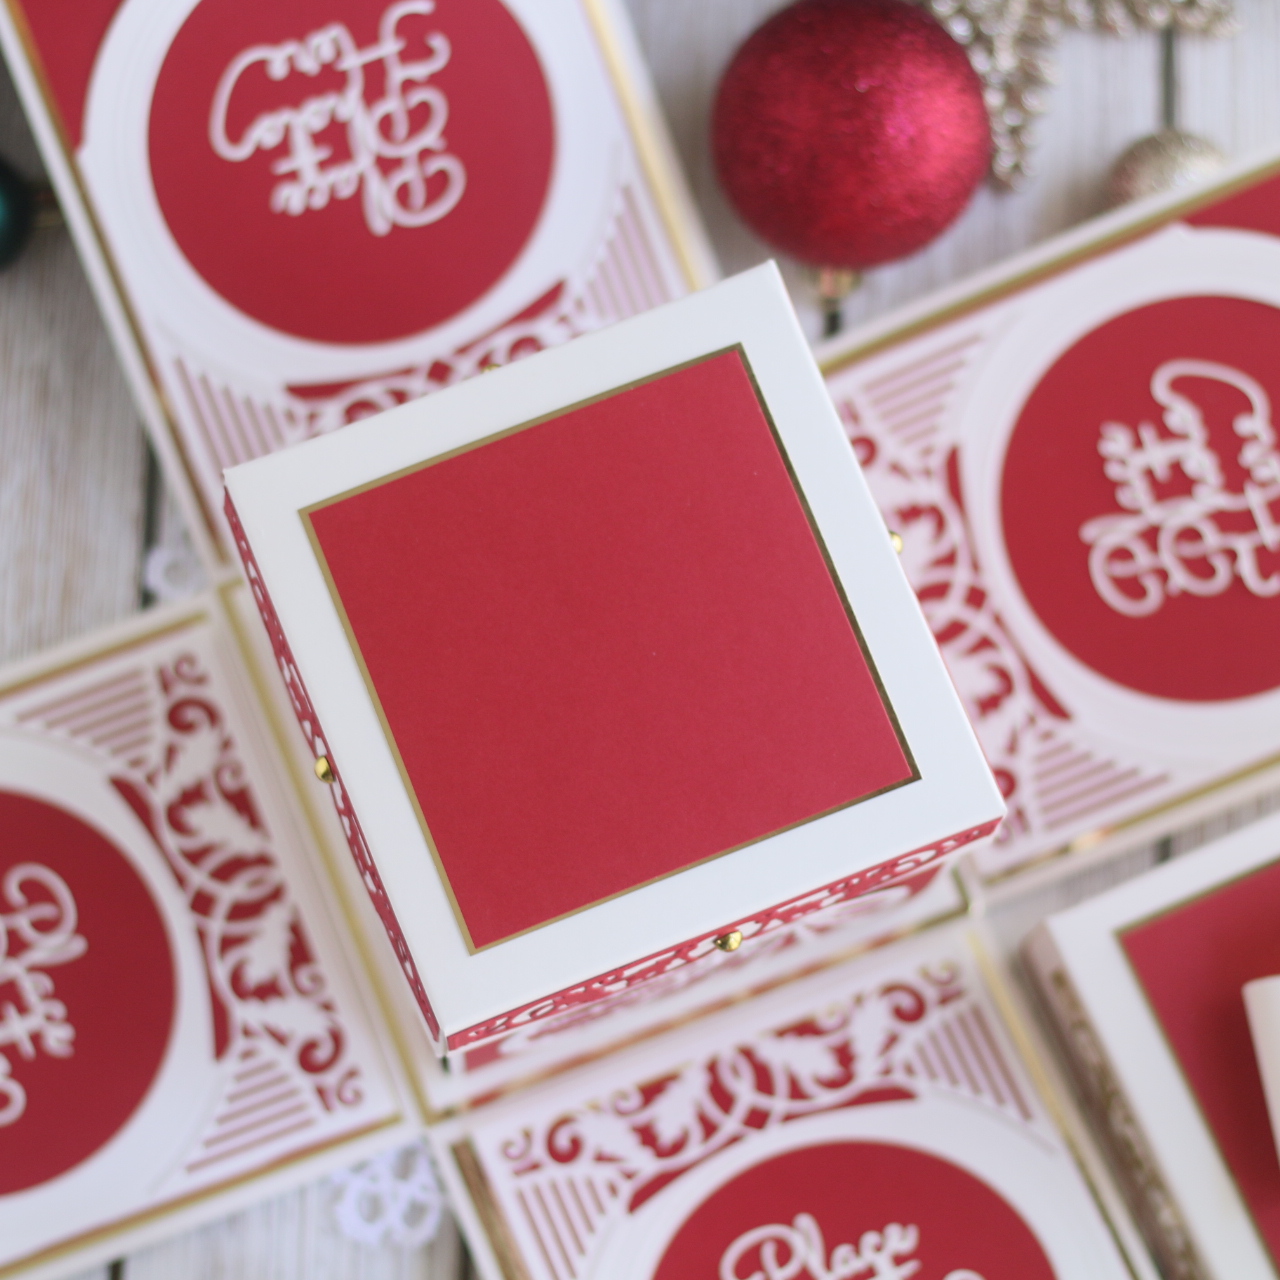
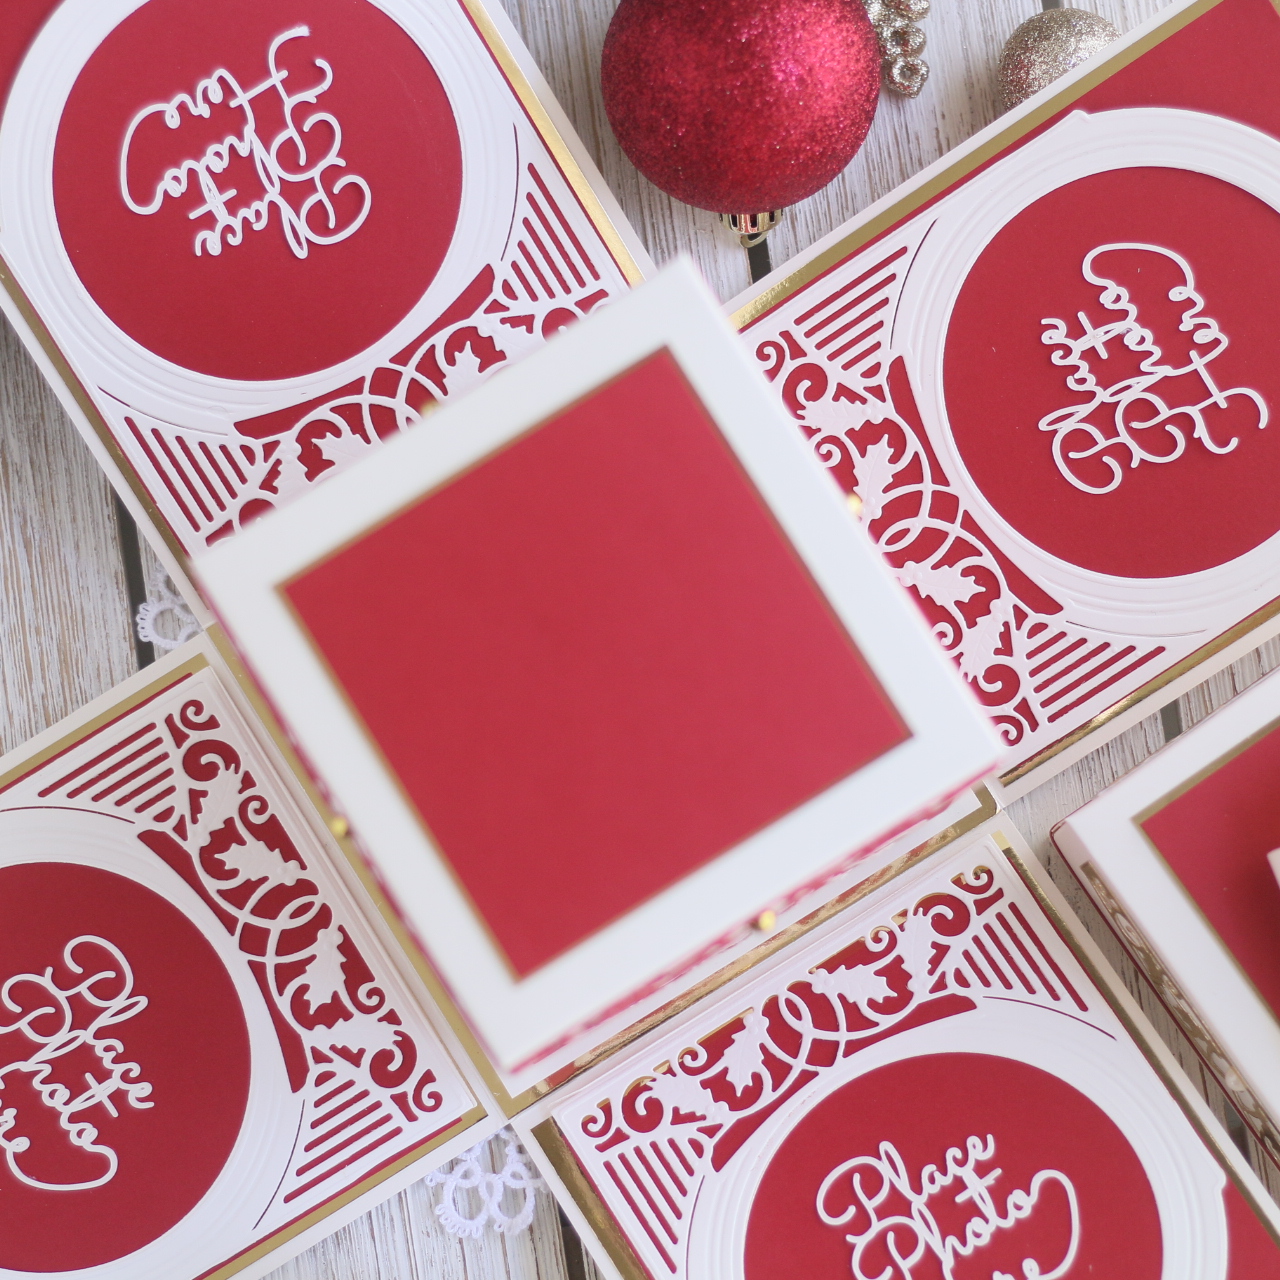
Talk about a wow factor! This delightful project features three nested boxes that “explode” to reveal photos or images as each box lid is removed. Fill the center with a special hand-created gift.
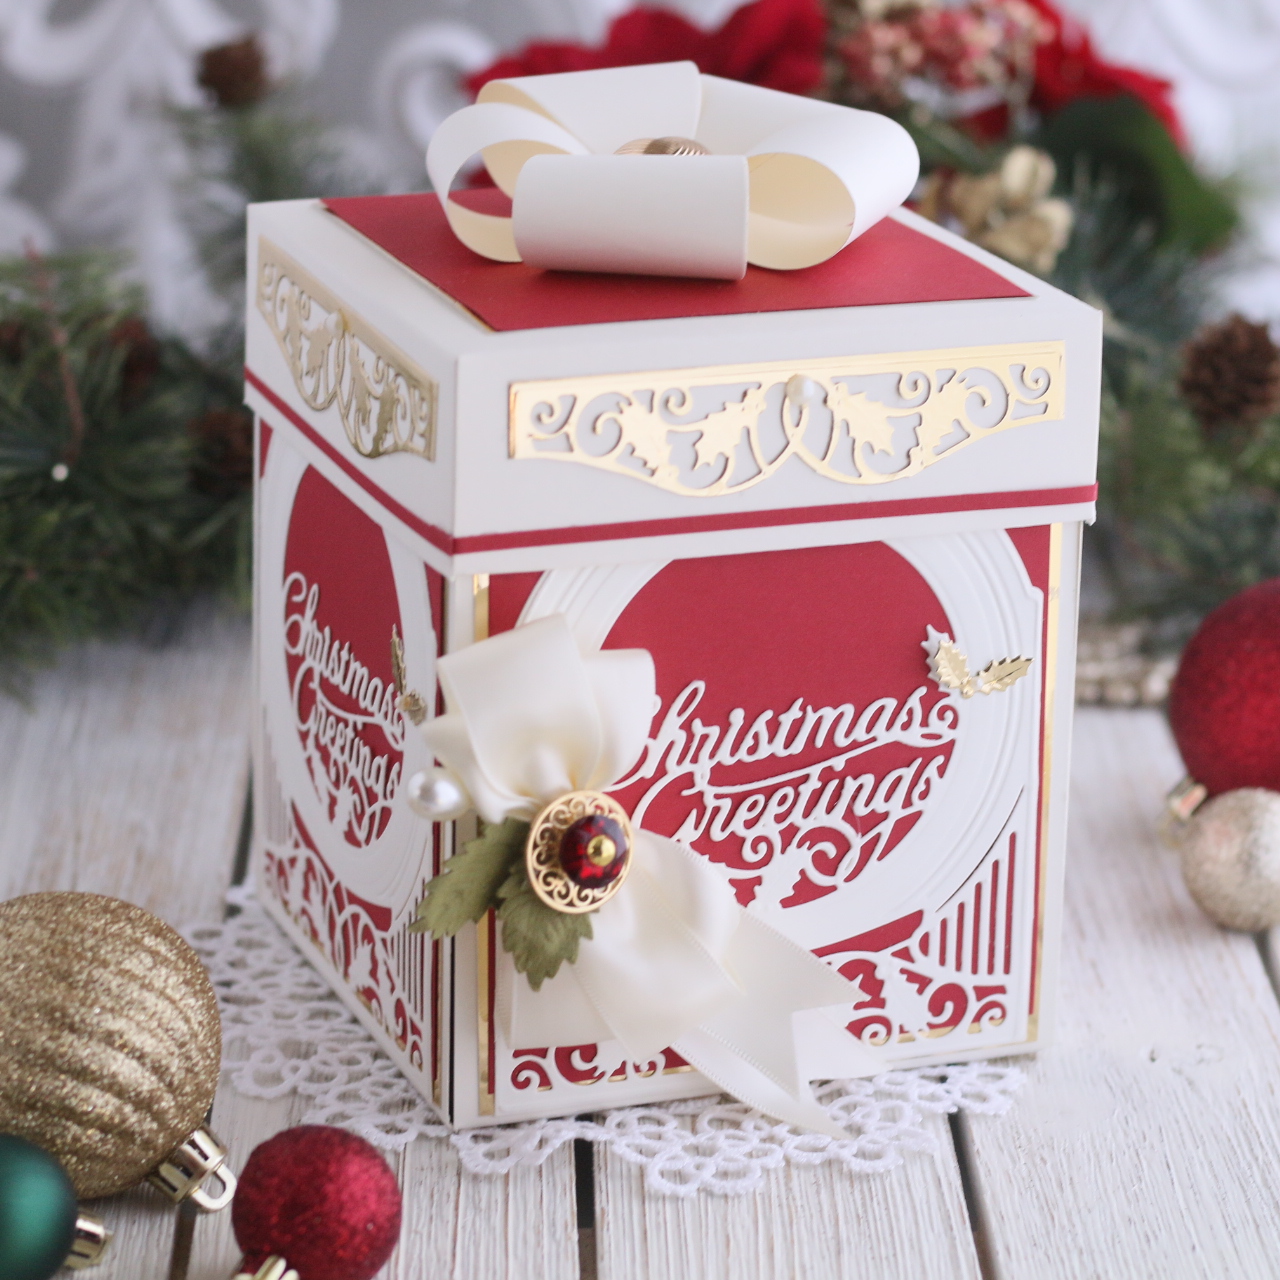
Dimensions:
LAYER 1
LARGE BOX- 4 - 5” x 7” panels in cream paper
- 8 - 4-1/2” x 5-3/8” panels in red paper
- 8 - 4-3/4” x 5-3/4” panels in gold paper
- 2 - 5” x5” panels in gold paper
- 2 - 4-3/4“ x 4-3/4” panels in cream paper
- 11-5/8” x 11-5/8”
- Score at 1-5/8” and 3-1/4” from each edge
- 1- 4-3/8” x 4-3/8” panel in gold
- 1 - 4-1/8” x 4-1/8” panel in red
- Cream - At least 8 sheets of 12” x 12” Paper
- Red - At least 5 sheets of 12” x 12” Paper
- Gold - At least 6 sheets of 8.5” x 11” Paper
LAYER 2
MIDDLE BOX- 4 - 4-1/4” x 5-3/4“ panels in cream paper
- 8 - 4 x 4-1/2” panels in red paper
- 1 - 4-1/4” x 4-1/4” panels in gold paper
- 1 - 4“ x 4” panels in cream paper
- 9-1/2“ x 9-1/2”
- Score at 1-1/4” and 2-1/2” from each edge
- 1- 3-5/8” x 3-5/8” panel in gold
- 1 - 3-3/8” x 3-3/8” panel in red
LAYER 3
SMALL BOX- 4 - 3-1/2 x 5” panels in cream paper
- 8 - 3-1/4 x 3-3/4” panels in red paper
- 1- 3-1/2“ x 3-1/2” panels in gold paper
- 1 - 3-3/8“ x 3-3/8” panels in cream paper
- 7-3/4” x 7-3/4”
- Score at 1” and 2“ from each edge
- 1- 3” x 3“ panel in gold
- 1- 7/8” x 1-7/8” panel in red
ORNAMENT TRAY
- 7” x 7” in cream
- Score at 1” and 2” from each edge
Spellbinders Supplies:























































































9 comments
This tutorial is just fabulous as are you, Becca!! Thank you, thank you and thank you!!!
Aw, thanks so much Lavoris!! You are too kind and I appreciate your sweet comment. You are welcome and yes, I will keep it going :-)
Surekha I’m a box addict too! I love creating them! So happy to hear you’re going to give it a try! Keep us posted!
Mary, I’m so tickled that you like. More than that, I’m so so happy that you actually give things a try. I would just die to be sitting at that luncheon and to get a gift like this! Please keep us in the loop and let us know how it goes.
I’ve done thinks like this at a luncheon before and more than 10 years later when we would get together for the same Christmas Luncheon, ladies would say – remember when…. The recipients were so thrilled to get and it was such a pleasure to make it for them. Wishing you luck sweet friend!!
Pam, as always you are so kind and thoughtful! I’m so glad you enjoyed the design – I hope you’ll give it a try!!!