Handmade Collection Inspiration | Recipe Card Gift Set by Ashlea
on July 07, 2018

Handmade Collection Inspiration | Recipe Card Gift Set by Ashlea

Hello again! It’s Ashlea and I’m back today with a fun way to use your niche stamps like the Kitchen Stamp and Die set by Stephanie Low. While an idea for a card using this stamp set may evade you, I’ve got an idea that may be perfect as a gift!
Spellbinders Handmade Collection by Stephanie Low - Inspiration | Recipe Card Gift Set by Ashlea #spellbinders #neverstopmaking #stamping #handmade

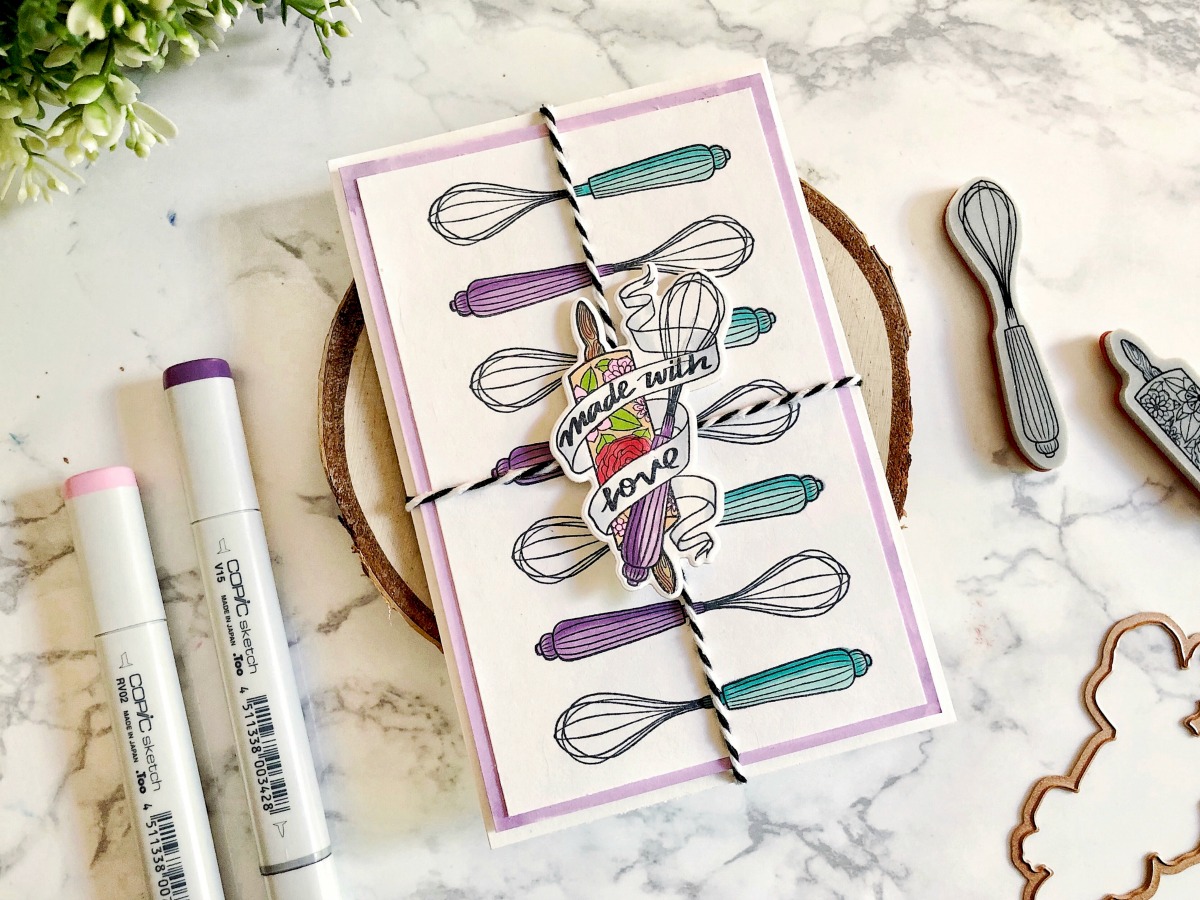
When I first looked at this set I knew I wanted to make a recipe card set. I love that it’s a gift and card combo that can be mailed just as a card can, and that it is so personalized. From the handmade design down to the recipes you write on the card, it’s clear when you give this gift that you’ve put a lot of thought and love into it. (And that’s always the best for giving and receiving!)

Spellbinders Handmade Collection by Stephanie Low - Inspiration | Recipe Card Gift Set by Ashlea #spellbinders #neverstopmaking #stamping #handmade

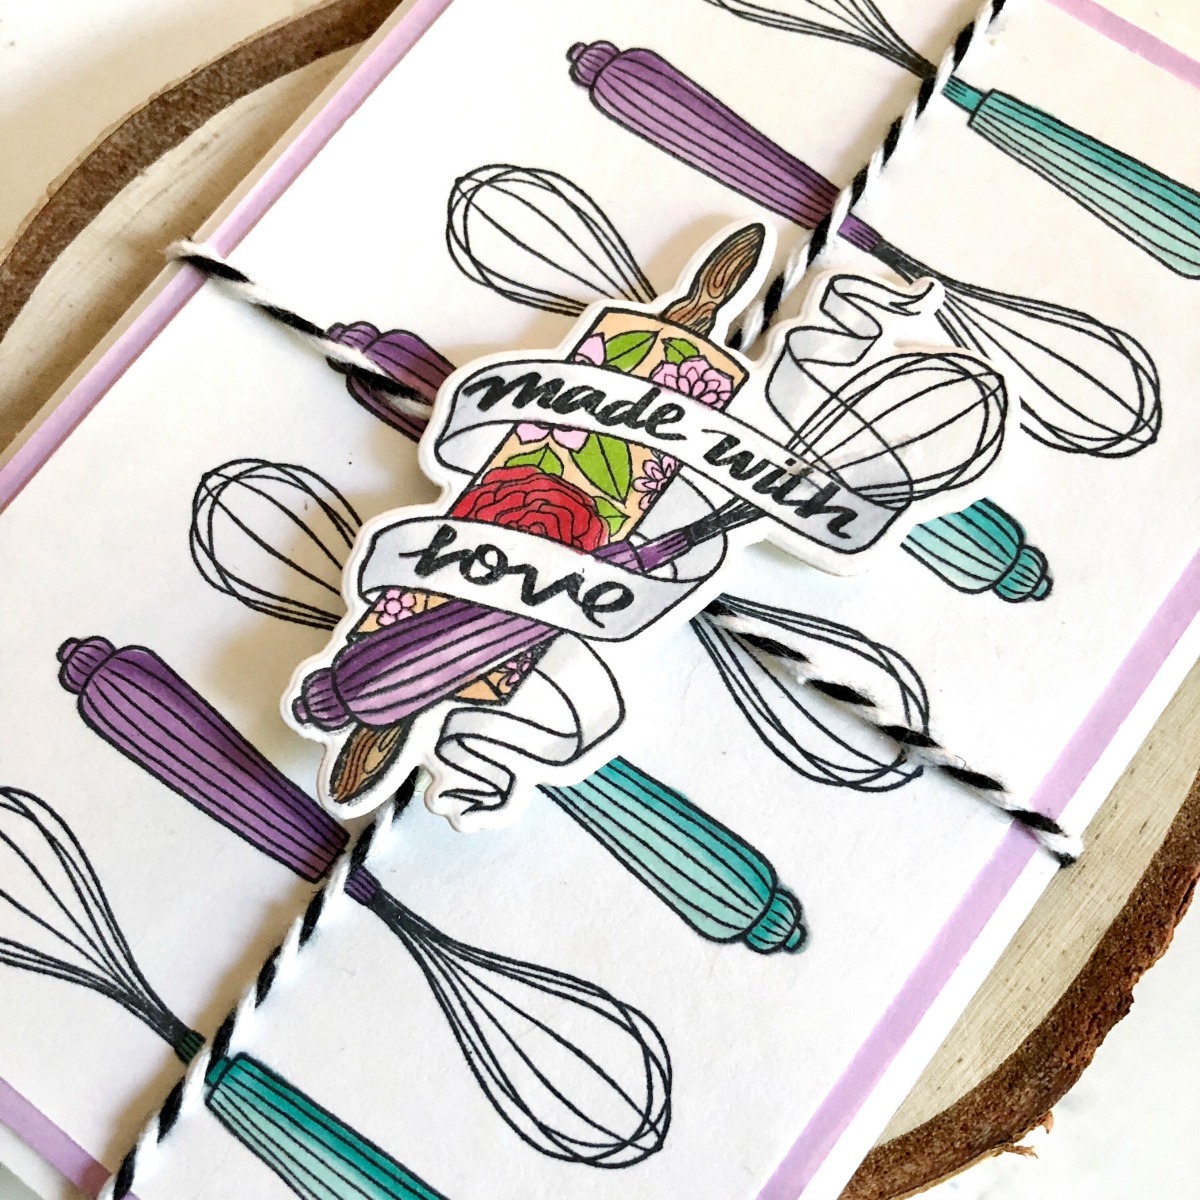
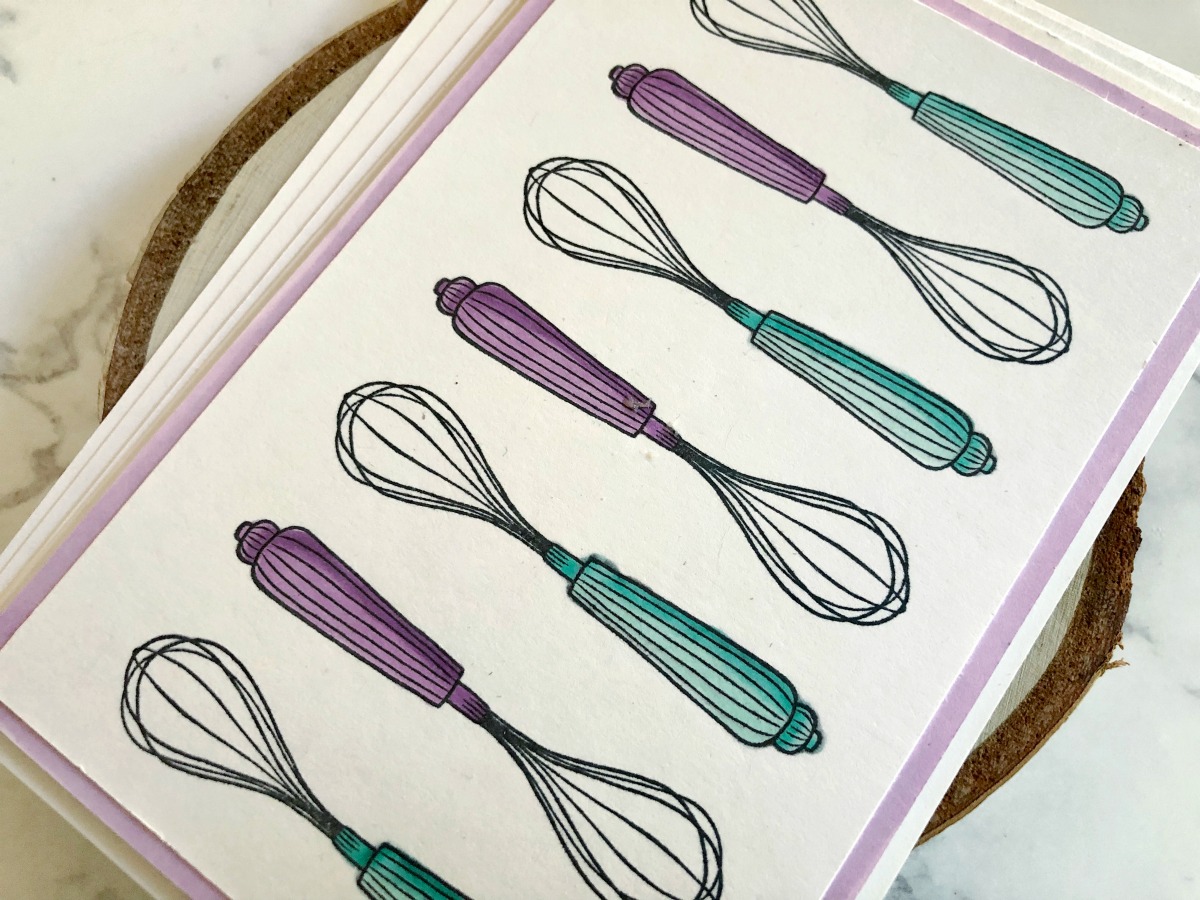
To start, I cut 4 pieces of white card stock to 4”x 6” and trimmed one down even further to 5.5” x 3.5” to serve as the top decorated portion of the set. I used my MISTI to stamp the whisk image stamp in Memento Tuxedo Black ink evenly, leaving an equal amount of space between each whisk. I then turned the whisk stamp upside down and again used my MISTI to stamp it evenly in the spaces between the images I stamped first. Finally, I colored the handles with Copic markers in complimentary colors.

Spellbinders Handmade Collection by Stephanie Low - Inspiration | Recipe Card Gift Set by Ashlea #spellbinders #neverstopmaking #stamping #handmade

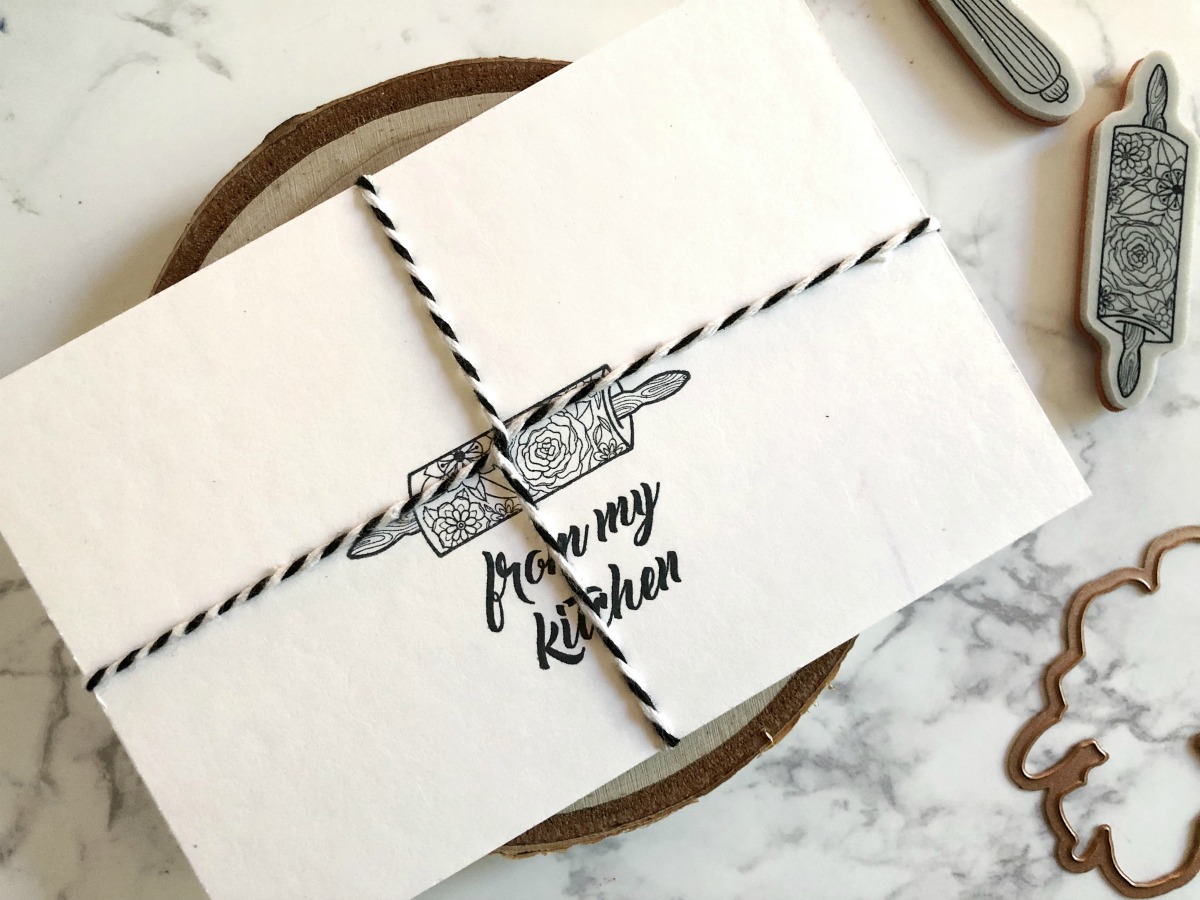
Using a piece of card stock cut to 5.75”x 3.75” I ran a Copic marker in the lightest shade of purple (V12) to create a coordinating color matted background for the whisk panel. I adhered them together with Tombow Mono Multi Glue and made sure to center the whisk panel so the purple matted background showed through equally on all sides. I then used foam tape to center that entire piece onto a 4”x 6” piece of card stock. After I added lines on the recipe cards for writing (and some top secret family recipes) I stamped the rolling pin image and the “from my kitchen” sentiment to the back of each recipe card. I then bound them all together with black and white twine.

Spellbinders Handmade Collection by Stephanie Low - Inspiration | Recipe Card Gift Set by Ashlea #spellbinders #neverstopmaking #stamping #handmade

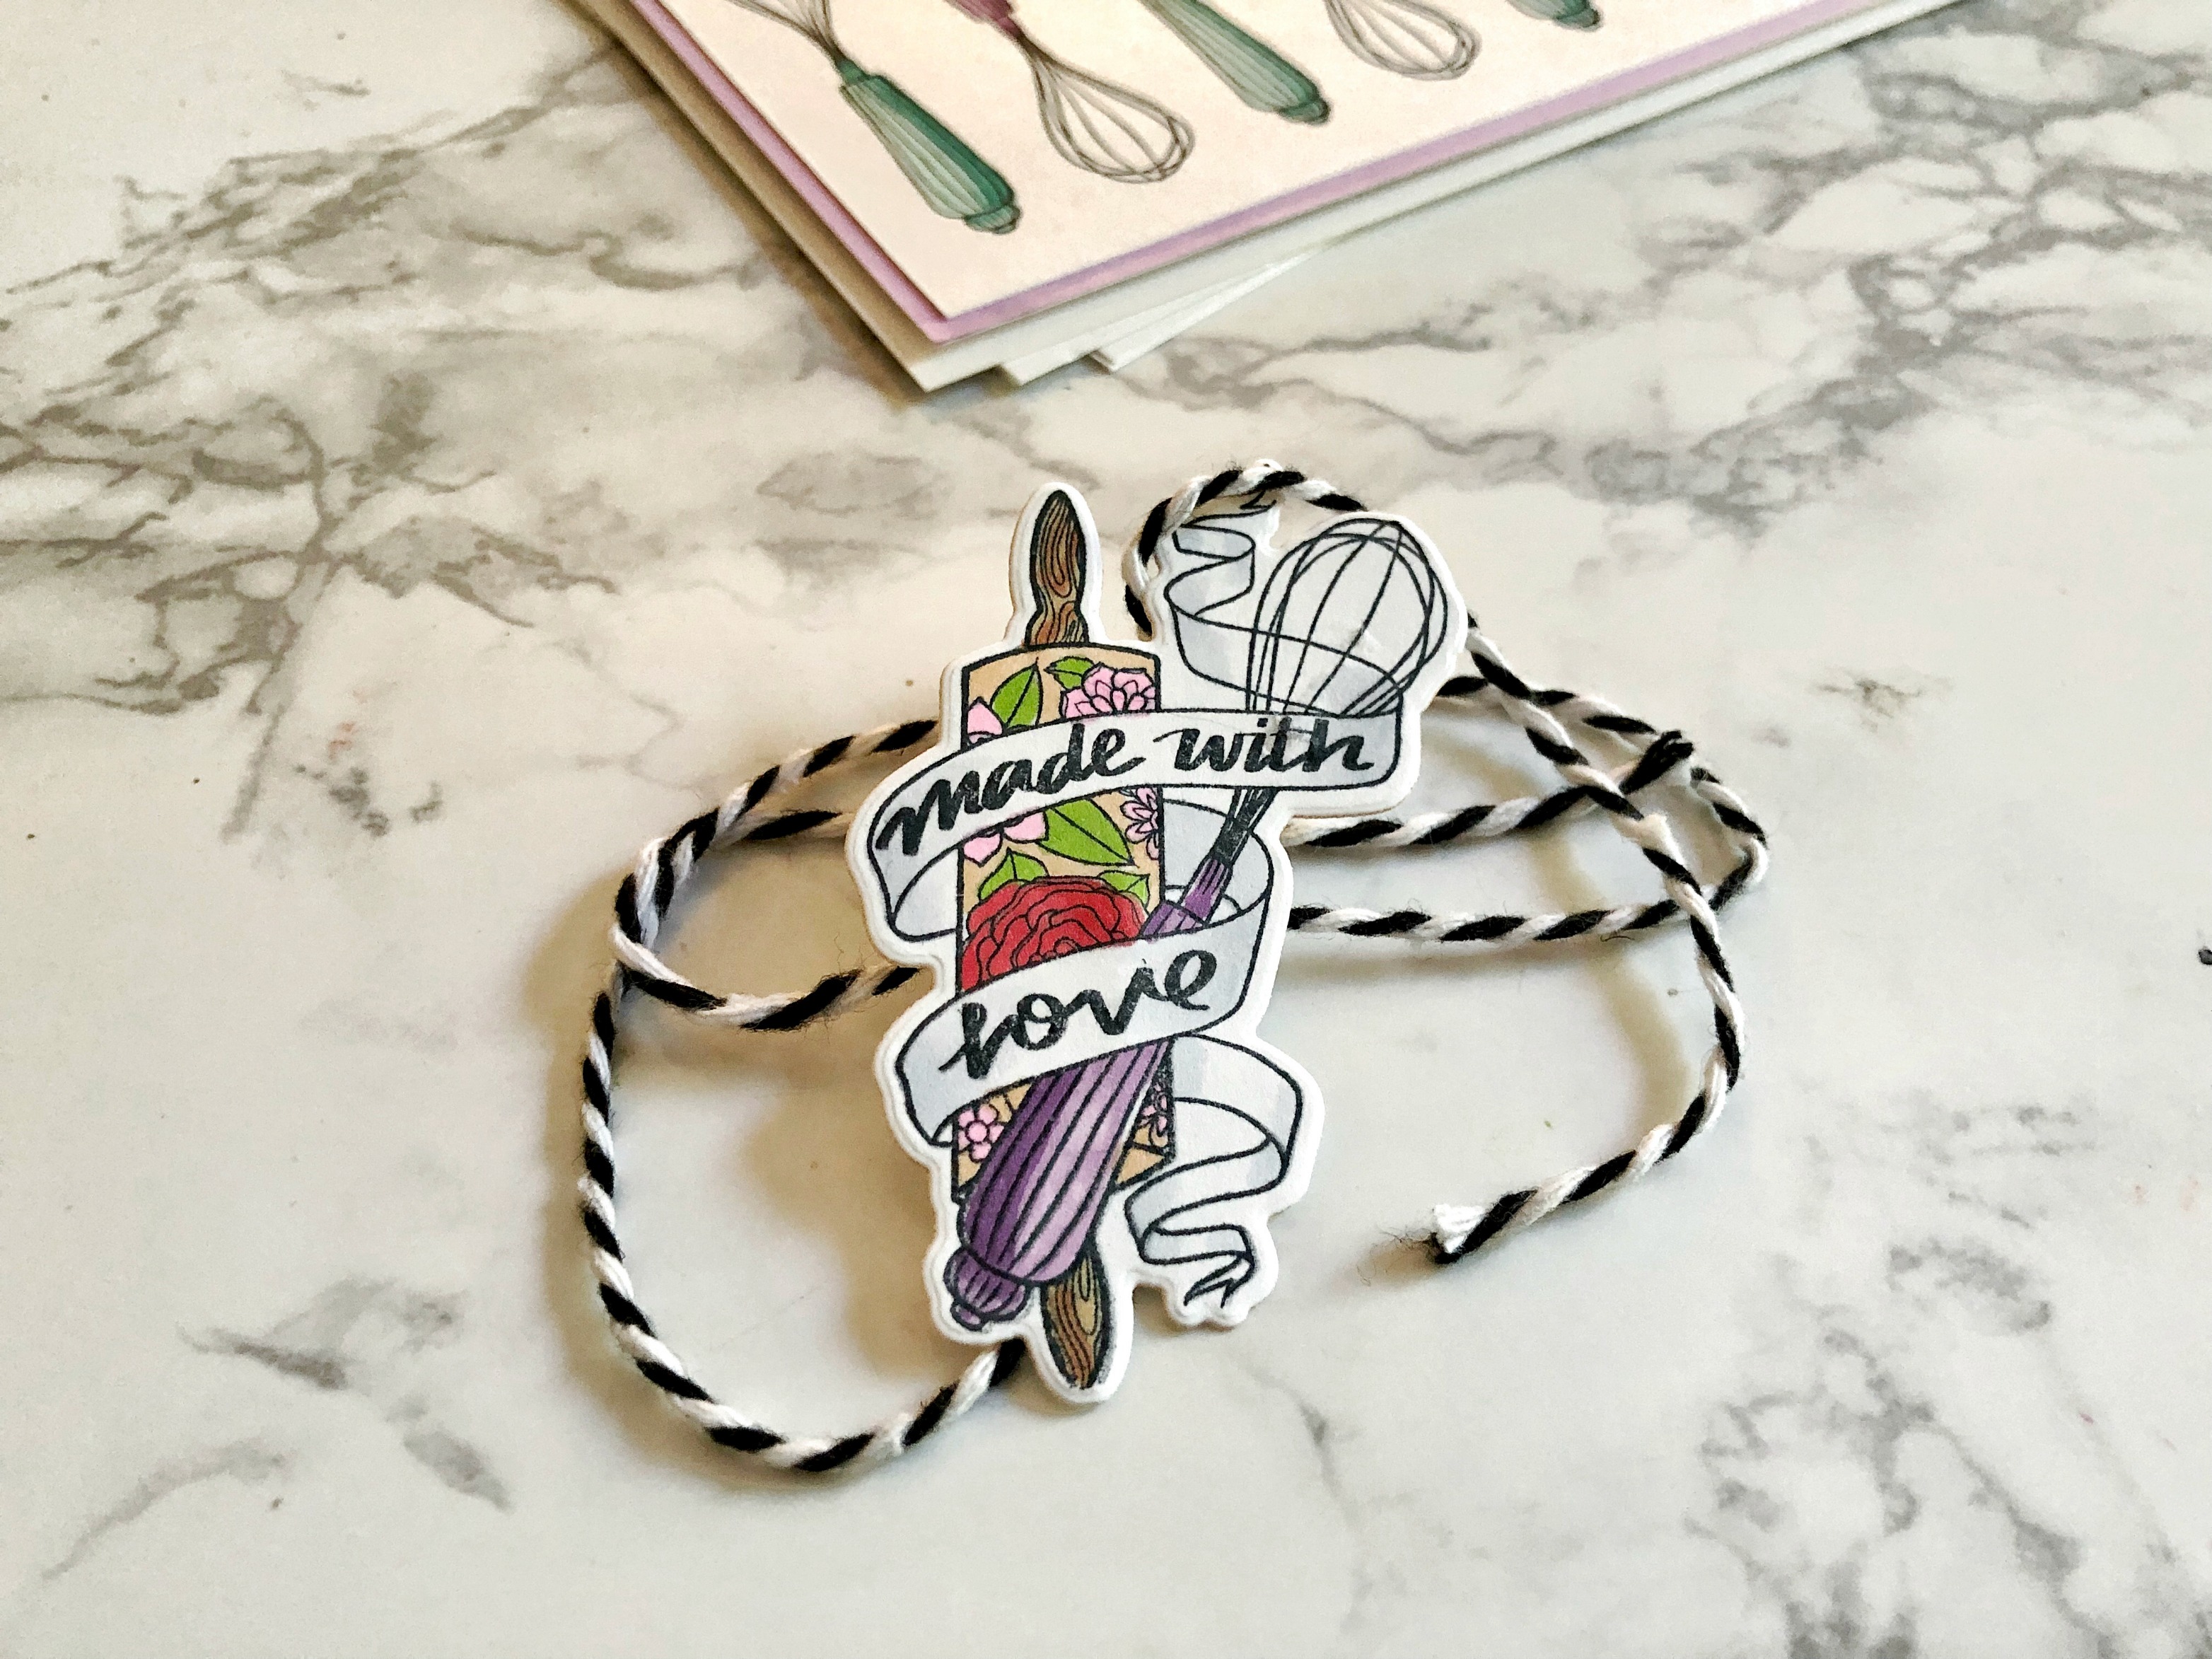
I’m so in love with the banner stamp included in this set. The way it wraps around the whisk and rolling pin is so fun and gives such a great detail to the set. I colored the stamp with Copic markers and used the coordinating die to cut the image out and adhered it with a dot of glue to the front of the twine that holds the cards together. I think this gives such a finished look to the set, almost like a personalized seal. I hope that you have enjoyed reading a bit about how I created this set. I love discovering ideas of new ways to use my stamps and I hope that I was able to give you a bit of inspiration today. Thank you for stopping by! I’ll see you again shortly!

Spellbinders Handmade Collection by Stephanie Low - Inspiration | Recipe Card Gift Set by Ashlea #spellbinders #neverstopmaking #stamping #handmade

SPELLBINDERS SUPPLIES:

OTHER SUPPLIES:

Copic Markers V12, V15, BG15, BG10, E21, R02, YG03; Catherine Pooler Premium White Cardstock; Tombow Mono Multi Glue; MISTI; Memento Tuxedo Black Ink.

Leave a comment

Your email will not be published. Please note, comments need to be approved before they are published.

1 comment

Martha Hang,

The recipe cards are beautiful. Thank you for sharing your thoughts.


  • How to Make a Funny Christmas Penguin Card: Merry & Barely Holding It Together, SDS-243

    Categories:Die Cutting

    How to Make a Funny Christmas Penguin Card: Merry & Barely Holding It Together

    Create a hilarious holiday card featuring an exhausted penguin, a spilled glass of wine, and the all-too-relatable sentiment "Merry & Barely Holding It Together." In this step-by-step tutorial, you'll learn how to assemble layered die-cut characters, create a dramatic winter sky with ink blending, add embossed sentiments, and finish the design with snowy splatter effects. This project is perfect for cardmakers who enjoy humorous Christmas...

  • November 2026 Stencil of the Month Preview & Tutorials – Banana Bread

    Categories:Kits & Clubs>Stencil of the Month

    November 2026 Stencil of the Month Preview & Tutorials – Banana Bread

    Our November 2026 Stencil of the Month Club preview & tutorials are here! Here’s a look at the design for this month – Holiday Harmony: Please note, new Subscription Sign-Up Window will now open on the 6th of each month and close on the 27th (once existing club members subscriptions have been processed.) If there is additional inventory remaining, then they will be made available...

  • November 2026 2D Embossing Folder of the Month Preview & Tutorials – Wonky Check

    Categories:Kits & Clubs>Embossing Folder of the Month

    November 2026 2D Embossing Folder of the Month Preview & Tutorials – Wonky Check

    Our November 2026 2D Embossing Folder of the Month preview & tutorials are here! Exclusive 2D Embossing Folder adds texture and dimension to any project. Size will generally be 5.5" x 8.5" and can be used to make slimline, 5" x 7", and a variety of sized projects. Spellbinders Monthly Clubs are exclusively designed by our in-house creative team, curated with care, and delivered with...