Blooming Garden Inspiration | Layered Cards with Melissa
on April 14, 2018

Blooming Garden Inspiration | Layered Cards with Melissa

Hi again everyone! Melissa Phillips here with you today sharing a couple of cards created with the gorgeous Blooming Garden Collection designed by Marisa Job.
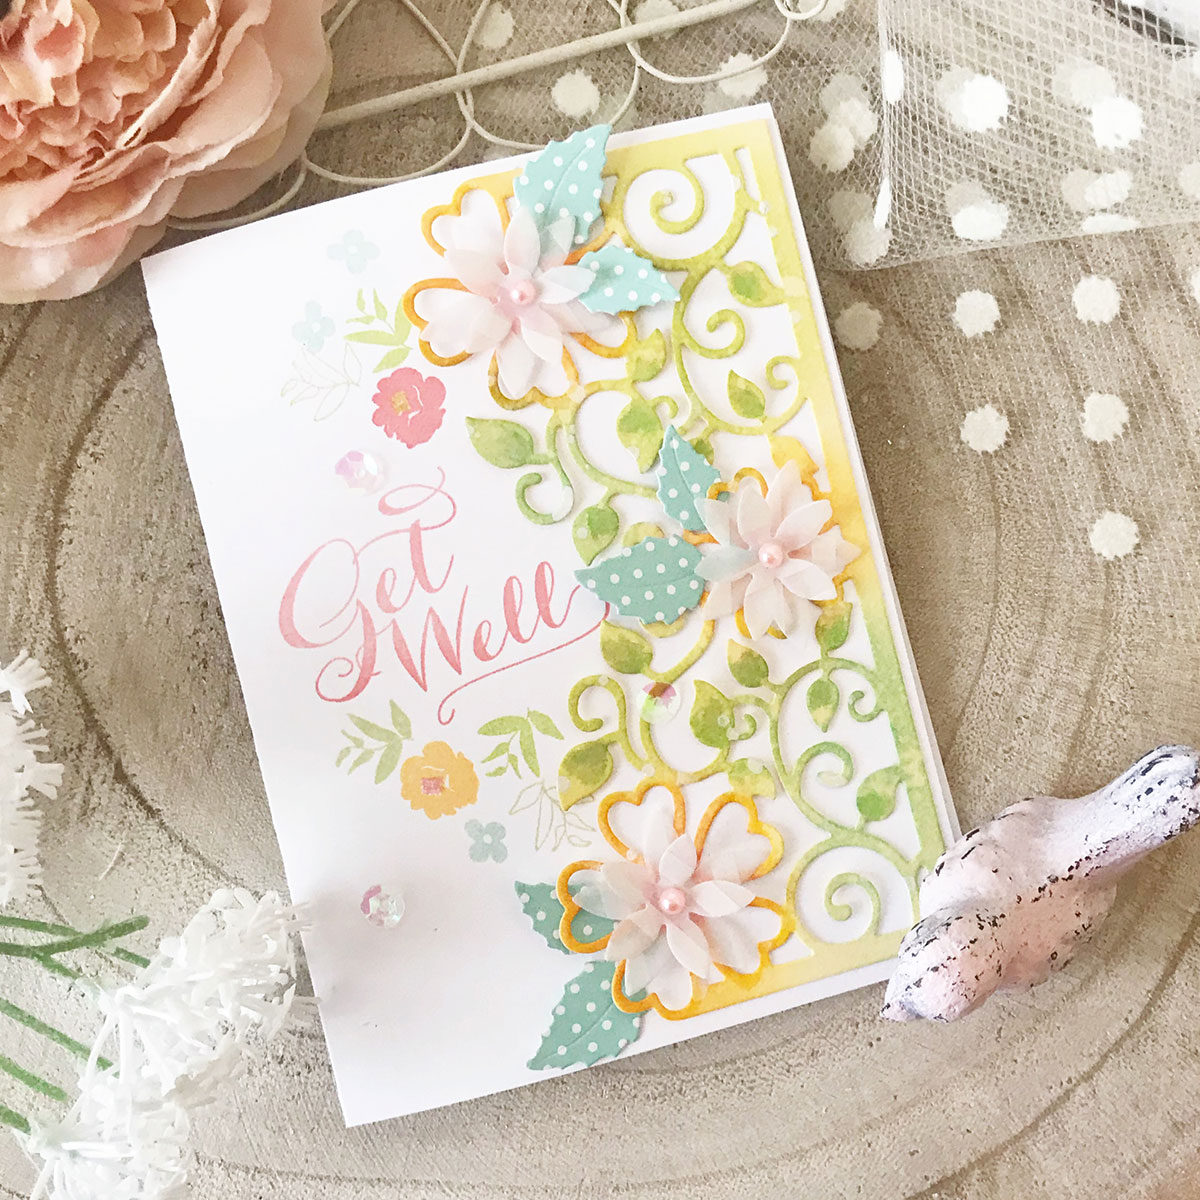
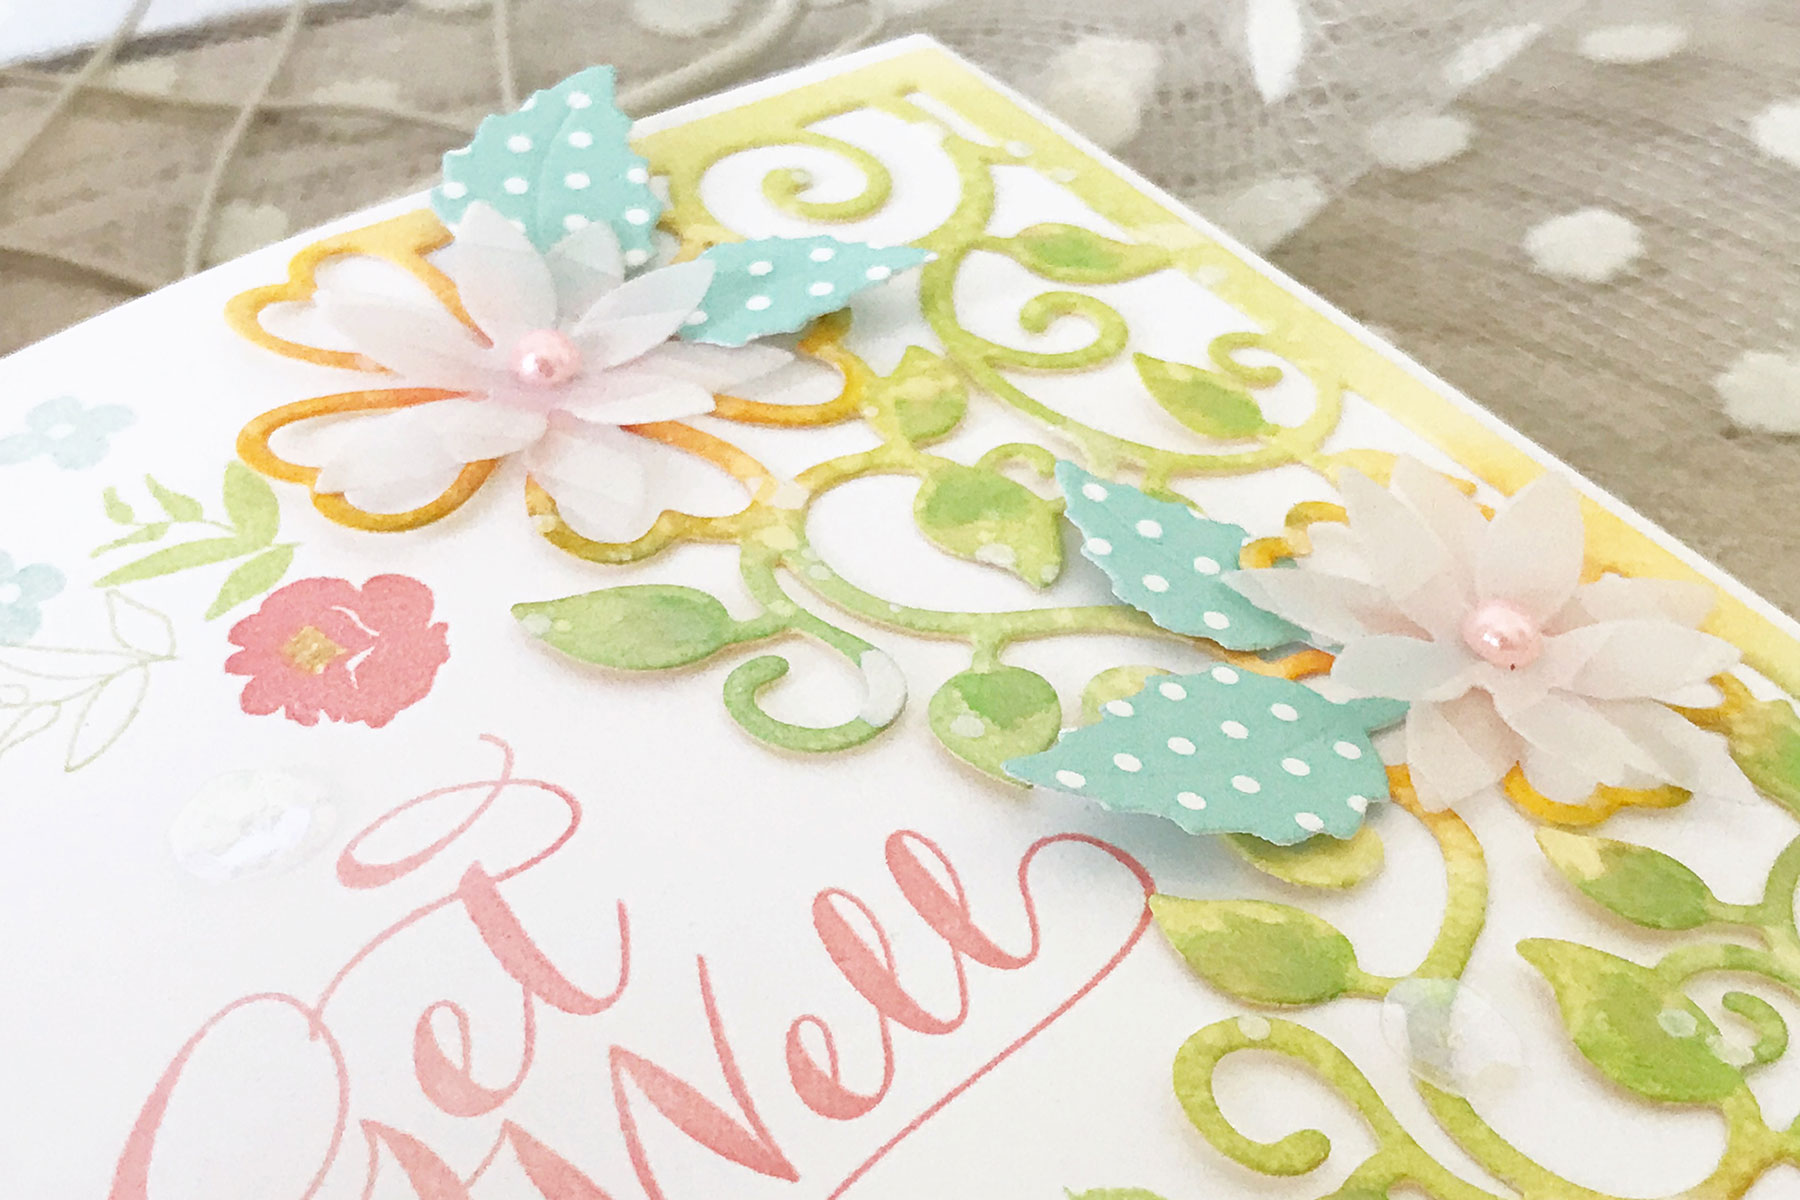
Blooming Garden Collection by Marisa Job Inspiration | Layered Cards by Melissa Phillips for Spellbinders using S3-335 Rose Buds, S4-914 Side Floral Panel, S4-916 Blooming Rose dies #spellbinders #neverstopmaking #diecutting #handmadecard

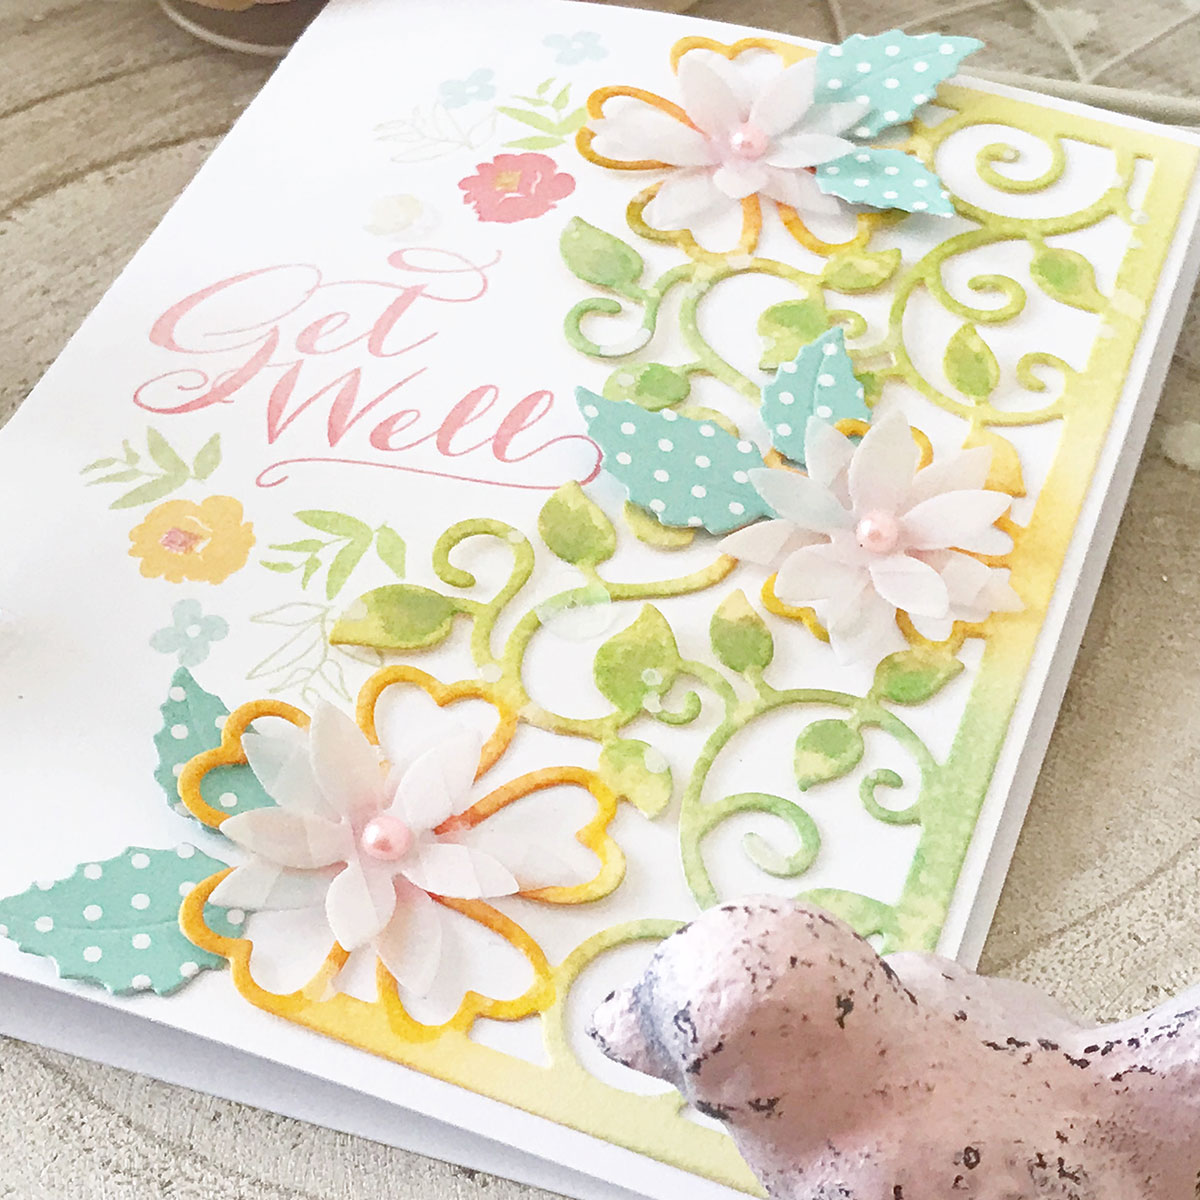
I’ve used the beautiful Side Floral Panel die on both of my cards.  On this first card, I die cut it from yellow cardstock and then added color to the flowers and vines by sponging on ink.

Blooming Garden Collection by Marisa Job Inspiration | Layered Cards by Melissa Phillips for Spellbinders using S3-335 Rose Buds, S4-914 Side Floral Panel, S4-916 Blooming Rose dies #spellbinders #neverstopmaking #diecutting #handmadecard

After adding color to my die cut, I spritzed it with water and let the colors blend a bit.  I then added dimension by using vellum and die cutting flowers using the Rose Buds die.

Blooming Garden Collection by Marisa Job Inspiration | Layered Cards by Melissa Phillips for Spellbinders using S3-335 Rose Buds, S4-914 Side Floral Panel, S4-916 Blooming Rose dies #spellbinders #neverstopmaking #diecutting #handmadecard

I then used patterned paper and die cut leaves for my vellum flowers using the Blooming Rose.  Before adhering the finished panel to my card, I stamped my sentiment along with a few flowers and then attached my panel down the right side.

Blooming Garden Collection by Marisa Job Inspiration | Layered Cards by Melissa Phillips for Spellbinders using S3-335 Rose Buds, S4-914 Side Floral Panel, S4-916 Blooming Rose dies #spellbinders #neverstopmaking #diecutting #handmadecard

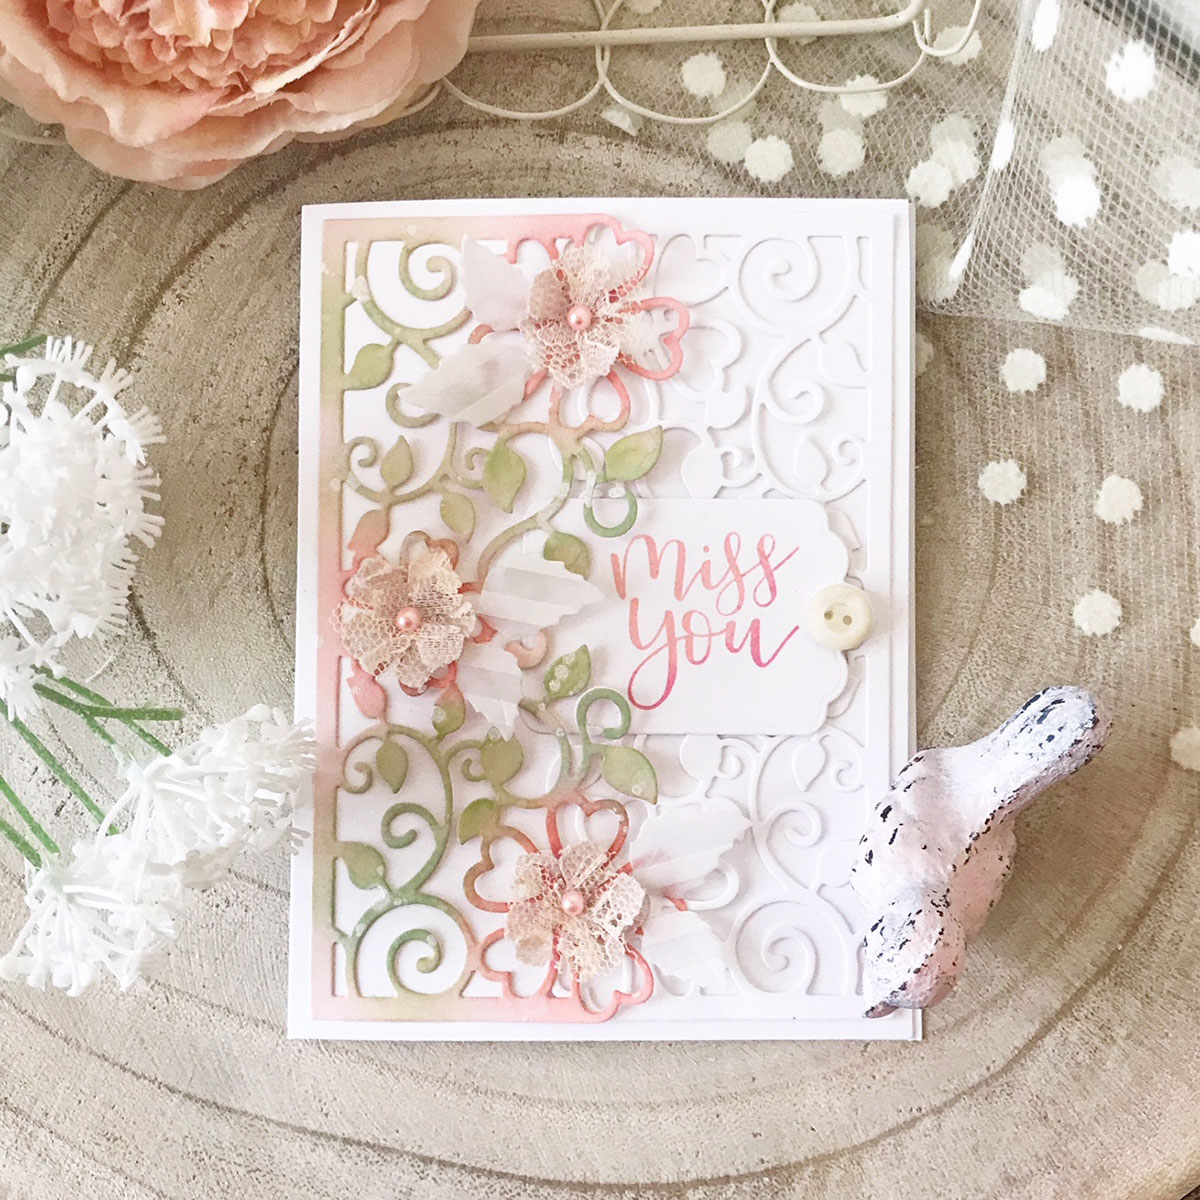
The very same Blooming Garden dies were used on my second card, this time die cutting my panel from pink cardstock .

Blooming Garden Collection by Marisa Job Inspiration | Layered Cards by Melissa Phillips for Spellbinders using S3-335 Rose Buds, S4-914 Side Floral Panel, S4-916 Blooming Rose dies #spellbinders #neverstopmaking #diecutting #handmadecard

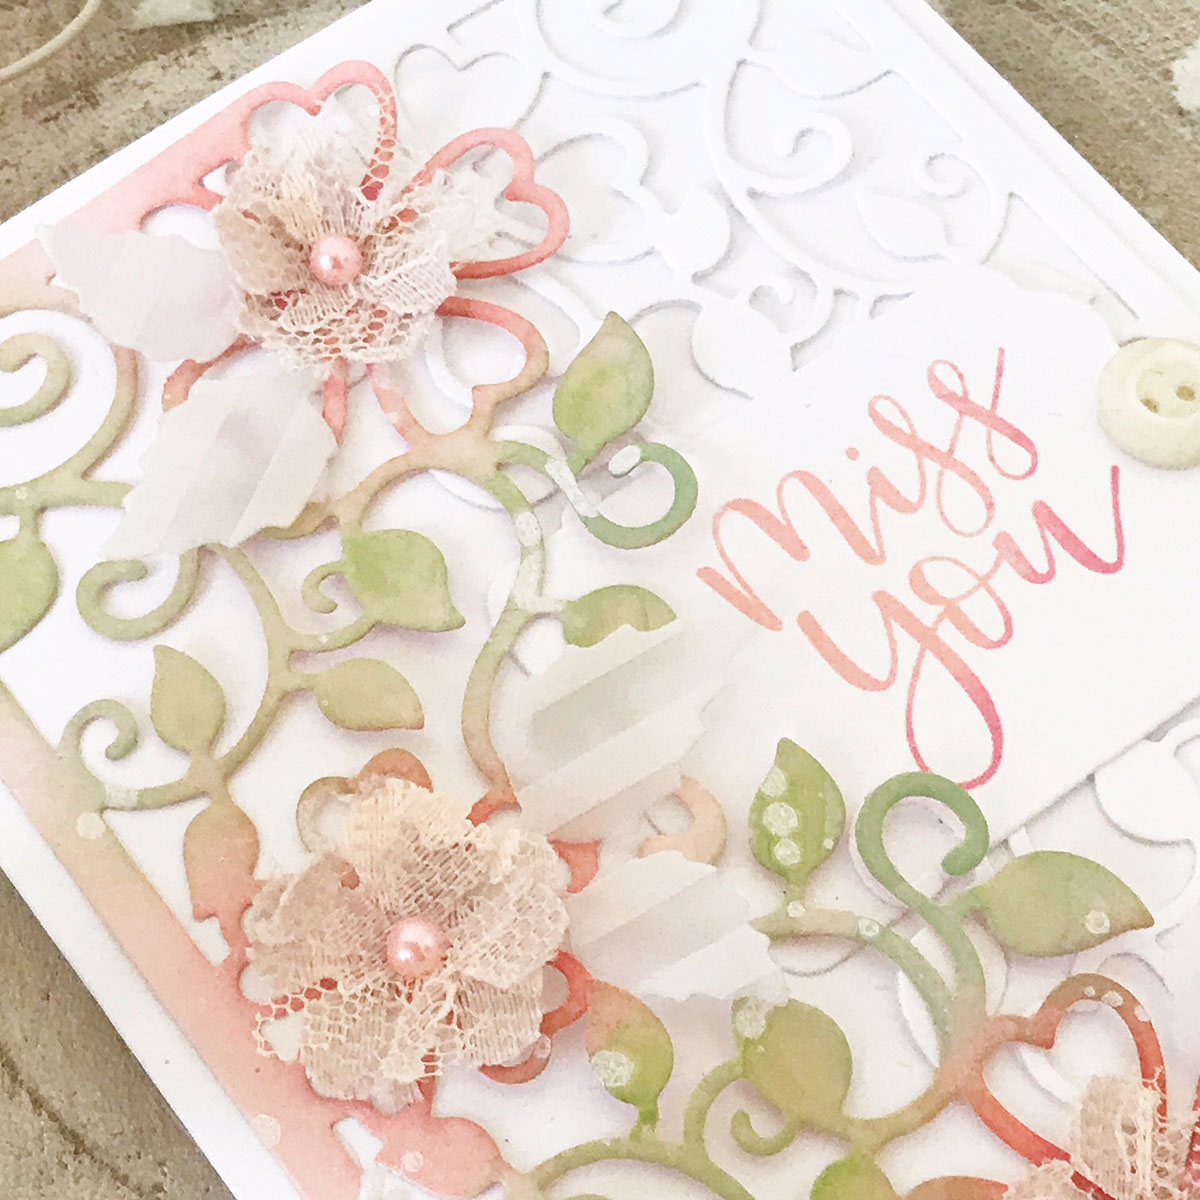
I treated my pink panel the very same way as I did in my first card.  For this card though, I die cut a second panel from white cardstock and attached the two of them to opposite sides of the card.

Blooming Garden Collection by Marisa Job Inspiration | Layered Cards by Melissa Phillips for Spellbinders using S3-335 Rose Buds, S4-914 Side Floral Panel, S4-916 Blooming Rose dies #spellbinders #neverstopmaking #diecutting #handmadecard

This time instead of using vellum for my die cut flowers, I cut them from vintage trim with my leaves cut from vellum.  I love how easily Spellbinders dies cut through many different types for materials and mediums.

Spellbinders Supplies:

Other Supplies:

Patterned paper: Papertrey Ink; Cardstock and Vellum:  Papertrey Ink; Trim:  Craft supply; Ink:  Papertrey Ink; Stamps:  Papertrey Ink; Adhesive pearls:  Kaisercraft; Sequins:  My Mind’s Eye; Adhesive:  Beacon and Tombow These dies make creating so easy and effortless, but the results always look so detailed and beautiful. Thank you for visiting! Melissa

Leave a comment

Your email will not be published. Please note, comments need to be approved before they are published.

5 comments

Marisela Delgado,

I am never surprised at the beautiful cards that Melissa makes. She never disappoints. You rock, Melissa! You are FABULOUS, girl.

Brenda Stainton,

Nice water coloring technique. It really makes the card pop. The dies are so versatile and you did wonderful job.

Brenda Stainton,

Nice water coloring technique. It really makes the card pop. The dies are so versatile and you did awonderful job.

Mary Ellen Reeder,

The dies and colors are really well done and eye catching.

Pooja,

So Beautiful !


  • How to Make a Funny Christmas Penguin Card: Merry & Barely Holding It Together, SDS-243

    Categories:Die Cutting

    How to Make a Funny Christmas Penguin Card: Merry & Barely Holding It Together

    Create a hilarious holiday card featuring an exhausted penguin, a spilled glass of wine, and the all-too-relatable sentiment "Merry & Barely Holding It Together." In this step-by-step tutorial, you'll learn how to assemble layered die-cut characters, create a dramatic winter sky with ink blending, add embossed sentiments, and finish the design with snowy splatter effects. This project is perfect for cardmakers who enjoy humorous Christmas...

  • November 2026 Stencil of the Month Preview & Tutorials – Banana Bread

    Categories:Kits & Clubs>Stencil of the Month

    November 2026 Stencil of the Month Preview & Tutorials – Banana Bread

    Our November 2026 Stencil of the Month Club preview & tutorials are here! Here’s a look at the design for this month – Holiday Harmony: Please note, new Subscription Sign-Up Window will now open on the 6th of each month and close on the 27th (once existing club members subscriptions have been processed.) If there is additional inventory remaining, then they will be made available...

  • November 2026 2D Embossing Folder of the Month Preview & Tutorials – Wonky Check

    Categories:Kits & Clubs>Embossing Folder of the Month

    November 2026 2D Embossing Folder of the Month Preview & Tutorials – Wonky Check

    Our November 2026 2D Embossing Folder of the Month preview & tutorials are here! Exclusive 2D Embossing Folder adds texture and dimension to any project. Size will generally be 5.5" x 8.5" and can be used to make slimline, 5" x 7", and a variety of sized projects. Spellbinders Monthly Clubs are exclusively designed by our in-house creative team, curated with care, and delivered with...