Video: Foiled Christmas Ornament - Hero Arts
Posted by Michelle Short on October 16, 2023

Video: Foiled Christmas Ornament

Hello there, Michelle here and today I have a card and video to share using the Ornament Fancy Dies in a slightly different way, with hot foiling, ink blending, and die cutting.

Here is the video showing how I made the card:

(If you are having trouble viewing this video, please watch HERE on YouTube.)

I started off by hot foiling the Merry Christmas sentiment from the Three Holiday Messages Hot Foil Plate onto Nautical cardstock using Champagne Hot Foil. I took one of the Ornament Fancy Dies , placed it on top of the foiled sentiment and die cut it out.

Ornament Fancy Dies by Michelle Short for Hero Arts

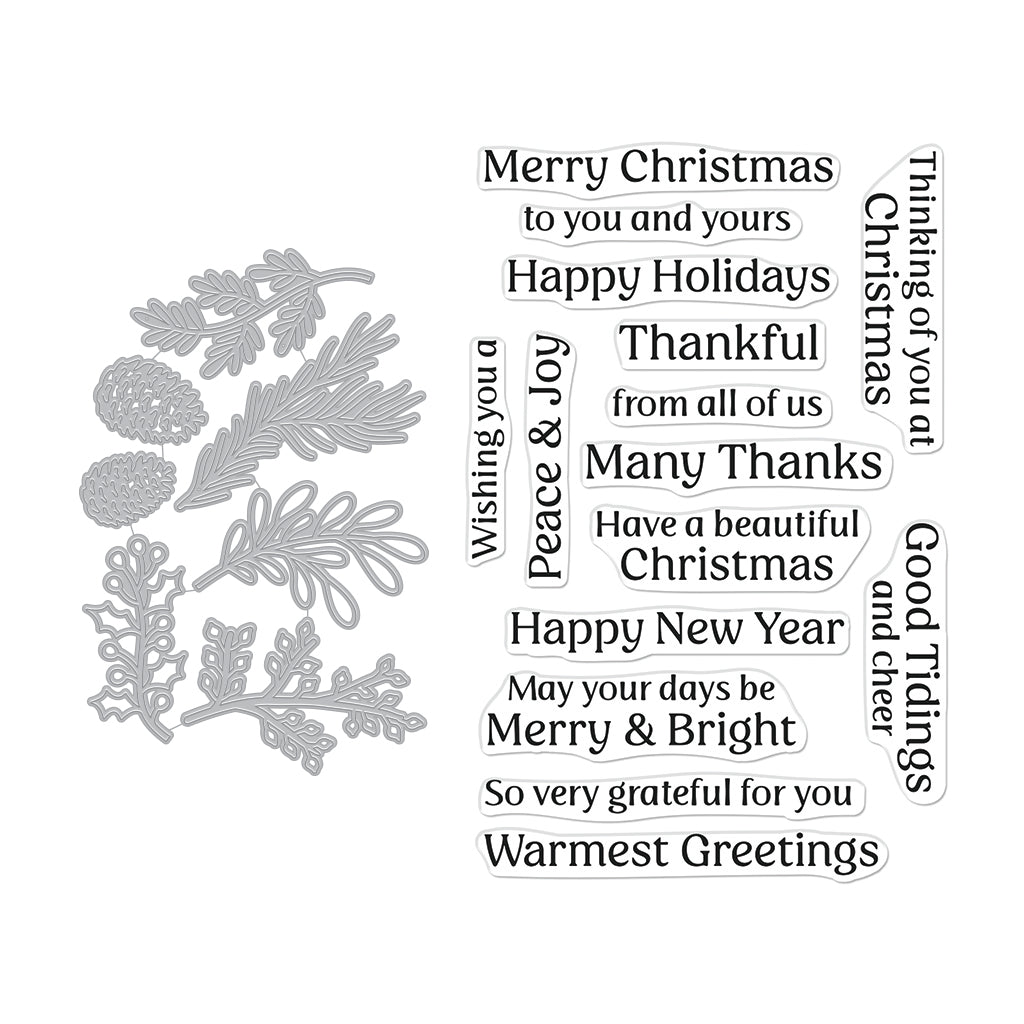
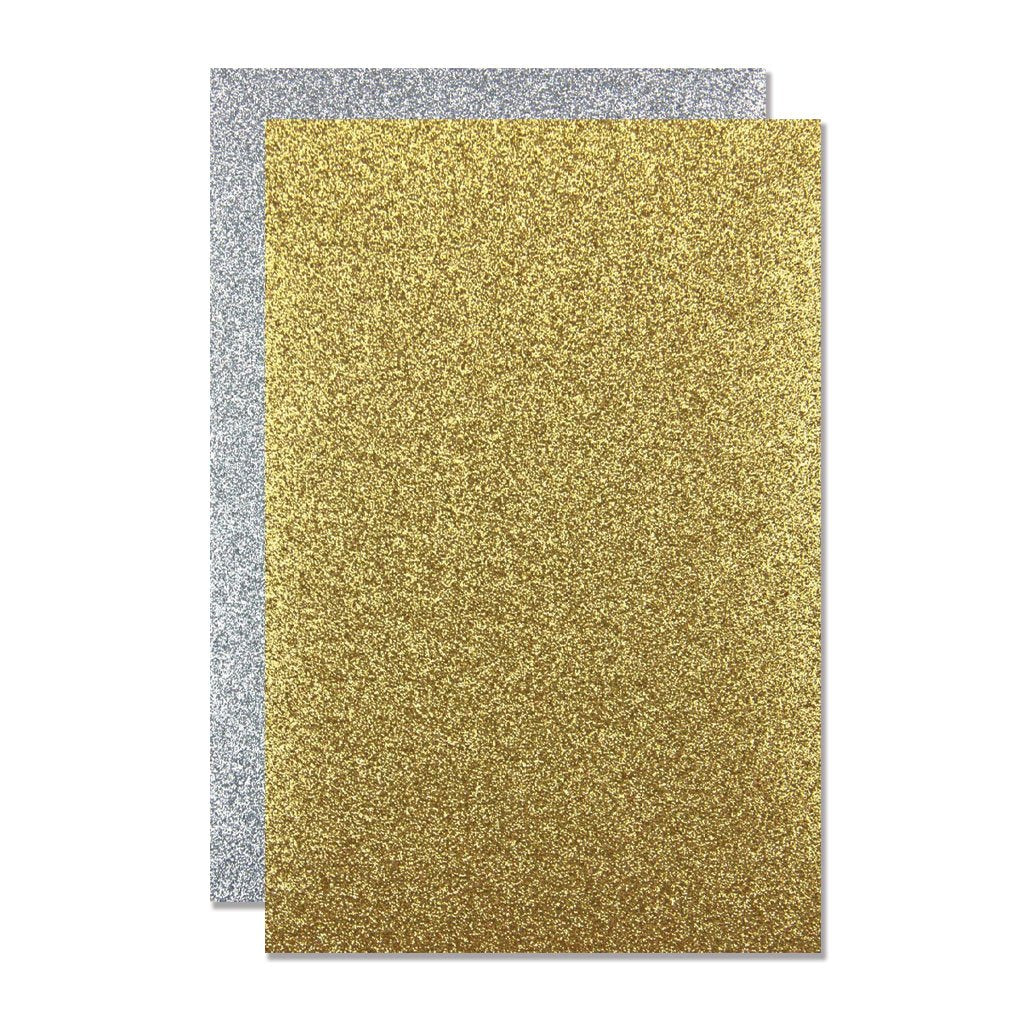
Whilst die cutting, I also die cut the ornament topper from Gold Glitter Paper and foliage in the Winter Folaige Stamp & Cut XL set from Meadow and Pine cardstock. I cut these down a little, as I only needed small pieces to add around the ornament. I added ink blending to them with Pine Core ink and a Small Ink Blending Brush .

Ornament Fancy Dies by Michelle Short for Hero Arts

I added ink blending to the ornament with Nautical Core ink (with a Medium Ink Blending Brush ) and Pitch Black Core ink (with a Small Ink Blending Brush ). I also added ink blending to the front panel of my A2 (4 1/4" x 5 1/2") card base cut from Nautical cardstock.

Ornament Fancy Dies by Michelle Short for Hero Arts

I adhered the foliage to the card base with Precison Glue XL using Tweezers to help with placement. I adhered the topper to the ornament and tied gold thread through the top and tied in a double bow. The ornament was then adhered to the card using foam tape. To finish off, I added a few gold gems.

I love how the sentiment fits perfectly inside the ornament and it is a fun way to use the ornaments in a different way! Thank you so much for stopping by today, I hope you have a wonderful day!

Click on products to shop:
DF162 Ornament Fancy Dies (E) | Hero...
HF125 Three Holiday Messages Hot Foil...
DC304 Winter Foliage Stamp & Cut XL |...
AF706 Nautical Core Ink | Hero Arts
AF764 Pitch Black Core Ink | Hero Arts
PS316 Hero Hues Premium Cardstock...
PS328 Hero Hues Premium Cardstock...
PS341 Hero Hues Premium Cardstock...
PS778 Glitter Paper Holiday Sparkle |...
MI004 Hero Tools Ink Blending Brush...
MI005 Hero Tools Ink Blending Brush...
HT204 Hero Tools Reverse Grip...
GW102 Precision Glue XL | Hero Arts

Leave a comment

Your email will not be published. Please note, comments need to be approved before they are published.


  • Hey Boo! Classic Mouse Halloween, S5-772, S5-487, S6-270, BP-387, S5-774

    BD-1026

    Classic Mouse Halloween Card with Trick or Treat Costume Party Dies

    Dress up adorable Classic Mouse characters in Halloween costumes! This step-by-step tutorial shows how to transform the Classic Mouse Wedding dies into a vampire and witch using the Trick or Treat Costume Party collection, then finish the card with layered backgrounds and a foiled Halloween sentiment.

  • Color Blocking with Classic Mouse Costume Party, S6-270, S5-774, E3D-188, BP-387

    Spellbinders Blog

    How to Make a Classic Mouse Halloween Card with Costume Party Dies

    Dress up adorable Classic Mouse characters as the Queen of Hearts and a magician in this playful Halloween card tutorial. Learn how to combine layered die cuts, bold color blocking, 3D embossing, and metallic accents to create a striking handmade Halloween card.

  • Fangtastic Drac, S6-272, BP-387, BP-385, S5-487, BD-1026

    BD-1026

    How to Make a Dracula Halloween Card with the Drac Die Set

    Create an adorable Halloween card featuring Drac from Simon Hurley's Halloween Hugs Collection. This step-by-step tutorial shows how to assemble the layered vampire die cuts, create an ink-blended night sky, add optional hot foiled bats, and finish the card with a playful Halloween sentiment.