

Posted by Jayne Nelson
on November 02, 2023

Not surprisingly, some of the most popular images for holiday cards are ornaments. The new Ornament Fancy Dies set makes adding detailed, die-cut ornaments to your holiday cards and gift tags incredibly easy. This beautiful seven-piece die set can be used to make three different ornament shapes, with or without intricate designs. Today, I’m sharing a card featuring a trio of these stunning ornaments.

To make this card, I started by blending Unicorn ink, with a Blending Brush, over the Swirling Stars Stencil onto a trimmed panel of Mist cardstock. I set the panel aside to let the white ink dry.
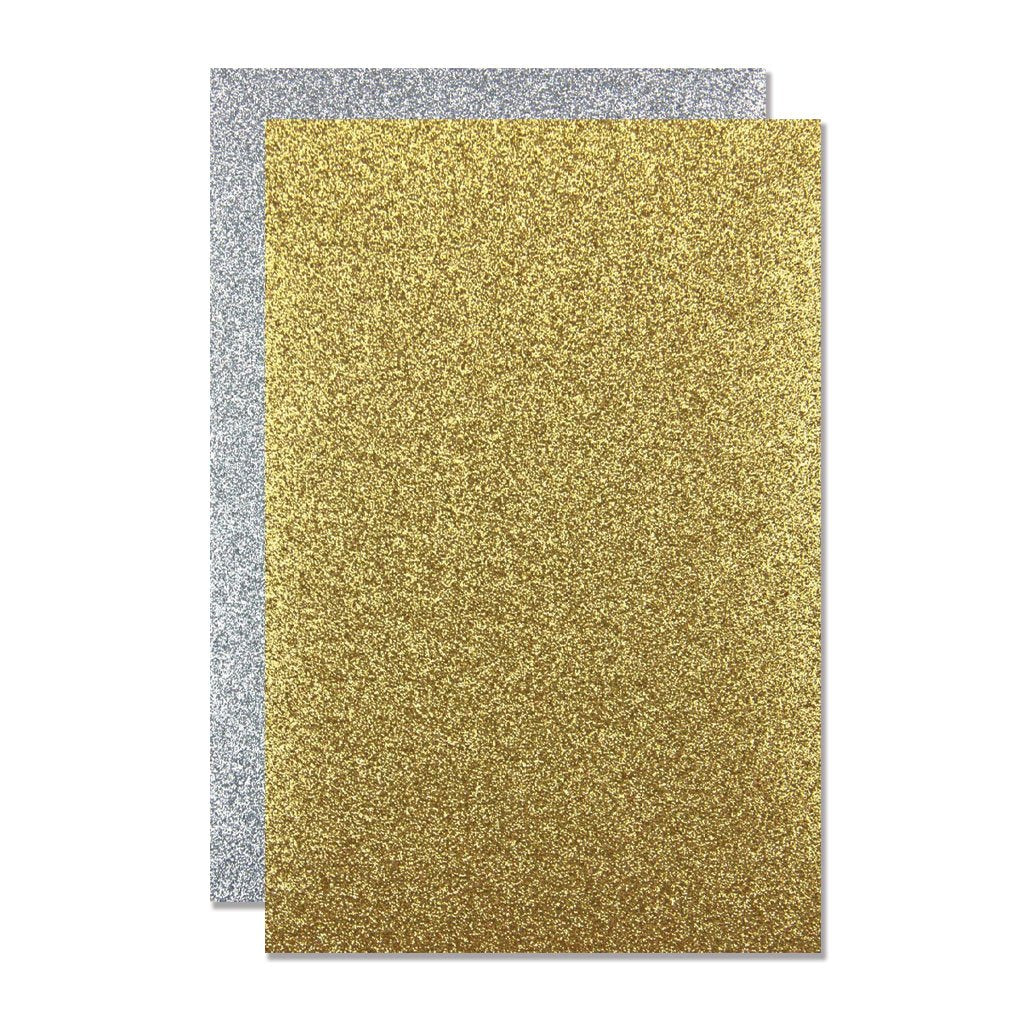
To make the ornaments, I die cut three ornament shapes, each one with it’s intricate inner die, from Arctic, Pine, and Peacock cardstock. Although it’s not necessary to fill the spaces in the ornaments created with the inner dies, I decided to inlay silver glitter paper, from the Glitter Paper Holiday Sparkle pack, into these designs. After die-cutting the inner pieces from glitter cardstock, I simply placed adhesive tape on the back of each ornament, applied small dots of Precision Glue onto the tape thru the openings, and then placed the corresponding glitter shapes into the ornaments.

Next, I cut three toppers from silver glitter paper and glued them to the top of each ornament. Before securing the ornaments to the stenciled panel with foam tape, I ran lengths of fine wire, taped to the back of two ornaments, through the toppers and then to the back of the panel where I secured the wire with more tape. After securing the ornaments in place, I glued the panel to a Peacock card base.

To finish the card, I stamped a holiday sentiment from the Winter Trees set with Clear Embossing & Watermark ink onto a small piece of Nautical cardstock and then embossed the message with White Embossing Powder. For a final detail, I added three Blue Enamel Dots.

Will you be using ornaments on any of your card projects this year? I hope you give this gorgeous and versatile die set a try! The simple and elaborate ornament designs are sure to bring huge holiday smiles.
Thanks so much for stopping by today. Wishing you a wonderful and crafty weekend,

Click on products to shop:
|































































































2 comments
I always love being able to make ornaments for Christmas -been doing it since about 2nd grade. Live this kit.
Beautiful card! Love the background. :-)