Posted by Ilina Crouse
on September 12, 2022

Hi everyone! Ilina here. I hope you are as excited for Fall as I am, even though it's still pretty warm down here in Georgia, but I am looking forward to chillier weather.
Today I am sharing a Fall card using the new Fall Leaves Cover Plate and doing some creative masking/stenciling with it to add color to the leaves.

To make the card start by die cutting the cover plate from Sand cardstock and also from masking paper. Set aside the Sand piece and we'll work on the piece die cut from masking paper. Grab your favorite scissors for intricate cutting and carefully cut out all the leaves. This will leave you with a mask that looks like a stencil! Watch the video below to see how this card came to be:
If you are having trouble viewing this video, please watch HERE on YouTube
Remove the backing and adhere it to the panel we die cut from Sand cardstock. Using a Blending Brush (I used the large one) apply Unicorn pigment ink. The reason I am using Unicorn ink is that we are working with darker cardstock, so the colors of ink we apply on top will appear brighter and more visible.
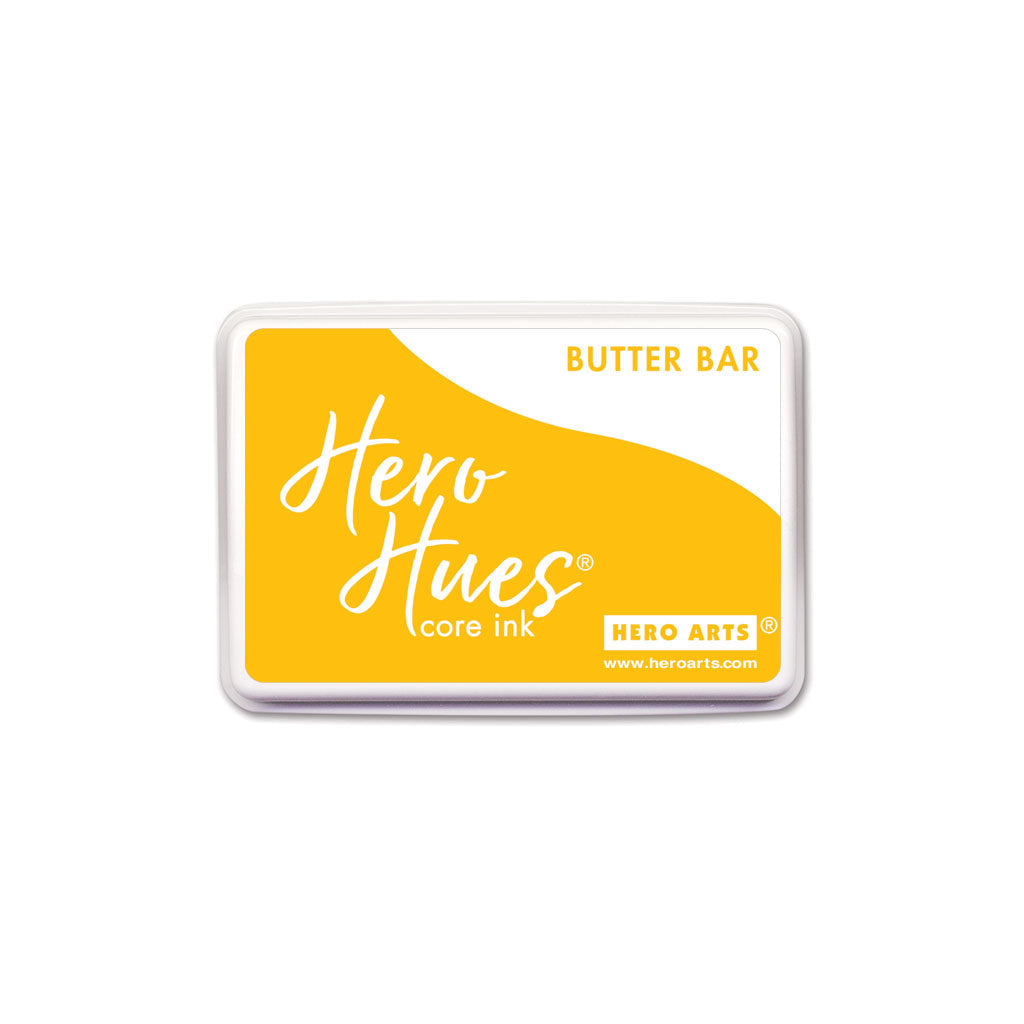
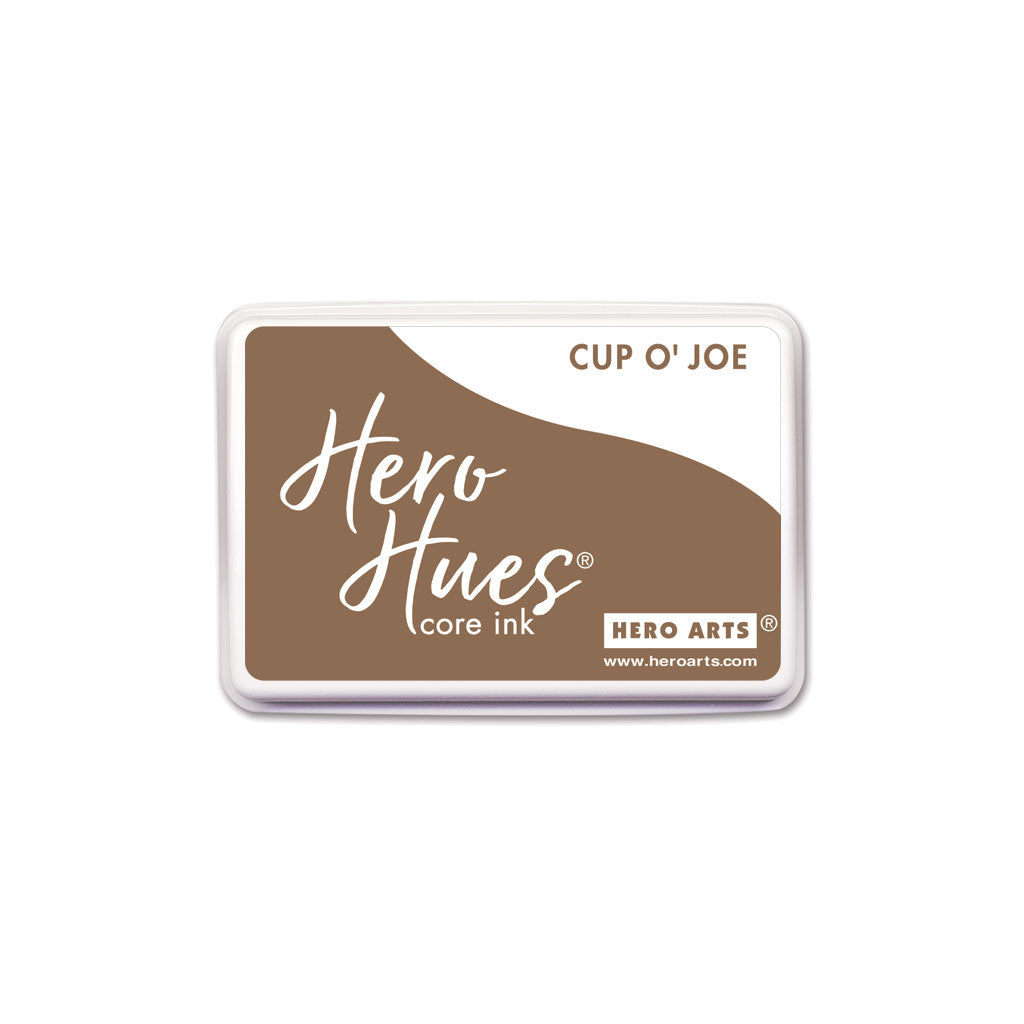
Use a heat tool to dry the ink, or you can set it aside overnight to dry. Next, select colors of Core Inks of your choice that you would like to add to the leaves. I used the following: Butter Bar , Pumpkin , Cranberry , Field Greens , Fresh Lawn , Cup O'Joe and Fawn . I smooshed ink on my glass mat and picked it up with my blending brush, so I don't contaminate my ink pads in case the Unicorn pigment ink wasn't completely dry.
Once done, use your heat tool to dry it a little. Remove the mask. This is when the magic appears. We have super colorful background!

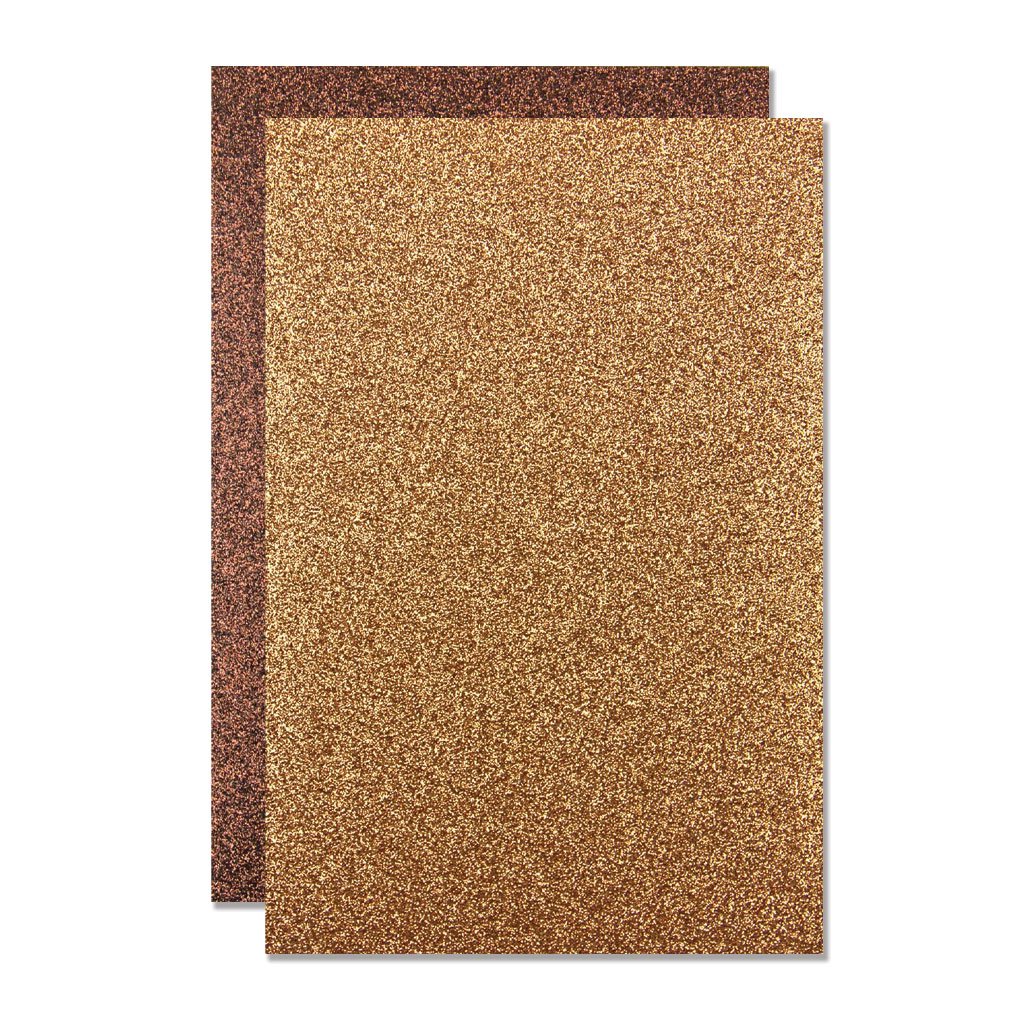
Next, die cut the "thankful" sentiment from the Grateful Words Fancy Dies . Use Vellum Layering Paper for the shadow die and Fall Glitter Paper for the sentiment. Also die cut the sentiment twice from Sand cardstock. Stack them and adhere to the panel. To finish off the panel adhere to a Top Folded Sand Card and add some Cork Hero Pearls .

Thank you so much for stopping by. Hope you have an amazing day!

|