

Posted by Michelle Short
on July 23, 2018

Hello there, Michelle here. I really like creating tags but I do not often have something to attach them to, like a gift, so for this project, I decided to use the Tag Infinity Dies to create a tag shaped card. I created a video for you to see how easy it is:
If you are having trouble viewing the video, you can watch it HERE in HD.
I started off by creating my focal point for the card. I love the new Hero Florals range. Not only are the florals beautiful, they are in 3" x 4" format so are very affordable at $7.99 each. Today I am using the Hero Florals Rose Stem stamp set and coordinating Frame Cuts.
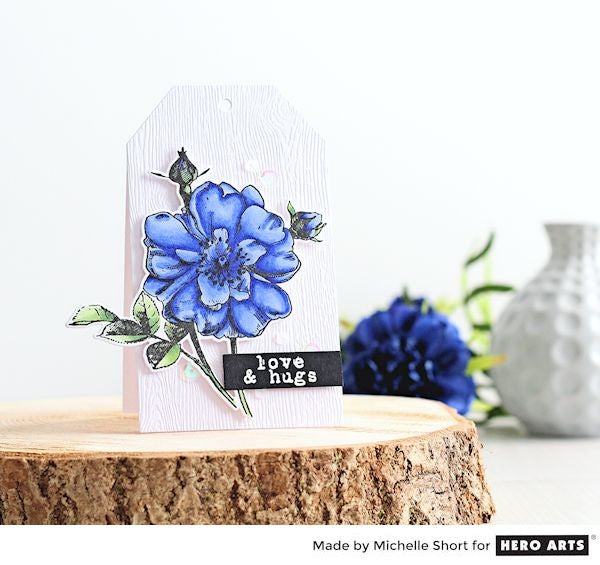
I started off by stamping the rose image on to white cardstock with Intense Black Ink . I coloured the image with Copic Markers and die cut out using the Hero Florals Rose Stem Frame Cuts . I set this aside to work on my tag card base. I die cut two tags, one from white cardstock , the other from Decorative Woodgrain Cardstock .
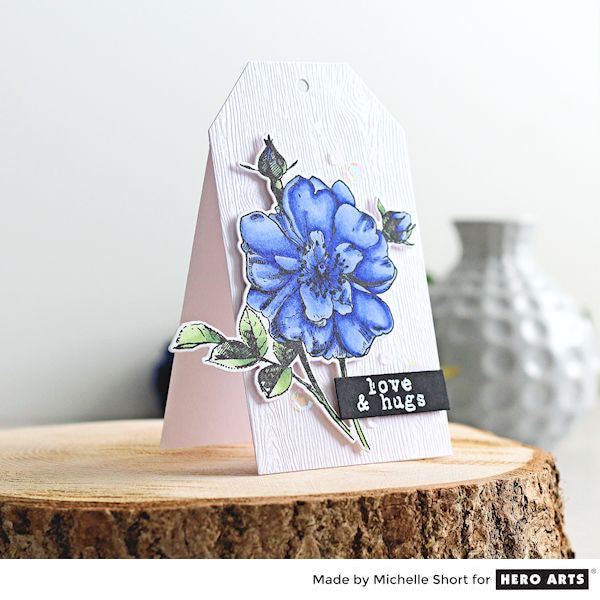
I took the plain white cardstock piece and scored this using a score board and bone folder to create a crease at the top of the tag. This will be the hinge for the card to open. I applied strong double sided tape to the top and adhered this to the woodgrain tag so that the woodgrain one is the front of the card.
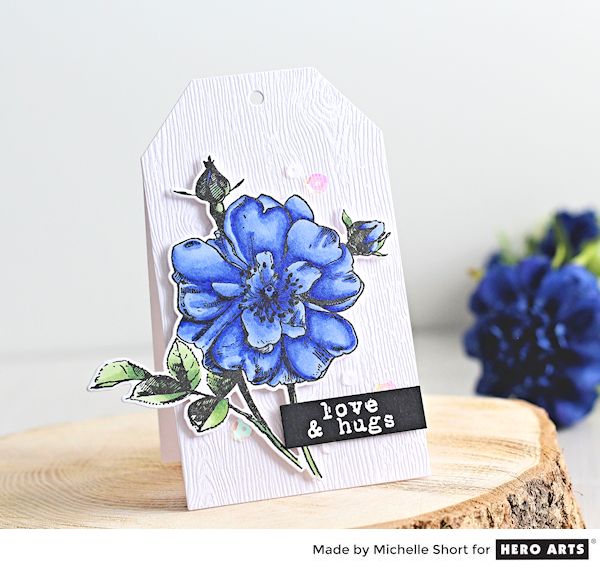
The rose stem was added to the card with foam tape. I took the sentiment from the set and stamped this on to black cardstock using Versamark Ink . I applied white embossing powder and heat set. This was die cut using the smallest die in the Nesting Rectangle Infinity Dies set and added to the card with more foam tape. To finish off, I added a few sequins from the Seashore and Frost mixes.
Thank you so much for stopping by today, happy stamping!























































































