

Posted by Michelle Short
on October 16, 2017

Hello there, Michelle here. I love stencils! They are really versatile. You can ink blend through them, spray through them and you can even use them to emboss. Which is what I am sharing with you today.
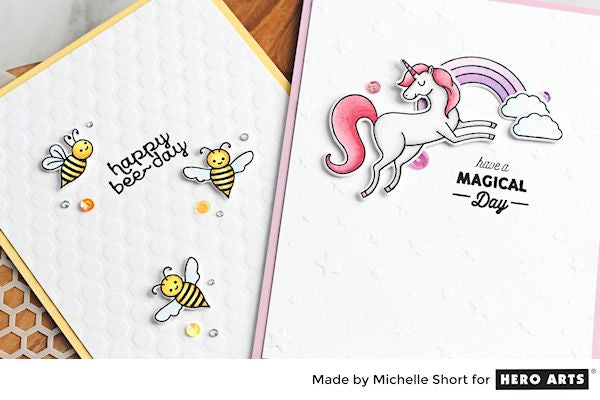
I am sharing two clean and simple cards that show how adding embossing to the background, really brings the cards together. You can see in the video here, how to emboss with stencils:
(If you are having problems viewing this video, please try watching it HERE in HD on You Tube)
My first card uses the Honeycomb Stencil , along with the Busy As A stamp set and frame cuts . I embossed a piece of white cardstock using the Honeycomb Stencil and then stamped the sentiment on to it using Black ink .
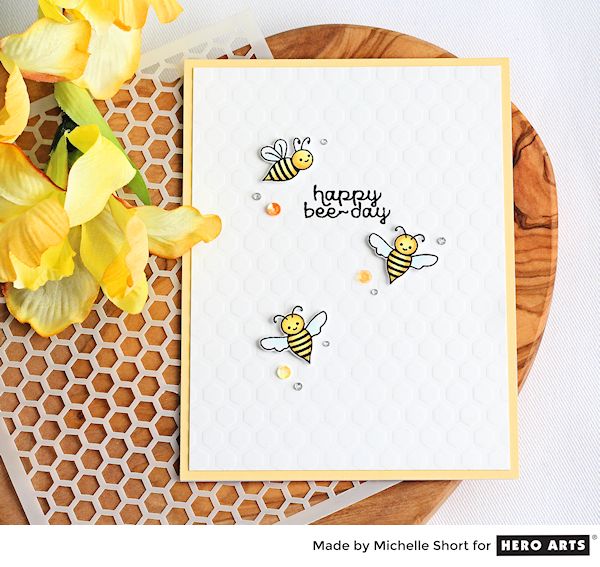
I adhered the panel on to an A2 card base made from Sunshine Layering Paper , with tape runner. I then stamped three bees from the Busy As A stamp set using Intense Black Ink . I coloured them with Copic Markers and then die cut them out using the Busy As A Frame Cuts .
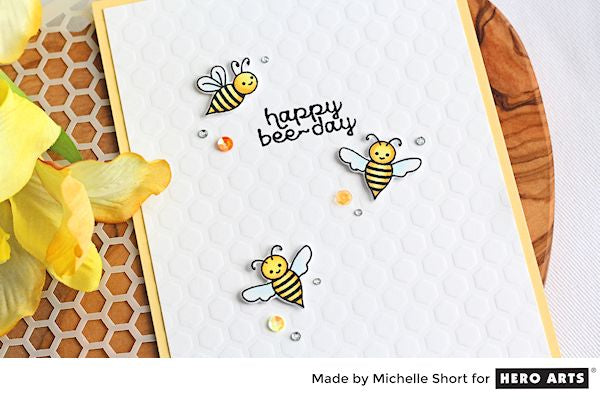
These were added to the card with foam squares. To finish off, I added Ombre Sunshine Sequins and Clear Gemstones .
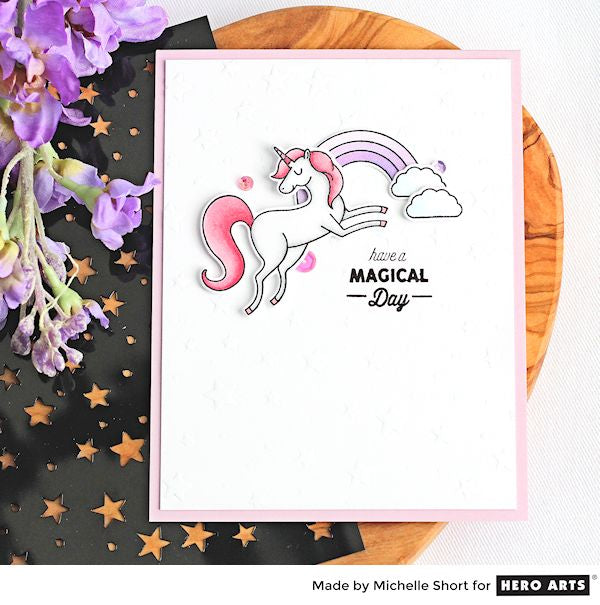
My second card uses the star stencil from the Sky Stencil Pair , as well as the Unicorn Stamp & Cut . I embossed the star stencil on to some white cardstock and stamped the sentiment on to it using Black Ink . I adhered this to an A2 card made using Floral Layering Papers .
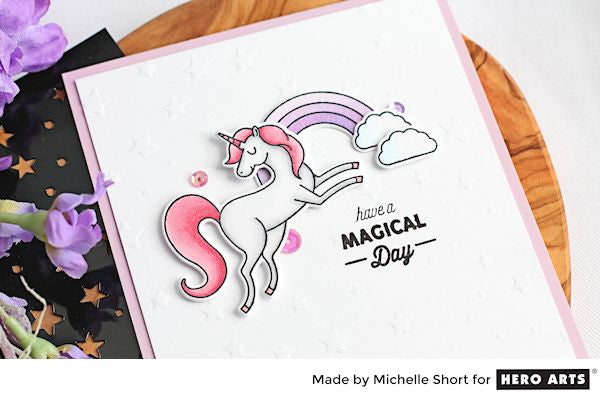
I stamped the unicorn, rainbow and clouds from the Unicorn Stamp & Cut stamp set using Intense Black and coloured them using Copic Markers. I then cut them out using the coordinating dies. They were added to the card base with a combination of tape runner and foam squares. To finish off, I added Ombre Purple Sequins , as well as clear Wink of Stella glitter pen to the unicorn.
I hope you will give embossing with stencils a try! Have a great day!























































































