Posted by Michelle Short
on June 26, 2023

Hello there, Michelle here. Today I have a card and video to share with you using the Circle Set Fancy Die set. These dies are very versatile – you can use them for a background, create grounding for a focal point, add die-cut inlay, plus lots more! For today, I thought I would change the shape slightly to create a sun.
(If you are having trouble viewing this video, please watch here on YouTube.)
I started off by die cutting the largest Circle Set Fancy Die from Deluxe Smooth White cardstock. I then took a pair of scissors and cut off the outer rim, to create the look of sunrays. I tried to make some of the rays shorter in length for added interest.

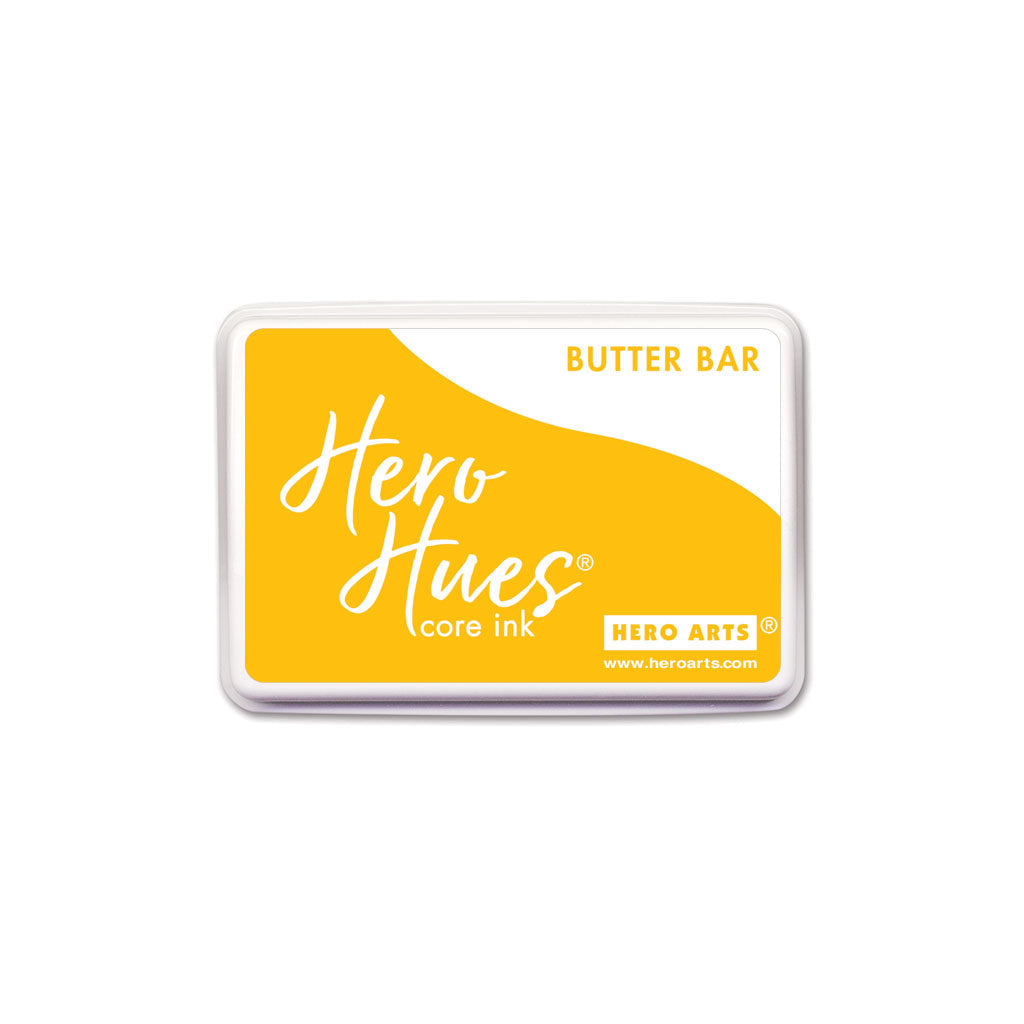
I then added ink blending on top using Dandelion , Butter Bar and Papaya Core Inks and Ink Blending Brushes (I used Extra Large for Dandelion, and Medium for Butter Bar and Papaya). I then die-cut another two of the Circle Set Fancy Die and adhered them behind, cutting off the excess, for added dimension.

I die-cut two Nesting Cloudy Infinity Dies from more Deluxe Smooth White cardstock, twice, and stacked them up also, adhering with Precision Glue . I then die-cut three of the 'friend' word from the Friend Words Fancy Dies set from Pitch Black cardstock. These were also stacked up and adhered for dimension.

For the accompanying sentiment, I printed out the Giving Sunflower Digital Download from my computer on to a sheet of Deluxe Smooth White cardstock. Before printing, I changed the size of the images to A5 to reduce the size of the sentiments. The 'sending sunshine' sentiment was die-cut using the Sentiment Strips Fancy Die .

The sun was adhered first to an A2 white card base using Precision Glue , followed by the clouds and friend word. I then added the sentiment strip with thin foam tape. To embellish, I added a few Clear Hero Hues Enamel Dots .
I love how the card turned out! Creating a sun from the dies really does make them even more versatile. Thank you so much for stopping by today, I hope you have a wonderful day!

|