Posted by Jayne Nelson
on November 25, 2022

Hi, have you had an opportunity to make a new card for the current Stay Crafty with A Blog Named Hero November Challenge?

This month’s theme is “The Great Outdoors” and I’ve used this inspiration to create a pair of floral thank you cards using the beautiful Floral Silhouettes stamp set (currently 20% off along with all clear stamps!) and the equally lovely Foliage & Flowers Fancy Die. I loved creating some extra thank you cards to keep in my stash during this season of thanks.

To make today’s cards, I started by die-cutting two panels from Deluxe Smooth White cardstock with a Nesting Rectangle Infinity Die. Before inking the panels, I covered a section across each piece with masking paper to keep that area white. Using a variety of Reactive inks from the Sea Palette, Nature Palette and Sunshine Palette cube sets, I used several Ink Blending Brushes to apply gradient color above and below the masking paper. Before removing the masks, I splattered water onto the ink to create some interesting water spots.

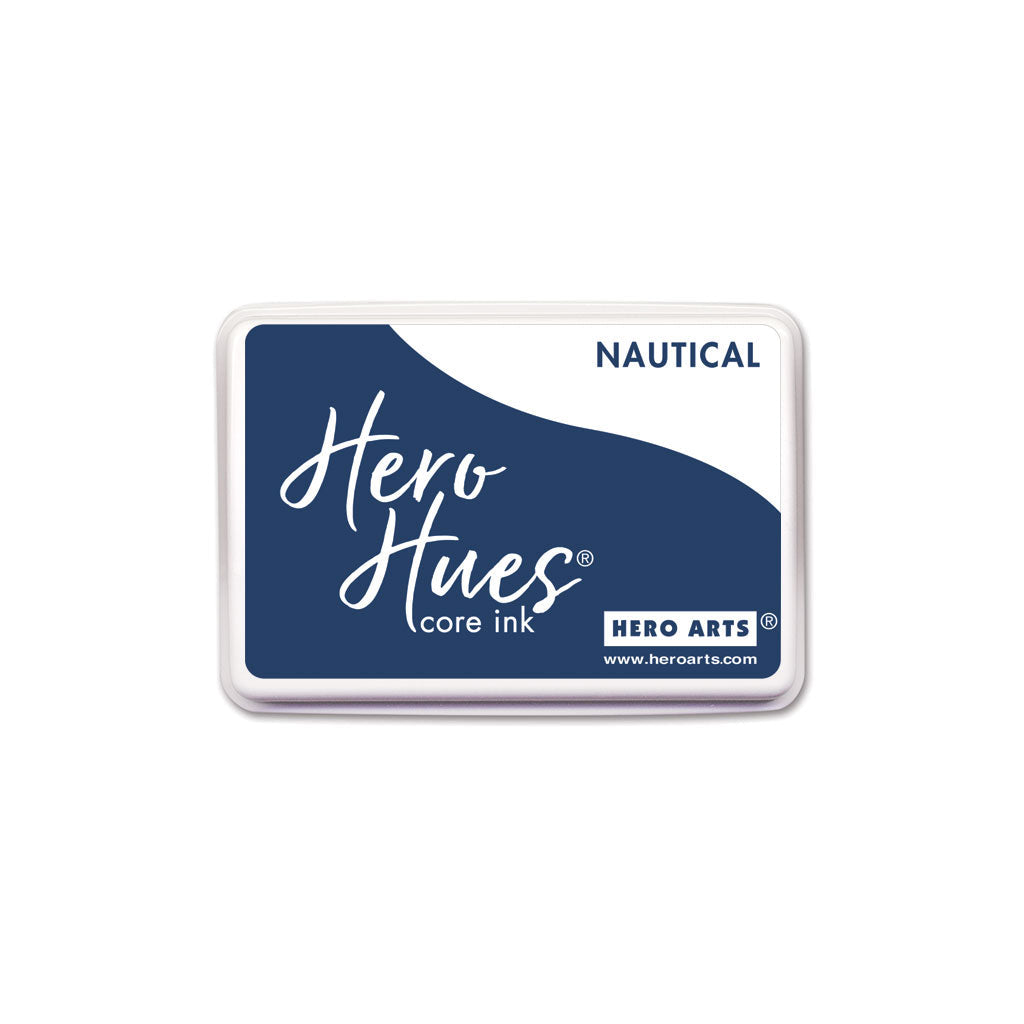
Next, I stamped several flowers, from the gorgeous Floral Silhouettes set, along both sides of each inked panel. This set contains ten of the most beautiful blooms and foliage stamps. For me, it’s quickly become one of my most used and favorite sets. I stamped these flowers with Nautical and Espresso inks. Before securing each panel to a White Side Folded Card, I stamped a pretty script sentiment from the Floral Mandala set in the lower right corner.

To create the dimensional, floral focal point for each card, I die cut several flowers and leaves from colored cardstock using the wonderful Foliage & Flowers Fancy Die set. This versatile set includes eight floral dies to embellish your cards year-round. For my cards, I die cut the shapes from Lapis, Nautical, Kiwi, Azalea, Woodland, and Papaya cardstock.
I layered the die cut pieces over one another, secured them together with Precision Glue, and then placed them onto a vellum hexagon that I die cut with a Nesting Hexagon Infinity Die. I secured the finished flowers to my cards with foam tape and then for a final detail, I added a small, white cardstock circle and a drop of White Pearls at the center of each flower.

So how would you interpret “The Great Outdoors” challenge theme? We’d love to have you share a new project for this month’s Stay Crafty Challenge. There’s still plenty of time to participate as all entries can be submitted up until December 4th at 5:00pm PT to be eligible for the giveaway. We’re looking forward to seeing your outdoorsy creations.
Thanks so much for stopping by today. I hope your weekend is wonderful and crafty,

Click on products to shop:
|