

Posted by Jayne Nelson
on September 13, 2017

Since there are never enough hours in the day, I try to make good use of my time - when I make one card, I often make two. However, I don't really like duplicating the same card multiple times. Instead, I'll reuse a card design but change some of the elements - the colors, the images and the sentiments. Today, I'm sharing a holiday card set that I made by reusing one design, which includes a beautiful, die cut frame, and then simply changing each of the stamped details.
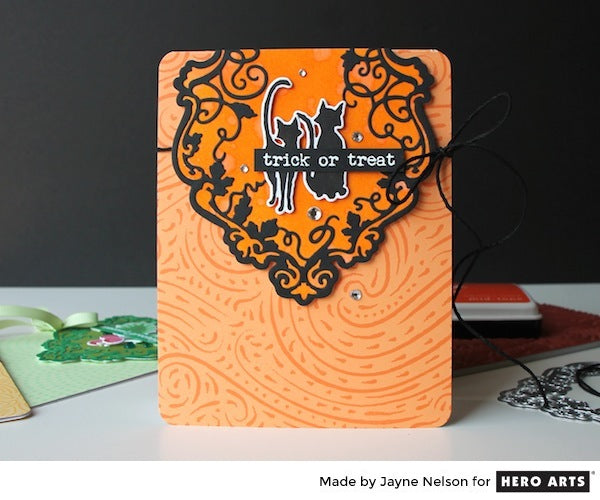
For my first card, a Halloween card, I started by stamping the Starry Night Brushstroke Bold Prints background with Orange Soda ink onto a mandarin card base. Before setting the card aside, I wrapped the card front with black cording and tied a small bow. Next, I inked a panel of white layering paper with orange, water-based dye ink and splattered it with water. Using only the exterior frame of the new Gothic Vines Fancy Die set, I cut a shaped background from the inked panel. Then, using the Gothic Vines Fancy Die with the frame, I cut a frame from black cardstock and secured it to the shaped background panel.
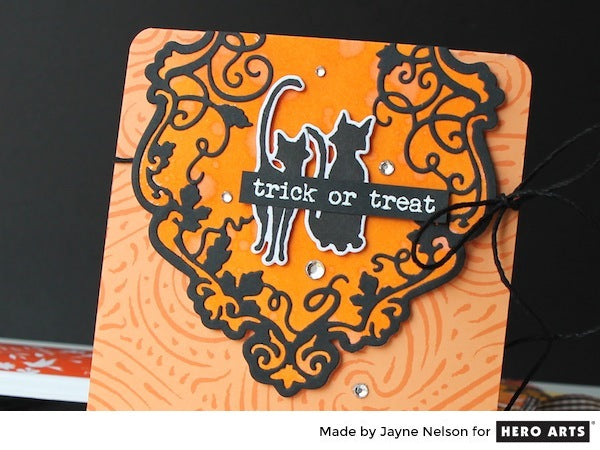
Here's two tips for using this detailed die that worked for me - First, cut the frame from lightweight cardstock. The lightweight cardstock makes it extremely easy to pull the intricate frame from the die and all of the small die cut details will be easy to remove. Second, use spray adhesive to secure the detailed frame to your surface. The spray adhesive is a quick way to cover the full frame and a good way to ensure that all of the fine details are secured to your surface. For my card, after adhering the frame to the background panel, I trimmed one end of the panel and secured it to the card, with foam tape, along the card's upper edge. At the center of the frame, I added a pair of stamped cats, from the Luna the Halloween Cat set, that I trimmed with the coordinating dies. I finished the card with an embossed sentiment from the Halloween Trimmings Stamp & Cut set and a few clear gemstones.
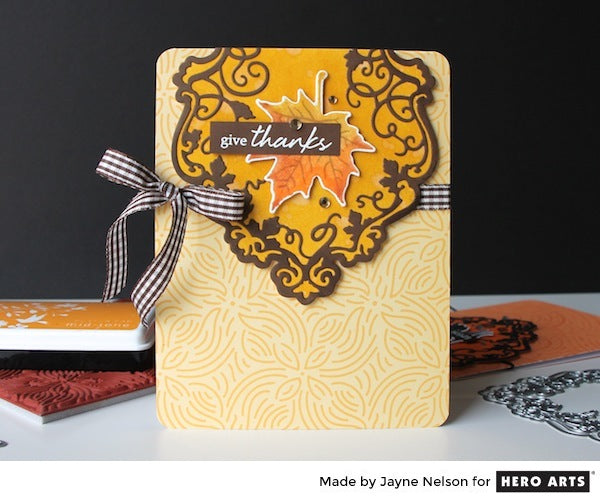
Next, using the same card design, I made a Thanksgiving card with the Gothic Vines Fancy Die set. My process was identical but I used different stamps and seasonal colors. This time, I stamped the Repeating Flower Bold Prints background with Butter Bar ink onto a daffodil card base.
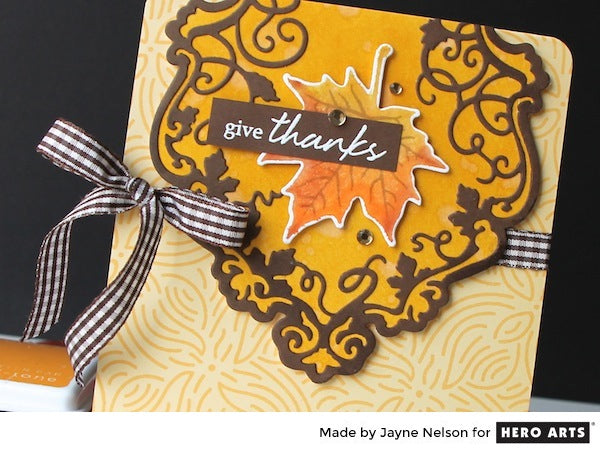
I also inked a yellow background panel and die cut the frame from brown cardstock. I added a die cut leaf and a script sentiment from the Color Layering Grateful Leaves set, as well as a trio of gold accents for a bit of shine.
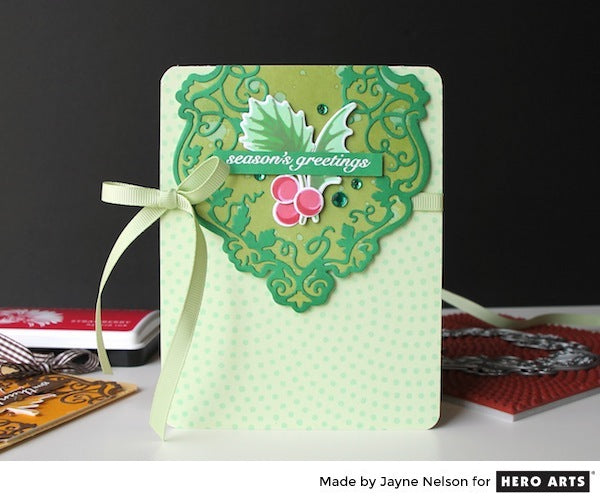
I made one final card, a Christmas card, to complete this holiday card set. I stamped the Dot Moire Bold Prints background with Mint Julep ink onto a celadon card base. This time, I inked a green background panel and die cut the frame from Christmas green cardstock. At the frame's center, I added some die cut holly leaves and berries from the Color Layering Holly set, an embossed sentiment from the Color Layering Partridge set, and a few green gemstones.
Wishing you a wonderful and crafty week! Perhaps you'll find some time to make your own seasonal note set!























































































