Posted by Hero Arts
on November 16, 2023


Hi friends! Today we are here with an installment of our monthly series, CommUNITY, where we share artwork from artists who we'd love for you to get to know. CommUNITY is about embracing and honoring the creativity of individuals who are often underrepresented. By sharing art from diverse group of creators, we hope to not only bring inspiration to this paper crafting community we all love so much, but to also support and empower individuals to be their authentic selves as they create and share. Look for a new CommUnity guest artist right here on the blog each month. Today, our talented guest is Jessica Morris!

Hey ya’ll, I’m Jessica Morris, a coastal Virginia based crafter. Eight years ago I was introduced to cardmaking and I haven’t put down the paper trimmer since. When I’m not busy making cards, I’m cooking in the kitchen or out enjoying the beauty of nature. Encouragement cards are some of my favorite to make so that is the direction I decided to take with these cards.
Card 1
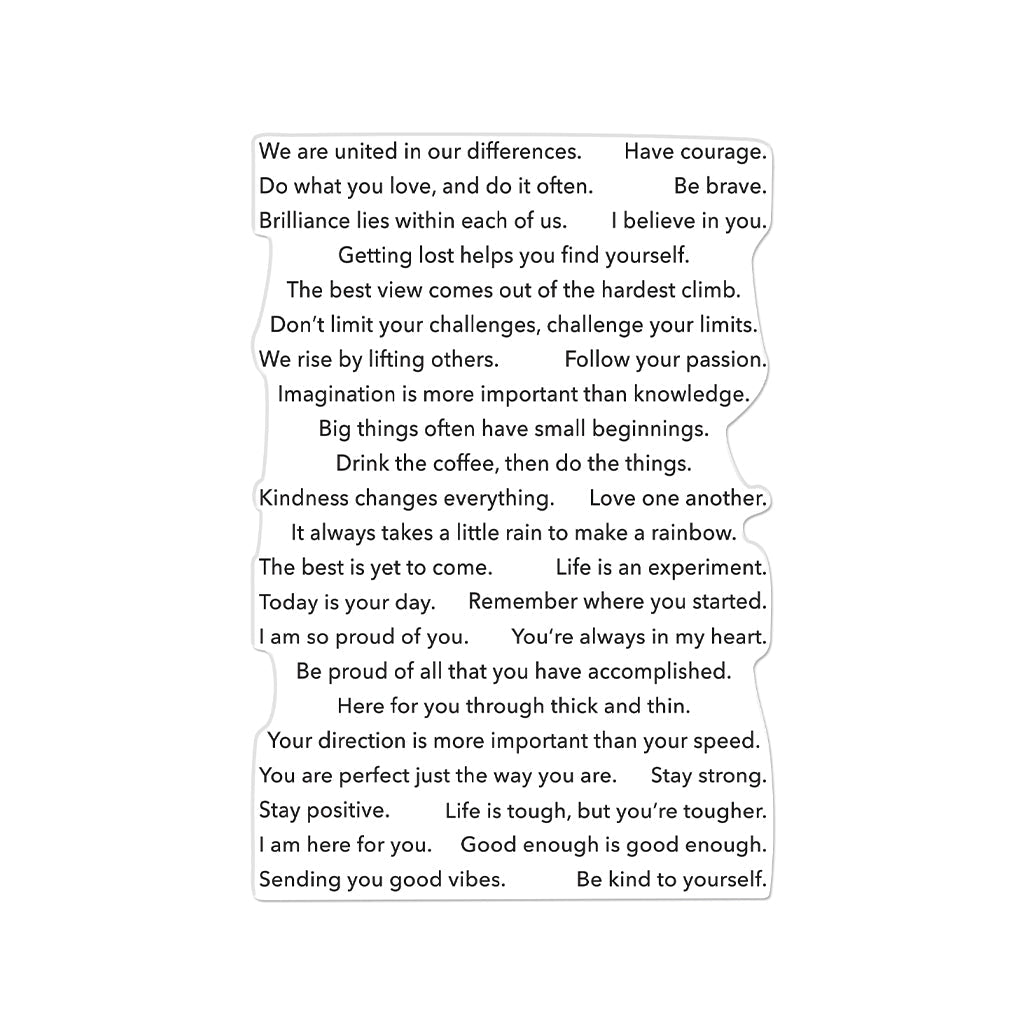
As soon as I saw the Skin Tone Liquid Watercolor set I fell in love. I wanted them to be prominent on each card. For the first card I made a loose watercolor background using watered down versions of all three colors. Once the background was dry, I heat embossed the United People Bold Prints stamp in black. Then I went back in with the watercolors to add more interest to the faces. Next, I cut the background to size using the Nesting Rectangle Infinity Dies. For the sentiment I used the Encouragement Sentiment Strips heat embossed with White Detail Embossing Powder on black paper.

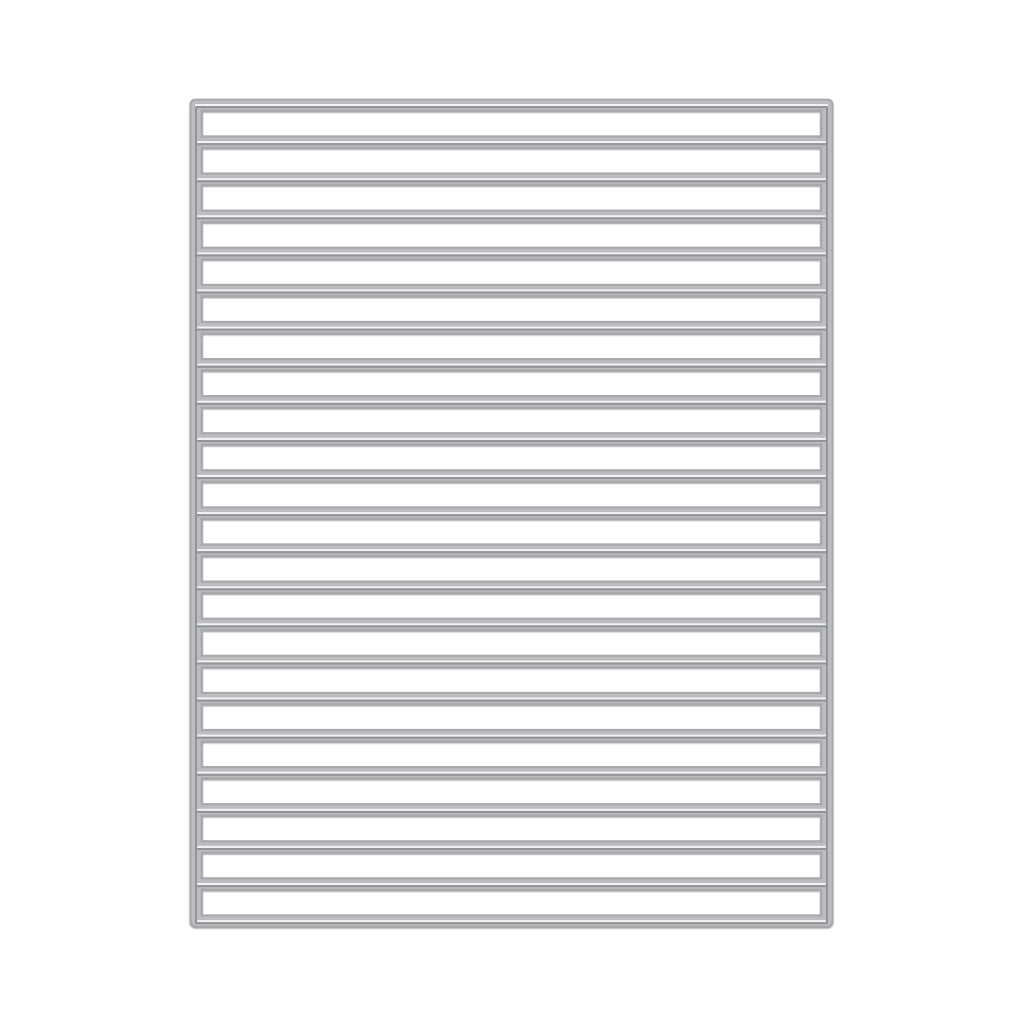
The coordinating Sentiment Strips Fancy Die made cutting the sentiments out a piece of cake. I couldn’t choose just one sentiment, so I used two. I popped them up on foam tape and that finished the card.

Card 2
For the second card I wanted to keep things simple. For the background, I painted stripes using all three watercolors. I watered them down to get varying levels of intensity. Once that was dry, I used Gold Embossing Powder to heat emboss the beautiful floral spray from the Friendship Blooms stamp set.

I cut my background to size with the Nesting Rectangle Infinity Dies dies again. Since I already had a pile of embossed and die cut sentiments from making the first card, I pulled my favorite sentiment from the Encouragement Sentiments stamp and popped it up on the card. What a wonderful reminder to slow down and show ourselves grace.

Card 3
For the third card I went with a clean and simple card. I used the rainbow from the Rainbow HeroScape stamp set to do some faux watercolor. I painted the watercolors directly onto the stripes of each stamp.

I watered some of the stripes down to get a variety of shades.To finish this card off I use the Gold Embossing Powder again to heat emboss one of the sentiments from the stamp set onto the bow of the rainbow.

Jessica, thank you so much for sharing your beautiful card set and talent with us today! You can find more inspiration from Jessica on Instagram, Facebook and YouTube.
Thanks for stopping by.

|