Posted by Seeka SkyPaperScissors
on June 13, 2023


Hello and welcome! Seeka here and today I'm sharing a beach scene featuring the Color Layering Beach Floor Stencils. This set of three stencils makes it easy to create gorgeous foamy waves that have so much dimension!
To start, I used low-tack tape to hold the first stencil layer (the one with the largest openings and footprints) to a 6" x 7" piece of Dove White cardstock. I used more low-tack tape to mask off the footprints, which I wanted to add last. Using a large blending brush, I blended Arctic Core ink over the stencil. Without removing the stencil, I blended just a little bit of Aquatic Core ink over the top of the panel, to darken the color where the ocean would be deepest in the scene. Before removing the stencil, I also made sure to blend ink over the registration marks in each of the four corners of the stencil. These marks help to make it easy to line up the next layers of the stencil set.
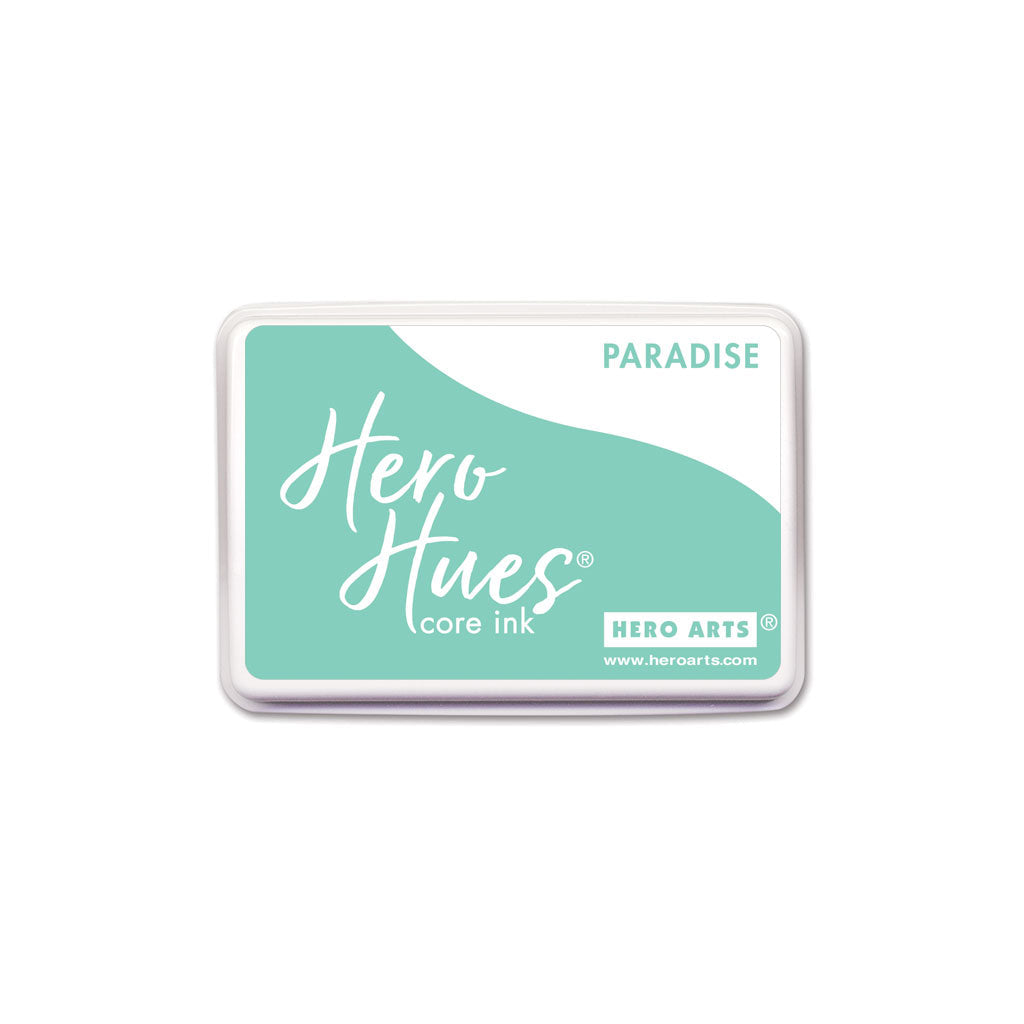
Next, I placed and taped down the second stencil layer (the one with the starfish) over my cardstock, lining up the registration marks in the stencil with the marks on my paper. I masked off the starfish and seashells and then used a blending brush to blend Paradise Core ink through the stencil and onto the cardstock. I deepened the color towards the top of the panel by blending on a bit of Bermuda Core ink.

I replaced the second stencil with the third and last layer, again using the registration marks for easy alignment. For the last ocean details, I used Bermuda ink towards the bottom of the panel, nearest the sea foam, and then used Deep Ocean Core ink at the top of the panel. Using a different blending brush I reserve for brown inks, I created the sandy beach by blending Caramel Core ink lightly over the beach area and then a bit more deeply towards the water, to create a sense of wet sand. Then I removed the stencil and positioned the footprints of the first stencil over the sand (note that I didn't use the registration marks for this last step). I used more Caramel ink to create the footprints, blending on several layers to deepen the color. I also didn't try to blend evenly, so that some parts of the footprints look more deeply imprinted in the sand than others.

Next, I stamped and die cut a sentiment from the Hello Fishes Bundle. I used the sentiment die to cut two additional pieces of white cardstock and then I layered and glued the three pieces together. To finish the card, I glued the sentiment to the card front and then glued the card front to a Dove White Top Folded Card.
Thank you so much for visiting!

Click on products to shop:
|