Posted by Hero Arts
on December 07, 2022


Hi friends! Let's lift our eyes up to the sky and peek at all of the new add-on products introduced along with this month's kit ! Go ahead and wish upon a star and choose your favorites – these stamps, dies, and stencils are perfect to use all year round for encouragement, birthdays, and all sorts of occasions!

Shop for the December MMH add-ons here
Today we're delighted to have Creative Team member Jayne Nelson here to share some fabulous "beyond the kit" ideas for a few of the add-ons.
This month’s add-ons are chock-full of wonderful products for creating striking, celestial themed cards. Today, I’m happy to be sharing two cards that I made with a few of these fantastic new items.

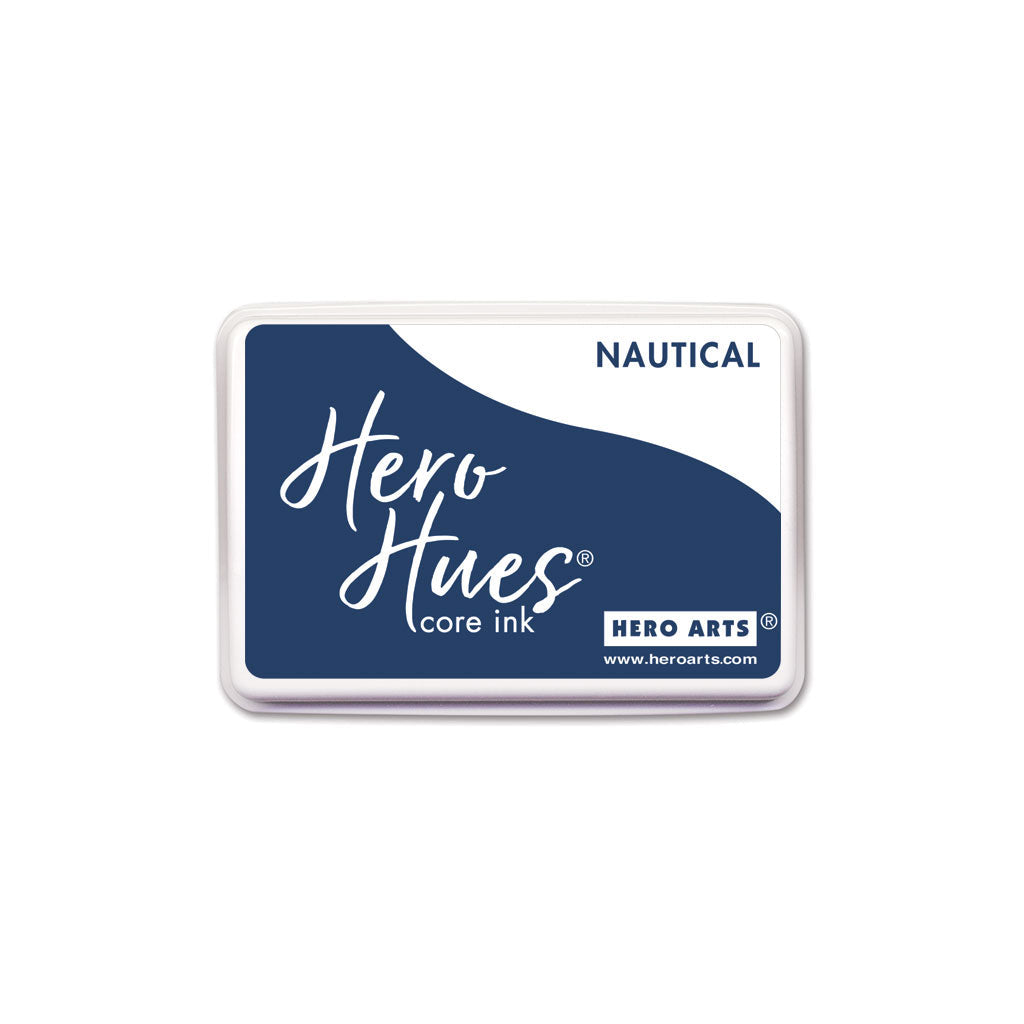
My first card features the spectacular Moon Phases Window Die paired with the Star Cluster Stencil and the You’re Magical Bundle stamp and die set. After cutting a card-sized panel of Lapis cardstock, I used a blending brush to apply Blue Hawaii and Nautical inks to the edges and corners of the panel. Then, using the same inks and the Star Cluster stencil, I added a few stars to each of the corners. Before securing the inked panel to the front of a Canary card with Precision Glue , I used the Moon Phases Window Die to cut a beautiful focal point.

To finish the card, I used the You’re Magical Bundle to die cut a moon from the center circle. After securing the circle to the card, I simply added a birthday sentiment strip across the moon with foam tape and a few dimensional accents with Gold Hero Pearls .

My second card features the gorgeous Nebula Cluster Stencil across the card front. To create this moody, night sky, I started by applying Blue Hawaii, Purple Galaxy and Nautical ink around the edges of a Lapis card base. Then, I stenciled the Nebula Cluster design onto the card with Unicorn White ink. To add to the depth of color, I lightly applied some additional Purple Galaxy over the corners.

Next, I used the You’re Magical Bundle to stamp and die cut a moon with Creamsicle and Lemon Drop ink sprayed with water. I also die cut a Dove White cloud that I stamped with a small sentiment from the set. I layered both pieces onto a vellum circle, die cut with the Nesting Circle Infinity Dies , and then secured the circle to the card with foam tape. For a final detail, I added a trio of scattered Purple Enamel Dots for some subtle shine.

For a full walkthrough of this month's add-ons, check out the video below. It's also available to view on YouTube .
A reminder for all My Monthly Hero
subscribers
: You have the opportunity to add extra items, including but not limited to
add-ons, to your kit shipments with
no additional shipping charges
.
Simply log in to your
Hero Arts store
account and place your order by 11:59am PT on Thursday, December 8 to take advantage of this offer.
We appreciate you stopping by today. Happy stamping!

Click on products to shop:
|