☃️ Banner logo ☃️ Up to 50% Off ☃️

Spellbinders Blog

DIY Leather Hair Bows

DIY Leather Hair Bows

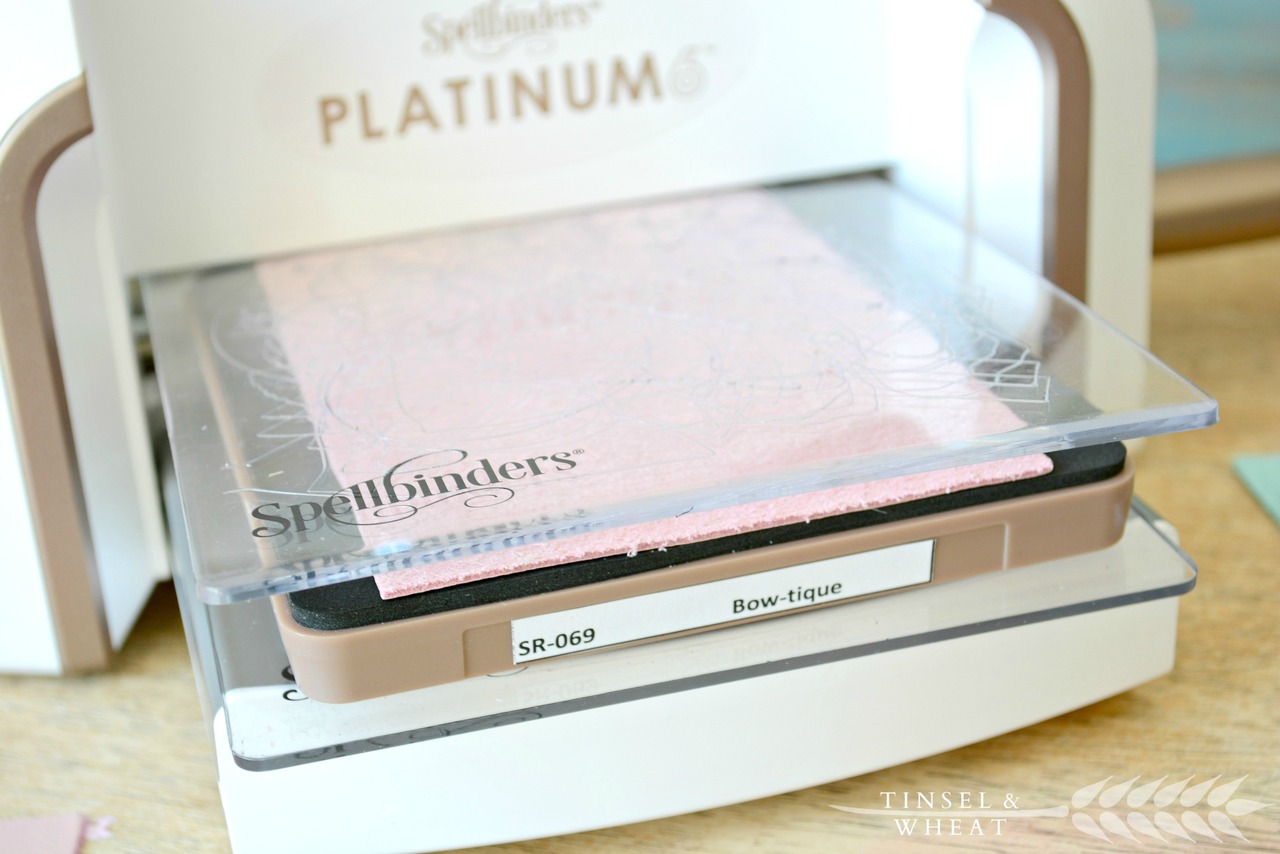
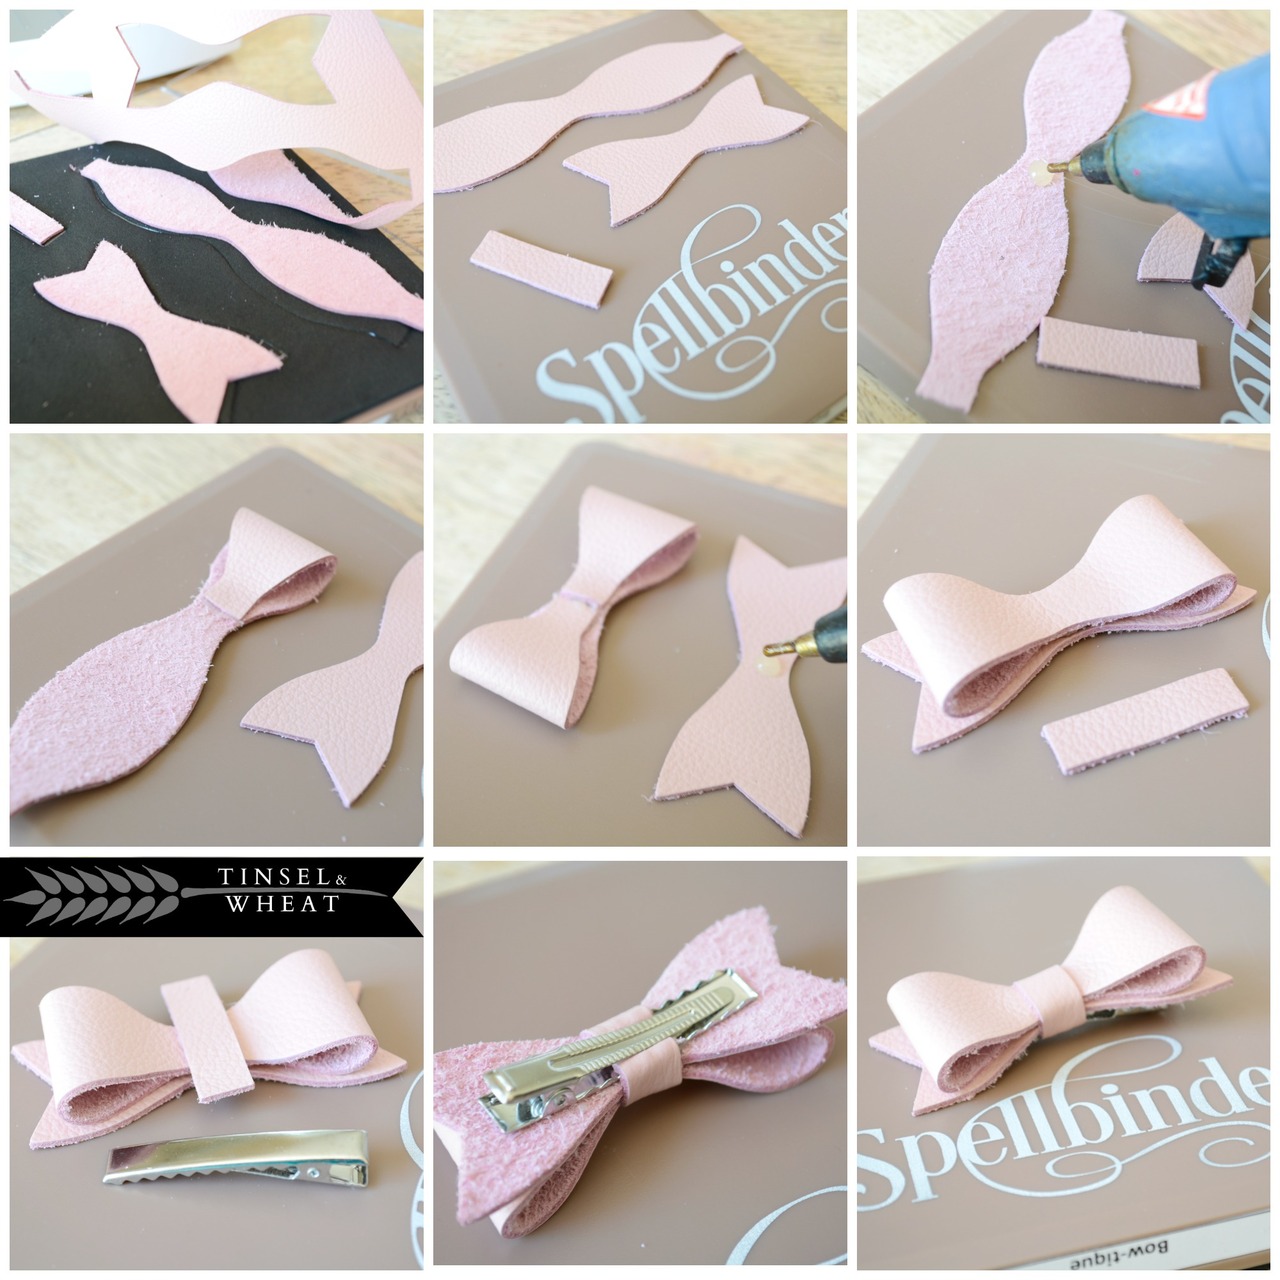
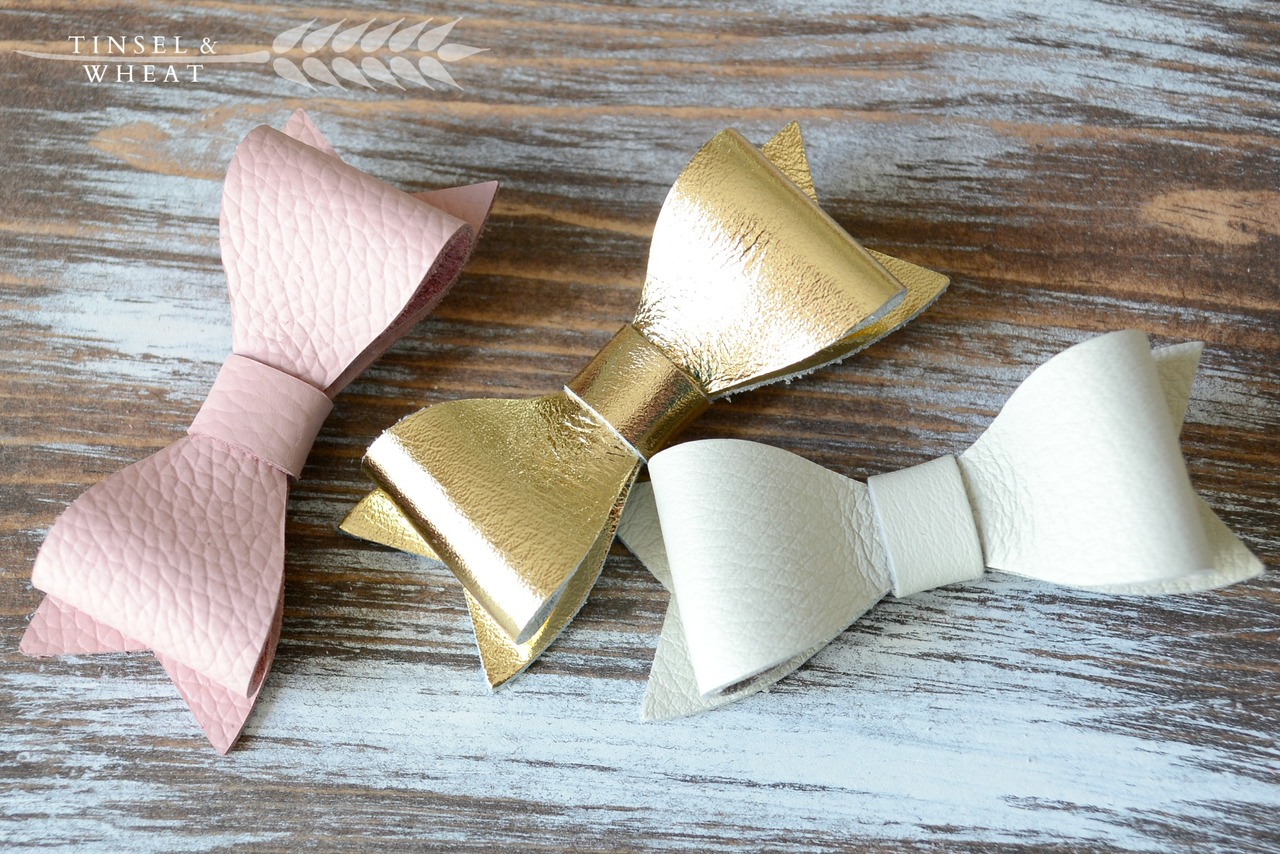
How adorable are these? Best part? You can make them too, and they are a cinch! Literally, these take less than a minute to make! When I ran my first piece of leather through this fabulous machine, my jaw dropped. It cut through this rather thick piece of leather like buttah! SO naturally I decided to try pushing the limits and layered two pieces of leather, and again – like butter! (That’s two leather bows with one quick roll through the machine!) I am so excited to walk you through the steps! Here’s what you are going to need: Platinum 6 Die Cutting and Embossing Machine Spellbinders “Bow-tique” steel rule die Leather Hot temp glue gun and sticks Alligator clips Step 1: Create your sandwich. From the bottom up you will layer the following. Clear cutting plate, die facing up, leather finished side down, clear cutting plate. Step 2: Roll it through! Then pick your jaw up off of the table – from the shock – it’s that smooth and EASY! (Here I am doing with my broken hand – hot pink cast and all!) ***You’ll see that my plates are no longer lined up in this picture and it will ruin the cut if you’re not careful, so please learn from my mistake and make sure your plates stay aligned once you’ve begun to roll your stack through your machine*** Step 3: Assemble your bow. Step 4: Clip them into the nearest head of hair you can find! Another option is to add these to elastic, to be used as headbands. These make the best gifts for girls of all ages AND how cute would one of these be, as a bow tie for boys with a little elastic or bow clip attachment!? - Miranda from Tinsel & Wheat   Pre-Order Your Platinum 6™ and get a FREE So Tweet Steel Rule Die ($21.99 Value!)
Read more

Art Deco Christmas - Easy Inlaid Die Cutting Video Tutorial

Art Deco Christmas - Easy Inlaid Die Cutting Video Tutorial

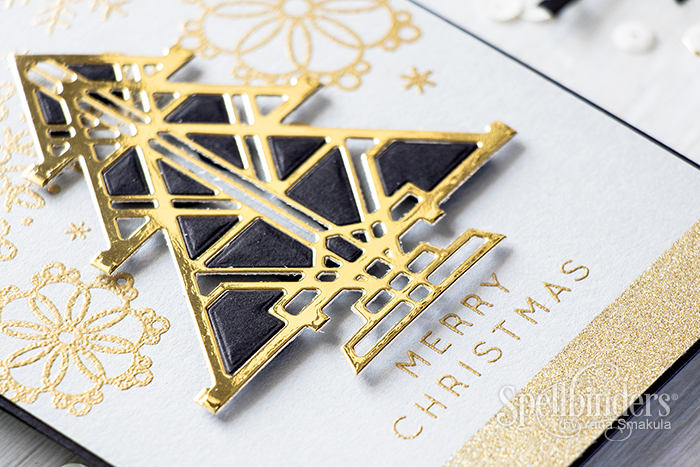
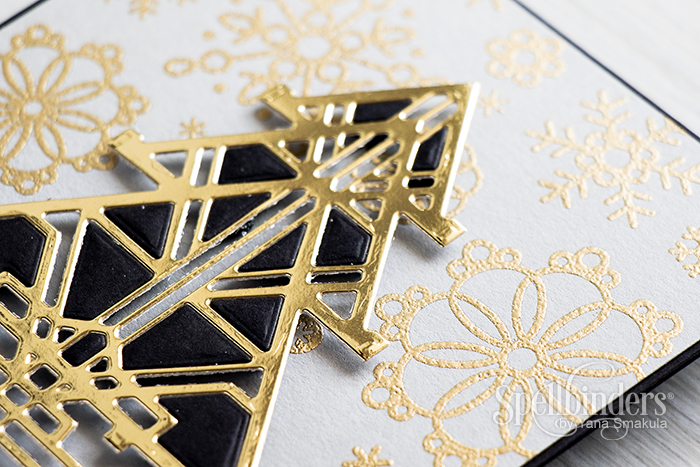
Hello everyone, this is Yana Smakula sharing another card making video tutorial. This week we are talking Christmas in July and while it might seem a bit too early for Christmas cards and such I always try to start my Holiday card making well in advance to avoid surprises during a hectic Holiday season. If you prefer to make your Christmas cards in the Fall you can always bookmark or pin this tutorial and come back to it later. One of my most favorite collections from Spellbinders is the Art Deco line by Stacey Caron. It helps to add an unexpected twist to card making. I was happy to see Art Deco Trees in the Holiday 2016 line and those are the dies I used to create a card I’m sharing today. In my video tutorial I’m showing an easier way to do inlaid die cutting technique and I’m inlaying black negatives inside a gold positive die cut to create an elegant Art Deco Christmas Tree. Spellbinders supplies: S4-657 Art Deco Trees PL-001 Platinum Die Cutting and Embossing machine T-001 Tool 'N One Other supplies: Black, gray cardstock; Gold mirror cardstock; Gold glitter paper; Clear stamp (Simon Says Stamp - Gifts of Love, Cute Snowflakes); Clear embossing ink; Gold embossing powder; Foam adhesive; Tape runner. Learn how you can make this project below.
Thank you so much for stopping by today, have fun die cutting!

Read more

Art Deco Christmas - Easy Inlaid Die Cutting Video Tutorial

Art Deco Christmas - Easy Inlaid Die Cutting Video Tutorial

Hello everyone, this is Yana Smakula sharing another card making video tutorial. This week we are talking Christmas in July and while it might seem a bit too early for Christmas cards and such I always try to start my Holiday card making well in advance to avoid surprises during a hectic Holiday season. If you prefer to make your Christmas cards in the Fall you can always bookmark or pin this tutorial and come back to it later. One of my most favorite collections from Spellbinders is the Art Deco line by Stacey Caron. It helps to add an unexpected twist to card making. I was happy to see Art Deco Trees in the Holiday 2016 line and those are the dies I used to create a card I’m sharing today. In my video tutorial I’m showing an easier way to do inlaid die cutting technique and I’m inlaying black negatives inside a gold positive die cut to create an elegant Art Deco Christmas Tree. Spellbinders supplies: S4-657 Art Deco Trees PL-001 Platinum Die Cutting and Embossing machine T-001 Tool 'N One Other supplies: Black, gray cardstock; Gold mirror cardstock; Gold glitter paper; Clear stamp (Simon Says Stamp - Gifts of Love, Cute Snowflakes); Clear embossing ink; Gold embossing powder; Foam adhesive; Tape runner. Learn how you can make this project below.
Thank you so much for stopping by today, have fun die cutting!

Read more