
Happy Labor Day, crafty friends! Our offices are closed on Monday, Sept. 7. Support returns Tuesday, Sept. 8. Until then, stay crafty!
20% off Sitewide*
20% off Sitewide*
20% off Sitewide*
20% off Sitewide*
20% off Sitewide*
20% off Sitewide*
20% off Sitewide*
20% off Sitewide*
20% off Sitewide*
20% off Sitewide*
Item added to your cart
Shop by
Posted by Spellbinders Team on January 26, 2018
Video Friday | How to Make Paper Chest of Drawers / Flower Stand with Olga
Hi paper crafters, this is
Olga Direktorenko
and today I will be using Spellbinders dies to create something different from a card. The first time I saw the Baby Step Block Card die set it was not the building blocks that I thought of - it reminded me of a Japanese style chest of drawers and I got so excited to make my own one out of paper!
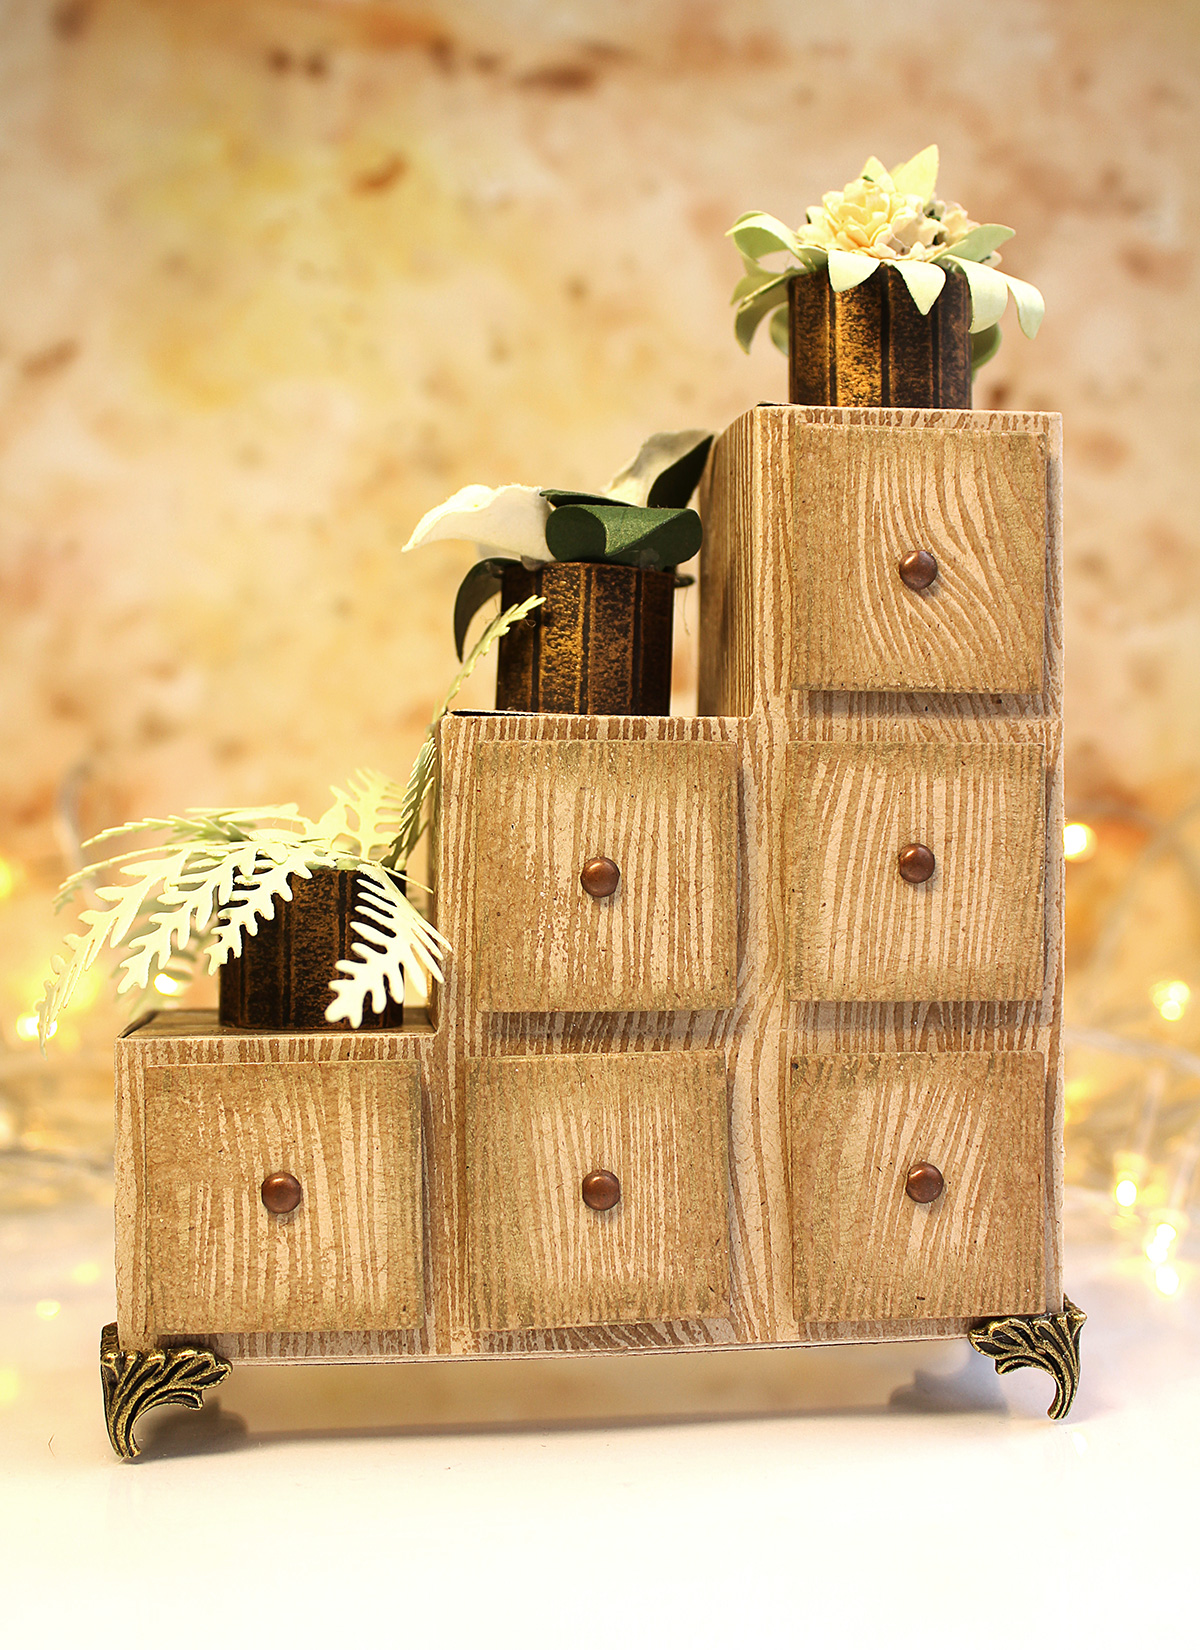
This die is meant to create a 3D card base that can be folded and mailed in an envelope, but for this project I have combined the 2 bases to make one 3D piece - watch the video below to see how it's done!

I have seen how people re-purpose this type of furniture into flower stands - with beautiful results! - so I also decided to decorate my own little centerpiece with potted plants, and to make it even more realistic I have added decorative bronze box feet and some brads to represent the pulls of the drawers. The leaves are created with the dies and the flowers are ready-to-use ones.
This project turned out to be a bit time consuming with all the multiple little details, but I really don't mind spending some time crafting especially if it is going to add to the wow factor of the finished project. I think it will make a great gift for any person who loves Eco style and indoor plants.
I disclose the entire creative process including tips and tricks in the video tutorial below.
VIDEO TUTORIAL
Watch video tutorial below or on
Youtube
to learn how to make this project:
Stamp - Designer Woodgrain by Hero Arts, Cardstock - Neenah Desert Storm, Bronze Metal Box Feet and Handle by Swedish House Crafts, mulberry paper callas and daisies, round bronze brads, VersaMark ink and clear embossing powder, Metallic rub-on paint by Craf-T, Bosch hot glue gun.
Thank you so much for joining me today and if you have any questions please feel free to ask them in your comments down below. I hope I have given you some inspiration with my little creation. See you again next month and until the next time - happy paper crafting!
Hi, crafty friends! Lisa Tilson here, and I'm delighted to be with you today sharing a fun interactive birthday card featuring the new Spellbinders Card Spinners. If you've ever wanted to add movement to your handmade cards without complicated mechanisms, these spinners make it incredibly easy! For today's project, I'm using the Large Card Spinner to create an adorable birthday monster that spins with just a...
Turn layered scalloped frames into a colorful Halloween gallery wall! This step-by-step tutorial shows how to emboss and arrange the Scalloped Frames, assemble the adorable Drac character from Simon Hurley's Halloween Hugs Collection, and create a playful handmade Halloween card full of dimension and color.
Celebrate treasured memories with a handmade vintage journal featuring interactive pages, pockets, vintage photos, and layered embellishments. This step-by-step tutorial showcases creative ideas for building meaningful double-page spreads with Esther Glas' Turn the Page collection.






























