Video Friday | Copic Colored Holiday Die D-Lites with Nichol
on September 14, 2018

Video Friday | Copic Colored Holiday Die D-Lites with Nichol

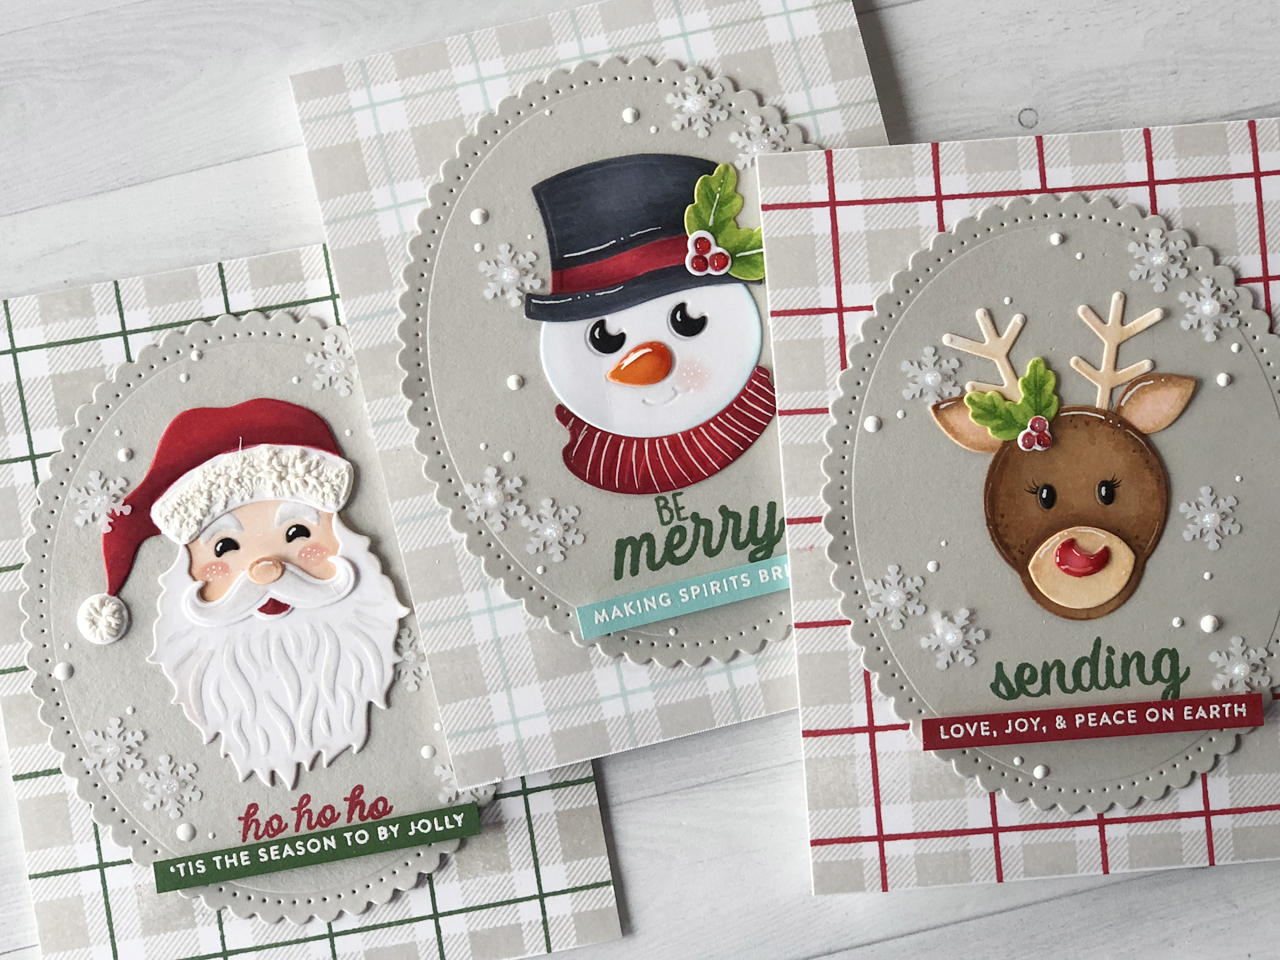
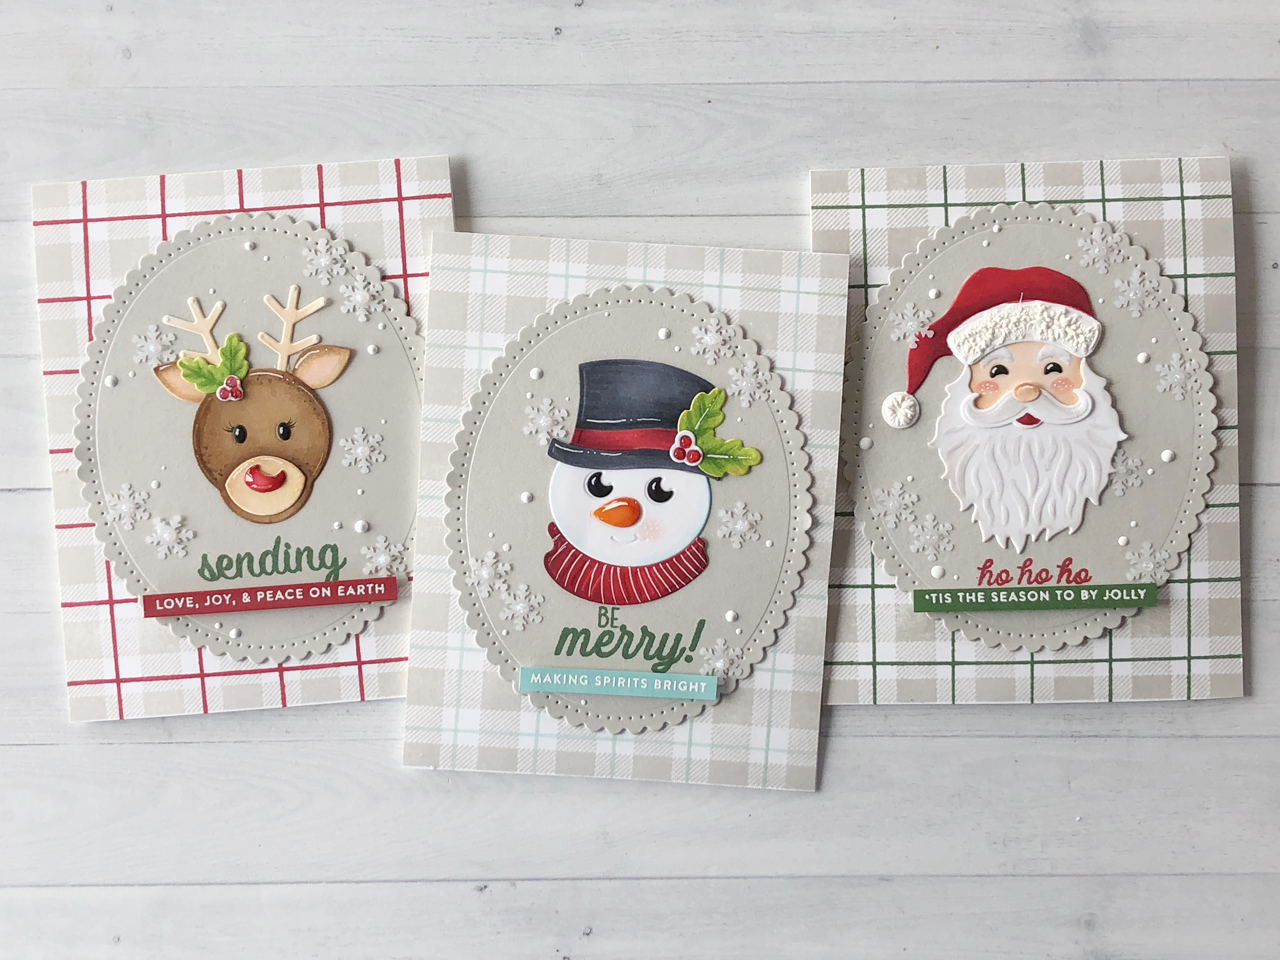
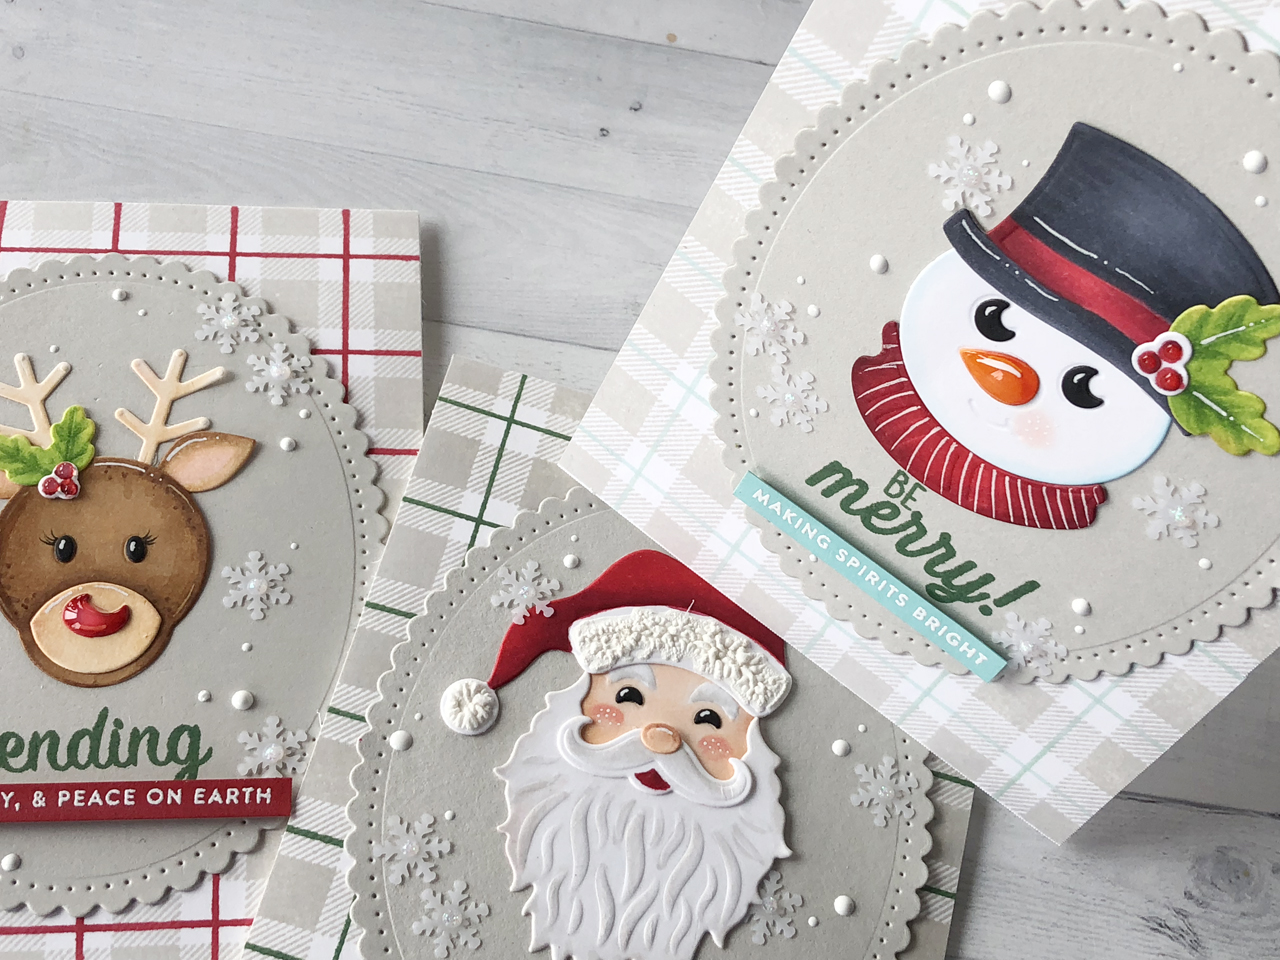
Hello everyone. This is Nichol Spohr and I’m so excited to be sharing a set of three Christmas cards featuring dies from the 2018 Holiday Die D-Lites Collection. I die cut the Die D-Lites Reindeer, Santa, and Snowman Dies from smooth white cardstock and colored in the pieces with Copic Markers before assembling and adhering to a Fancy Edged Oval. The Copic coloring gives these die cuts so much depth and dimension and is a great way to customize your die cuts!
Video Friday | Copic Colored Holiday Die D-Lites with Nichol featuring S3-358 Reindeer, S3-359 Santa, S3-360 Snowman, S4-907 Fancy Edged Ovals dies #spellbinders #cardmaking #neverstopmaking

The backgrounds for all three cards were created by stamping a plaid background builder stamp on smooth white cardstock with light gray ink and either red, green, or aqua ink. A light gray cardstock circle was die cut using a Fancy Edged Oval Die and adhered to the center of each plaid background. A scripty sentiment was stamped directly on each oval with either green or red dye ink. An additional sentiment phrase was stamped on cardstock using clear embossing ink and heat set with white embossing powder before being trimmed into a thin strip and adhered under the script stamped greeting with foam adhesive.

Video Friday | Copic Colored Holiday Die D-Lites with Nichol featuring S3-358 Reindeer, S3-359 Santa, S3-360 Snowman, S4-907 Fancy Edged Ovals dies #spellbinders #cardmaking #neverstopmaking

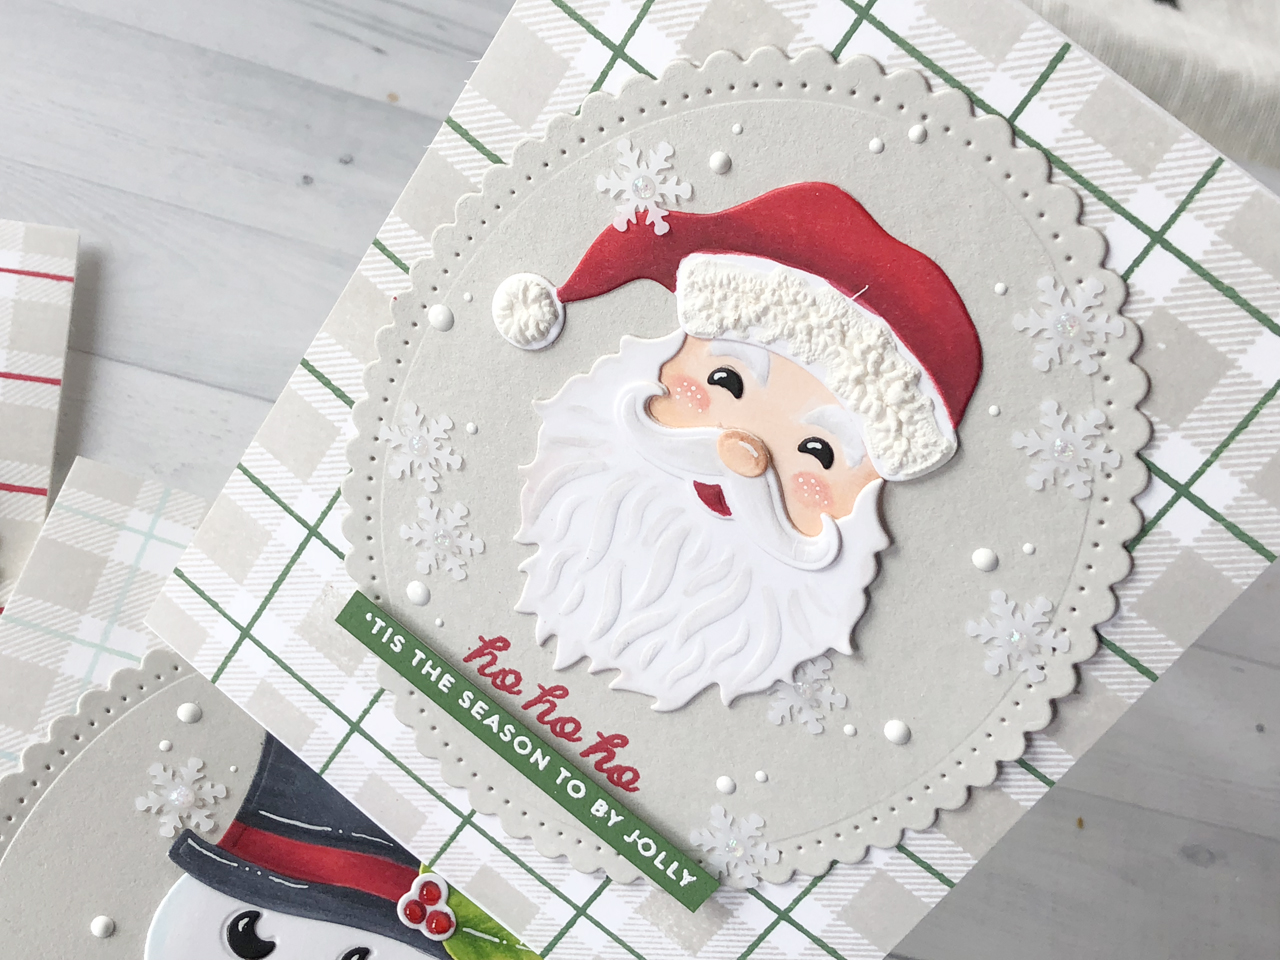
The Die D-Lites Reindeer, Santa, and Snowman Dies were die cut from smooth white cardstock and colored in with Copic Markers. The eyes for all three were die cut from black cardstock. The colors of Copic Markers used for the Santa are as follows:
  • Face: E00, E11, E13, R00, R20
  • Hat and mouth: R35, R37, R39
  • Beard, mustache, eyebrows: W00, W1, W3
Video Friday | Copic Colored Holiday Die D-Lites with Nichol featuring S3-358 Reindeer, S3-359 Santa, S3-360 Snowman, S4-907 Fancy Edged Ovals dies #spellbinders #cardmaking #neverstopmaking

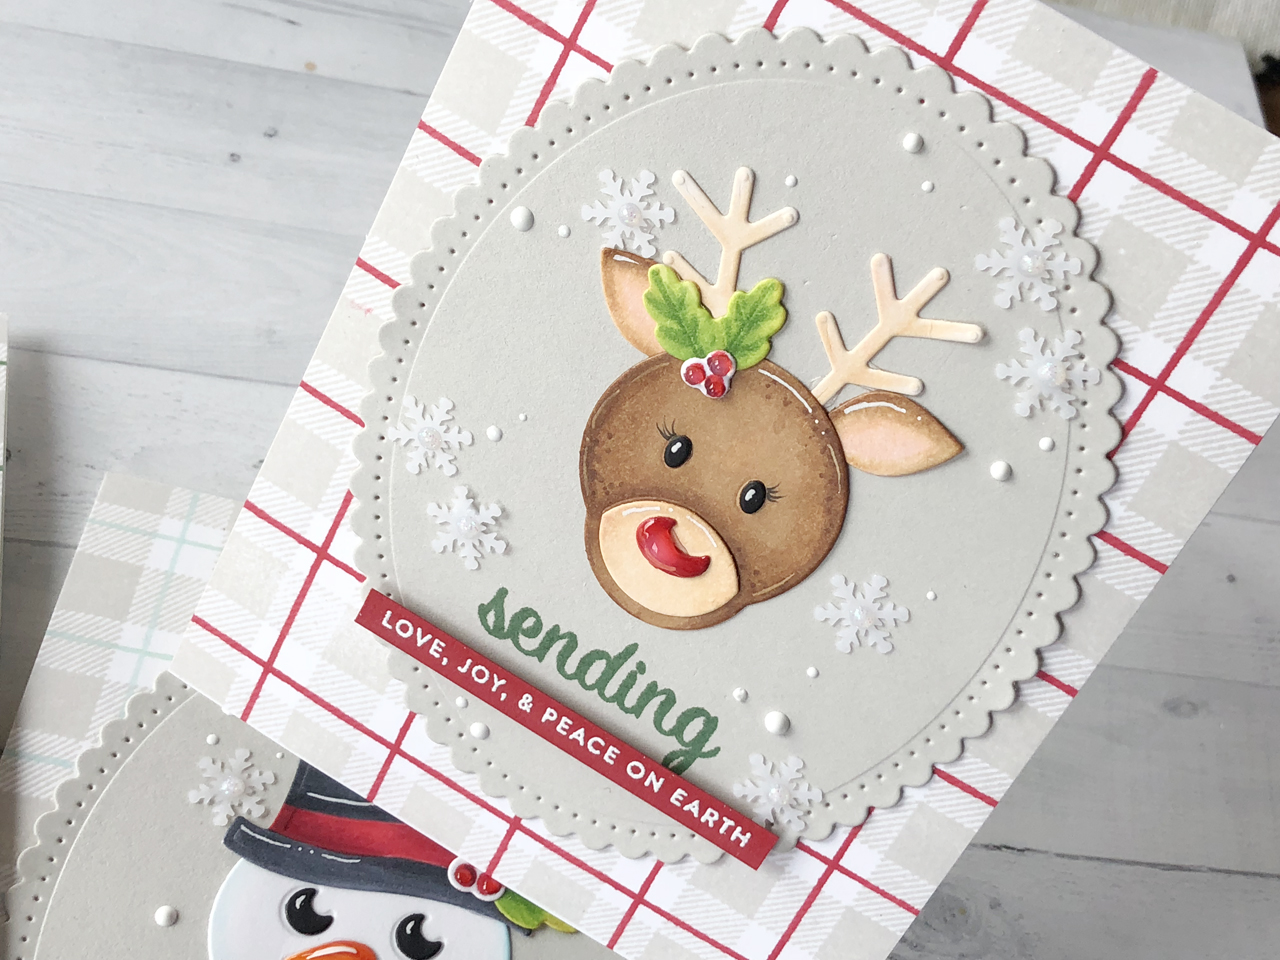
The colors of Copic Markers used for the Reindeer are as follows:
  • Antlers and muzzle: E50, E53, E55
  • Face and ears: E50, E53, E55, E57, R00
  • Holly and berries: R35, R37, R39, YG21, YG23, YG17
Video Friday | Copic Colored Holiday Die D-Lites with Nichol featuring S3-358 Reindeer, S3-359 Santa, S3-360 Snowman, S4-907 Fancy Edged Ovals dies #spellbinders #cardmaking #neverstopmaking

The colors of Copic Markers used for the Snowman are as follows:
  • Face: BG0000, BG01, R00, Colorless Blender
  • Nose: YR04, YR09
  • Scarf, berries, hat band: R35, R37, R39
  • Holly: YG01, YG23, YG17
  • Hat: C5, C8
The images were assembled on each oval and finished with white pen detailing. Glossy Accents was added to the reindeer and snowman noses. A snow marker was used to create texture to the Santa hat trim and pompom.

Video Friday | Copic Colored Holiday Die D-Lites with Nichol featuring S3-358 Reindeer, S3-359 Santa, S3-360 Snowman, S4-907 Fancy Edged Ovals dies #spellbinders #cardmaking #neverstopmaking

Each card was finished with a scattering of snowflake sequins and Nuvo Crystal Drops in White Blizzard and Gloss White.

VIDEO TUTORIAL

Watch video tutorial below or on Youtube to learn how to make this project:

Spellbinders supplies:

Other supplies:

Neenah Smooth Cardstock; Simon Says Stamp Fog Cardstock; Lawn Fawn Noble Fir, Mermaid, Black Licorice Cardstock; Gina K Designs Red Velvet Cardstock; Concord & 9th Plaid Background Stamp; Simon Says Stamp Fa La La Stamp Set; Hero Arts Winter Holiday Messages Stamp Set, Wishes Stamp & Cut Set; Lawn Fawn Lobster Ink; Simon Says Stamp Evergreen, Maliblue, Fog, Clear Embossing inks; Simon Says Stamp White Embossing Powder; Marvy Snow Marker; Tonic Nuvo Crystal Drops in Gloss White and White Blizzard; Sakura White Opaque Glaze Pen; Hero Arts Snow and Berry Sequin Mix; Darice Foam Adhesive Strips; Lawn Fawn Glue Tube; Ranger Glossy Accents I hope this has inspired you to try coloring in your die cut images with markers or other coloring mediums. Thank you so much for joining me today and I look forward to sharing more die cutting ideas with you soon!

Leave a comment

Your email will not be published. Please note, comments need to be approved before they are published.

8 comments

mary hyde,

does anyone know what she used to stamp the sentiments and the greetings? please help me

Yana Smakula,

Mary, Nichol used Marvy Snow Marker. Be sure to check the “Other Supplies” section at the end of the post where Nichol listed all other supplies she used to make these cards.

Mary hyde,

what did you use to make the snow?

Mary hyde,

what did you use to stamp the backgrounds of the cards and the colors you used?

what did you use for the sayings and words?

Carmen,

Very pretty cards, I love them all. Thank you for sharing.


  • How to Make a Cute Autumn Squirrel Card with Fall Adventures Dies, S4-1573, S5-738, S3-591, STP-292, S5-740

    Categories:Die Cutting

    How to Make a Cute Autumn Squirrel Card with Fall Adventures Dies

    Create a charming autumn card featuring an adorable squirrel dressed in overalls and surrounded by pumpkins, apples, hay bales, colorful leaves, and harvest-themed accents. In this step-by-step tutorial, you'll learn how to assemble layered character dies, create dimensional autumn accessories, stamp a coordinating sentiment, and build a cheerful fall scene full of seasonal details. This project is perfect for cardmakers who enjoy character-based die-cut scenes...

  • How to Make a Cookie-Loving Chompster Birthday Card, S5-778, S5-779, STP-295

    Categories:Die Cutting

    How to Make a Cookie-Loving Chompster Birthday Card

    Create a fun birthday card featuring Chompster enjoying his favorite snack. In this step-by-step tutorial, you'll learn how to assemble the Chompster character, create dimensional cookies, build a colorful propeller hat, and arrange all the die-cut pieces into a playful birthday card design. This project is perfect for cardmakers who enjoy character-based die cutting and whimsical birthday cards. By combining the Top It Off and...

  • How to Make a Festive Felt Santa Ornament | Spellbinders

    Categories:Die Cutting

    How to Make a Festive Felt Santa Ornament | Spellbinders

    A handmade felt Santa ornament is a colorful way to add stitching, texture, and personality to your Christmas décor. In this detailed tutorial, you’ll learn how to die cut wool felt, organize and layer the individual pieces, add embroidery stitches and beads, and finish the project with a secure backing and hanging loop. The Festive Santa Etched Dies create a playful Santa holding a decorated...