Happy Labor Day, crafty friends! Our offices are closed on Monday, Sept. 7. Support returns Tuesday, Sept. 8. Until then, stay crafty!
20% off Sitewide*
20% off Sitewide*
20% off Sitewide*
20% off Sitewide*
20% off Sitewide*
20% off Sitewide*
20% off Sitewide*
20% off Sitewide*
20% off Sitewide*
20% off Sitewide*
Item added to your cart
Shop by
Posted by Spellbinders Team on June 15, 2018
Video Friday | Classics Layered Backgrounds Cards
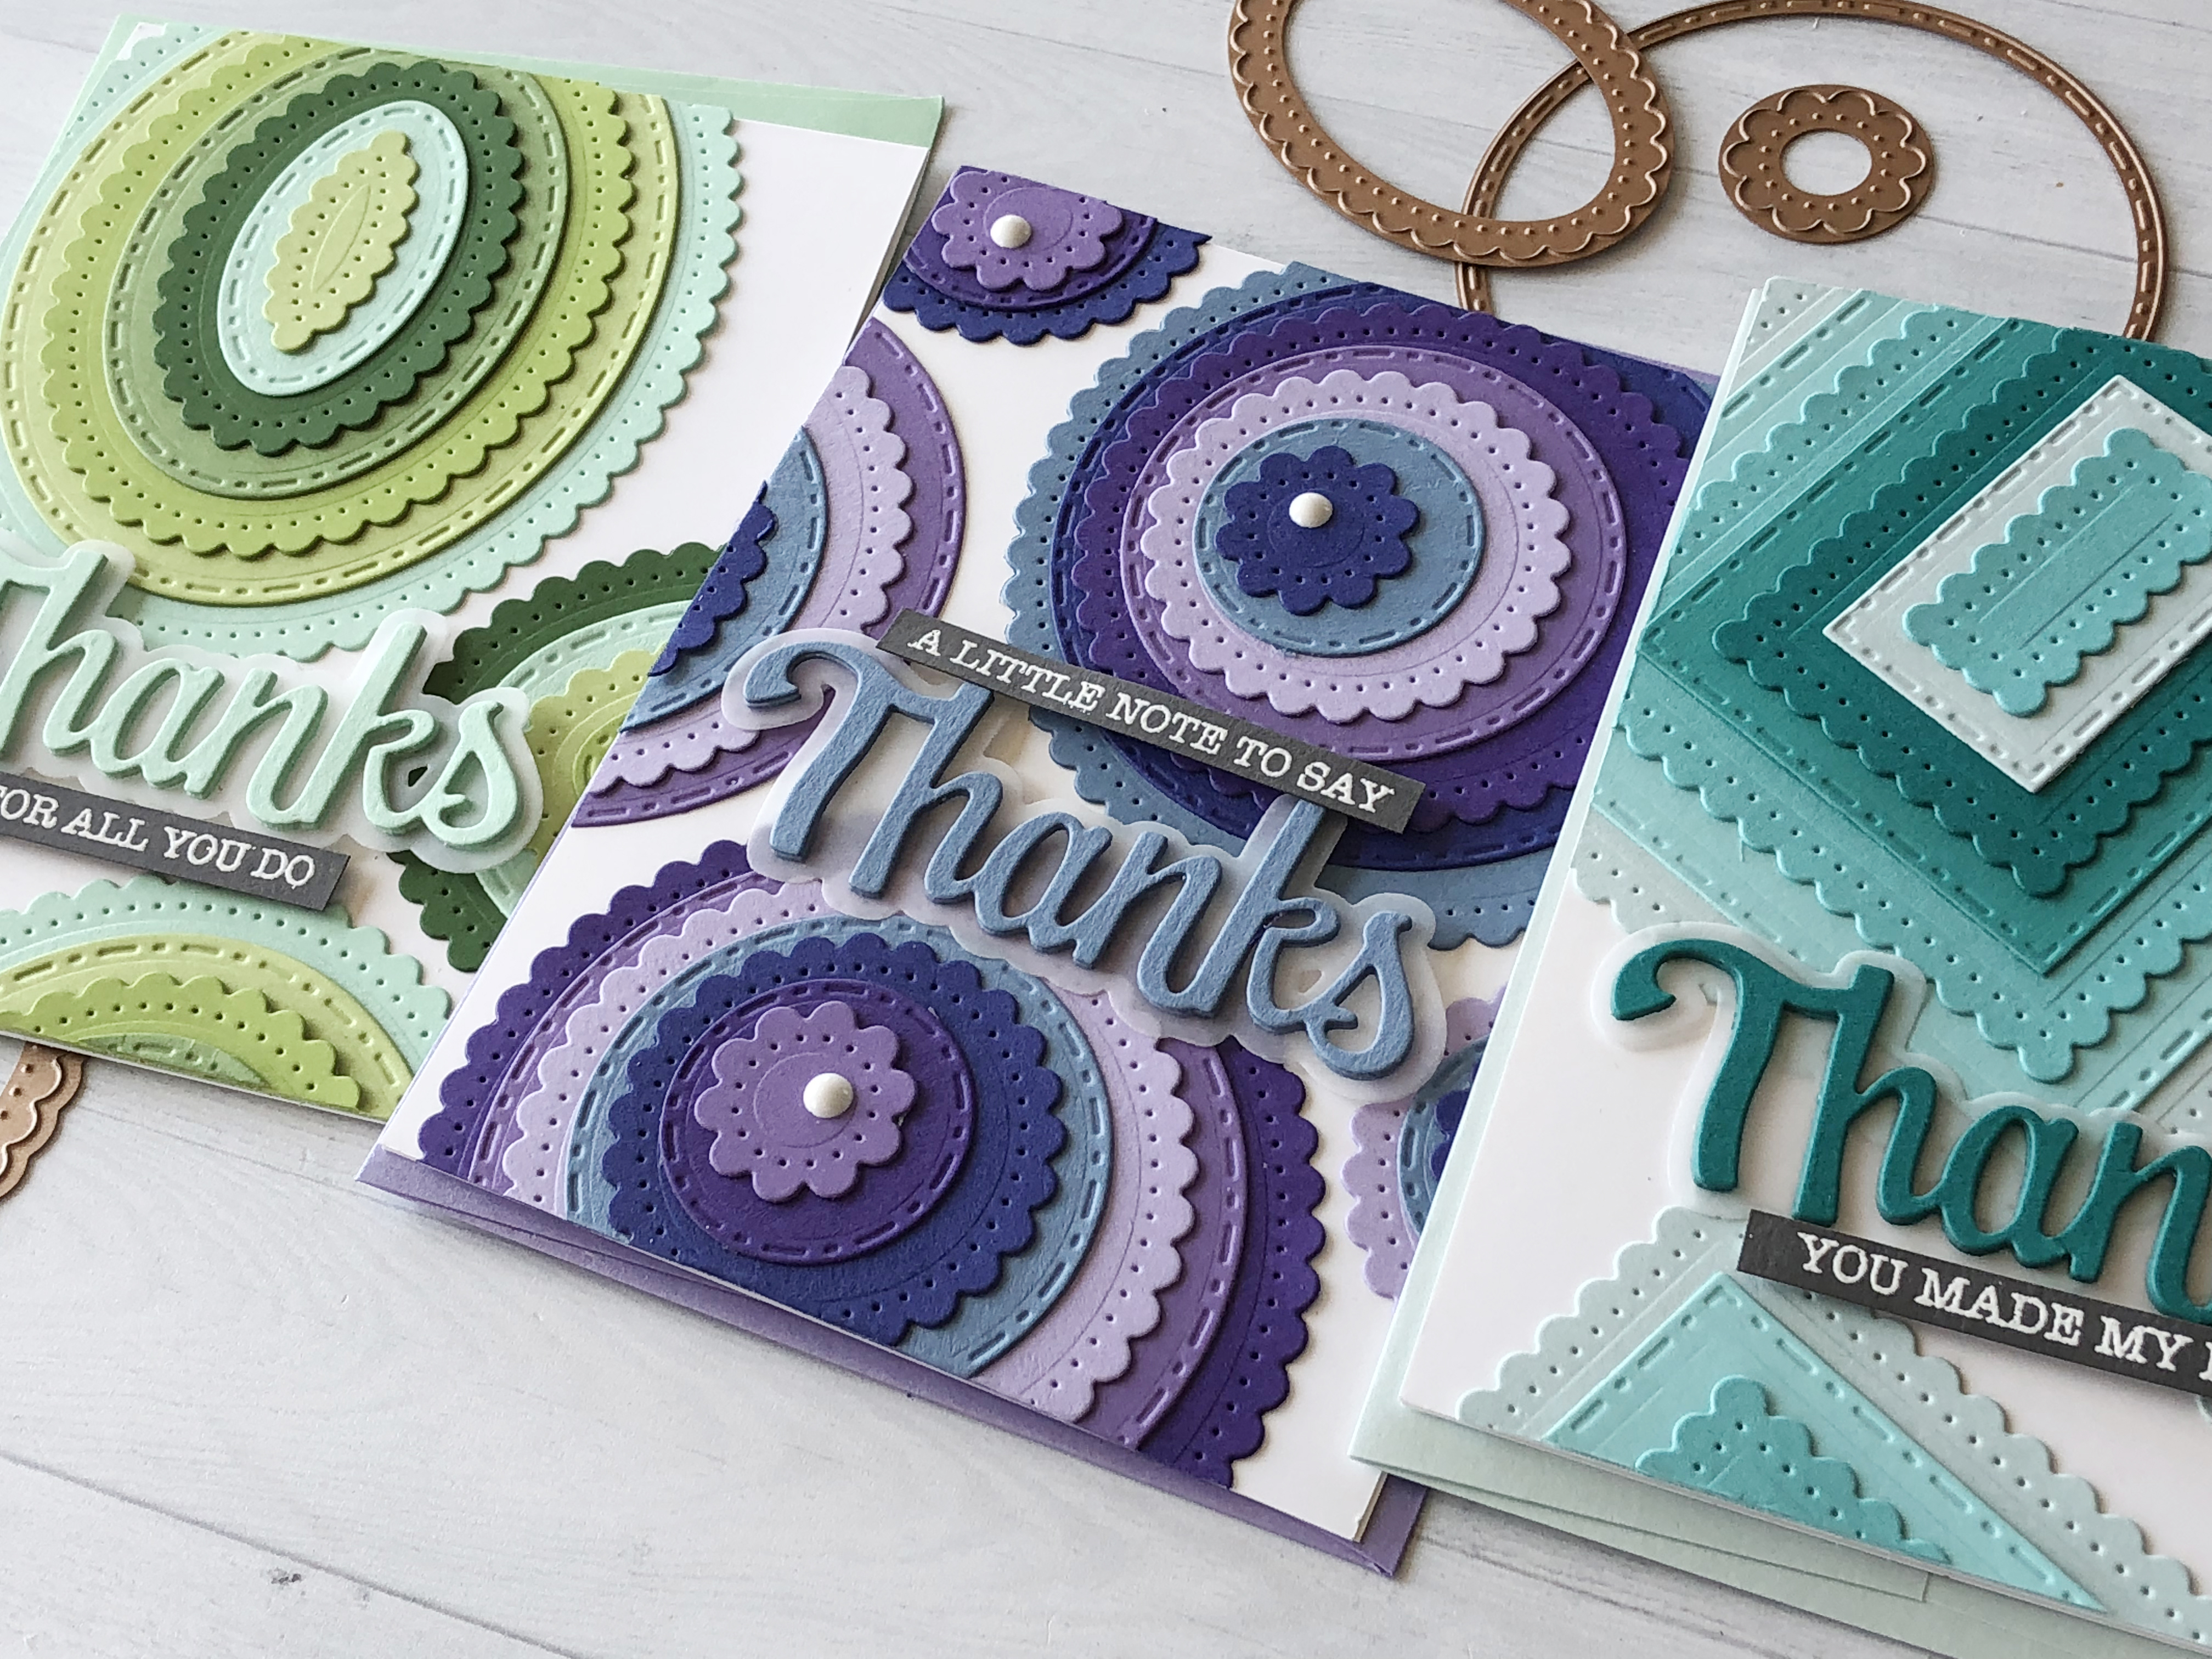
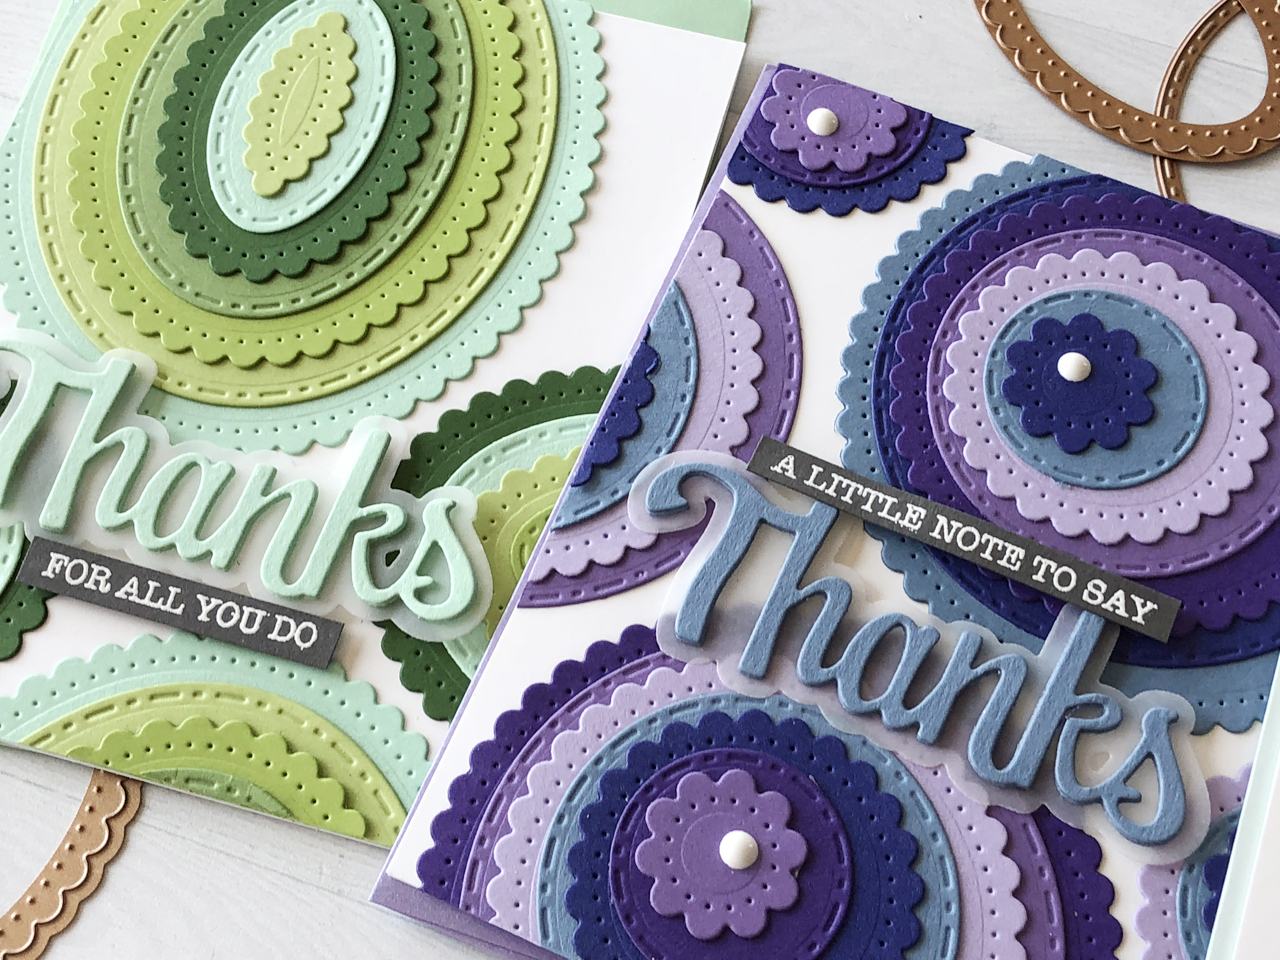
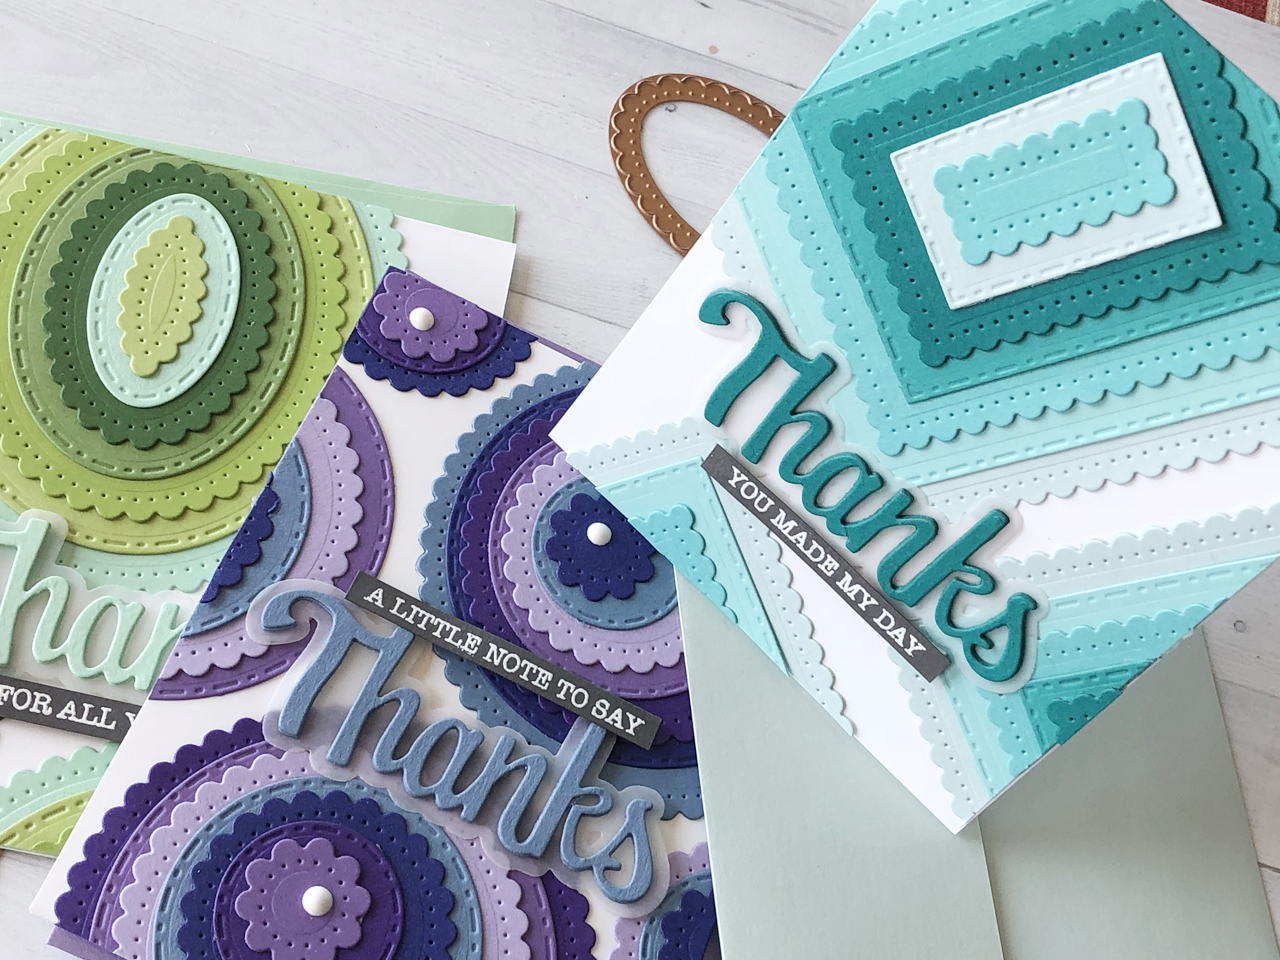
Hello everyone. This is Nichol Spohr and I’m thrilled to be here today with a set of thank you cards featuring layered backgrounds created with the Fancy Edged Rectangles, Circles, and Ovalsdies. Tone-on-tone cardstock creates beautiful layered backgrounds. A simple die cut greeting and a stamped sentiment phrase strip is all that’s needed to finish each of these cards.
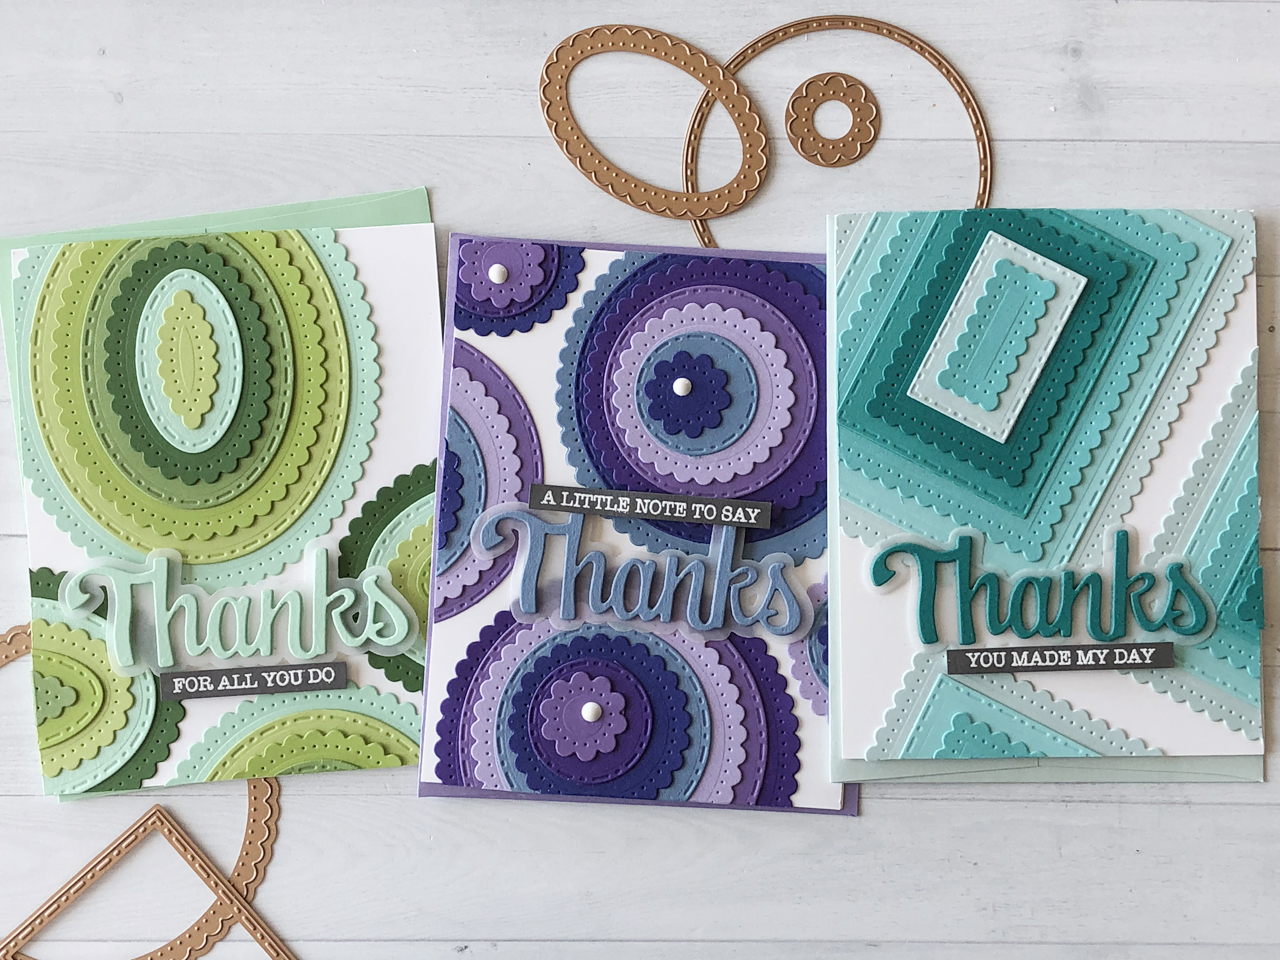
The Fancy Edged Rectangles, Circles, and Ovals were die cut from multiple colors of cardstock and layered to create the backgrounds for each of the cards. The images were stacked largest to biggest and adhered slightly hanging off the edge of a white card base. Any excess was trimmed off with scissors and used to fill in white space on the backgrounds.
Mixing up the sizes on the background adds additional interest. I made sure not to make each stack of shapes start with the largest die and filled in the smaller areas with smaller shapes.
On each card the Thanks Expressions greeting die was die cut three times from one of the colors of cardstock used on the card and glued one on top of another. The thanks layer was die cut from vellum and the stack of greetings was adhered to the vellum die cut before being place on the card.

An additional sentiment phrase form the Thanks Expressions stamp set was stamped on dark gray cardstock with embossing ink and heat embossed with white embossing powder before being trimmed into a thin strip and adhered to the cards as shown.
VIDEO TUTORIAL
Watch video tutorial below or on Youtube to learn how to make this project:
Lawn Fawn Cilantro Cardstock, Noble Fir Cardstock, Mermaid Cardstock, Peacock Cardstock; Simon Says Stamp Sea Glass Cardstock, Mint Cardstock, Teal Cardstock, Cornflower Cardstock, Lavender Cardstock, Royal Purple Cardstock, Blue Violet Cardstock, Vellum; Gina K Designs Turquoise Sea Cardstock, Wild Lilac Cardstock, Jelly Bean Cardstock, Grass Green Cardstock; Simon Says Stamp Clear Embossing Ink; Lawn Fawn White Embossing Powder; Tonic Nuvo Crystal Drops in Simply White
I hope this has inspired you to layered backgrounds with the new classics die cuts. Thank you so much for joining me today and I look forward to sharing more die cutting ideas with you soon!
Hi, crafty friends! Lisa Tilson here, and I'm delighted to be with you today sharing a fun interactive birthday card featuring the new Spellbinders Card Spinners. If you've ever wanted to add movement to your handmade cards without complicated mechanisms, these spinners make it incredibly easy! For today's project, I'm using the Large Card Spinner to create an adorable birthday monster that spins with just a...
Turn layered scalloped frames into a colorful Halloween gallery wall! This step-by-step tutorial shows how to emboss and arrange the Scalloped Frames, assemble the adorable Drac character from Simon Hurley's Halloween Hugs Collection, and create a playful handmade Halloween card full of dimension and color.
Celebrate treasured memories with a handmade vintage journal featuring interactive pages, pockets, vintage photos, and layered embellishments. This step-by-step tutorial showcases creative ideas for building meaningful double-page spreads with Esther Glas' Turn the Page collection.