


Posted by Yana Smakula
on November 17, 2017

Hello, everyone! This is Yana Smakula and thank you for joining me! This blog post and video continues the monthly feature I’m hosting on Spellbinders blog and Youtube channel called “Shaped Cards with Spellbinders”. Once a month I am posting a card and and video tutorial featuring a shaped card base using Spellbinders dies! You can catch previous episodes from this series HERE.


Step By Step Instructions:
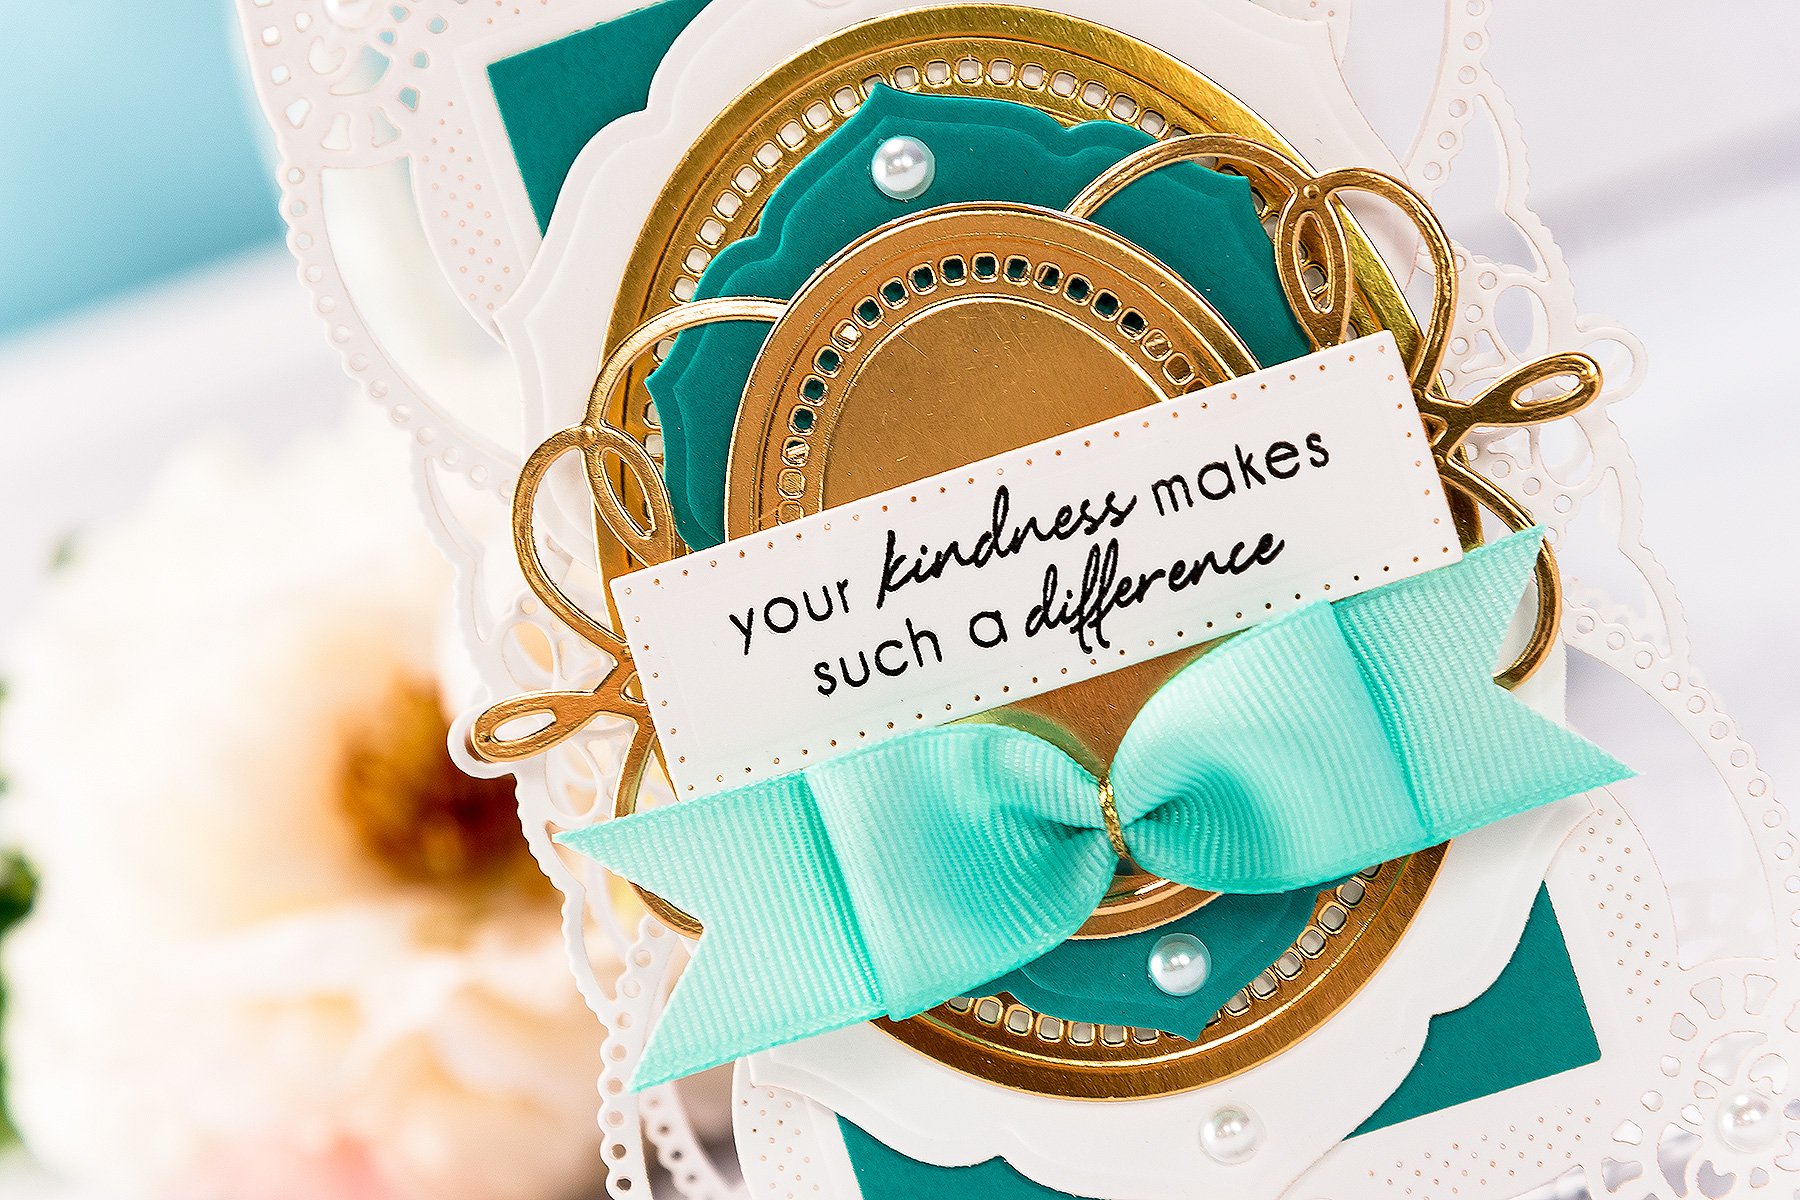
We have a full set of step by step instructions describing how to create this card.- Die-cut & emboss 2 Chemise Frames from the Coralene’s Chemise Layering Frame Large set out of white cardstock. Score one die cut about 1” - 1 1/2" at the top. Add glue onto the flap and adhere both together to create a shaped card base.
- Die-cut Rectangle insert from the Coralene’s Chemise Layering Frame Large set outo blue cardstock. Adhere onto the card.
- Die-cut & emboss Extra Large Label from the Breanna’s Corset Label set out of white cardstock. Foam mount onto the card.
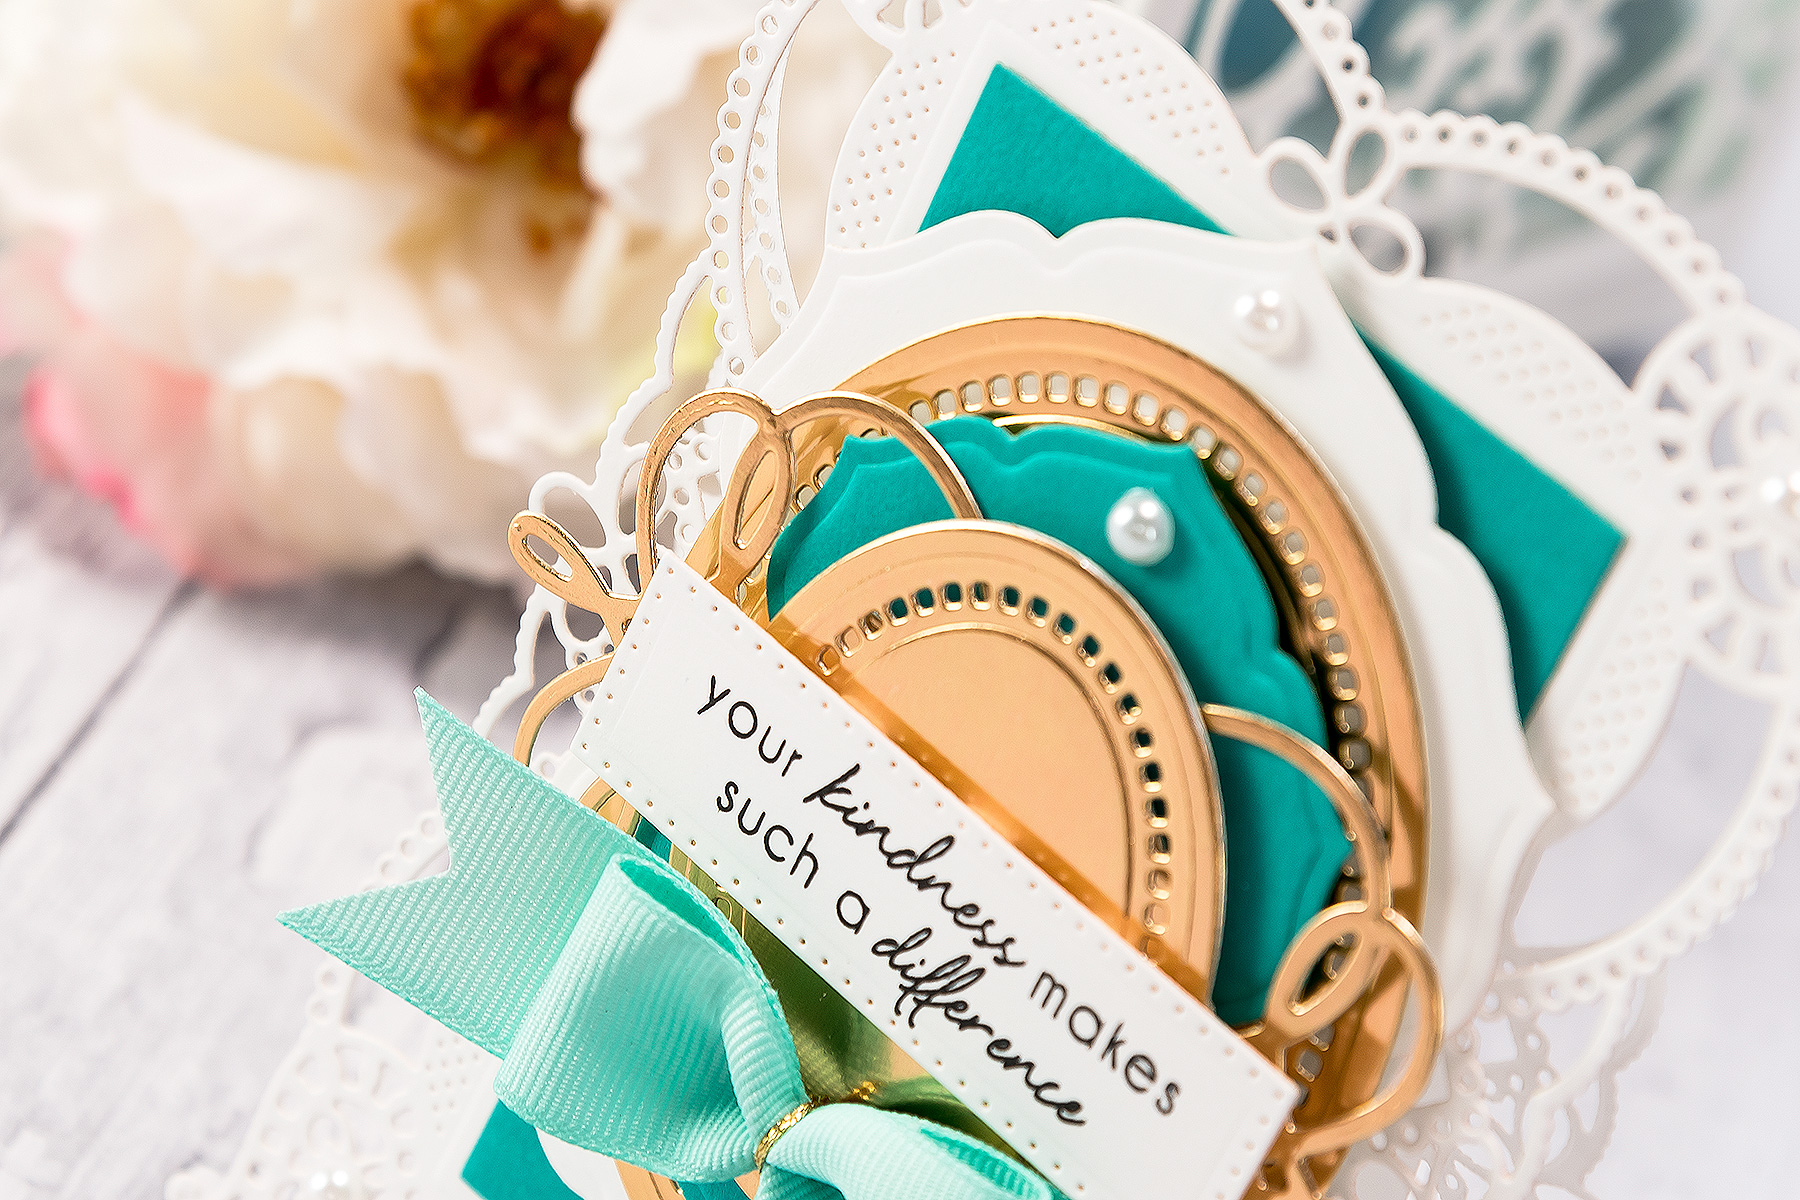
- Die-cut & emboss medium Hemstitch Oval and Medium Hemstitch Oval insert from the Hemstitch Ovals set out of gold foil cardstock. Foam mount onto the card.
- Die-cut & emboss Large Label from the Breanna’s Corset Label set out blue cardstock. Foam mount onto the card.
- Die-cut & emboss Frame from the Coralene’s Chemise Layering Frame Large set out of gold foil cardstock, foam mount onto the card.
- Die-cut & emboss small Hemstitch Oval and small Hemstitch Oval insert from the Hemstitch Ovals set out of gold foil cardstock. Foam mount onto the card.
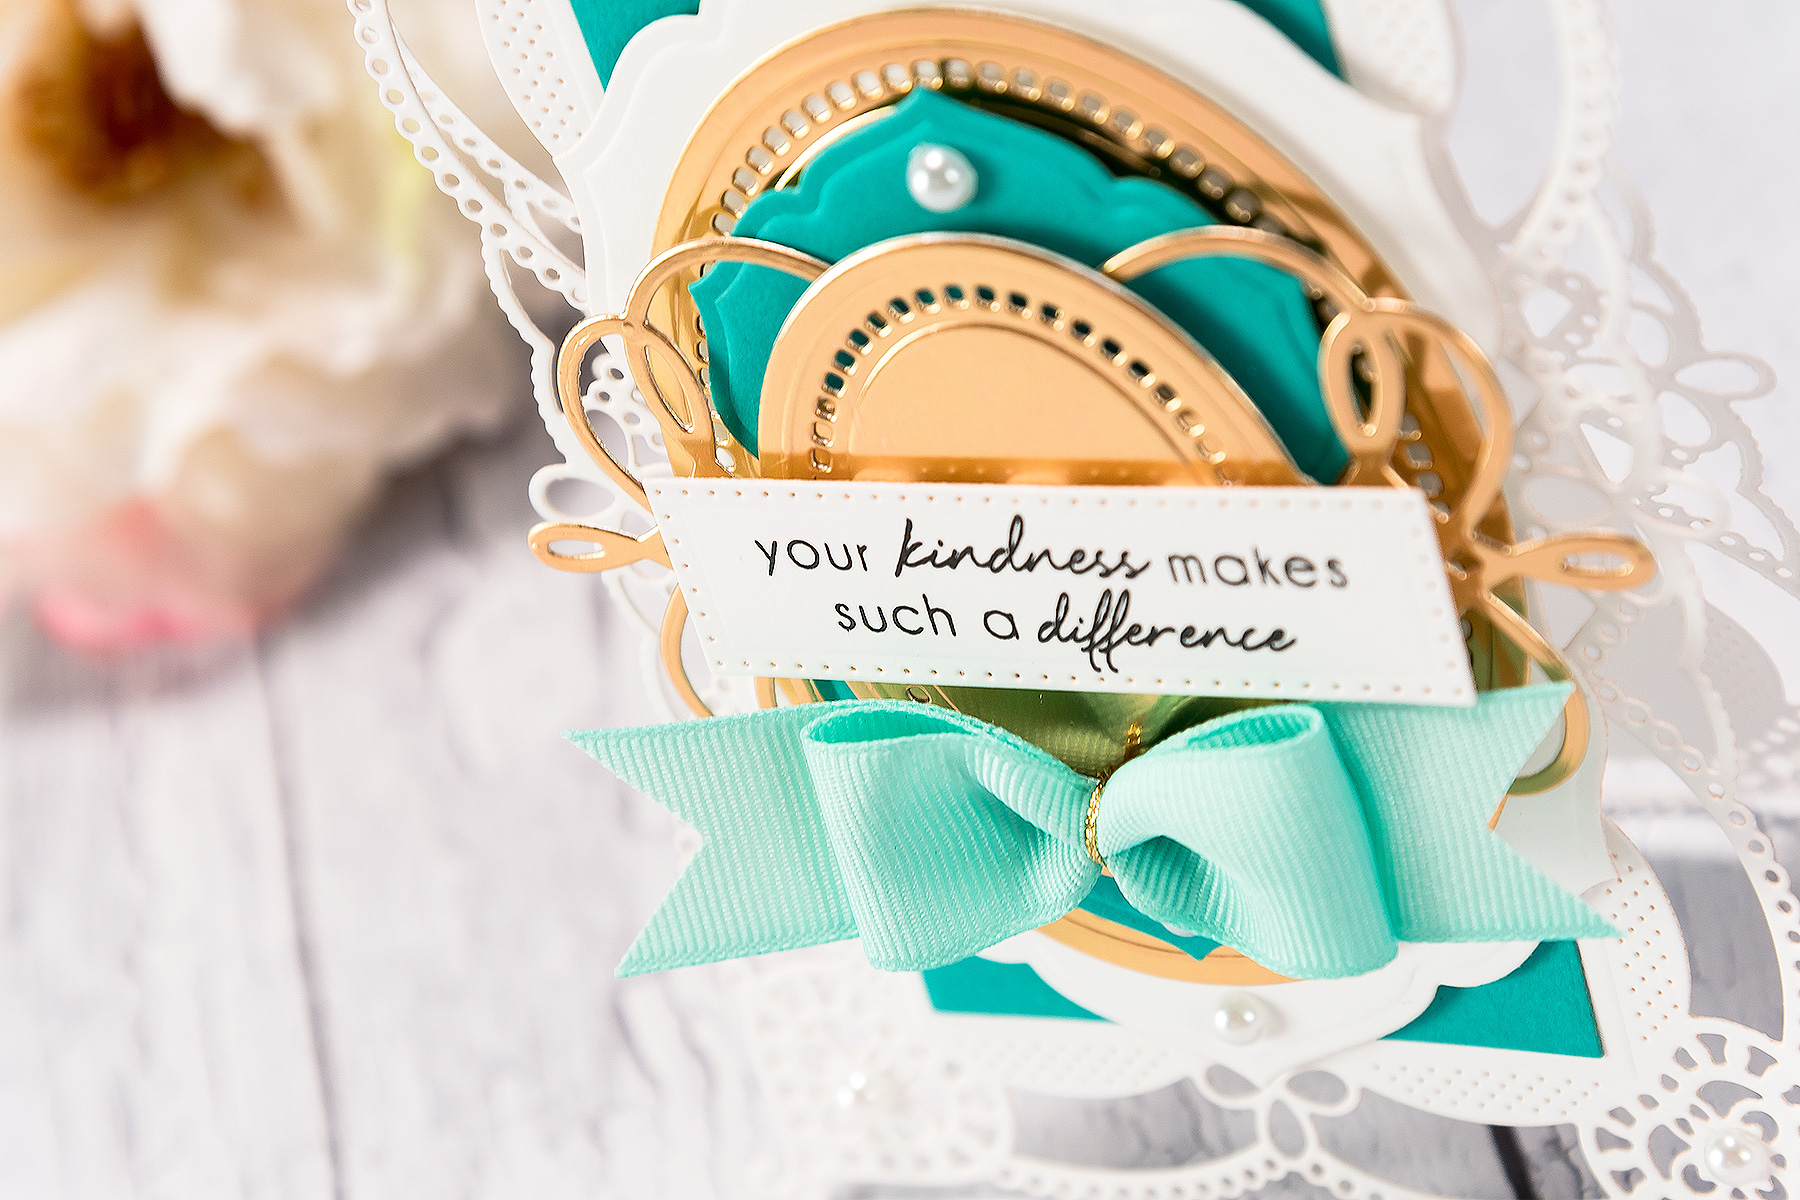
- Die-cut Straight Banner from the Vintage Pierced Banners set out of white cardstock. Stamp sentiment in black ink. Foam mount onto the card.
- Add ribbon bow. Embellish card with pearls.
Video Tutorial
Watch video tutorial below or on Youtube to learn how to make this project:Spellbinders Supplies:
- S4-817 Breanna’s Corset Label
- S4-820 Vintage Pierced B anners
- S5-332 Hemstitch Ovals
- S6-130 Coralene’s Chemise Layering Frame Large
- PL-001 Platinum Die Cutting And Embossing Machine - 8.5" Platform
- T-001 Tool 'N One
Other Supplies:
White Cardstock (Neenah Solar White 110LB & 80 LB); Gold Foil Cardstock; My Colors Cardstock - Tropical Sea; Scrapbook Adhesives Foam Adhesive Squares; Tape Runner; Clear Stamp (Altenew - Sentiments & Quotes, Mama Elephant - Heartfelt Wishes); Versafine Onyx Black Ink; Self Adhesive Pearls; 1" Teal Grosgrain Ribbon; Glue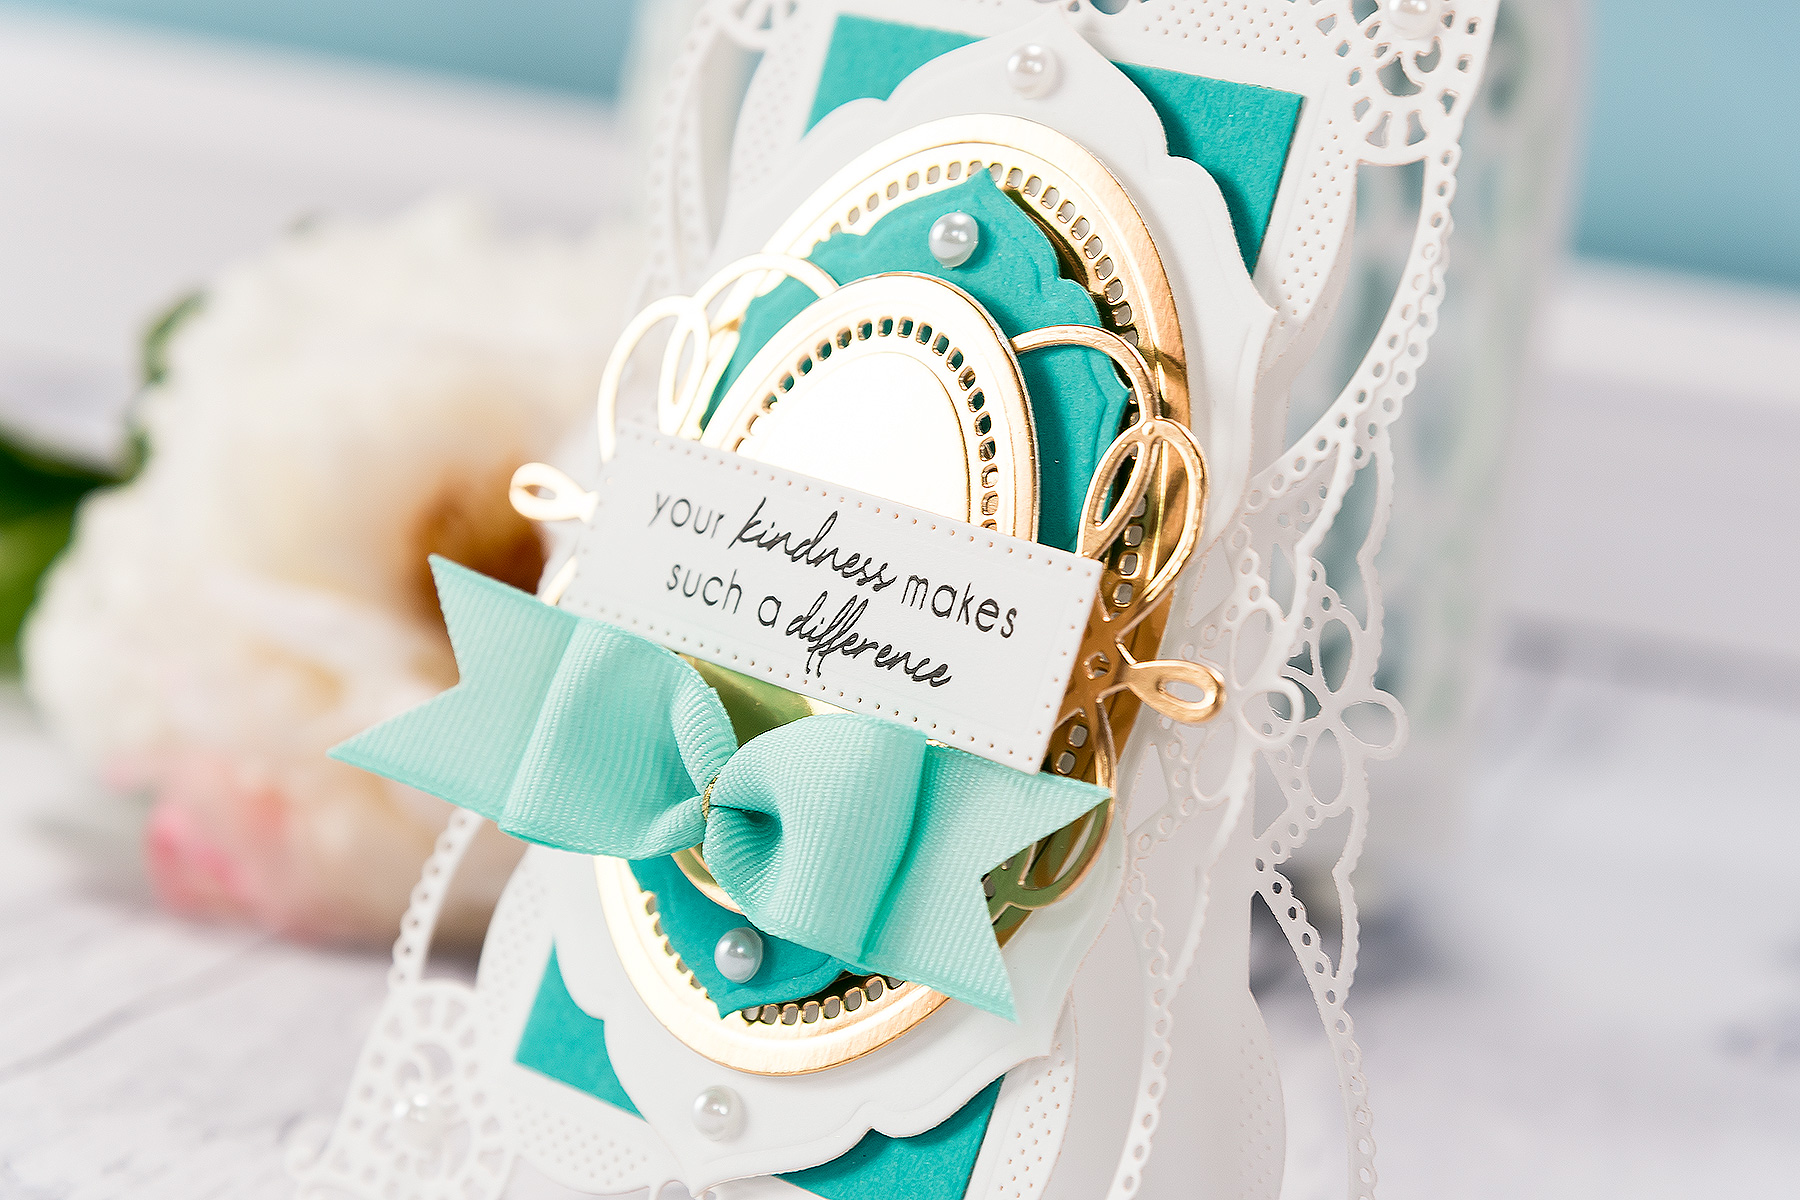
Thank you so much for stopping by today and have fun die cutting!























































































