Taxes and shipping calculated at checkout
Spellbinders Blog
Shadowbox Collection Inspiration | Scrapbook Shadowboxes with Kathleen Graumüller
Feb 02, 2019
Hey there Spellbinders fans! I’m Kathleen, aka Scattered Confetti, and I am very happy to be here on the Spellbinders blog to share some of my projects with you! I got to work with the beautiful Shadow Box collection by Becca Feeken and created a set of shadow boxes with them that would work with my style.
That’s what I love about dies, they allow you to really express your creativity and your very own style! Just by changing the paper and designs you use with the dies and by combining them in a different way, you can give a whole new look to a certain product.
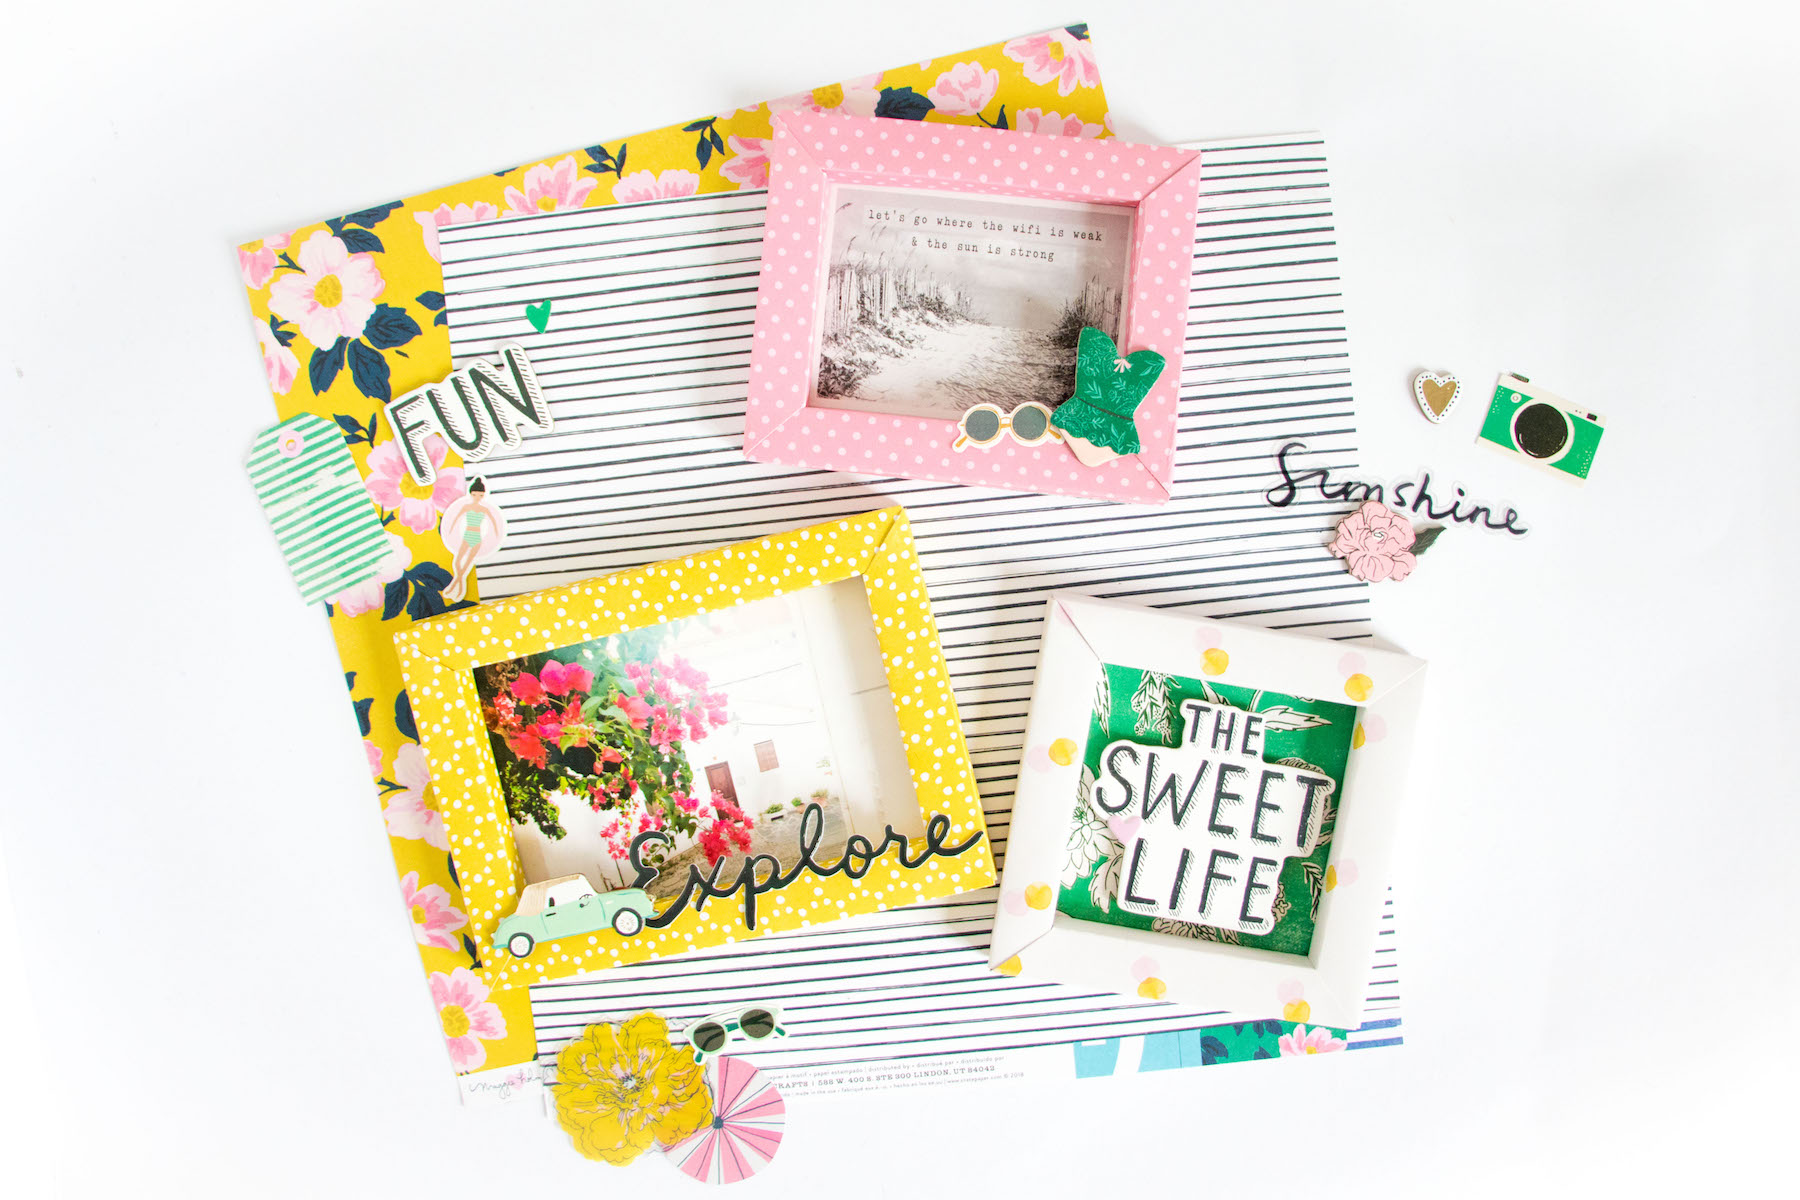
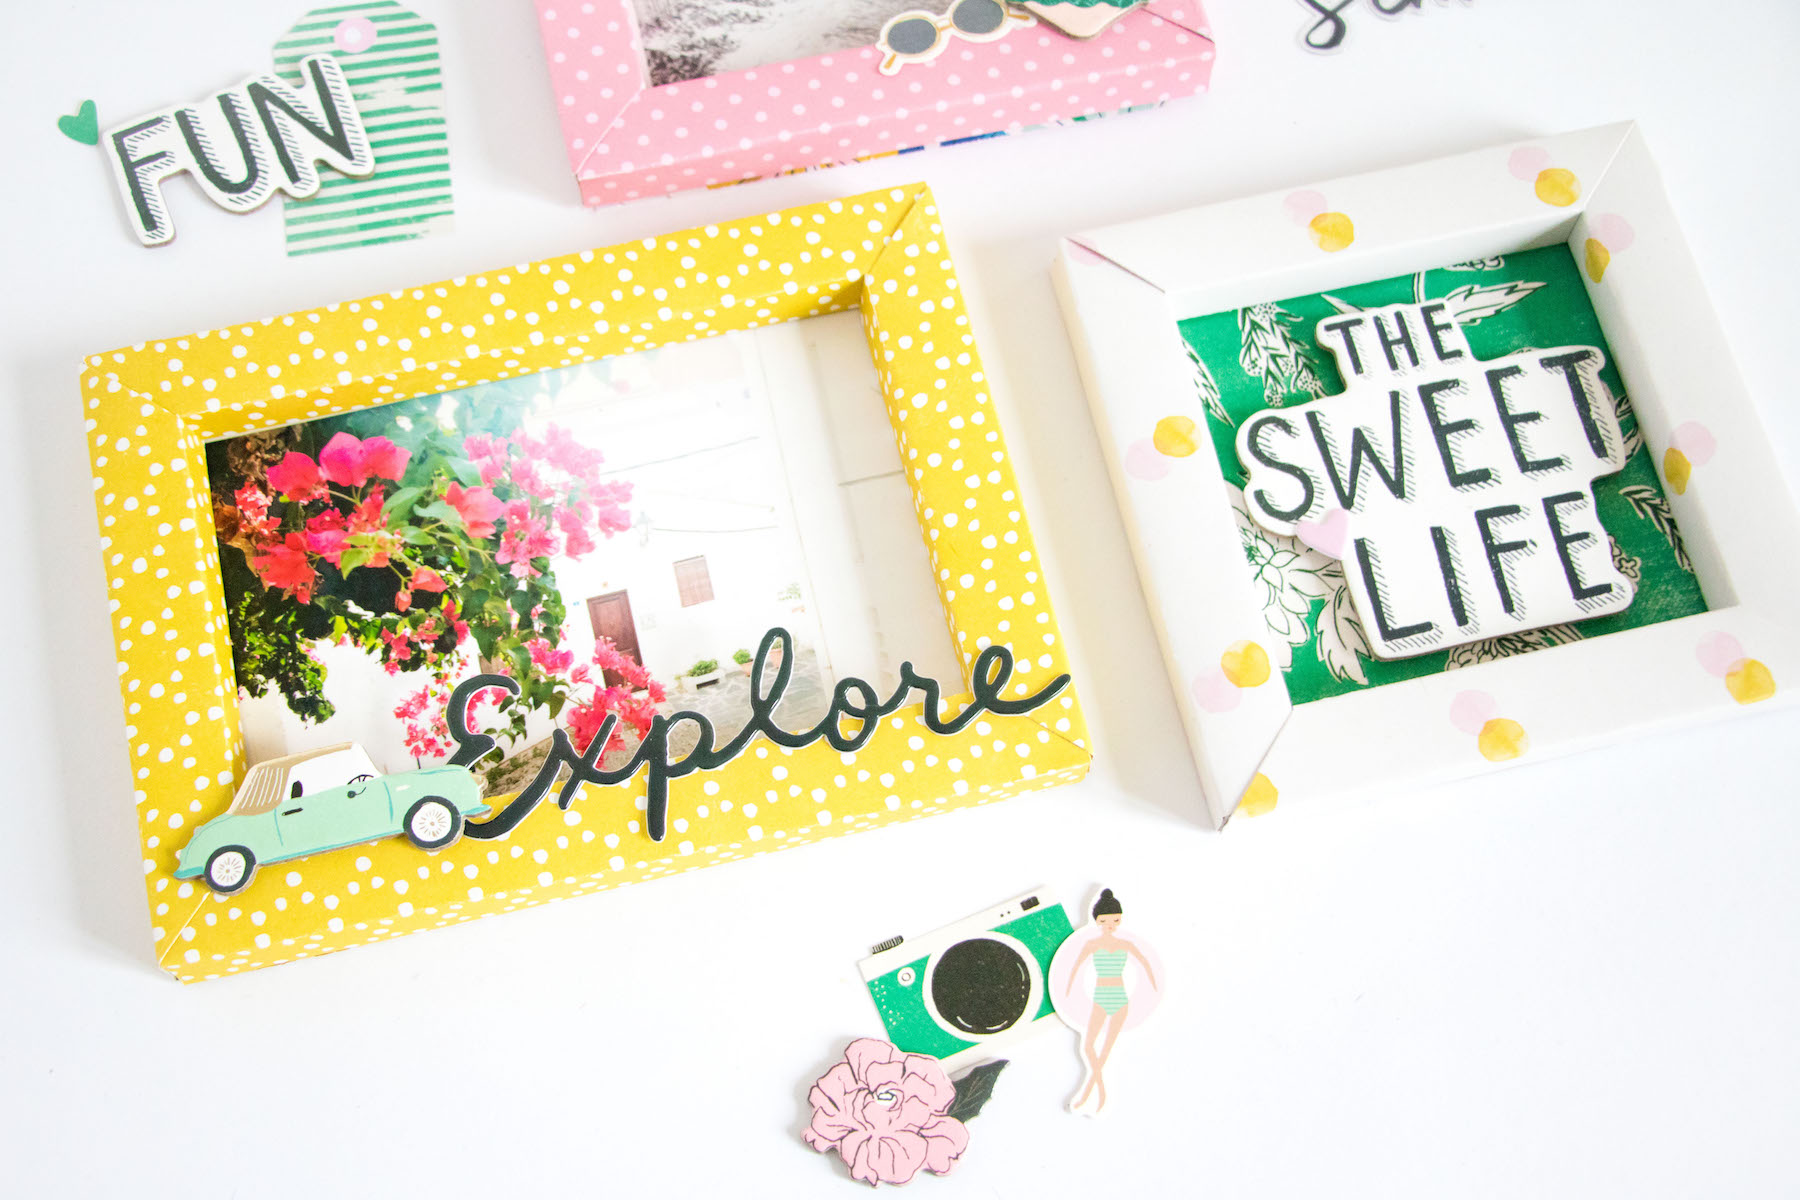
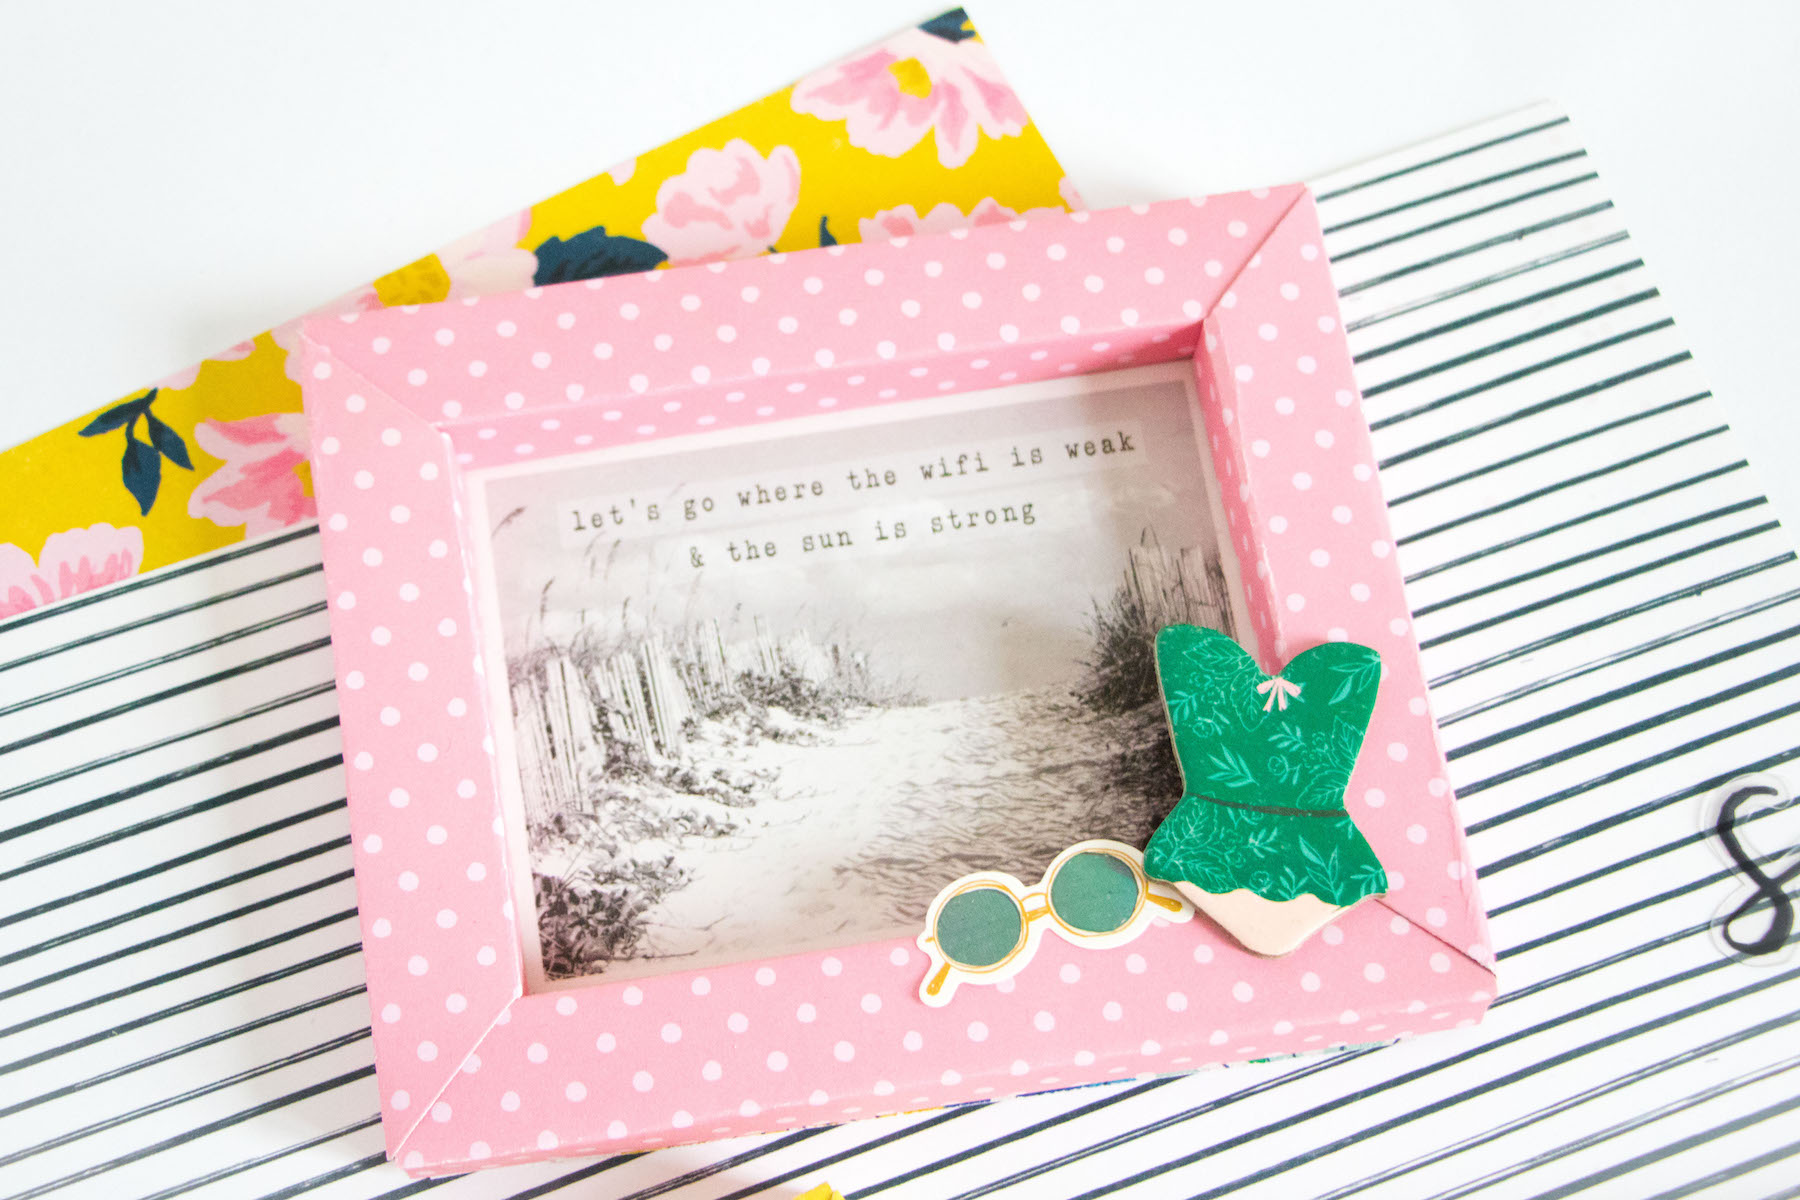
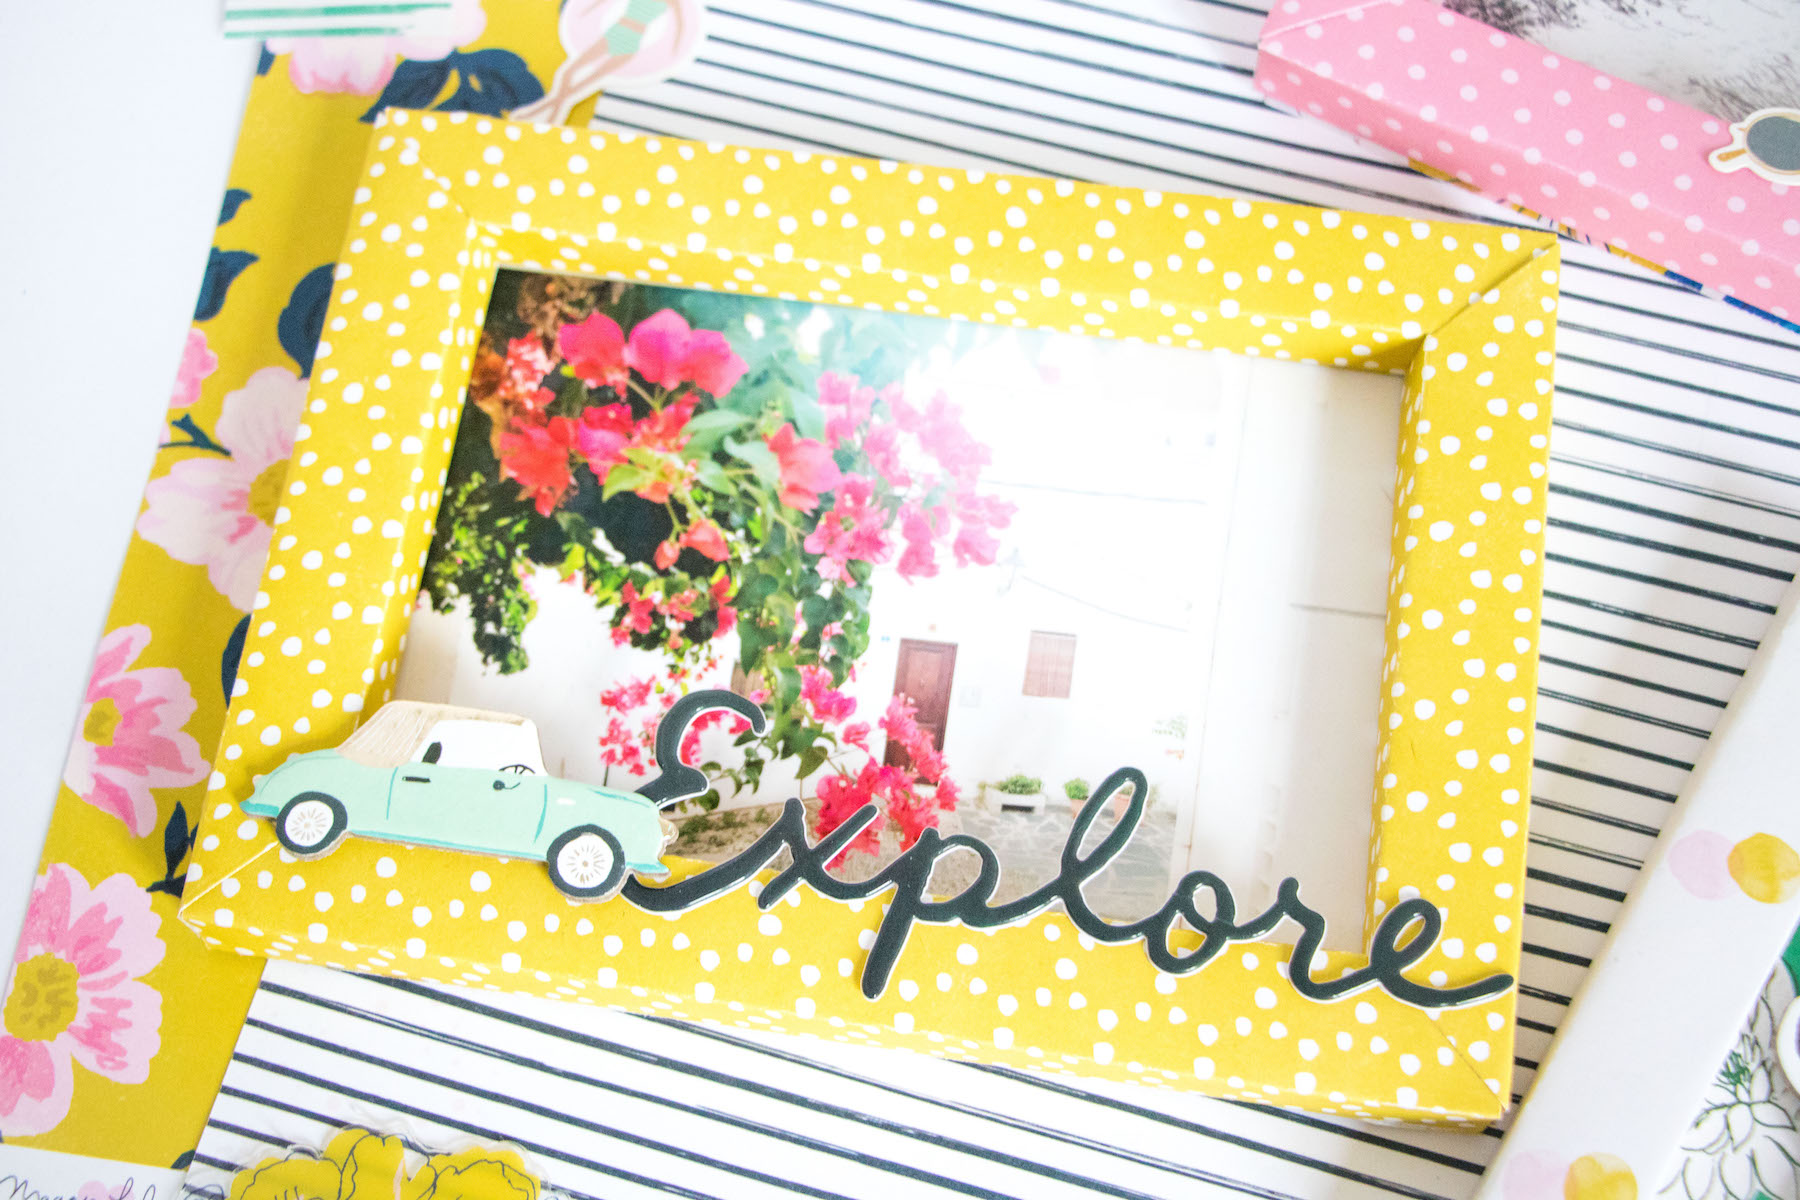
As soon as I saw the different sizes of dies for creating a shadow box, I knew I wanted to use them to create frames for some of my most favorite vacation photos. The new Sunny Days collection by Maggie Holmes matched the colors in my photos really well, so I chose three different patterned papers that coordinated with the photos and with each other.
I used the Shadowbox Frame with the 3/4“ border for all three of the frames but varied the width of the frame for each one. The largest one measures 5“x7“ and the square frame is 5“x5“. Instead of backing the two rectangular frames with another paper, I used my photos. Only for the square frame I selected a patterned paper that would really pop and then placed the “The Sweet Life“ chipboard on top.
My favorite part then was embellishing the frames. Here I used a few different types of embellishments. I mixed word thickers (like the “explore“ word) with regular cardstock and chipboard stickers to include different textures and also different heights. That gives the project even more depth and creates a lot of interest.
Of course you can embellish your frames even more to whatever suits your taste. The Shadowbox Ribbon Threader Dies, Callista Rectangle Shadowbox Frame or the scalloped border of the Vintage Starburst Valance and Gatefold Dies would work great for that!
By the way, if you are not sure how to use the Shadowbox Frame dies and how to put all of the single pieces together to create the actual frame, you can watch the process video below where I show you all the single steps!
And if you thought that was all of it for today, you are mistaken ;) Since I didn’t get to use any of those really cute layered Scene Dies in the Shadowbox collection for my frames, I decided to use the Thinking of You Woodland Scene Dies and the Layered Sweet Birdie Thanks Scene Dies to create two tags that can be used as gift tags or maybe put on a card.
All I needed for these was one sheet of white cardstock (or you can also use watercolor paper), my Platinum 6 die cutting machine and some watercolors. First I die cut the different layers from the white cardstock and then I used my watercolors to color them.
On both tags I kept the top layer white because I really like how the colors pop against that white layer, and it also helps to make the sentiment stand out. Both top layers actually have more flourishes, but I cut parts of them off, because I wanted a look that’s a little bit simpler. This again goes to show that you can really play with the dies and the die cut images to make them suit your style!

/>