


Posted by Spellbinders Team
on July 21, 2017

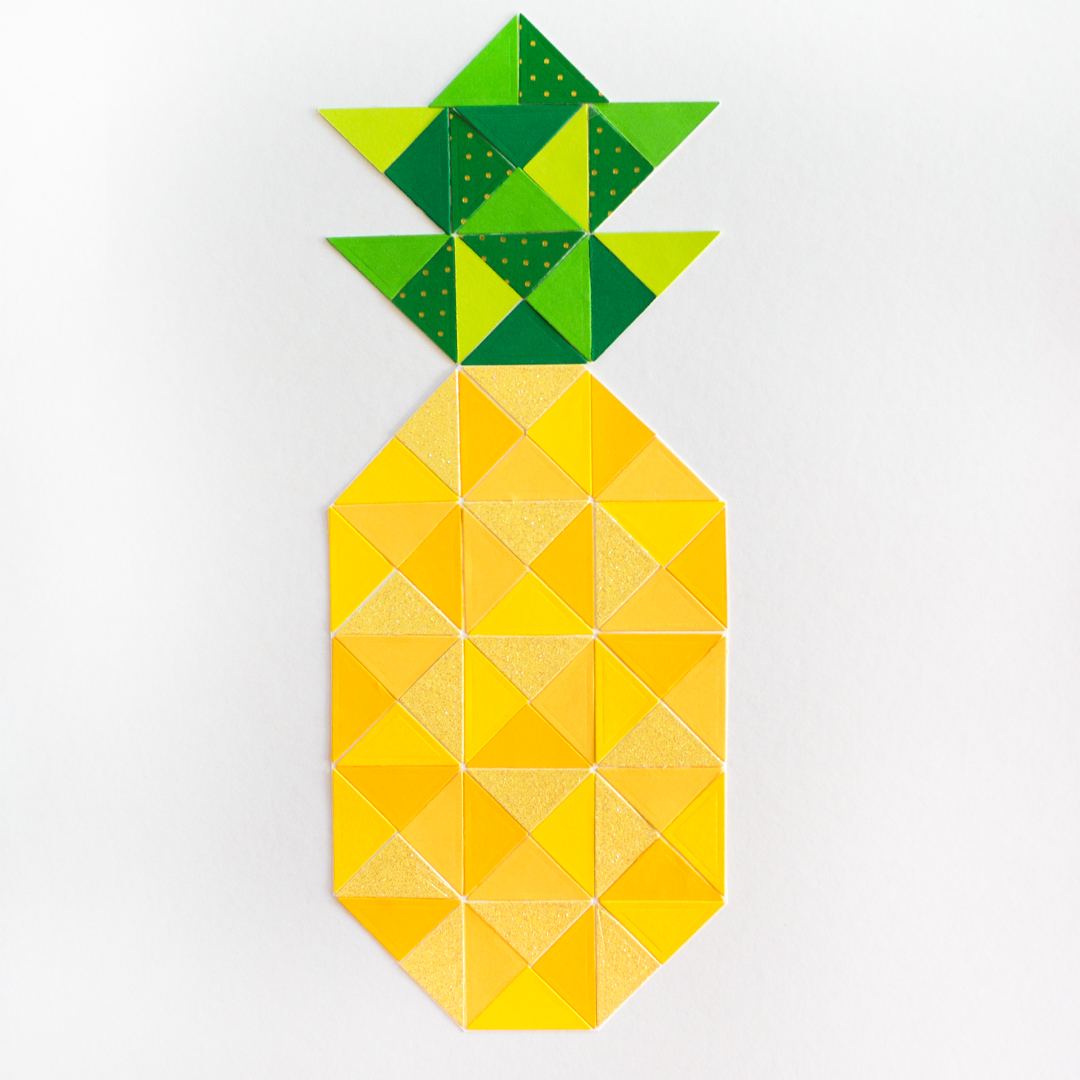
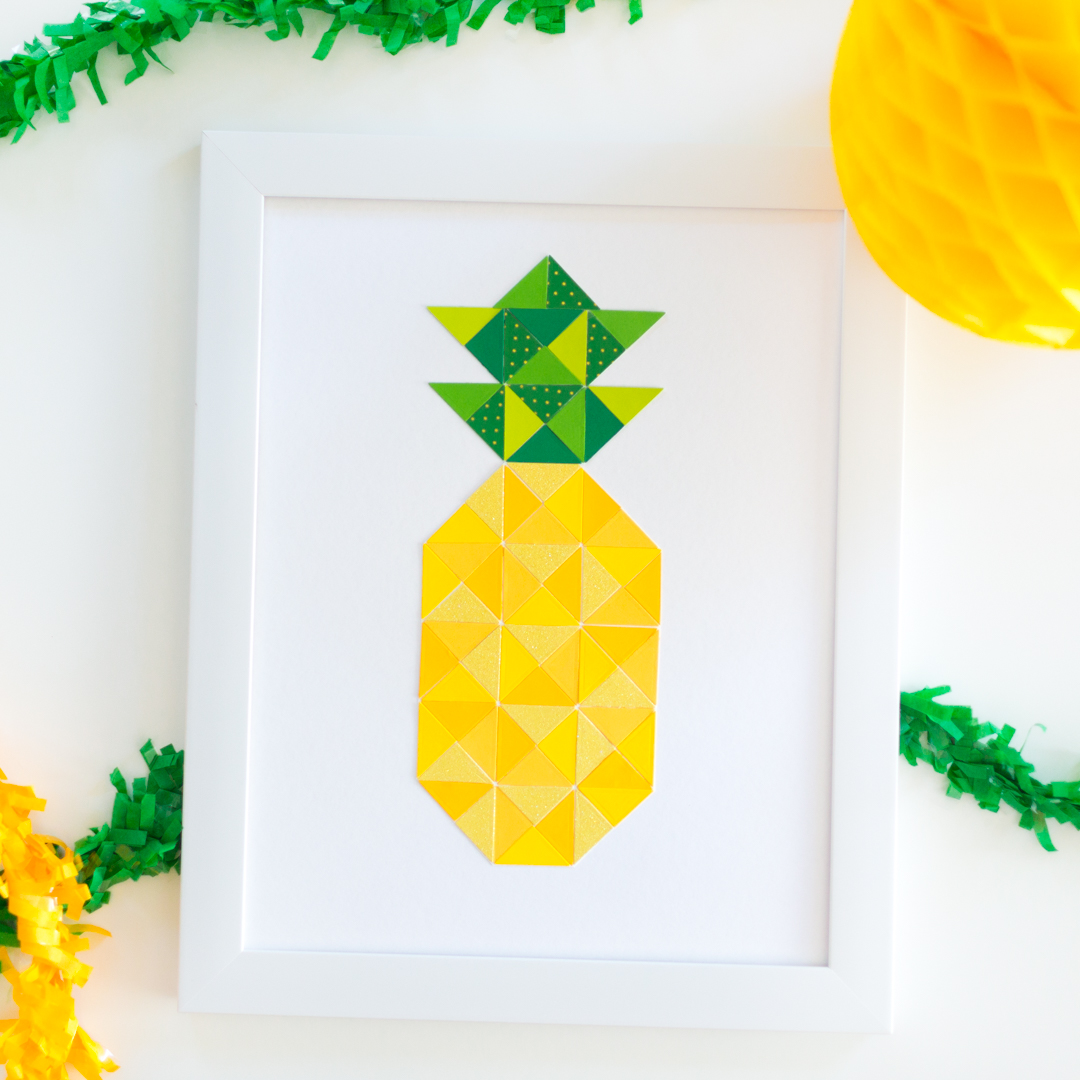
Hi everyone! It's Alli again from Partyography and today I'm excited to share this pineapple print I made using the new Quilt It Collection from Lene Lok. Since we're right in the middle of summer and I'm loving the pineapple trend, I thought this print would be perfect on a dessert table for all your summer gatherings or even as summer home decor. I love how you can have a quilted look without the sewing!
 Instructions:
 Start by picking out what colors you'd like to use in your pineapple. I used four variations of yellow and four variations of green but you can use any color or pattern you like!
 Next cut S3-287 Die D-Lites Half Square Triangle Quilt Etched Dies with all the shades of cardstock. You'll want to focus on cutting with the four triangles in the middle of the die. You will need 52 pieces of yellow for the base of the pineapple and 18 pieces for the top of the pineapple. It sounds like a lot but goes pretty quickly, especially if you double up on cardstock when you're cutting.
 Once all the triangles are cut, you can use this pineapple print as a guide and glue all the pieces into place. I actually glued the base of the pineapple onto one piece of white cardstock and the top of the pineapple onto another piece of cardstock. Once all the pieces were glued, I cut around the edges and glued the two pieces onto an 11x14 piece of poster board. This helped to make sure the pineapple was centered on the print.


 I hope you enjoy this super easy summer project! For more ideas and inspiration, visit: Partyography By Alli.
Spellbinders® Supplies:
I hope you enjoy this super easy summer project! For more ideas and inspiration, visit: Partyography By Alli.
Spellbinders® Supplies:
Start by picking out what colors you'd like to use in your pineapple. I used four variations of yellow and four variations of green but you can use any color or pattern you like!
Next cut S3-287 Die D-Lites Half Square Triangle Quilt Etched Dies with all the shades of cardstock. You'll want to focus on cutting with the four triangles in the middle of the die. You will need 52 pieces of yellow for the base of the pineapple and 18 pieces for the top of the pineapple. It sounds like a lot but goes pretty quickly, especially if you double up on cardstock when you're cutting.
Once all the triangles are cut, you can use this pineapple print as a guide and glue all the pieces into place. I actually glued the base of the pineapple onto one piece of white cardstock and the top of the pineapple onto another piece of cardstock. Once all the pieces were glued, I cut around the edges and glued the two pieces onto an 11x14 piece of poster board. This helped to make sure the pineapple was centered on the print.

 I hope you enjoy this super easy summer project! For more ideas and inspiration, visit: Partyography By Alli.
Spellbinders® Supplies:
I hope you enjoy this super easy summer project! For more ideas and inspiration, visit: Partyography By Alli.
Spellbinders® Supplies:
- S3-287 Die D-Lites Half Square Triangle Quilt Etched Dies
- PE-100 Platinum™ Die Cutting and Embossing Machine
- Cardstock
- Glue
- 11x14 white poster board
- 11x14 white frame























































































