NEW Clear Stamps | Flowers & Butterflies with Brenda Noelke
on November 03, 2018

NEW Clear Stamps | Flowers & Butterflies with Brenda Noelke

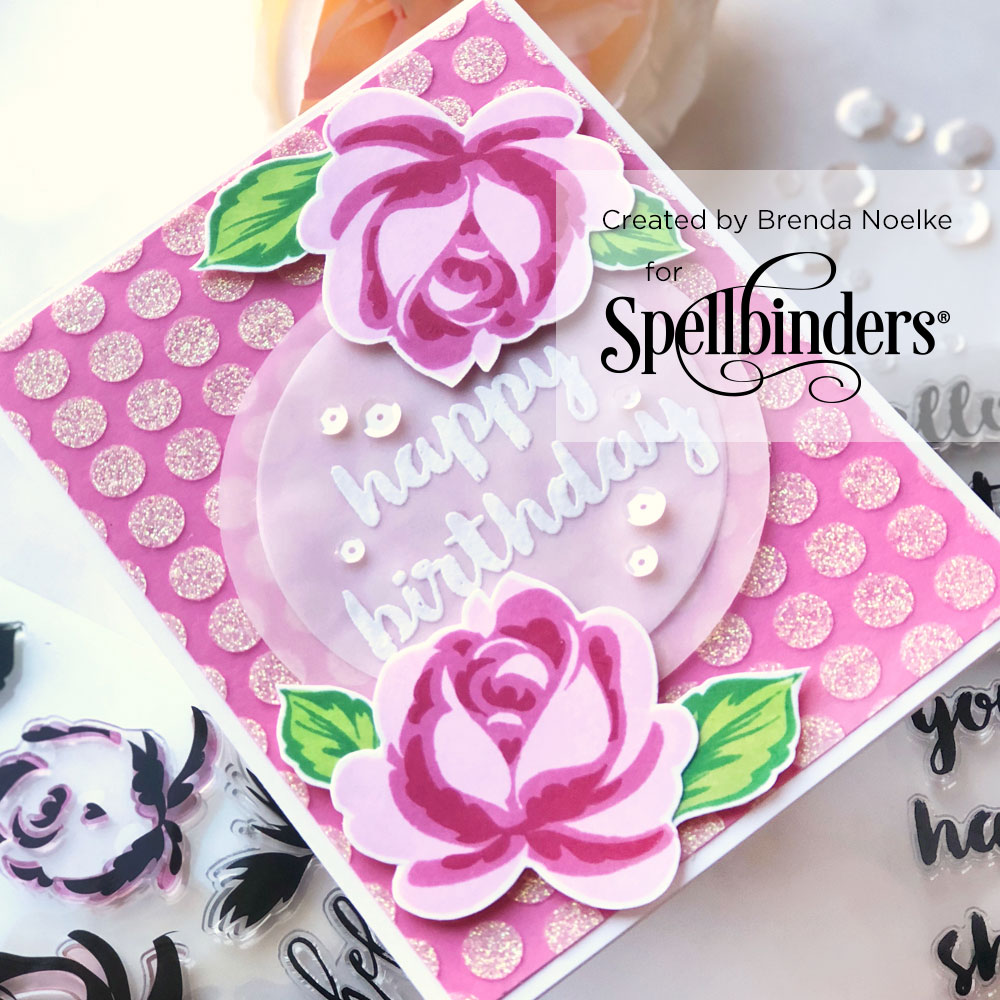
Hello crafty friends!! This is Brenda Noelke from My PaperCut Creations, back for my 2nd guest post this week (find my first post here)! I am featuring three new stamp sets today - Layered Rose and Sentimental Words! Two of which are on my first card.

Spellbinders NEW Clear Stamps | Flowers & Butterflies with Brenda Noelke #neverstopmaking #spellbinders

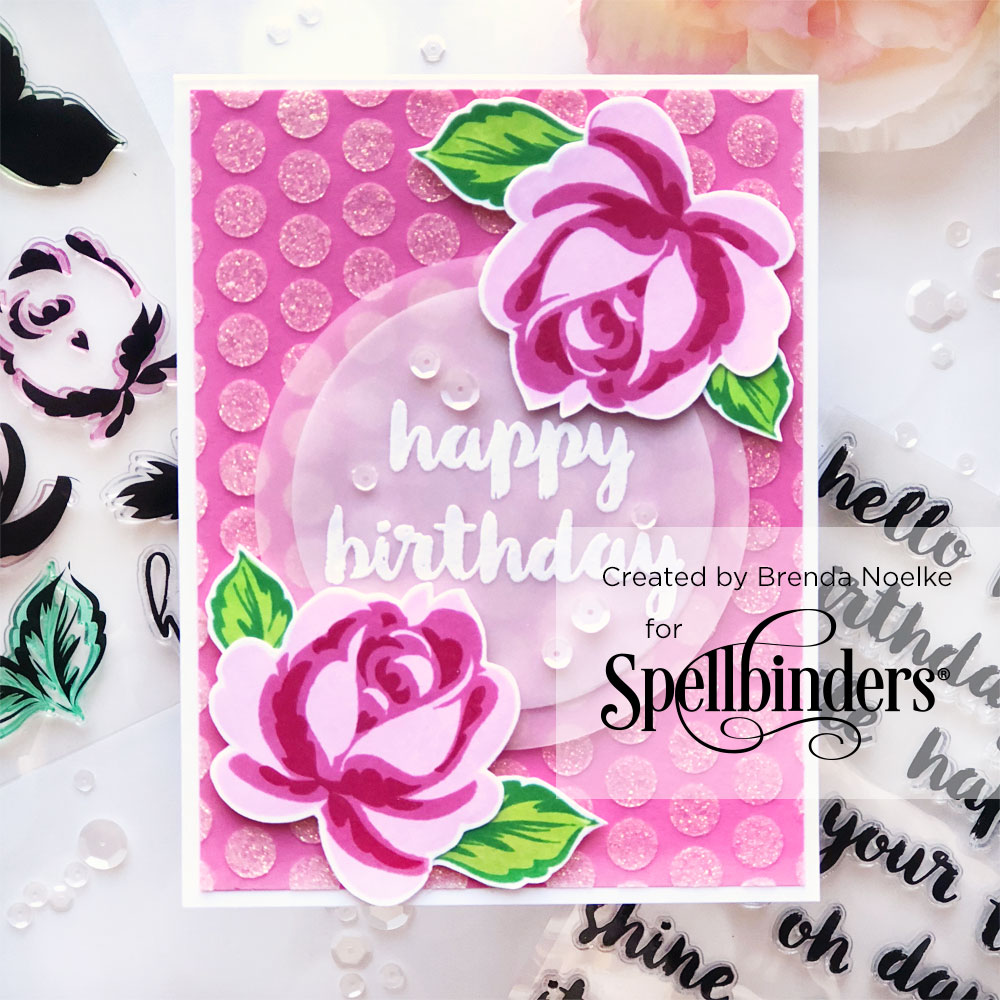
This floral layering set is so easy to line up and creates such dimension.

Spellbinders NEW Clear Stamps | Flowers & Butterflies with Brenda Noelke #neverstopmaking #spellbinders

I began by stamping the flowers with three shades of pink ink onto white cardstock. The leaves also have three layers, but I chose to only use two, stamping them in green. I fussy cut the stamped images. Next, I die-cut two circles from vellum and white heat embossed the sentiment onto the smaller one. Glimmer paste was applied through a polka-dot stencil onto a panel of pink cardstock. Once dry, the card was assembled. I applied liquid adhesive behind the heat embossed letters and popped the flowers and leaves up with dimensional adhesive, for added dimension. A few white sequins finish off the card.

Spellbinders NEW Clear Stamps | Flowers & Butterflies with Brenda Noelke #neverstopmaking #spellbinders

Spellbinders Supplies:

Other Supplies:

Neenah 110lb. cardstock; pink cardstock; vellum; The Ton Couture Inks: Rose Quartz, Hollywood Star, Red Sangria, Soft Garden, Bright Fern; Versamark Ink, Ranger Detail white embossing powder; Honey Bee Polka-Dot Stencil; Nuvo Moonstone Glimmer Paste; The Ton Waltz White Sequin Mix; Ranger Multi Medium Matte My second card focuses on a beautiful butterfly stamp set.
Spellbinders NEW Clear Stamps | Flowers & Butterflies with Brenda Noelke #neverstopmaking #spellbinders

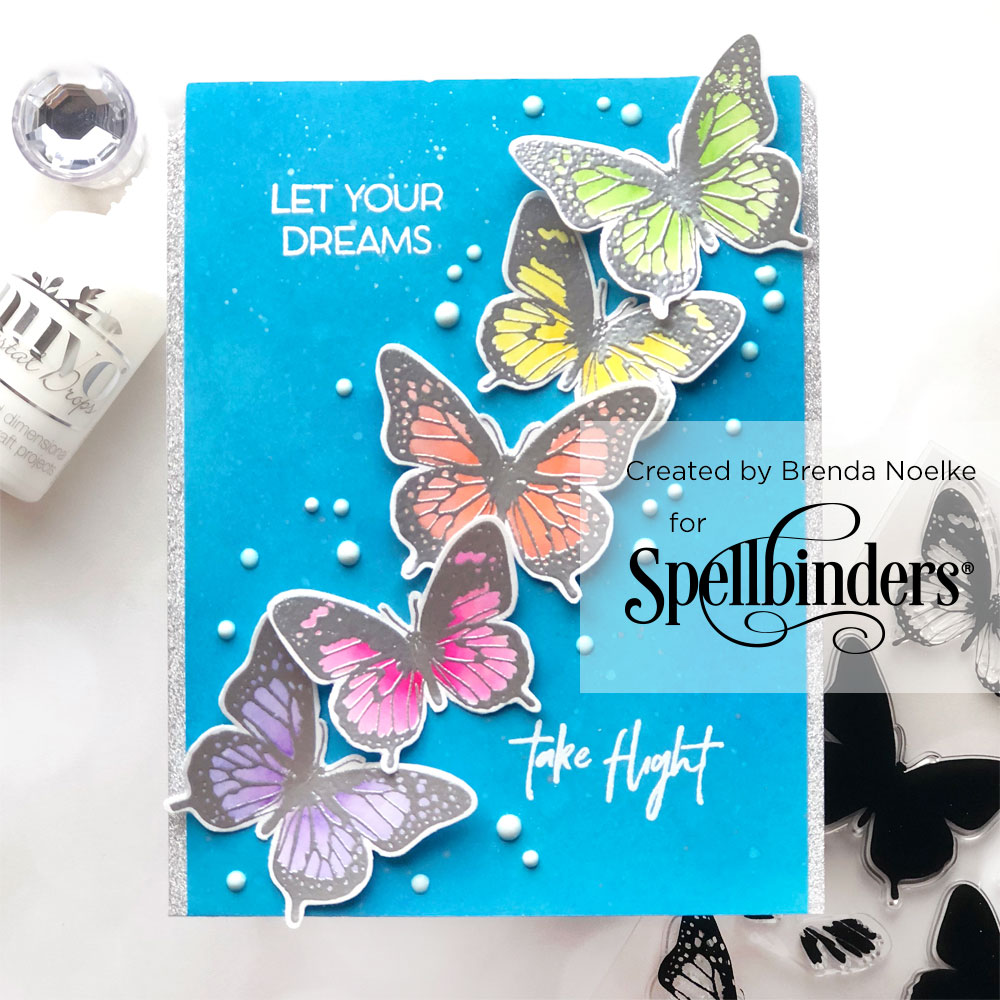
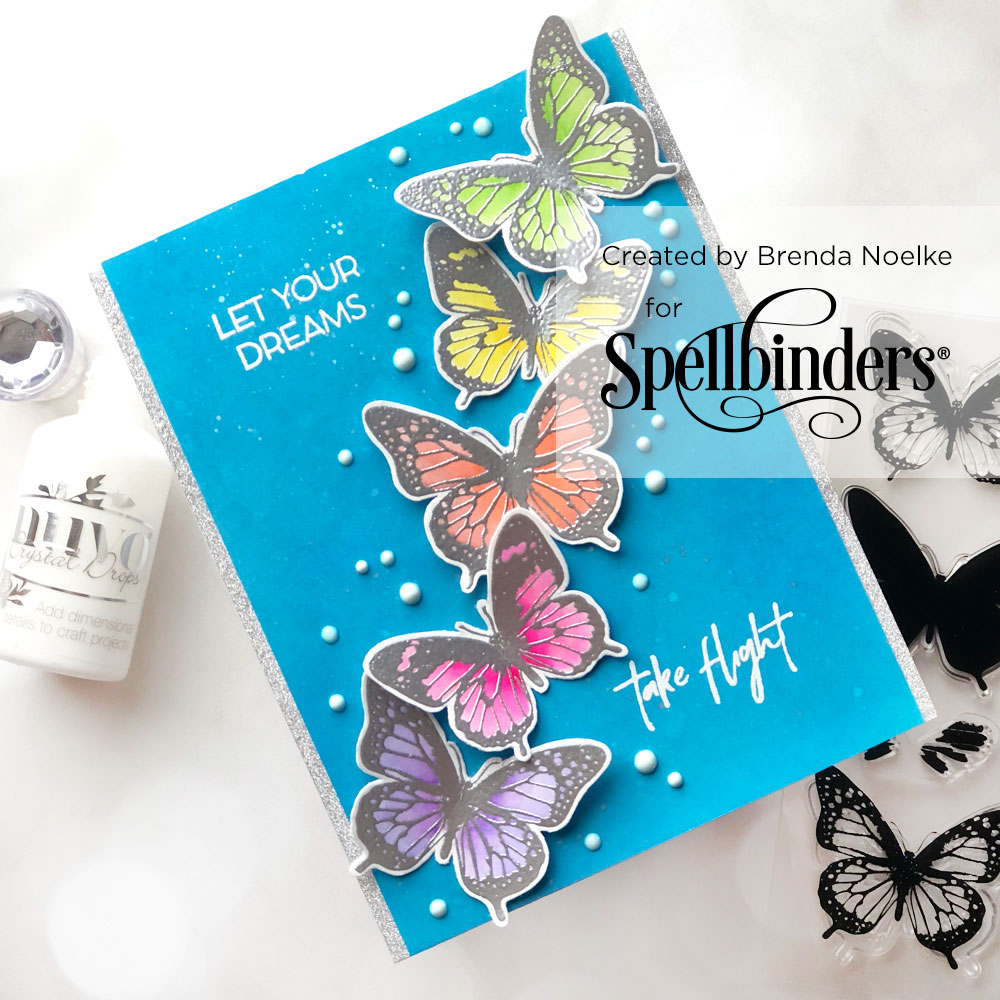
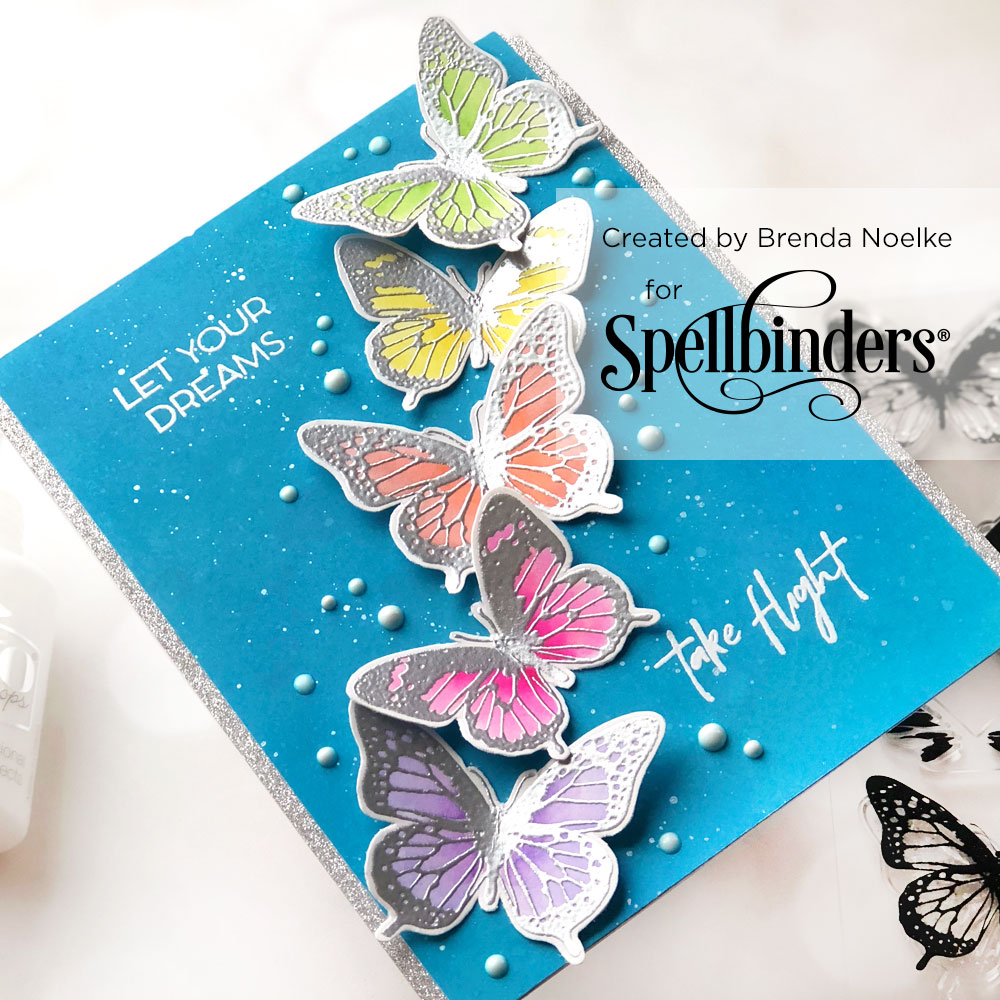
This set provides different ways to stamp your butterflies! It contains a solid image and a couple of layers, so you can stamp the entire butterfly. Or, if you are totally addicted to coloring like I am, you can stamp only the outline.

Spellbinders NEW Clear Stamps | Flowers & Butterflies with Brenda Noelke #neverstopmaking #spellbinders

I started off by silver heat embossing the outline of the butterflies onto white cardstock and then colored them with watercolor markers. I blended three different inks onto a white cardstock panel, then spritzed it with clear and pearlized water. The sentiment was heat embossed in white onto the ink-blended panel, before trimming the panel slightly on each side. Metallic tape was adhered onto the A2 size cardbase and the ink-blended panel was adhered. The butterflies were fussy cut and then adhered diagonally across the card. I only applied adhesive to the centers of the butterflies, allowing the wings to pop up to create movement and dimension. Finally, some dimensional drops were added around the butterflies.

Spellbinders NEW Clear Stamps | Flowers & Butterflies with Brenda Noelke #neverstopmaking #spellbinders

Spellbinders Supplies:

Spellbinders Supplies:

Other Supplies:

Neenah 110lb. cardstock; Bristol cardstock; Versamark Ink, Ranger Detail silver & white embossing powders; Zig Clean Color Real Brush Markers; Tim Holtz Distress Oxide Inks: Salty Ocean, Mermaid Lagoon, Tumbled Glass; Perfect Pearls; The Ton Silver Glitter Tape; Nuvo Crystal Drops – Simply White; Ranger Multi Medium Matte Thanks so much for joining me today! I have really enjoyed creating these projects for you!

Leave a comment

Your email will not be published. Please note, comments need to be approved before they are published.


  • How to Make a Fun Chompster Birthday Card with Cake and Accessories, BD-1049, S5-778, S5-779, STP-295

    BD-1049

    How to Make a Snack-Themed Birthday Card with Chompster

    Funny birthday cards are even more memorable when they combine a playful character with a relatable sentiment. This snack-themed birthday card features Chompster dressed in a party hat and holding a large slice of birthday cake. The colorful die-cut layers, dimensional cake, and sparkling gems create a cheerful design that is perfect for birthdays and other celebrations. In this step-by-step tutorial, you’ll learn how to...

  • How to Make a Cute Autumn Squirrel Card with Fall Adventures Dies, S4-1573, S5-738, S3-591, STP-292, S5-740

    Categories:Die Cutting

    How to Make a Cute Autumn Squirrel Card with Fall Adventures Dies

    Create a charming autumn card featuring an adorable squirrel dressed in overalls and surrounded by pumpkins, apples, hay bales, colorful leaves, and harvest-themed accents. In this step-by-step tutorial, you'll learn how to assemble layered character dies, create dimensional autumn accessories, stamp a coordinating sentiment, and build a cheerful fall scene full of seasonal details. This project is perfect for cardmakers who enjoy character-based die-cut scenes...

  • How to Make a Cookie-Loving Chompster Birthday Card, S5-778, S5-779, STP-295

    Categories:Die Cutting

    How to Make a Cookie-Loving Chompster Birthday Card

    Create a fun birthday card featuring Chompster enjoying his favorite snack. In this step-by-step tutorial, you'll learn how to assemble the Chompster character, create dimensional cookies, build a colorful propeller hat, and arrange all the die-cut pieces into a playful birthday card design. This project is perfect for cardmakers who enjoy character-based die cutting and whimsical birthday cards. By combining the Top It Off and...