Jane Davenport Artomology | Crafting with Jane Davenport Markers with Angela Tombari
Posted by Spellbinders Team on September 23, 2018

Jane Davenport Artomology | Crafting with Jane Davenport Markers with Angela Tombari

Hi friends! It’s Angela Tombari back here, thank you for joining me. I have a fun project to share with you using the Jane Davenport Artomology collection. Today I am focusing on the use of Markers on an alternative surface, a piece of fabric!

Spellbinders Jane Davenport Artomology | Crafting with Jane Davenport Markers with Angela Tombari  #janedavenport #janedavenportartomology #Artomology #spellbinders #neverstopmaking #smoothmarkers #makeitwithmichaels

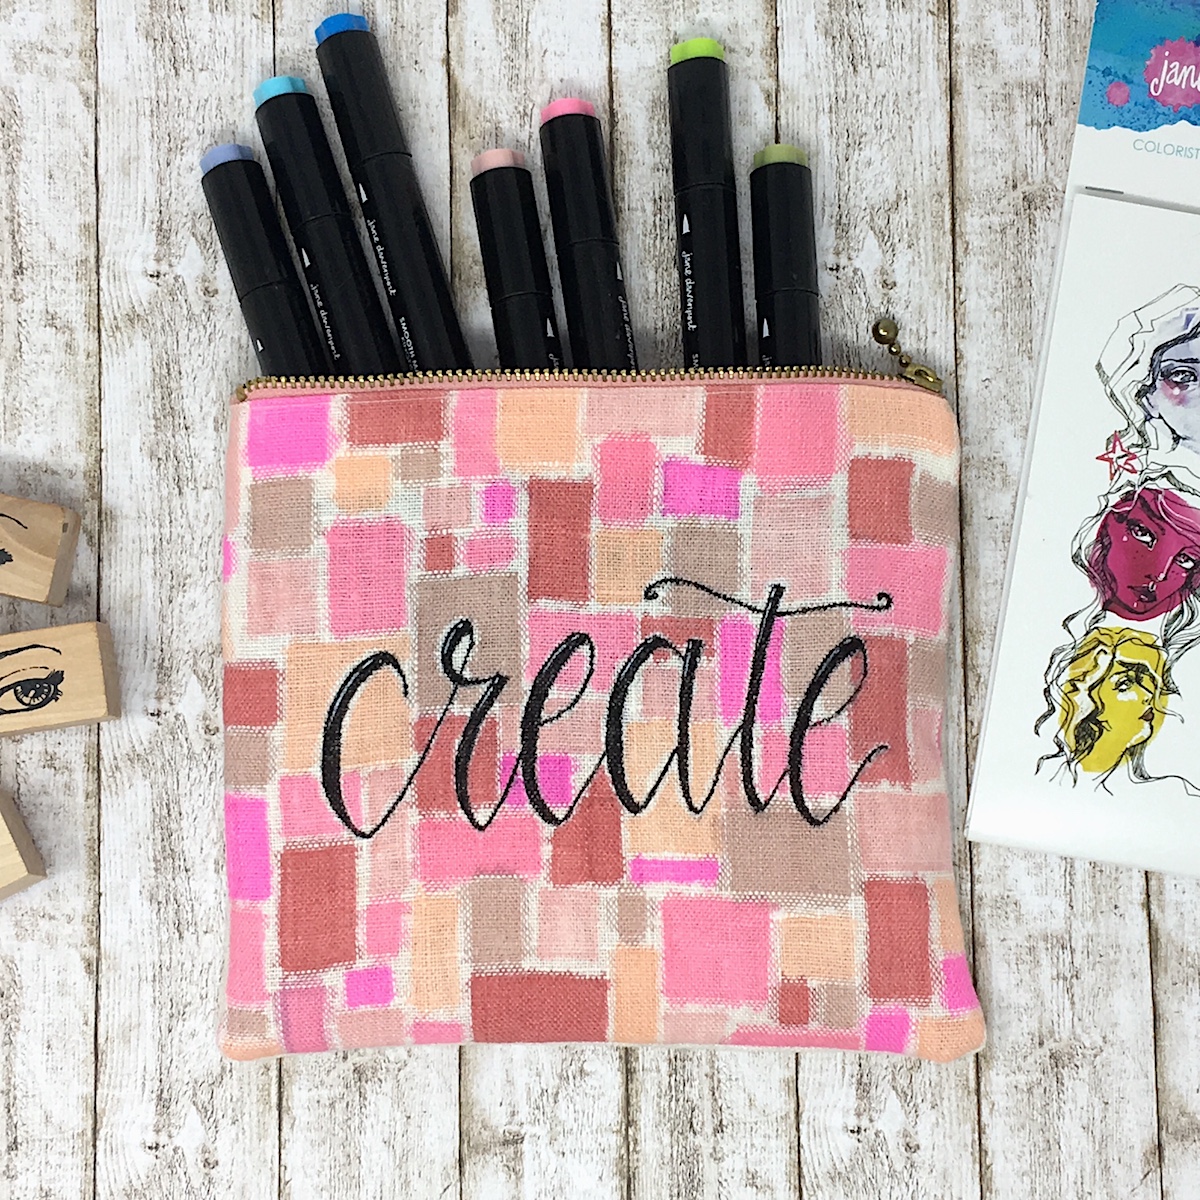
As you can see from the photo I created two pouches that I intend to use for my art supplies. The first pouch size is 7 inches square and the markers fits perfectly inside. I love the vibrant colors and how it turned out.

Spellbinders Jane Davenport Artomology | Crafting with Jane Davenport Markers with Angela Tombari  #janedavenport #janedavenportartomology #Artomology #spellbinders #neverstopmaking #smoothmarkers #makeitwithmichaels

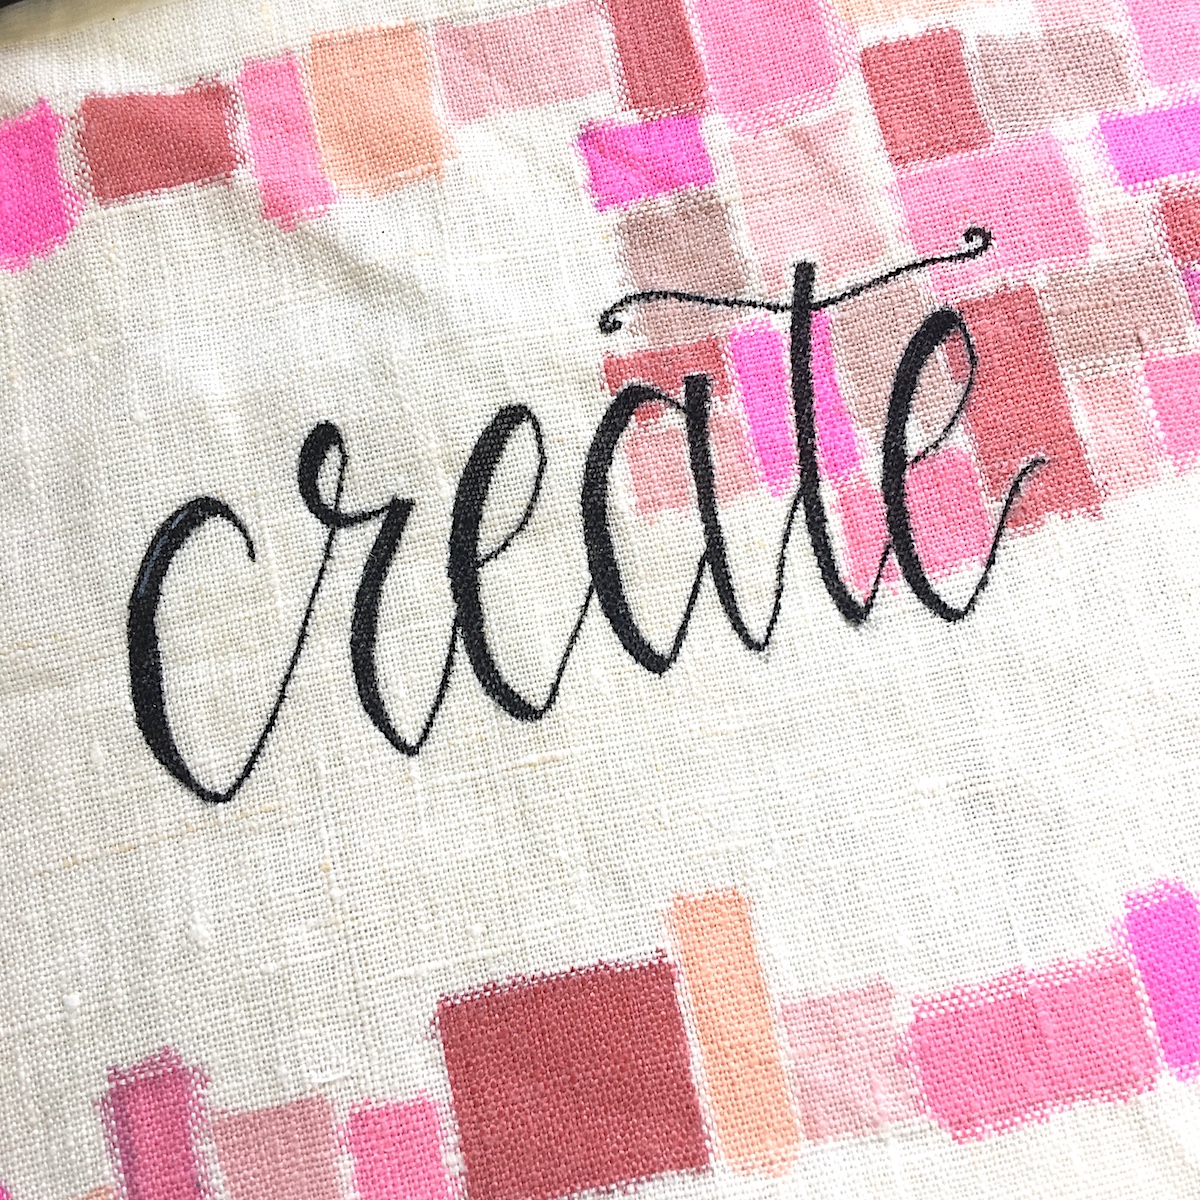
The Markers are alcohol based, they work well on fabric and can resist soft washing. To make the pouch I started drawing on the fabric the outline of the word Create using a pencil. Then I traced over it with a black marker with a fine tip.

Spellbinders Jane Davenport Artomology | Crafting with Jane Davenport Markers with Angela Tombari  #janedavenport #janedavenportartomology #Artomology #spellbinders #neverstopmaking #smoothmarkers #makeitwithmichaels

Finally, I started coloring with the markers, using all shades of pink. I went for a geometrical pattern, with squares and rectangles and I left a bit of space in between each shape because alcohol markers tend to smudge a bit.

Spellbinders Jane Davenport Artomology | Crafting with Jane Davenport Markers with Angela Tombari  #janedavenport #janedavenportartomology #Artomology #spellbinders #neverstopmaking #smoothmarkers #makeitwithmichaels

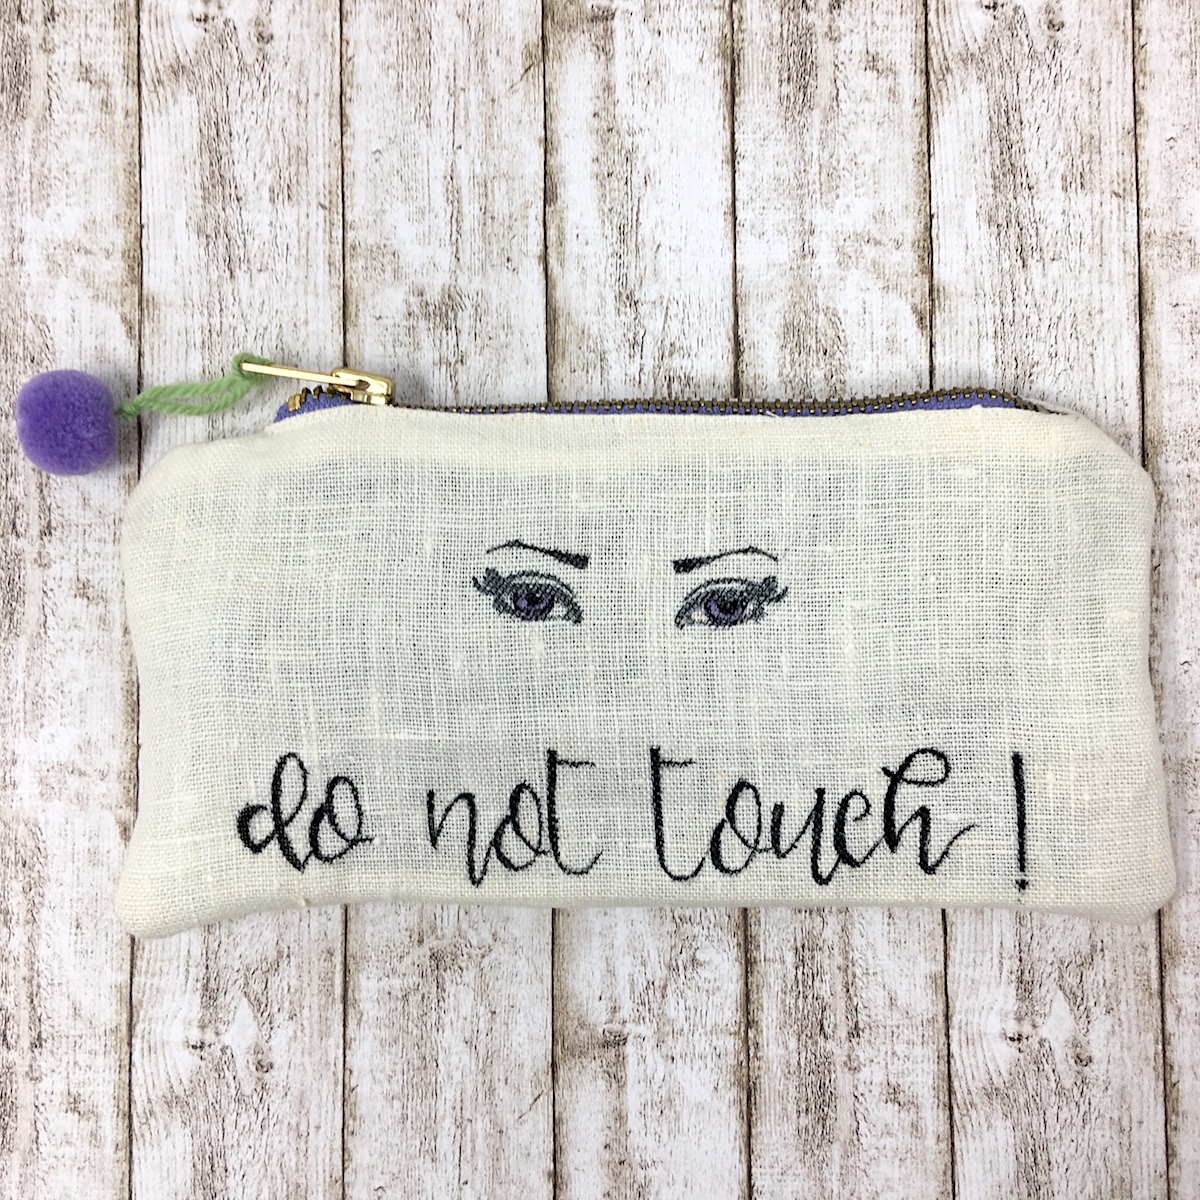
The second pouch has the traditional shape of a pencil case, the size is 8 inches by 4 inches and half. I stamped one of the eyes stamp from the Jane Davenport Tin Of Glances stamp set and colored the iris with violet Flight Marker and I added a pompon of the same color on the zipper. The design of the eyes is so deep, it seams that the eyes look straight at you! So, I added the phrase Do Not Touch as a fun warning for those who intend to open the case.

Spellbinders Jane Davenport Artomology | Crafting with Jane Davenport Markers with Angela Tombari  #janedavenport #janedavenportartomology #Artomology #spellbinders #neverstopmaking #smoothmarkers #makeitwithmichaels

Spellbinders Supplies:

OTHER SUPPLIES

Fine tip black marker, white gel pen, pencil, black Tuxedo ink pad, linen fabric, zippers, pompon. Thank you so much for stopping by today, I really hope you liked my project and I hope to have inspired you to think outside the box with your art supplies. Let me also thanks Spellbinders to allowed me to guest design for them.

Leave a comment

Your email will not be published. Please note, comments need to be approved before they are published.

7 comments

Denise,

I really love the “Create” case. I’m going to try something similar and make personalized make-up cases as Christmas gifts.

Monia,

You’re an eclettic girl!

Giorgia Rossini,

Great project! I love these case.

Carla Hundley,

Fun pouches and
love the eyes!
Carla from Utah

ManuMarsan,

Wow! They are really beautiful !!! I like them too much!


  • Just Add Cake, S3-495, S4-1522, S5-635, S4-1450, S4-1476

    Spellbinders Blog

    Create an Easy Interactive Birthday Card with Spellbinders Card Spinners

    Hi, crafty friends! Lisa Tilson here, and I'm delighted to be with you today sharing a fun interactive birthday card featuring the new Spellbinders Card Spinners. If you've ever wanted to add movement to your handmade cards without complicated mechanisms, these spinners make it incredibly easy! For today's project, I'm using the Large Card Spinner to create an adorable birthday monster that spins with just a...

  • Colorful Halloween Card Tutorial with Scalloped Frames, E3D-180, S6-272

    CS-8-101

    Halloween Card with Embossed Scalloped Frames and Drac Die Set

    Turn layered scalloped frames into a colorful Halloween gallery wall! This step-by-step tutorial shows how to emboss and arrange the Scalloped Frames, assemble the adorable Drac character from Simon Hurley's Halloween Hugs Collection, and create a playful handmade Halloween card full of dimension and color.