
Happy Labor Day, crafty friends! Our offices are closed on Monday, Sept. 7. Support returns Tuesday, Sept. 8. Until then, stay crafty!
20% off Sitewide*
20% off Sitewide*
20% off Sitewide*
20% off Sitewide*
20% off Sitewide*
20% off Sitewide*
20% off Sitewide*
20% off Sitewide*
20% off Sitewide*
20% off Sitewide*
Item added to your cart
Shop by
Posted by Spellbinders Team on September 05, 2022
Holiday 3D Embossing Folder Card Ideas with Sandi MacIver
Hi there, this is Sandi MacIver and I’m excited to be back on the blog today sharing three cards I’ve created with the NEW and oh-so-fabulous Spellbinders Holiday 3D Embossing Folders. There are two beautiful new embossing folders just in time for your holiday creating. The Scenic Poinsettia and the Dimensional Diamonds. Both are the new 5.50 x 8.50 versatile 3D Embossing Folders which can be used to create various sizes from A2, 5 x 7, up to a full-sized slimline.
For the most detailed impression, lightly mist the cardstock on both sides with water before embossing.
Embossing folders are fabulous for adding great detail to the background of your card fronts. They are also versatile for so many stamping techniques. You can add ink before or after you emboss. You can color the embossed images and you can heat emboss the raised image, just to name a few.
THE SLIMLINE SCENIC POINSETTIA
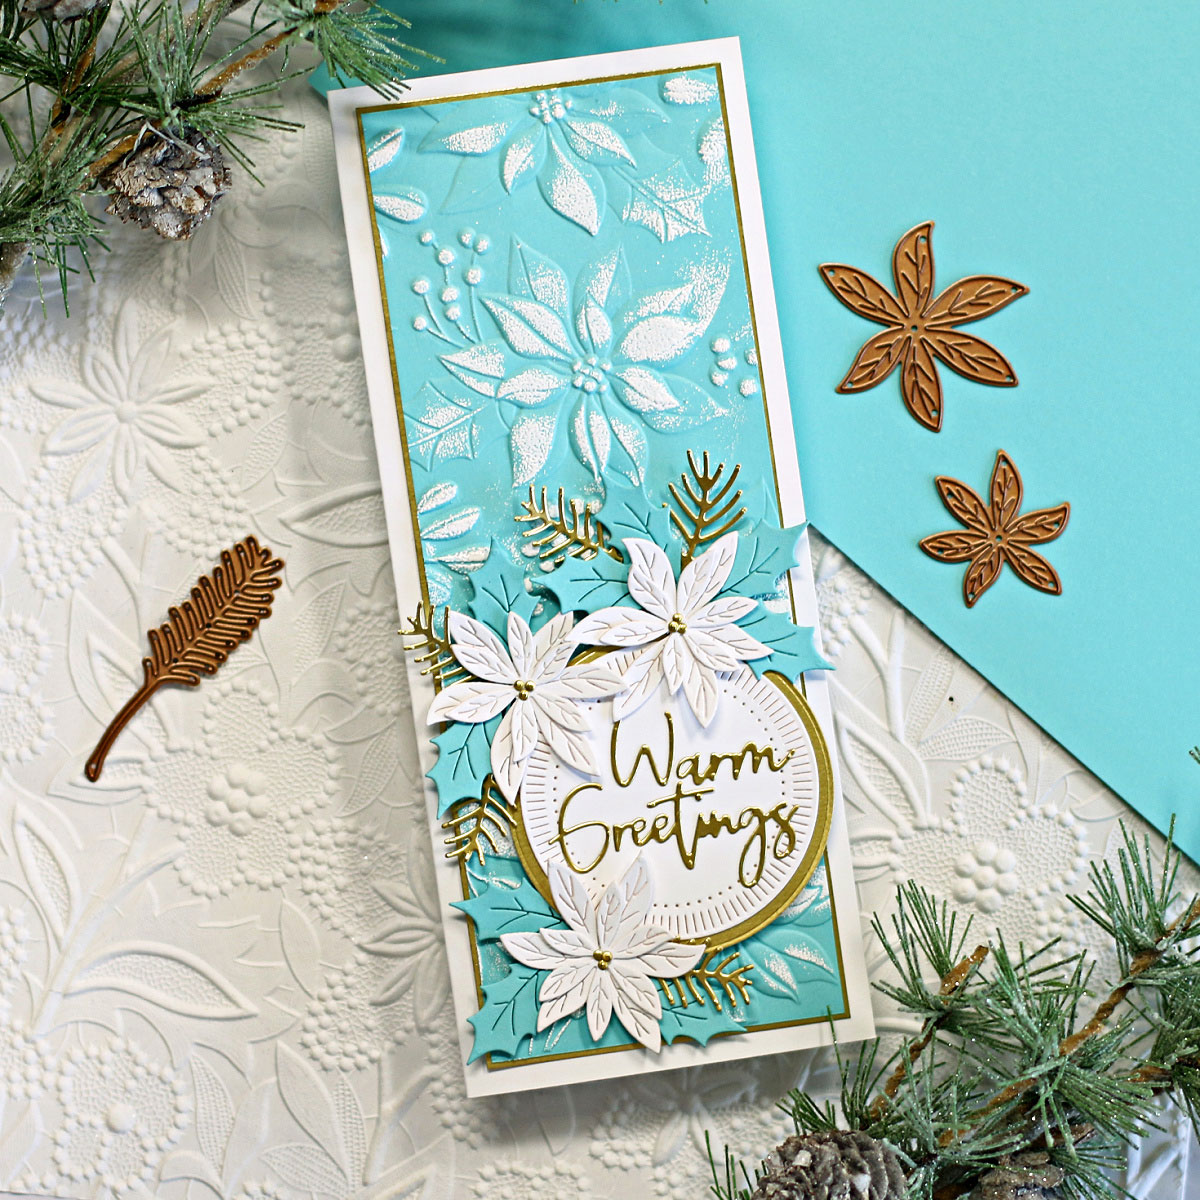
Start by spritzing water on both sides of a 3 x 8 piece of Spellbinders Waterfall card stock. Place inside the embossing folder and run through the Platinum 6 Die Cutting machine.
How to Build a 3D Embossing Folder Sandwich
From the Bottom, place Platform Base (A), add 3D Embossing Folder with Paper Inside, and top with Adapter Plate (D)* (using the new Universal Plate System)
Next, swipe a Watermark Ink Pad over the embossed design, cover with white embossing powder, shake off the excess, and heat set. This adds a beautiful snowy detail effect to the piece.
Finally, mount to a 3-1/8 x 8-1/8 piece of Mirror Gold card stock before securing to a white card base measuring 7 x 8-1/2, scored and folded at 3-1/2.
ADDING THE SENTIMENT AND EMBELLISHMENTS
Start by using the Fluted Classic Circles to cut two layers of cardstock, the fluted in white the plain edge in gold. Next, cut the Create A Christmas Sentiments dies in gold and attach them to the center of the fluted circle using the fine tip on the Bearly Art Glue.
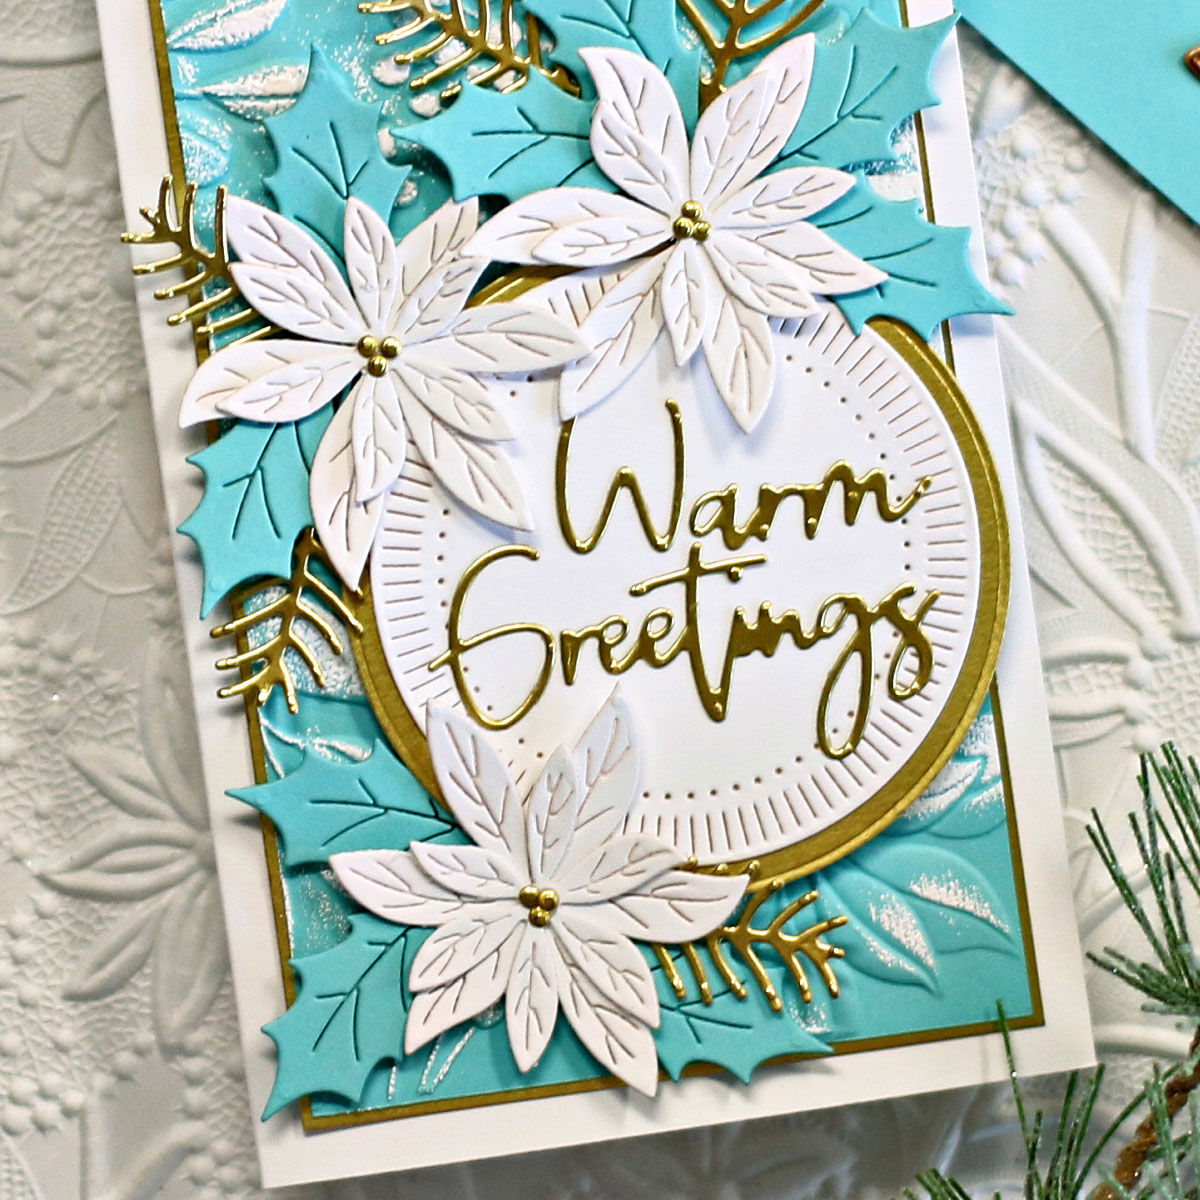
Then, cut white poinsettia, waterfall blue leaves, and gold ferns using the Holiday Blooms Die set. Finally, layer and attach them around the sentiment using foam squares and Bearly Art glue.
THE TRADITIONAL RED AND GREEN CARD
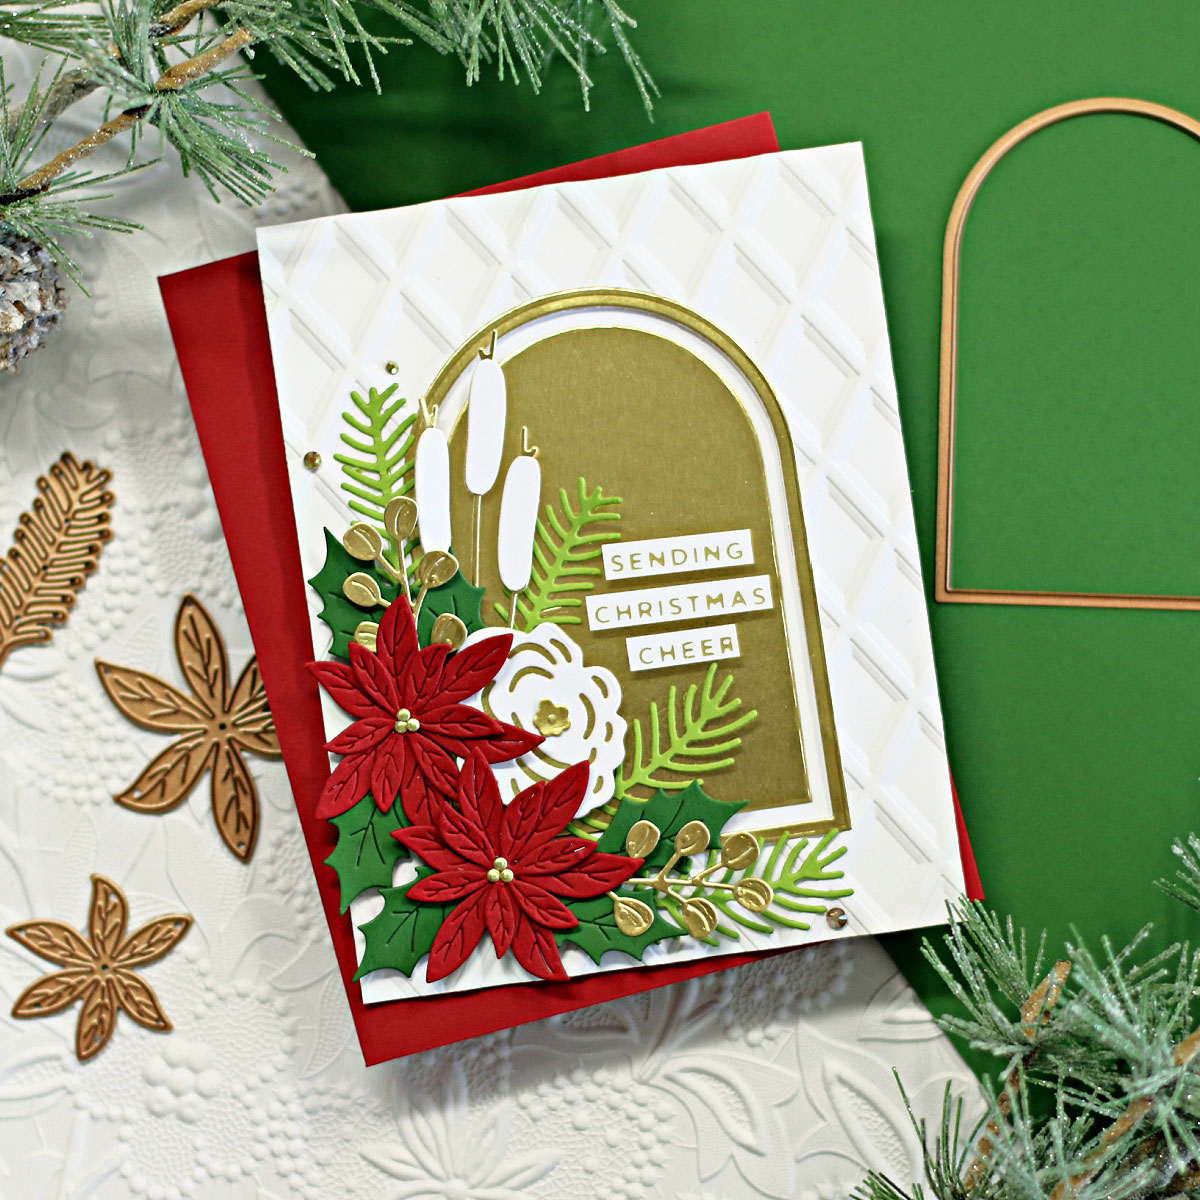
Start by spritzing the 4-1/4 x 5-1/2 white card stock with water on both sides before placing inside the Dimensional Diamonds Embossing Folder and running it through the Platinum 6 die cutting machine. The sandwich is the same as above.
Attach the card front to an A2-sized top folding white card base. Next, use the Essential Arches die set to die cut one solid arch in Mirror Gold and one slightly bigger outline piece also in the gold mirror.
Then use the fine tip on the Bearly art glue to glue to the center of the card front. Finally, use the Holiday Blooms Die set to cut the foliage for the art pieces gluing them down the left side of the card. Then, Glimmer foil the Glitter Wishes Glimmer sentiments in Matte Gold Foil, trim, and attach to the solid arch frame with foam square pieces.
SPELLBINDERS HOLIDAY 3D EMBOSSING FOLDERS IN BLACK AND PINK
First, emboss the black 4-1/4 x 5-1/2 card front with the Dimensional Diamonds 3D embossing folder before attaching it to an A2 white top folding card base. Next, use the Essential Diamonds Etched Dies to create two diamonds for the card center. This mirrors the beautiful, embossed diamond design in the background.
Then, use the Holiday Blooms Die set to cut out the pink poinsettias and gold leaves and spray.
Use a blending brush to add pink ink to the edges of the poinsettia pieces before gluing them together. This adds depth and shadow to the flowers. Finally, use foam squares and Bearly art glue to attach them around the center diamond.
Then, Glimmer foil the Glitter Wishes Glimmer sentiments in Matte Gold Foil, trim, and attach to the solid arch frame with foam square pieces.
Spellbinders Supplies:
Share this article
4 comments
Beautiful cards, all 3 of them.
Beautiful and elegant cards,
These are just lovely! Thanks for the inspiration!
Hi, crafty friends! Lisa Tilson here, and I'm delighted to be with you today sharing a fun interactive birthday card featuring the new Spellbinders Card Spinners. If you've ever wanted to add movement to your handmade cards without complicated mechanisms, these spinners make it incredibly easy! For today's project, I'm using the Large Card Spinner to create an adorable birthday monster that spins with just a...
Turn layered scalloped frames into a colorful Halloween gallery wall! This step-by-step tutorial shows how to emboss and arrange the Scalloped Frames, assemble the adorable Drac character from Simon Hurley's Halloween Hugs Collection, and create a playful handmade Halloween card full of dimension and color.
Celebrate treasured memories with a handmade vintage journal featuring interactive pages, pockets, vintage photos, and layered embellishments. This step-by-step tutorial showcases creative ideas for building meaningful double-page spreads with Esther Glas' Turn the Page collection.
4 comments
Beautiful cards, all 3 of them.
Beautiful and elegant cards,
These are just lovely! Thanks for the inspiration!
ABSOLUTELY GORGEOUS































