Happy Labor Day, crafty friends! Our offices are closed on Monday, Sept. 7. Support returns Tuesday, Sept. 8. Until then, stay crafty!
20% off Sitewide*
20% off Sitewide*
20% off Sitewide*
20% off Sitewide*
20% off Sitewide*
20% off Sitewide*
20% off Sitewide*
20% off Sitewide*
20% off Sitewide*
20% off Sitewide*
Item added to your cart
Shop by
Posted by Spellbinders Team on February 23, 2018
Flower Garden Inspiration | Botanical Dragonfly Card with Cynde. Video
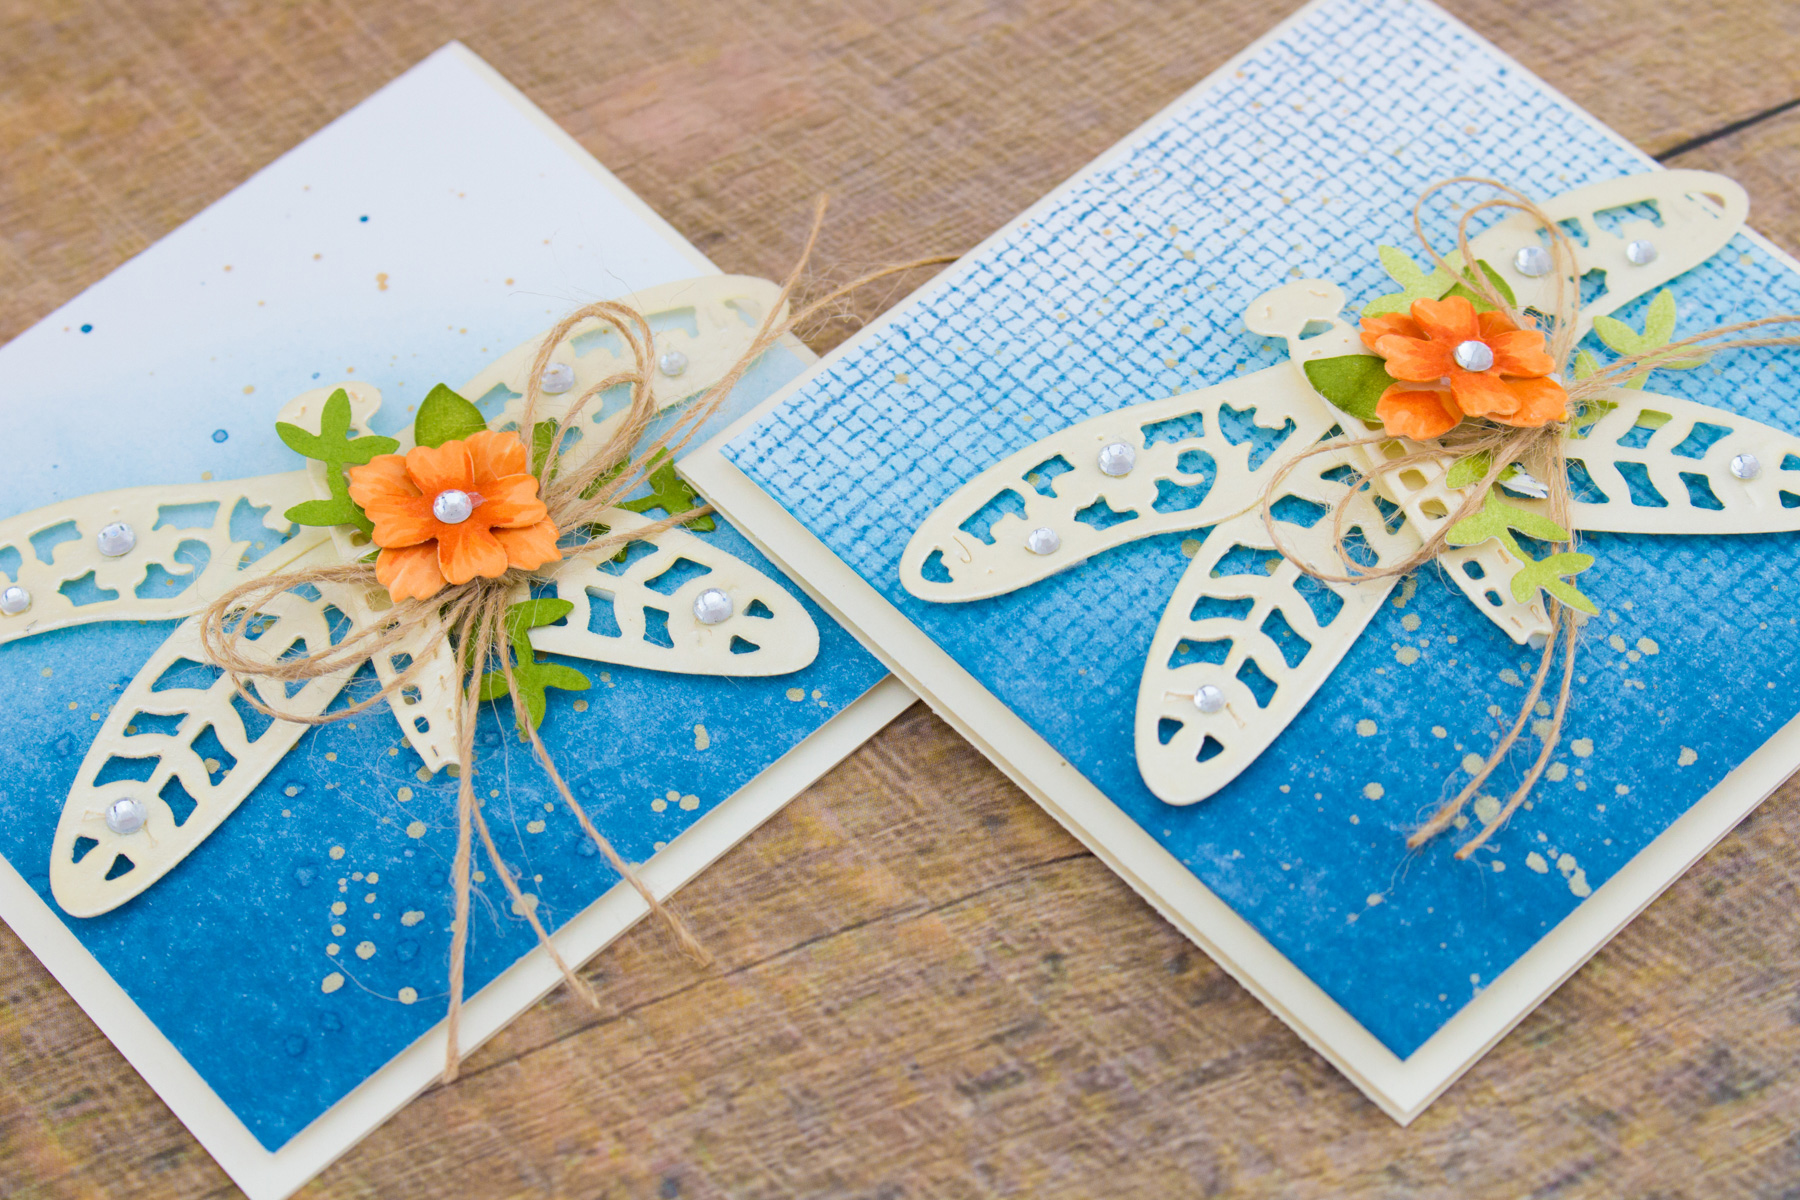
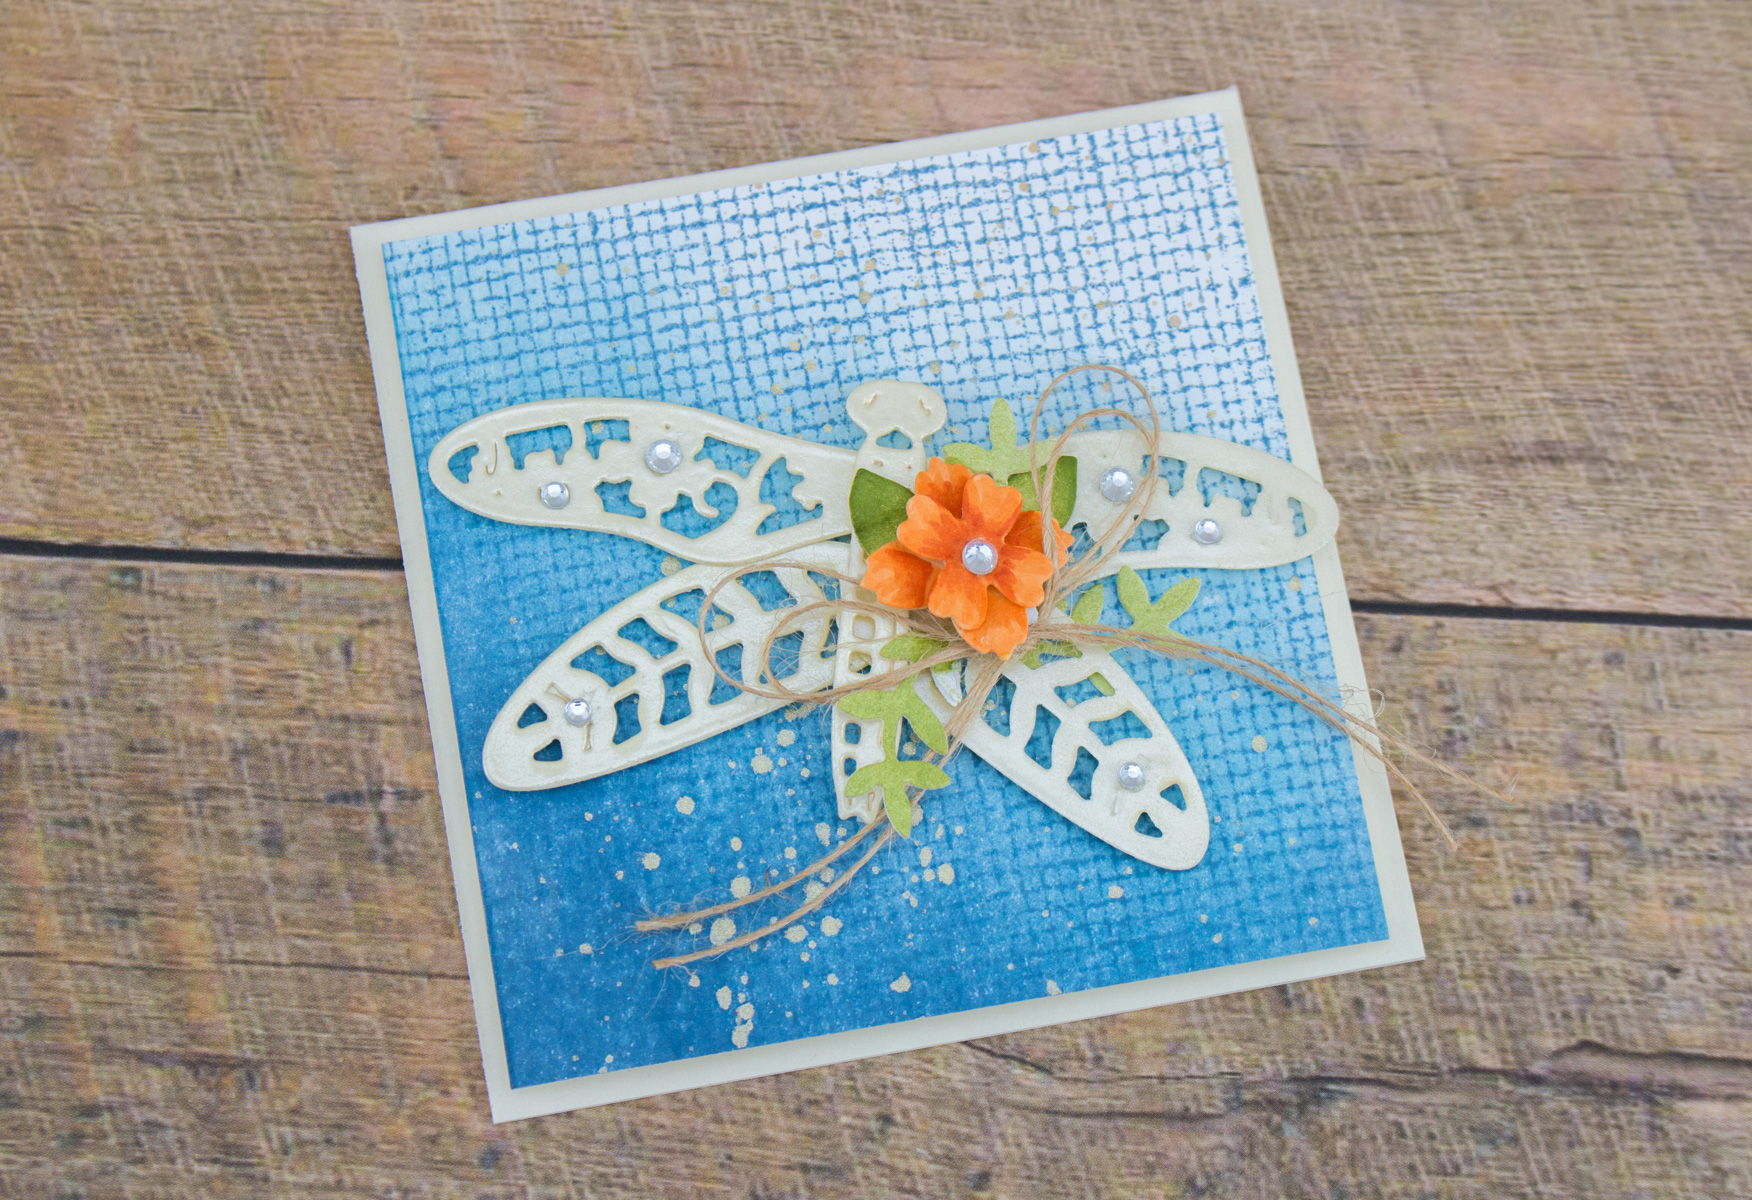
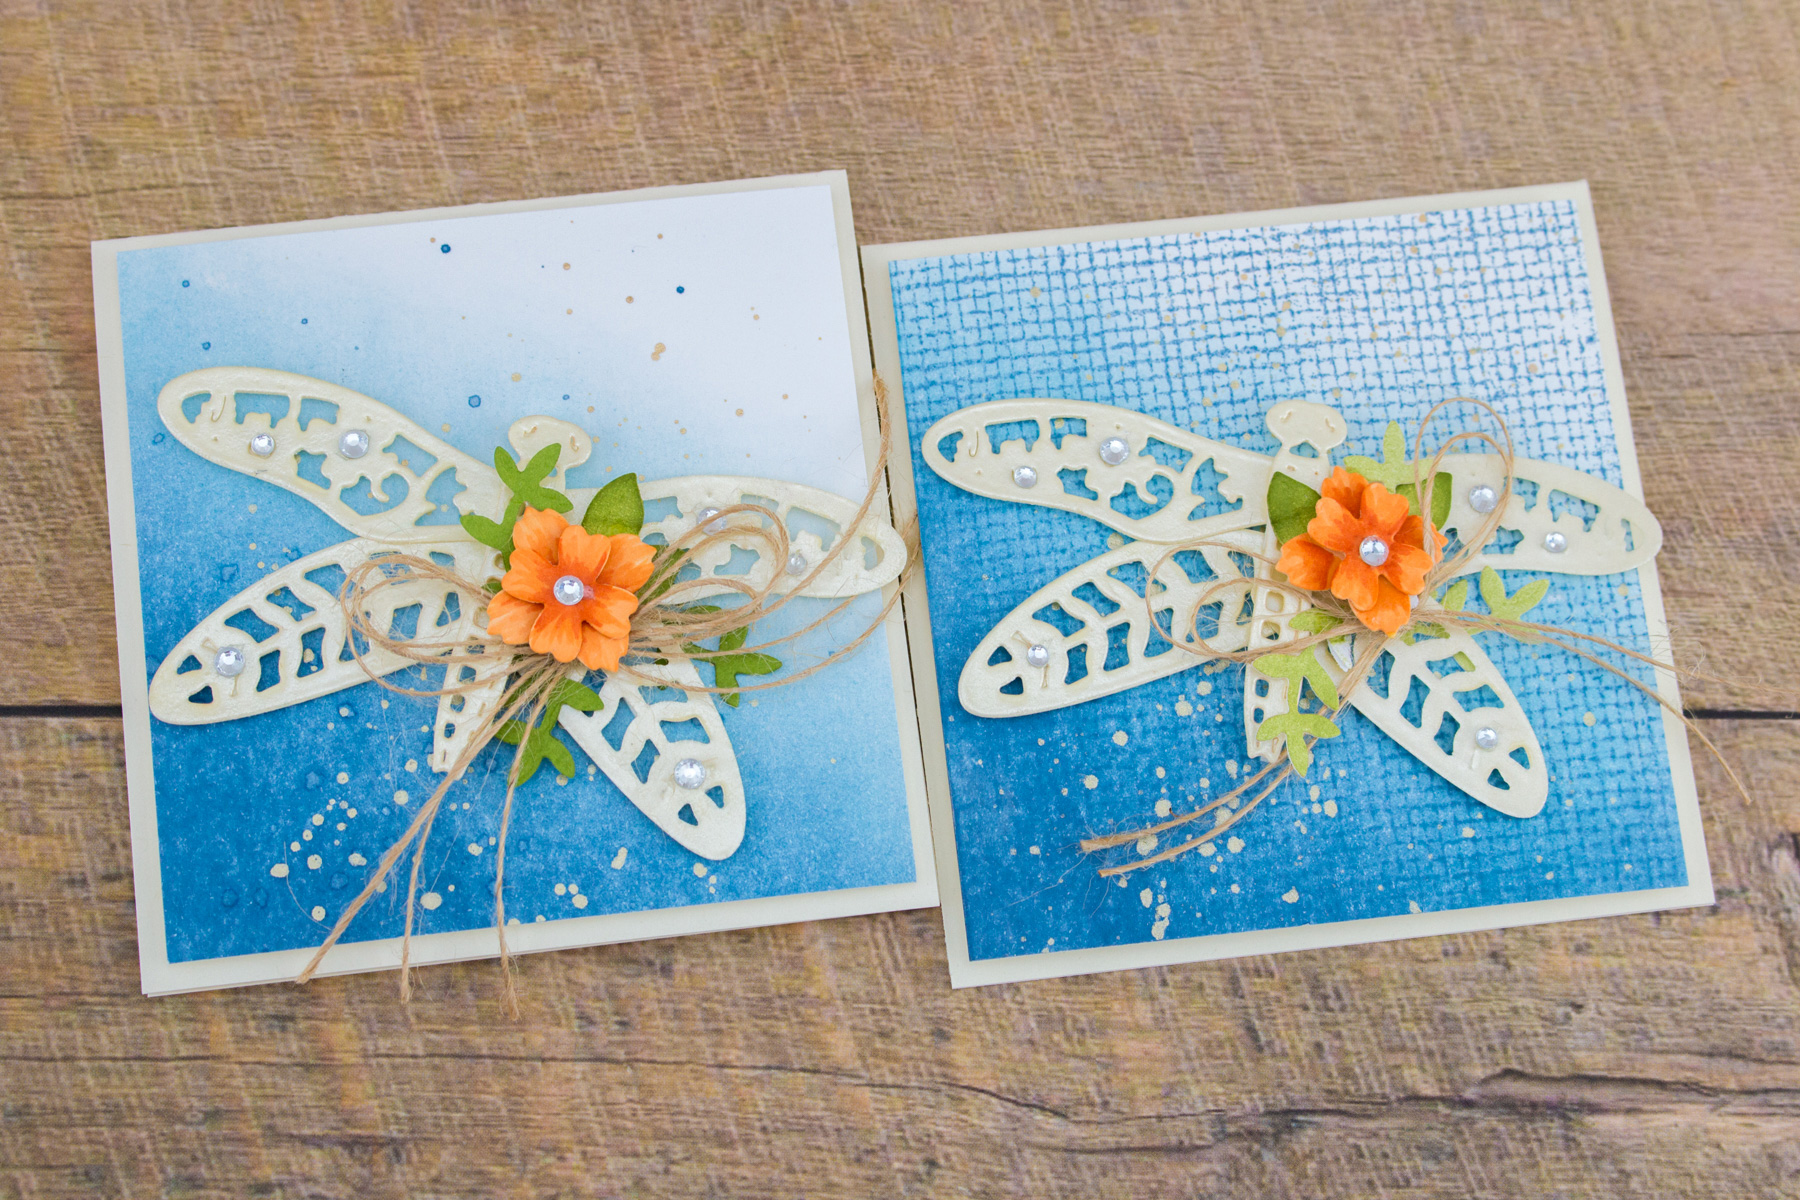
Hey folks! This is Cynde Whitlow and I’m from The Pink Envelope. Thanks so much for stopping by! I’m here today to share a video, where I show you how I make two cards using the Botanical Dragonfly Dies by Sharyn Sowell. If you’re interested in seeing what I did with the Botanical Butterfly you can see that here.
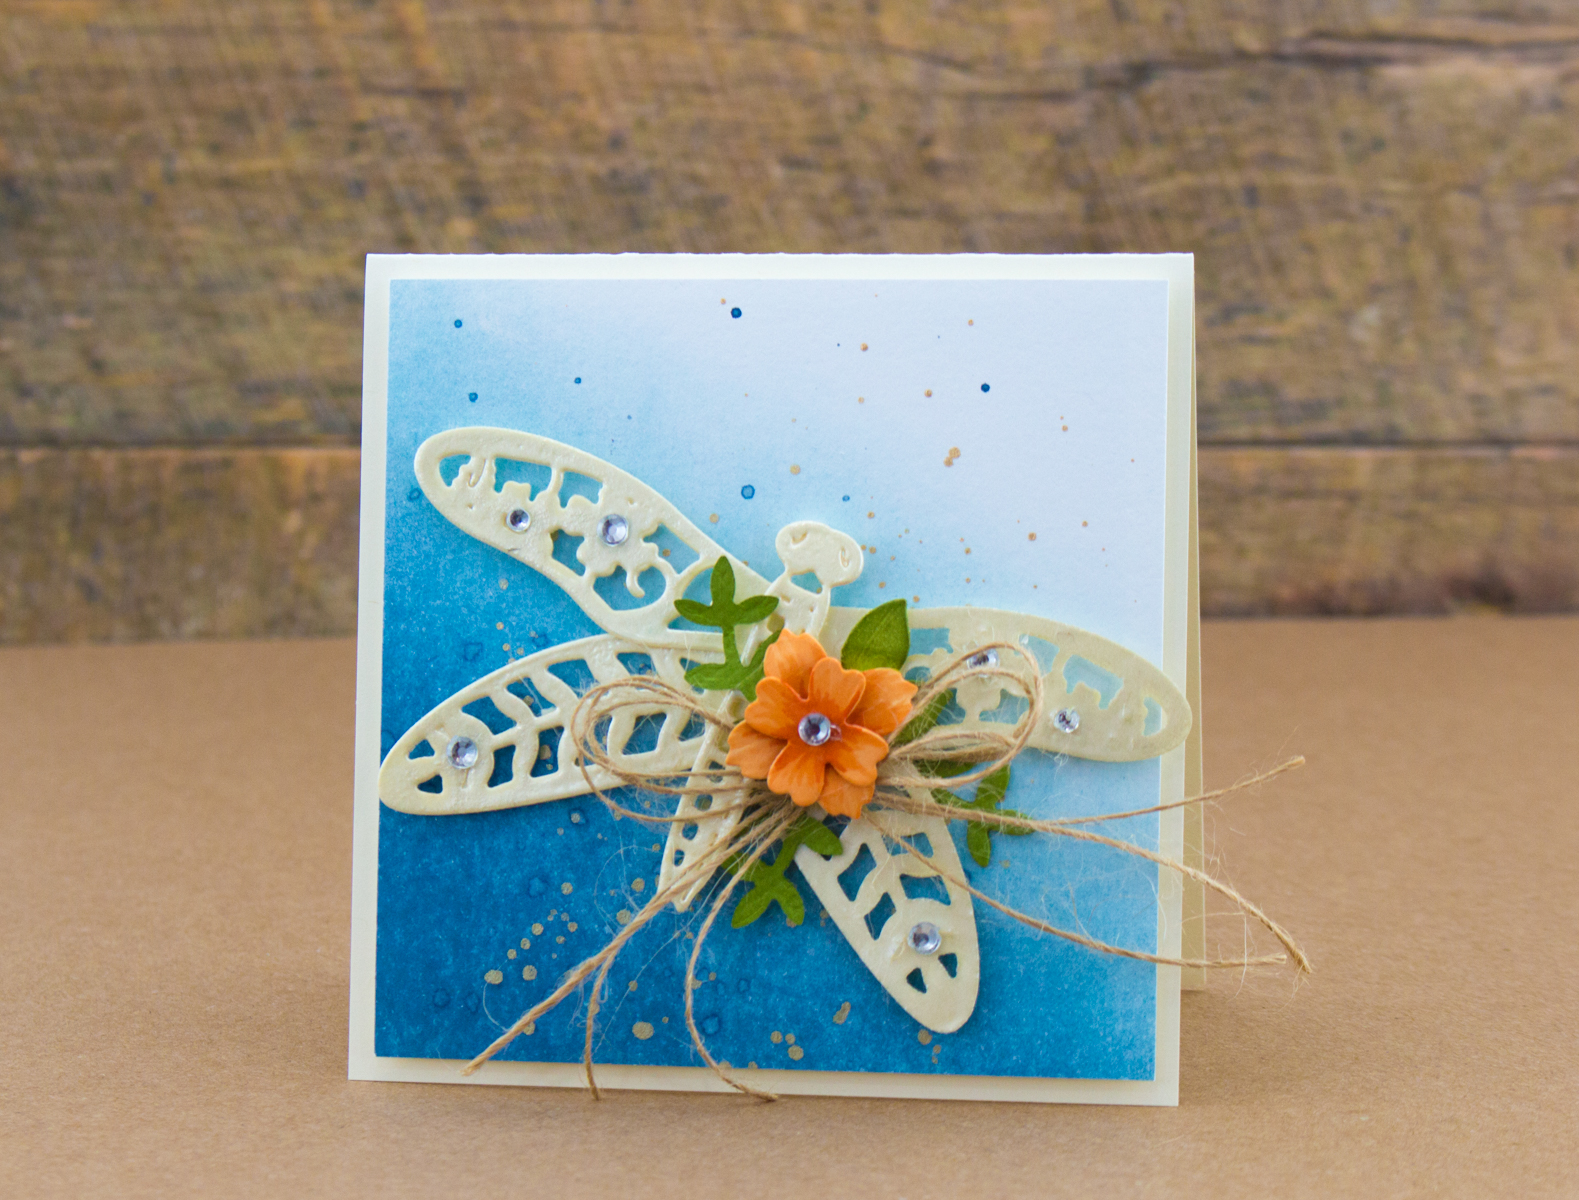
I started by ink blending watercolor cardstock with two shades of blue ink. I made sure to concentrate most of the darkest ink in the lower left corner of the cardstock and blend out the lightest. I also made sure to leave the top right corner white.
I was pretty sure that I was going to trim this down eventually, so I made sure to bring the inks up pretty far so I wouldn’t cut off too much later.
On one card panel, I used the same dark blue ink I had ink blended with and used a background stamp to stamp across the entire panel. After I splattered gold paint across both panels, I trimmed them down to 3.75”x3.75”. I set my panels aside and went to work on the flowers.
After I ink blended a scrap piece of cardstock with green ink, I die cut the leaves from the Bird On Cherry Branch Dies as well as a few leaves from the Floral Panel Card Die Set out of green cardstock.
I had initially ink blended some peachy-orange ink on scrap cardstock and die cut the flowers from the Tiny Shadow Box Die Set, but I felt those were too light so I ended up coloring them in with my alcohol markers to make them a darker orange.
I used cream colored cardstock and die cut the Botanical Dragonfly making sure to cut both wings twice, then heat embossed all of the pieces with a satin pearl embossing powder.
To assemble the dragonfly I used dimensional foam tape, because I wanted it to pop up off the card base. Then I adhered all of my elements to 4”x4” cream colored card bases added some gems to the wings and called it good!

Video Tutorial
Watch video tutorial below or on YouTube to learn how to make this project:
Tim Holtz Distress Watercolor Paper, Simon Says Stamp Cream Cardstock, Tim Holtz Stormy Sky Distress Ink, Tim Holtz Tumbled Glass Distress Ink, Versamark Ink, Hero Arts Satin Pearl Embossing Powder, Gansai Tambi Starry Colors Paint, Dimensional Foam Tape, Double Sided Adhesive, Self Adhesive Gems, Craft Pick, Craft Stylus.
That’s it folks! I truly hope you enjoyed my cards today! I look forward to using more of the Flower Garden Collection. Thanks again so much for stopping by!
Hi, crafty friends! Lisa Tilson here, and I'm delighted to be with you today sharing a fun interactive birthday card featuring the new Spellbinders Card Spinners. If you've ever wanted to add movement to your handmade cards without complicated mechanisms, these spinners make it incredibly easy! For today's project, I'm using the Large Card Spinner to create an adorable birthday monster that spins with just a...
Turn layered scalloped frames into a colorful Halloween gallery wall! This step-by-step tutorial shows how to emboss and arrange the Scalloped Frames, assemble the adorable Drac character from Simon Hurley's Halloween Hugs Collection, and create a playful handmade Halloween card full of dimension and color.
Celebrate treasured memories with a handmade vintage journal featuring interactive pages, pockets, vintage photos, and layered embellishments. This step-by-step tutorial showcases creative ideas for building meaningful double-page spreads with Esther Glas' Turn the Page collection.