Cardmaking Inspiration | Love You To The Moon & Back
Posted by Spellbinders Team on April 29, 2018

Cardmaking Inspiration | Love You To The Moon & Back

Hello Spellbinders’ fans! Welcome back to our Cardmaking Inspiration series! We hope you’ve been enjoying these mini posts sharing simple cardmaking ideas and step by step instructions on how to make them! Today we're sharing a dreamy Love You To The Moon & Back card created with the help of our Die D-Lite dies.
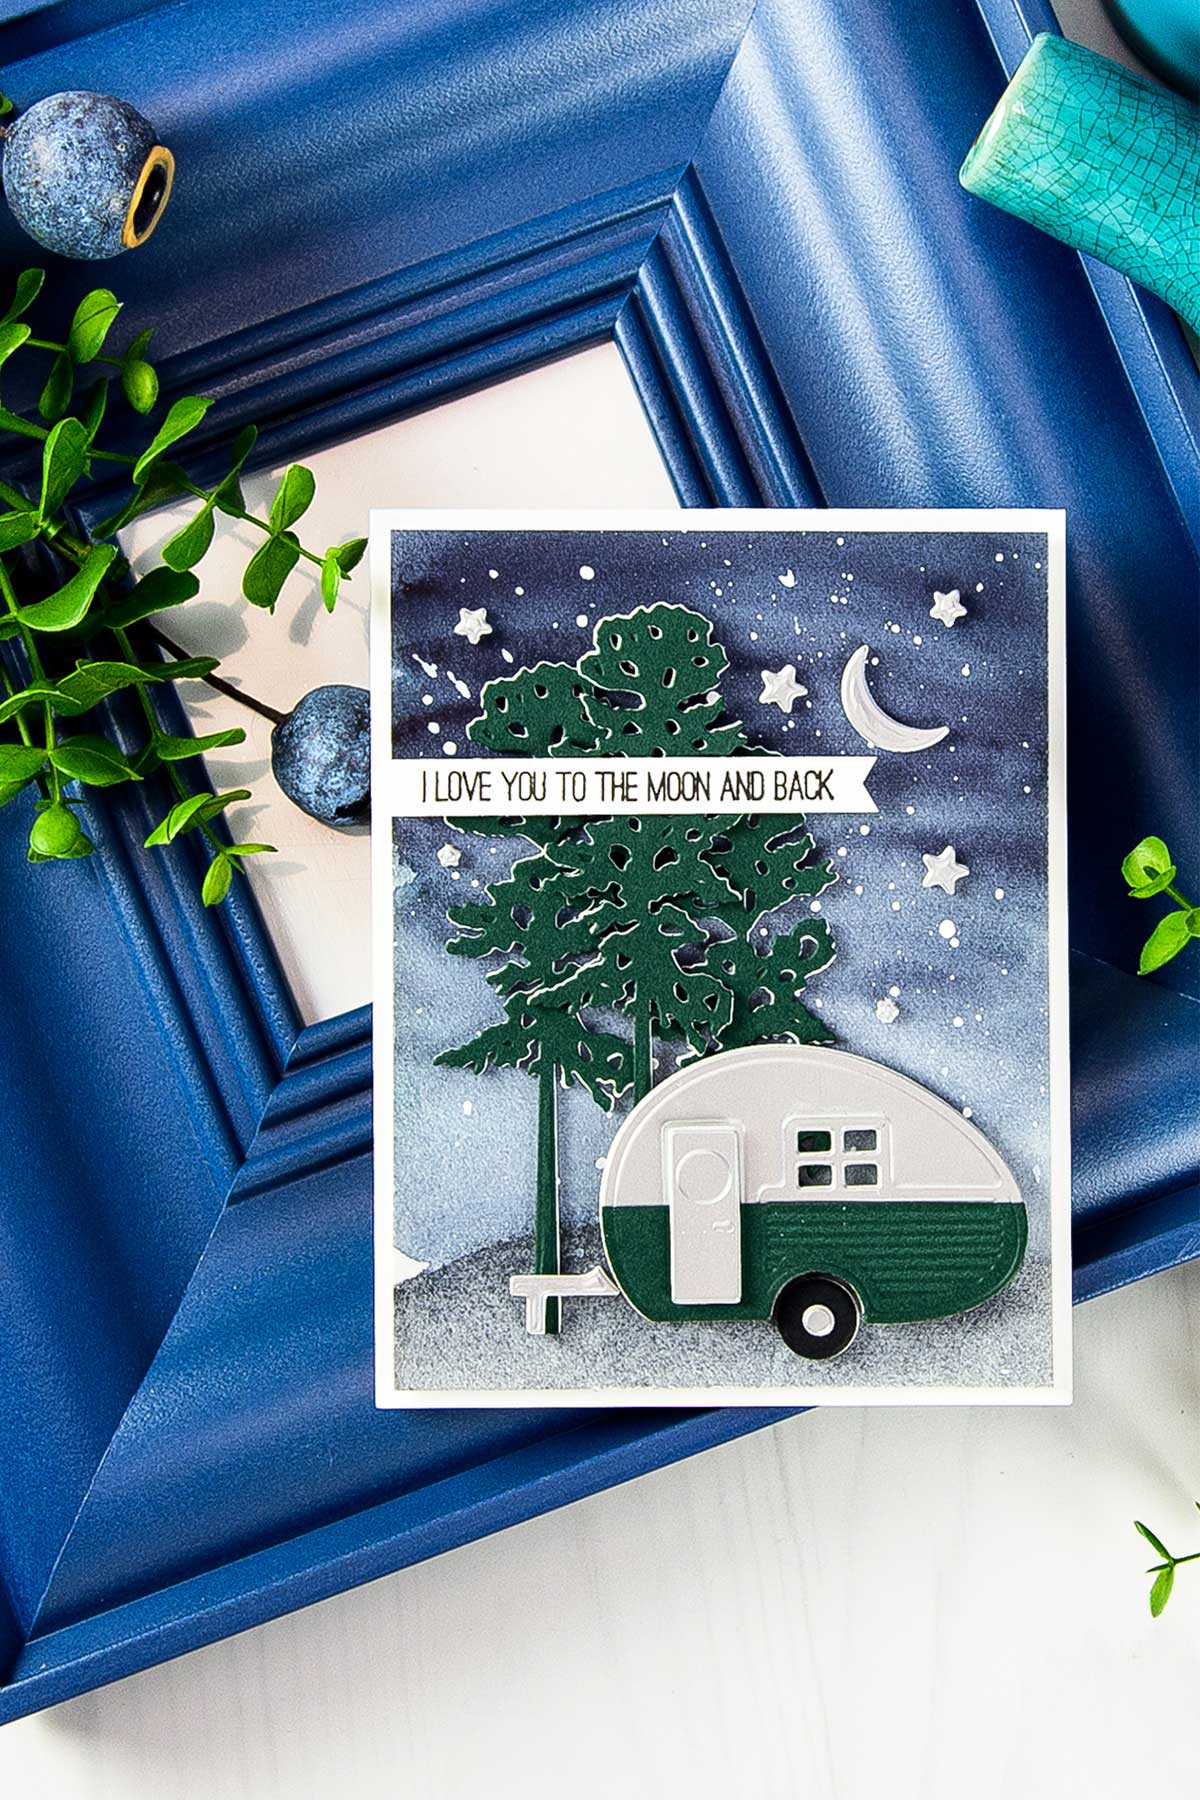
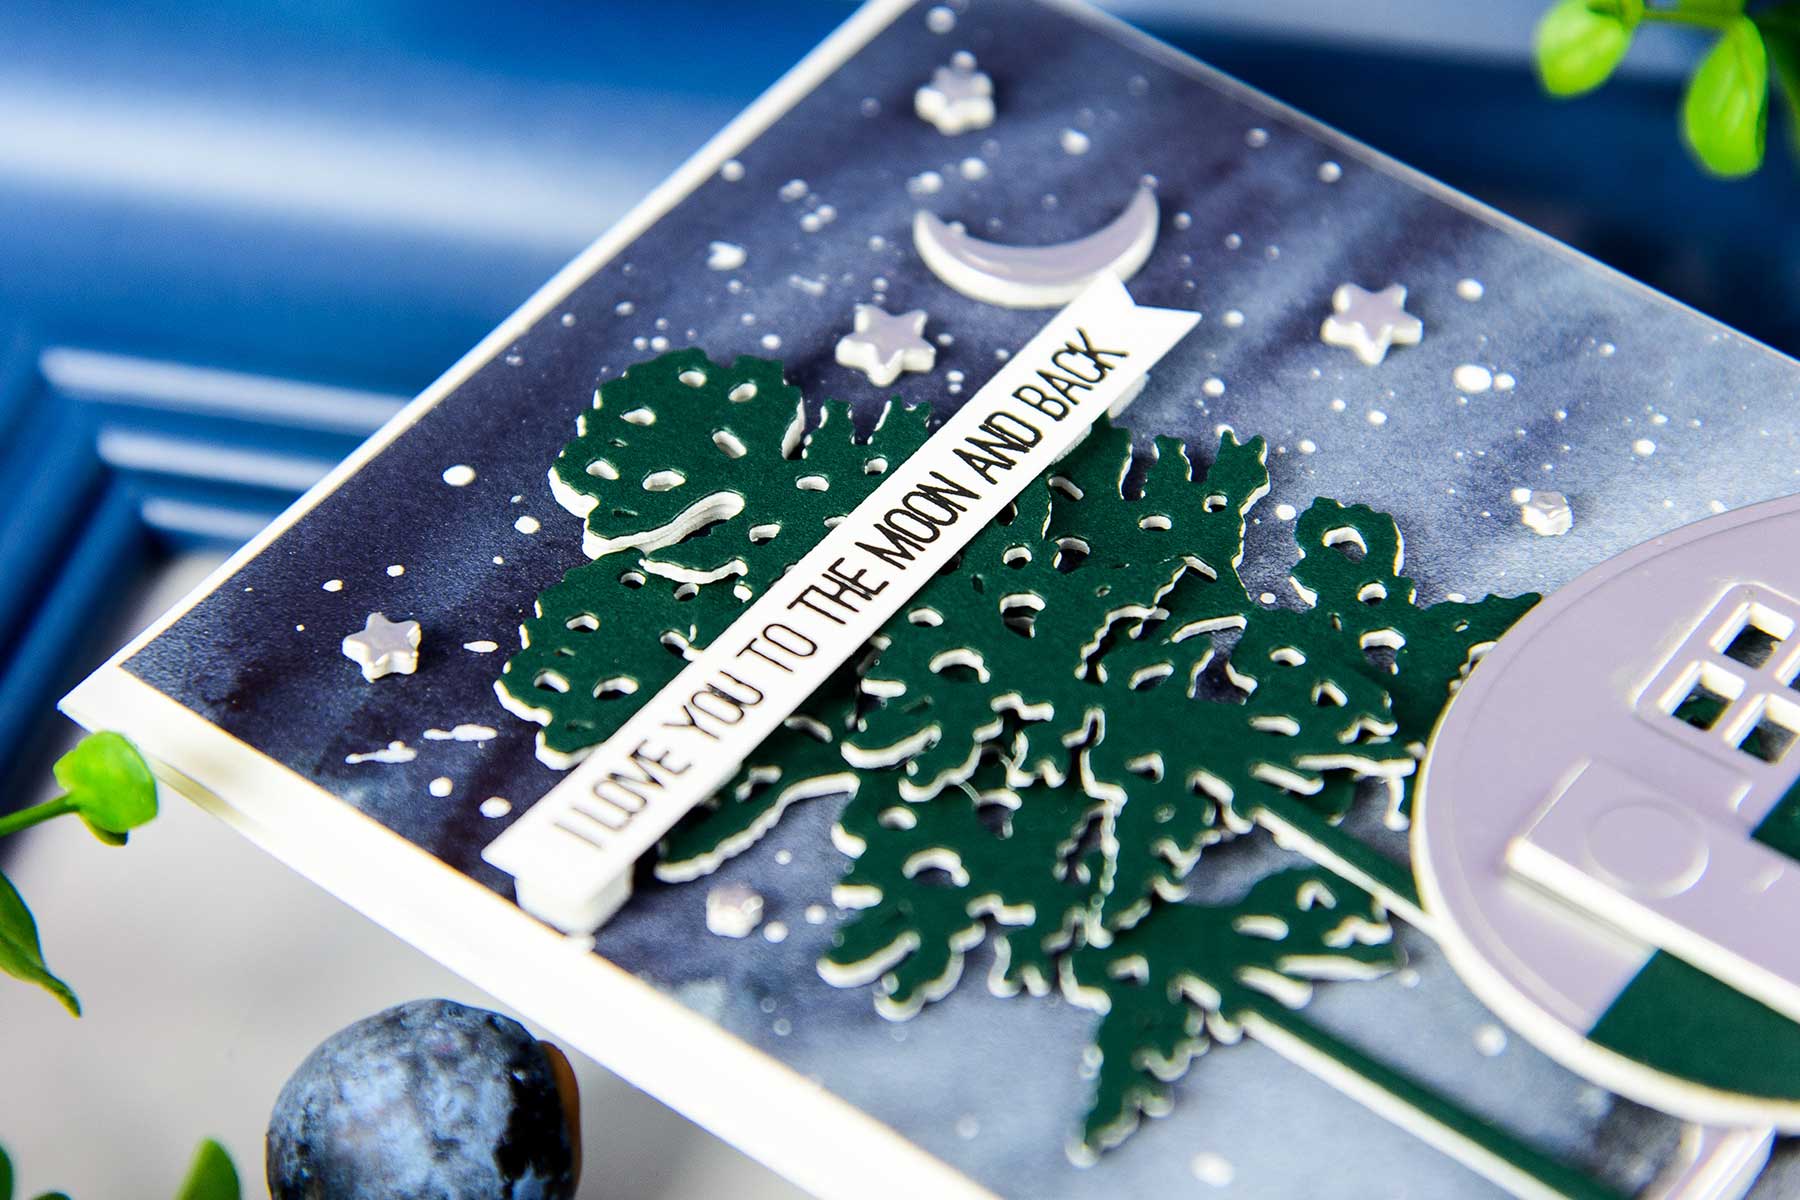
Cardmaking Inspiration | Love You To The Moon & Back card by Yana Smakula for Spellbinders. Using S3-255​ ​Canoeing​​ ​Dies, S3-275 Camping, ​S3-296​ Build​ ​a​ ​Camper​ ​dies. #spellbinders #neverstopmaking #diecutting #handmadecard

Project created by in-house designer Yana Smakula
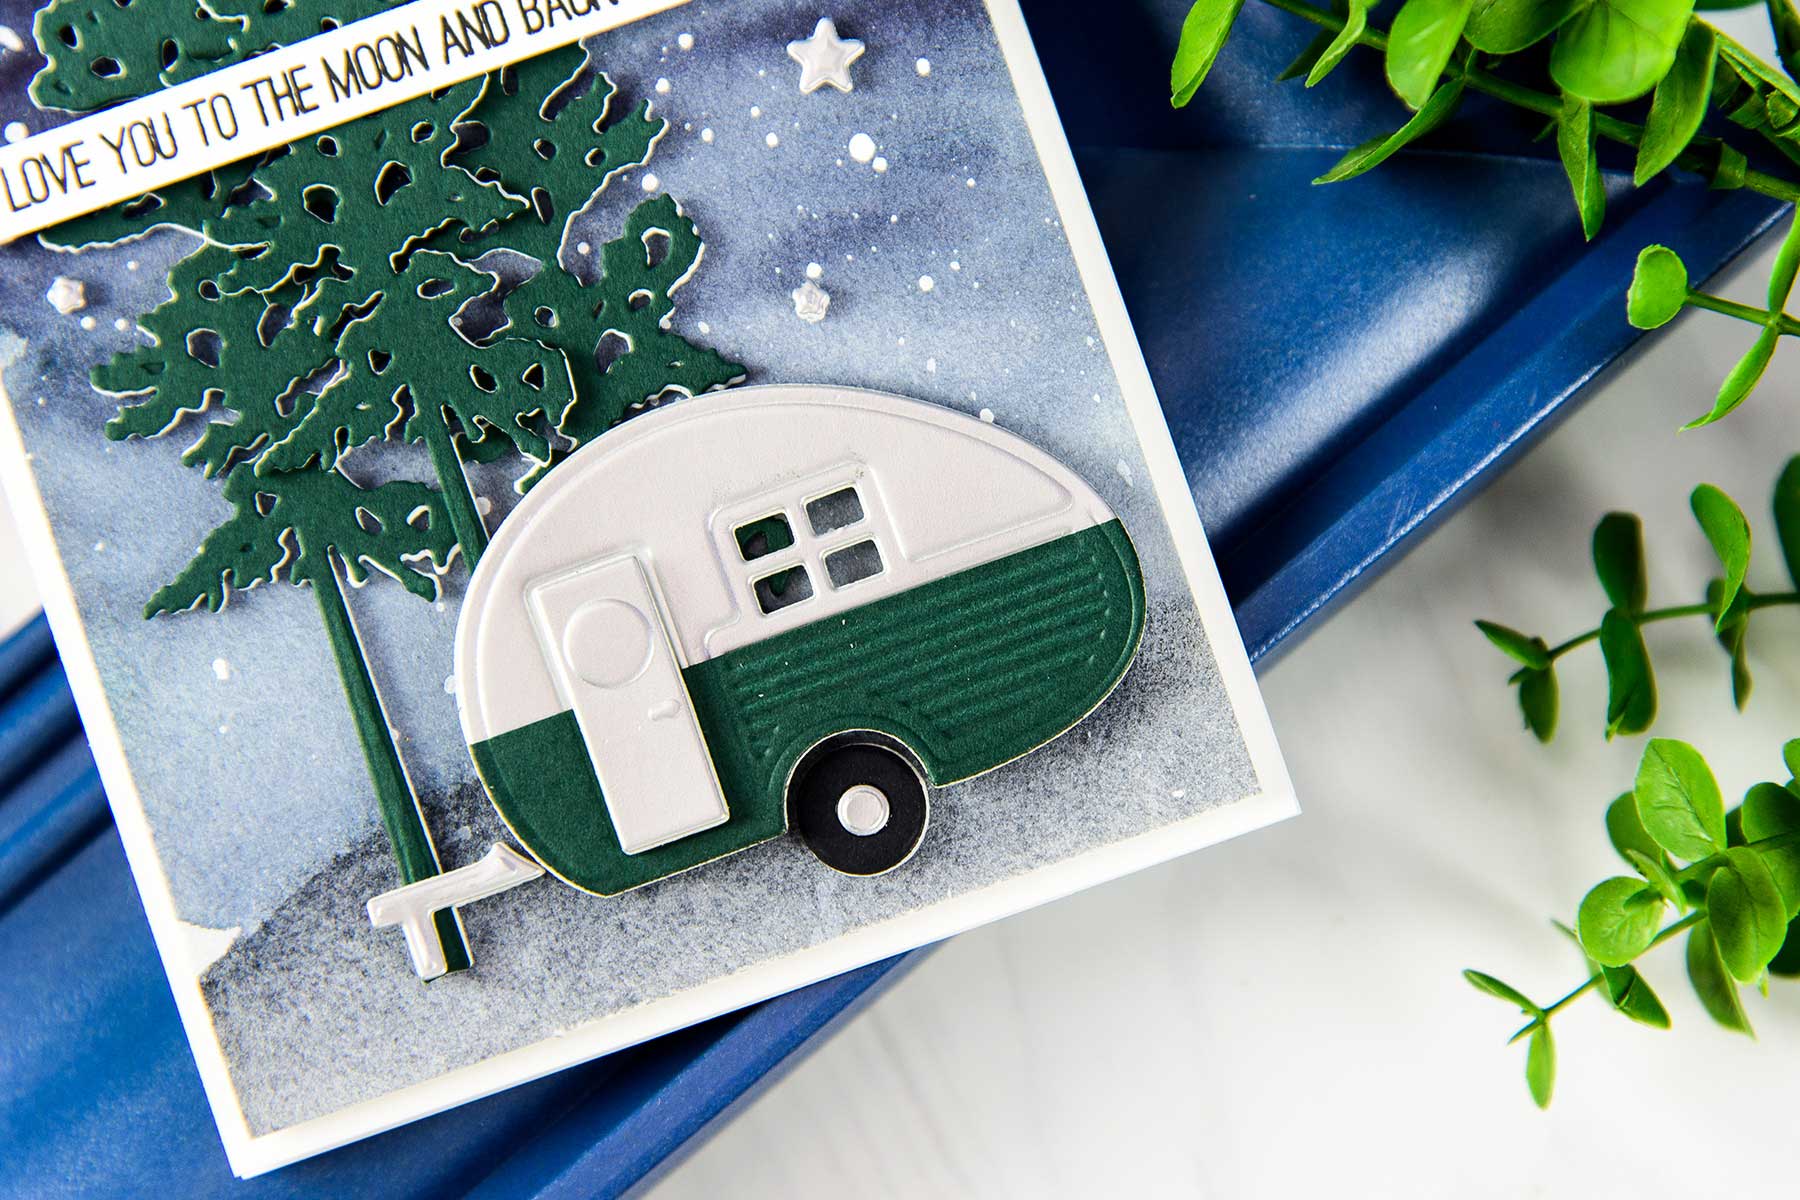
Cardmaking Inspiration | Love You To The Moon & Back card by Yana Smakula for Spellbinders. Using S3-255​ ​Canoeing​​ ​Dies, S3-275 Camping, ​S3-296​ Build​ ​a​ ​Camper​ ​dies. #spellbinders #neverstopmaking #diecutting #handmadecard

Step By Step Instructions:

We have a full set of step by step instructions describing how to create this card.
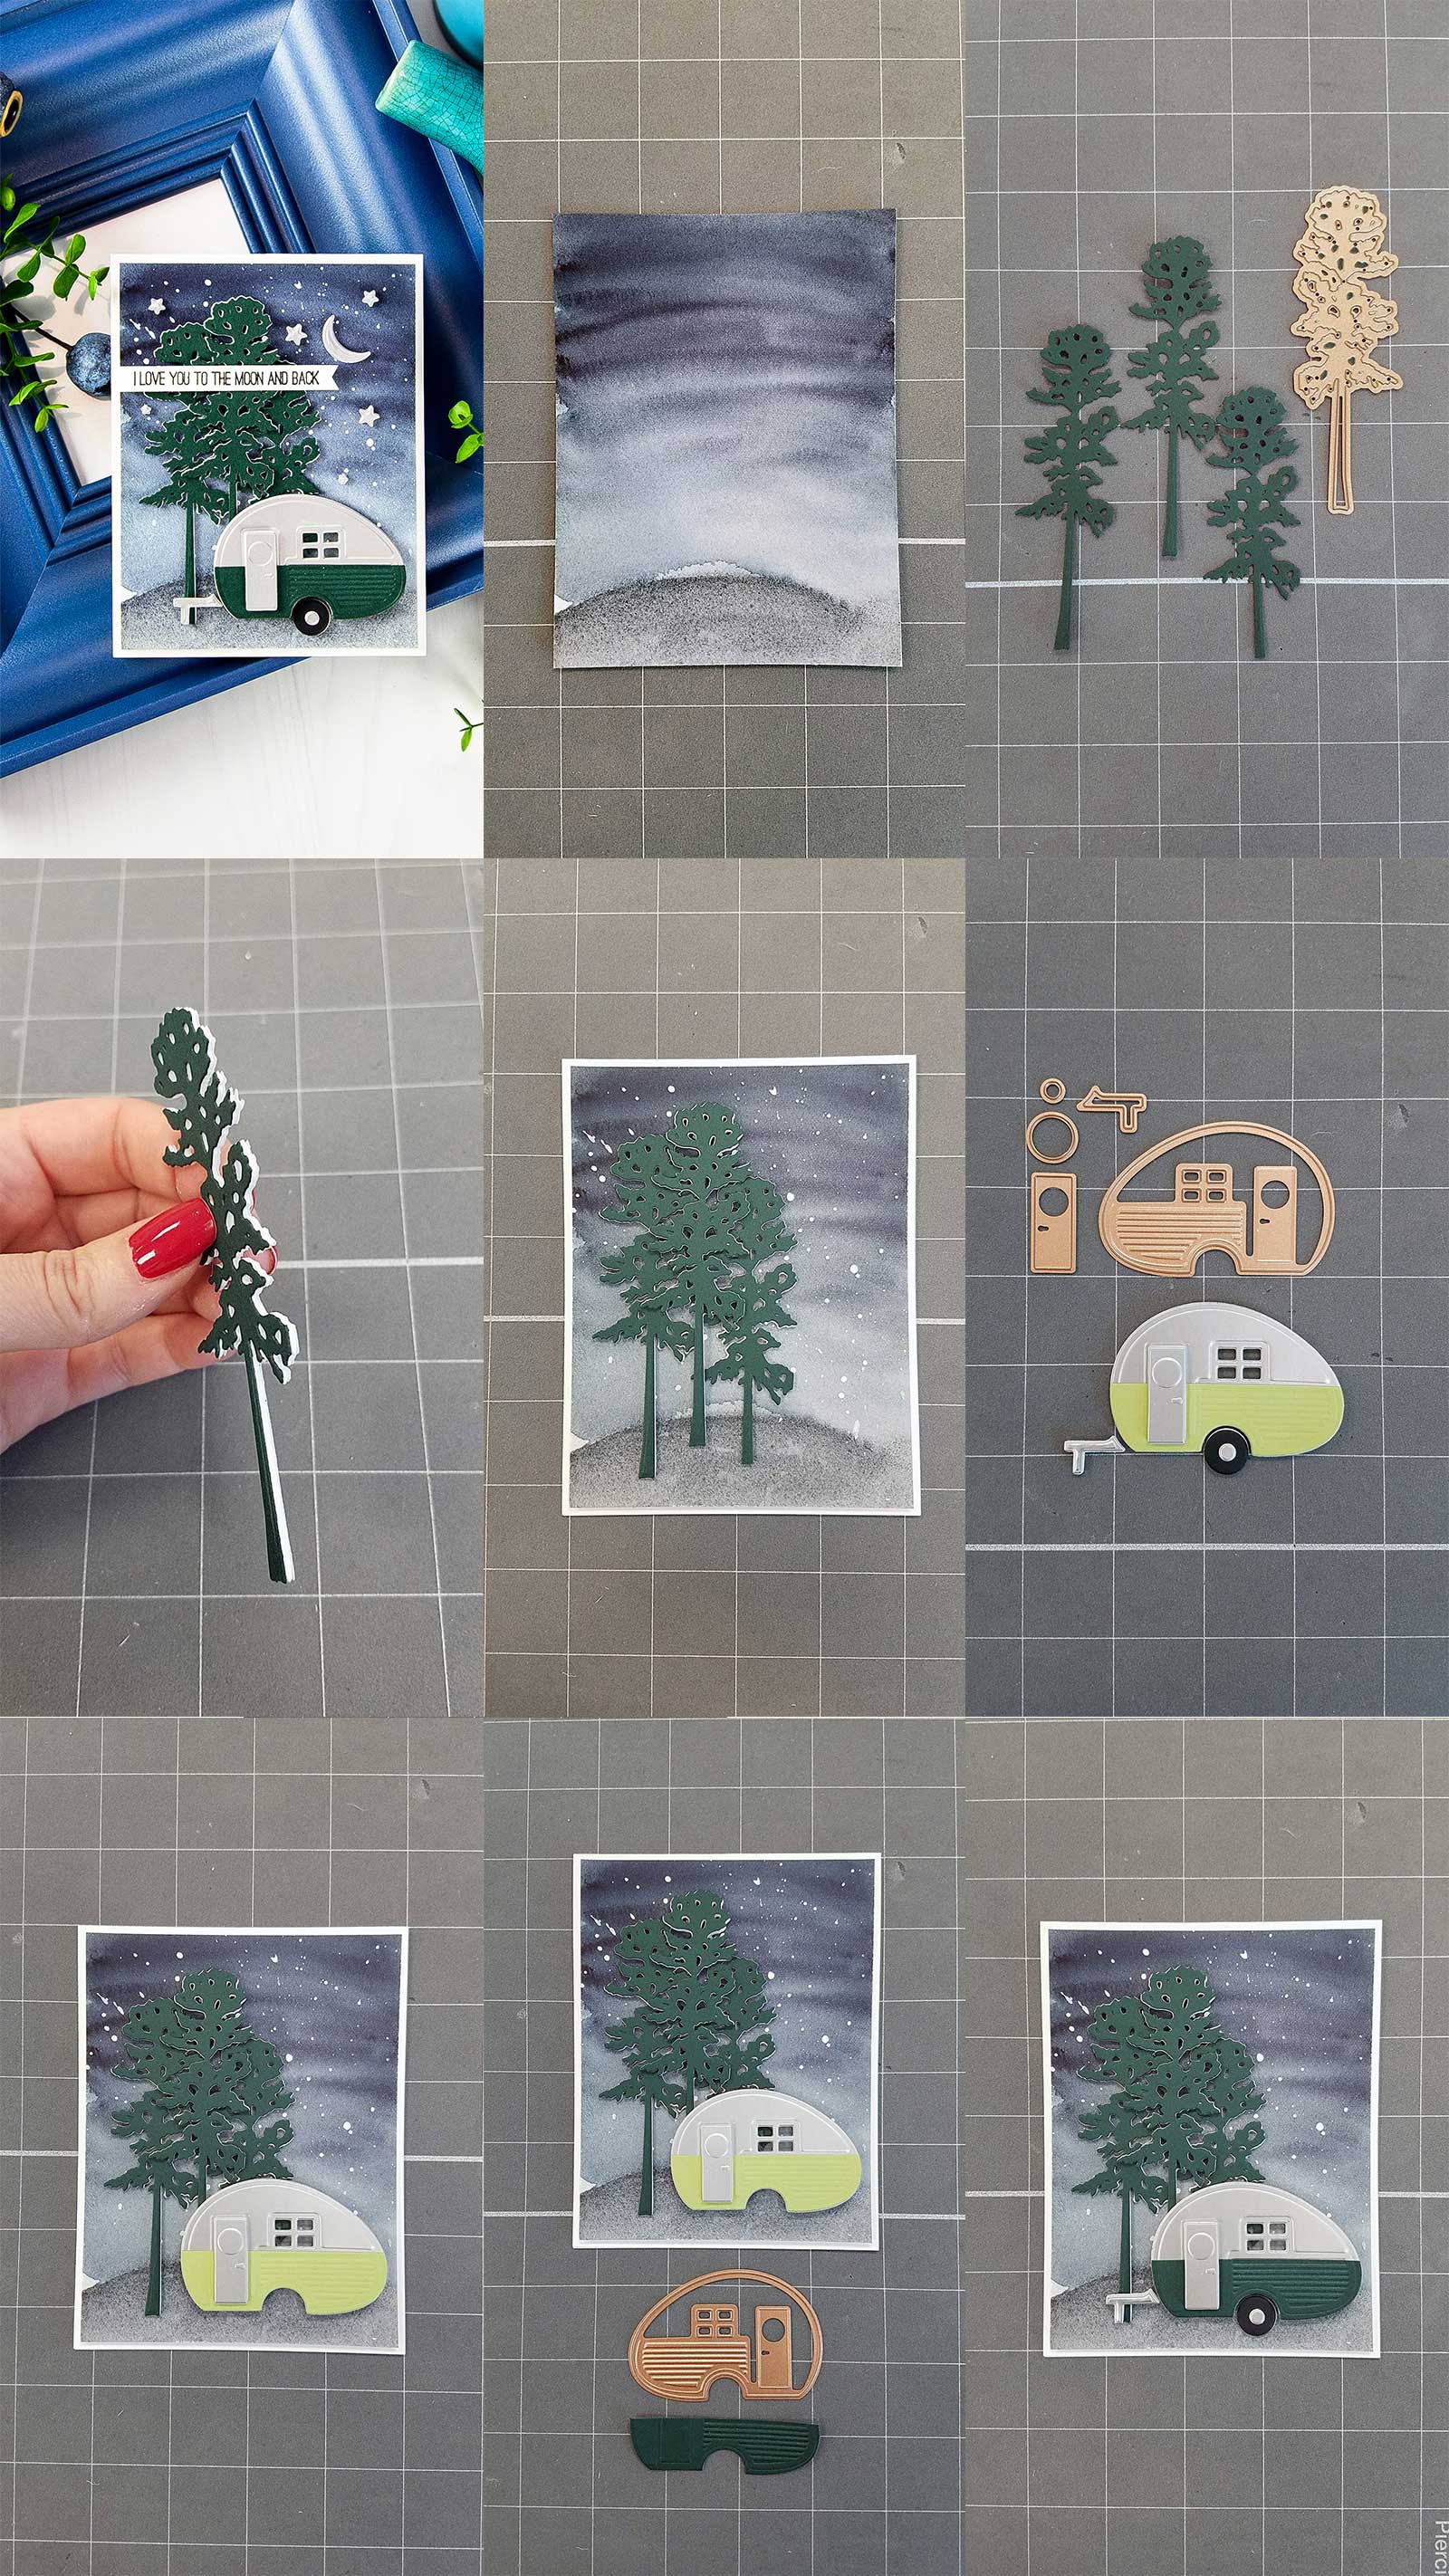
  • Create​ ​A2​ ​top​ ​folding​ ​card​ ​base​ ​out​ ​of​ ​white​ ​cardstock.
  • Paint​ ​watercolor​ ​background.​ ​Add​ ​white​ ​splatter​ ​to​ ​the​ ​sky​ ​portion​ ​of​ ​the​ ​background​ ​to​ ​mimic​ ​stars.
  • Foam​ ​mount​ ​watercolor​ ​panel​ ​onto​ ​the​ ​card​ ​base.
  • Die-cut Camper and camper parts out of silver foil, green, black cardstock (make sure to cut camper out of both silver foil and green, cut green in half and adhere onto silver to make the bottom part of the​ ​camper​ ​green​ ​and​ ​top​ ​part​ ​silver).
  • Die-cut​ ​3​ ​trees​ ​out​ ​of​ ​green​ ​cardstock.
  • Add double sided sticky sheets onto both sides of white fun foam. Die cut 3 trees, camper and camper​ ​parts.​ ​Adhere​ ​cardstock​ ​die​ ​cuts​ ​onto​ ​fun​ ​foam​ ​die​ ​cuts.
  • Adhere​ ​die​ ​cuts​ ​onto​ ​the​ ​card​ ​creating​ ​a​ ​scene.
  • Die-cut stars and moon out of silver foil cardstock and fun foam. Adhere cardstock die cuts onto fun foam.​ ​Adhere​ ​onto​ ​the​ ​card.
  • Stamp​ ​sentiment​ ​in​ ​black​ ​ink.​ ​Foam​ ​mount​ ​onto​ ​the​ ​card.

Click photo to view larger:

Cardmaking Inspiration | Love You To The Moon & Back card by Yana Smakula for Spellbinders. Using S3-255​ ​Canoeing​​ ​Dies, S3-275 Camping, ​S3-296​ Build​ ​a​ ​Camper​ ​dies. #spellbinders #neverstopmaking #diecutting #handmadecard

Spellbinders Supplies:

OTHER SUPPLIES:

Arches​ ​Cold​ ​Pressed​ ​Watercolor​ ​Paper; Silver​ ​Foil​ ​Cardstock;​ ​My​ ​Colors​ ​Cardstock:​ ​Forest​ ​Green,​ ​Black;​ ​Neenah​ ​Solar​ ​White​ ​110​ ​LB cardstock; White​ ​Fun​ ​Foam; Ken​ ​Oliver​ ​Stick​ ​It​ ​Double​ ​Sided​ ​Sticky​ ​Sheets; Daniel​ ​Smith​ ​Watercolors; White​ ​Acrylic​ ​Paint; Brush; Simon​ ​Says​ ​Stamp​ ​-​ ​Shine​ ​On​ ​Stamp​ ​Set; Versafine​ ​Onyx​ ​Black​ ​Ink.

Cardmaking Inspiration | Love You To The Moon & Back card by Yana Smakula for Spellbinders. Using S3-255​ ​Canoeing​​ ​Dies, S3-275 Camping, ​S3-296​ Build​ ​a​ ​Camper​ ​dies. #spellbinders #neverstopmaking #diecutting #handmadecard

Thank you for joining us today, friends! We hope you like this project and will give this idea a try! If you do, please share your project photos on social media and tag us so we can see! Have fun die-cutting!

Leave a comment

Your email will not be published. Please note, comments need to be approved before they are published.


  • Just Add Cake, S3-495, S4-1522, S5-635, S4-1450, S4-1476

    Spellbinders Blog

    Create an Easy Interactive Birthday Card with Spellbinders Card Spinners

    Hi, crafty friends! Lisa Tilson here, and I'm delighted to be with you today sharing a fun interactive birthday card featuring the new Spellbinders Card Spinners. If you've ever wanted to add movement to your handmade cards without complicated mechanisms, these spinners make it incredibly easy! For today's project, I'm using the Large Card Spinner to create an adorable birthday monster that spins with just a...

  • Colorful Halloween Card Tutorial with Scalloped Frames, E3D-180, S6-272

    CS-8-101

    Halloween Card with Embossed Scalloped Frames and Drac Die Set

    Turn layered scalloped frames into a colorful Halloween gallery wall! This step-by-step tutorial shows how to emboss and arrange the Scalloped Frames, assemble the adorable Drac character from Simon Hurley's Halloween Hugs Collection, and create a playful handmade Halloween card full of dimension and color.