
Bible Journaling Inspiration | Lord is My Strength with Yoonsun
on February 11, 2018

Bible Journaling Inspiration | Lord is My Strength with Yoonsun

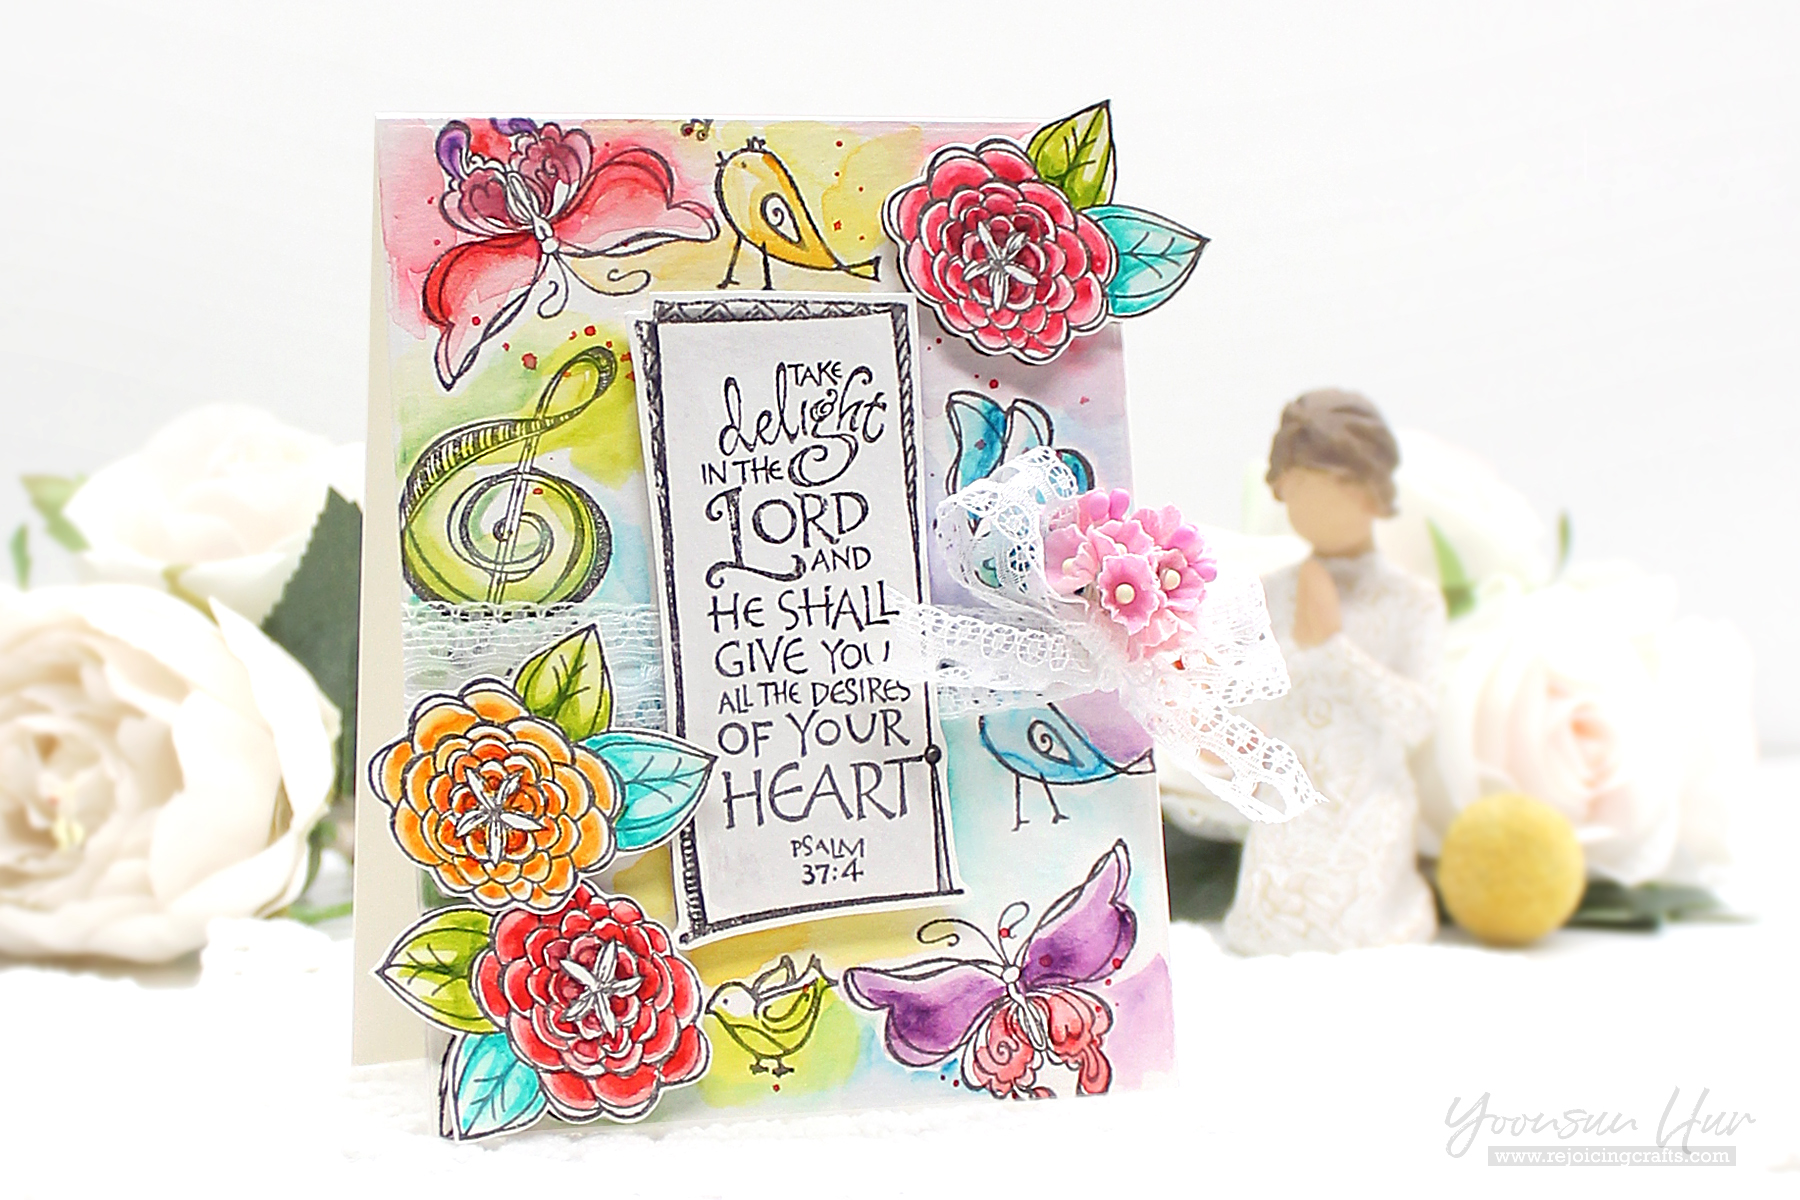
Hello crafty friends! Yoonsun is here. Thank you so much for joining me! Today I will be sharing with you my colorful (and cheerful) watercolor card with some Joanne Fink Bible Journaling collection products.
Bible Journaling Inspiration | Lord is My Strength with Yoonsun using SBS-144 Lord is My strength SBS-142 Inspiring Others SBS-143 Sing unto God SBS-146 Take Delight SBS-139 Birdhouse Stamps Bible Journaling by Joanne Fink #spellbinders #neverstopmaking #spellbindersstamps #stamping #watercolorcard #handmadecard

I started by stamping the sentiment from the Take Delight stamp set on the center of the watercolor paper panel using gray pigment ink. I randomly stamped flowers, butterflies, birds, treble clef around the edges of the panel using gray pigment ink as well. I stamped the sentiment & flowers on a separate watercolor paper in gray for adding dimensions to my card later.

Bible Journaling Inspiration | Lord is My Strength with Yoonsun using SBS-144 Lord is My strength SBS-142 Inspiring Others SBS-143 Sing unto God SBS-146 Take Delight SBS-139 Birdhouse Stamps Bible Journaling by Joanne Fink #spellbinders #neverstopmaking #spellbindersstamps #stamping #watercolorcard #handmadecard

I brushed over the stamped images with clean water first, and then colored them with watercolors just the way I like! I also colored another stamped flowers (from the Inspiring Others stamp set) with watercolors, and then fussy cut them out.

Bible Journaling Inspiration | Lord is My Strength with Yoonsun using SBS-144 Lord is My strength SBS-142 Inspiring Others SBS-143 Sing unto God SBS-146 Take Delight SBS-139 Birdhouse Stamps Bible Journaling by Joanne Fink #spellbinders #neverstopmaking #spellbindersstamps #stamping #watercolorcard #handmadecard

Once the watercolored panel was completely dry, I decorated the panel with lacy ribbon & small flowers as shown to the picture, and then mounted the panel on white card base using double-sided tape. Finally I added the sentiment panel & flowers using foam tape.

Spellbinders Supplies:

Other Supplies:

Paper & Cardstock: Canson Montval Watercolor 9x12 Pad; Ink: VersaFine Smokey Grey pigment ink; Watercolor: Hero Arts Watercolor Wheel; MISTI Stamping Tool, Heat Gun; Lace trim; Small paper flowers. Thank you so much for stopping by and happy crafting!!

Leave a comment

Your email will not be published. Please note, comments need to be approved before they are published.


  • How to Make a Cute Autumn Squirrel Card with Fall Adventures Dies, S4-1573, S5-738, S3-591, STP-292, S5-740

    Categories:Die Cutting

    How to Make a Cute Autumn Squirrel Card with Fall Adventures Dies

    Create a charming autumn card featuring an adorable squirrel dressed in overalls and surrounded by pumpkins, apples, hay bales, colorful leaves, and harvest-themed accents. In this step-by-step tutorial, you'll learn how to assemble layered character dies, create dimensional autumn accessories, stamp a coordinating sentiment, and build a cheerful fall scene full of seasonal details. This project is perfect for cardmakers who enjoy character-based die-cut scenes...

  • How to Make a Cookie-Loving Chompster Birthday Card, S5-778, S5-779, STP-295

    Categories:Die Cutting

    How to Make a Cookie-Loving Chompster Birthday Card

    Create a fun birthday card featuring Chompster enjoying his favorite snack. In this step-by-step tutorial, you'll learn how to assemble the Chompster character, create dimensional cookies, build a colorful propeller hat, and arrange all the die-cut pieces into a playful birthday card design. This project is perfect for cardmakers who enjoy character-based die cutting and whimsical birthday cards. By combining the Top It Off and...

  • How to Make a Festive Felt Santa Ornament | Spellbinders

    Categories:Die Cutting

    How to Make a Festive Felt Santa Ornament | Spellbinders

    A handmade felt Santa ornament is a colorful way to add stitching, texture, and personality to your Christmas décor. In this detailed tutorial, you’ll learn how to die cut wool felt, organize and layer the individual pieces, add embroidery stitches and beads, and finish the project with a secure backing and hanging loop. The Festive Santa Etched Dies create a playful Santa holding a decorated...






































