Video: Offset Layering Valentine's Day Card - Hero Arts
on January 29, 2024

Video: Offset Layering Valentine's Day Card

Hi crafty friends! Natasha Polite here sharing a card featuring offset layering of die cuts that is filled with hug and kisses, making it perfect for this Valentine's Day season.

(If you are having trouble viewing this video, please watch HERE on YouTube.)

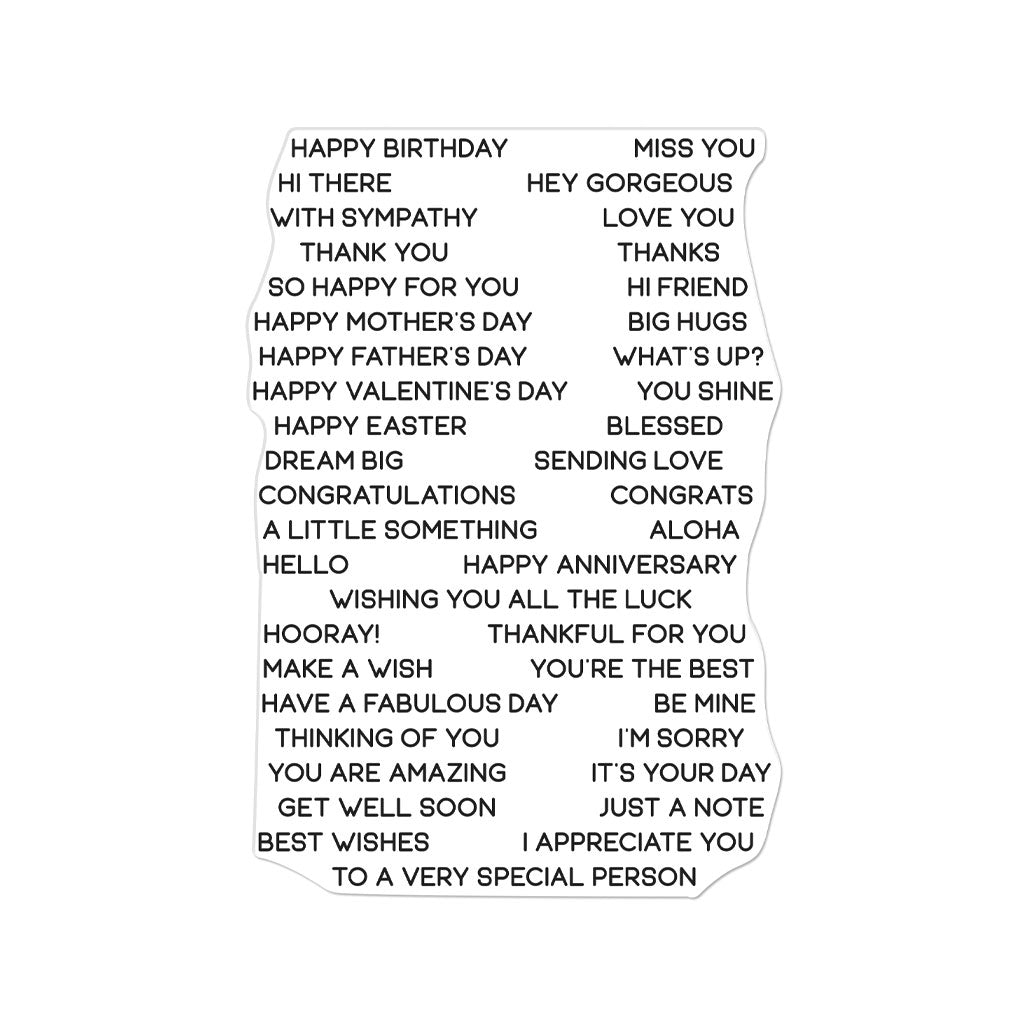
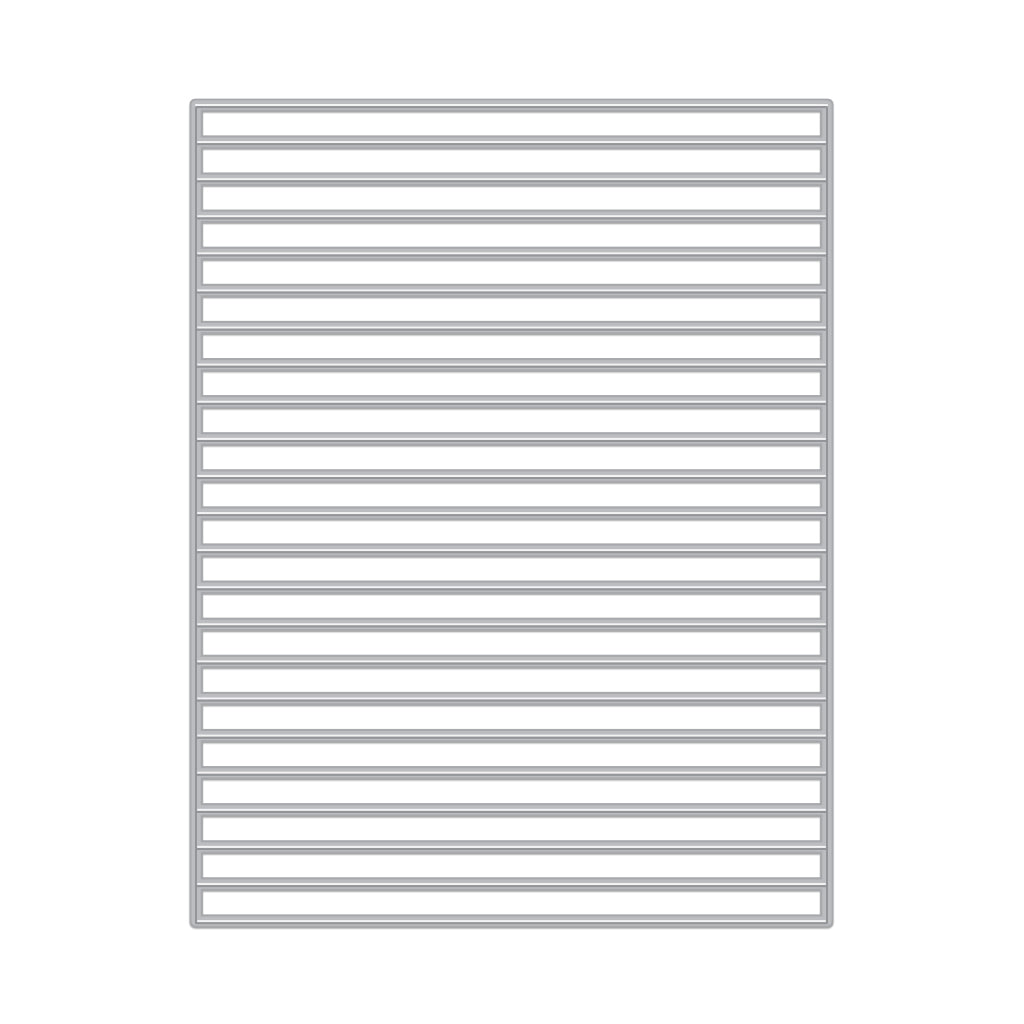
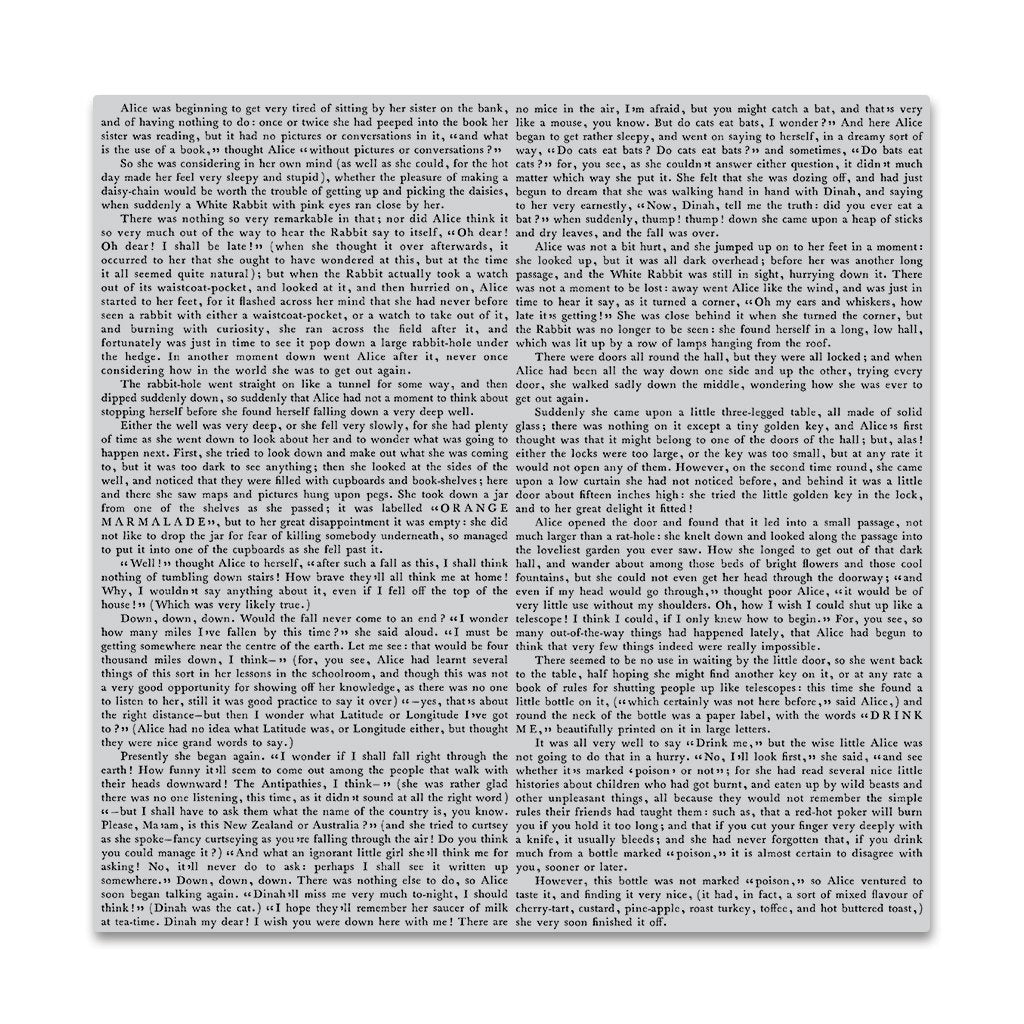
This card features the X from the Letters W-Z Fancy Dies and O from the Letters O-R Fancy Dies . I also use Novel Prose Bold Prints , Everyday Sentiment Strips and the Sentiment Strips Fancy Die .

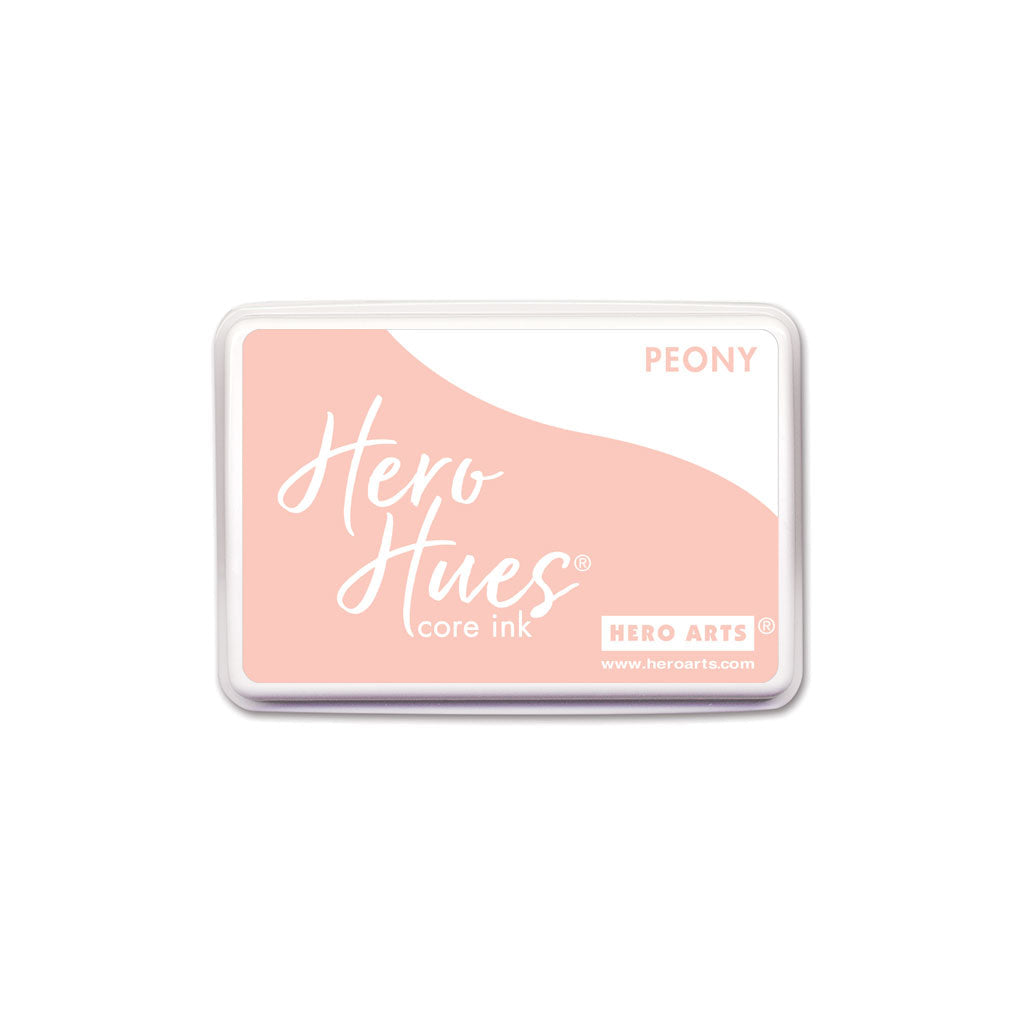
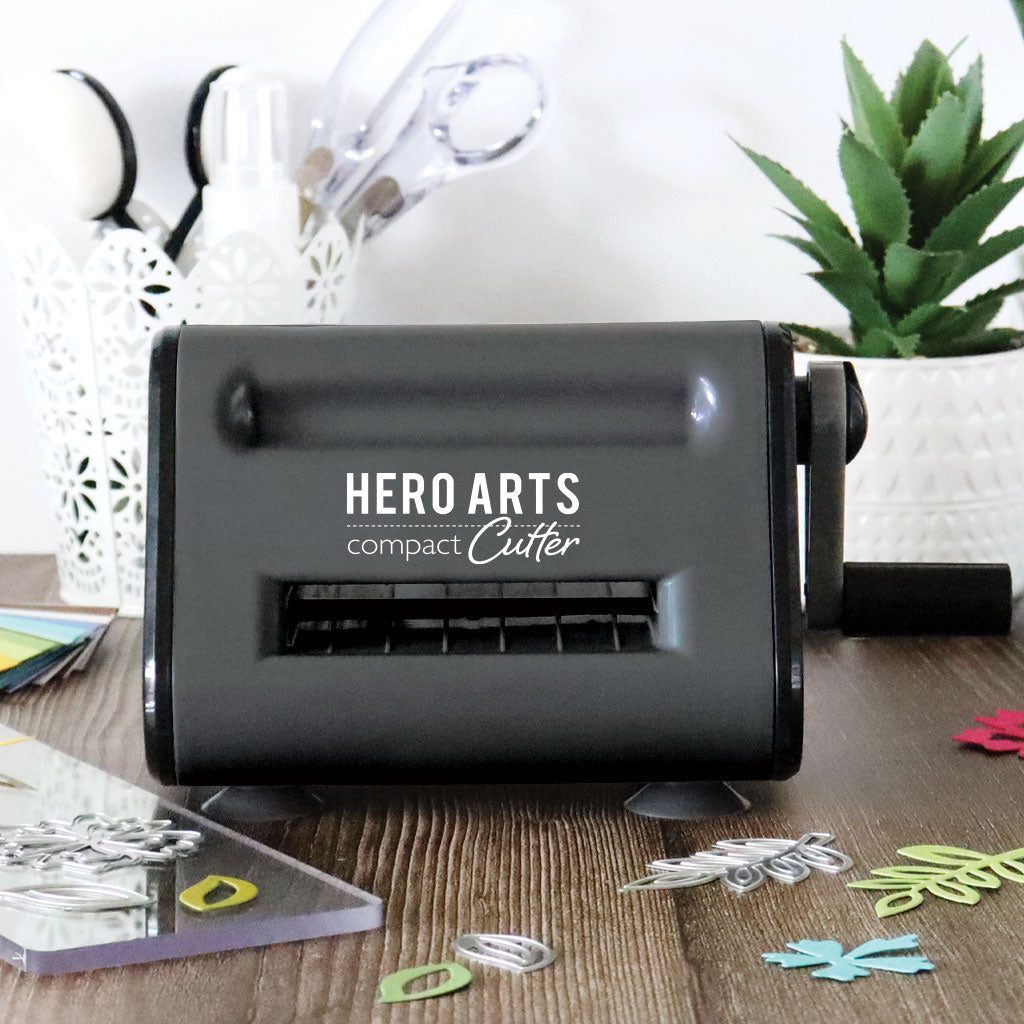
To begin, I created my own Peony cardstock by rubbing my Peony ink pad across Dove White cardstock. I did not have the Peony cardstock on hand, but you can use it if you have it. I inked around a A2 panel of Cherry cardstock with Cranberry Core ink. I then stamped the Novel Prose Bold Prints using Intens-ified Black Ink. Using the Compact Cutter , I then die cut 8 Os - 4 Dove White and 4 Peony, followed by 10 Xs - 5 Dove White and 5 Passion Flower cardstock. I then paired each die cut by letter and began to glue them with a slight offset along the right side.
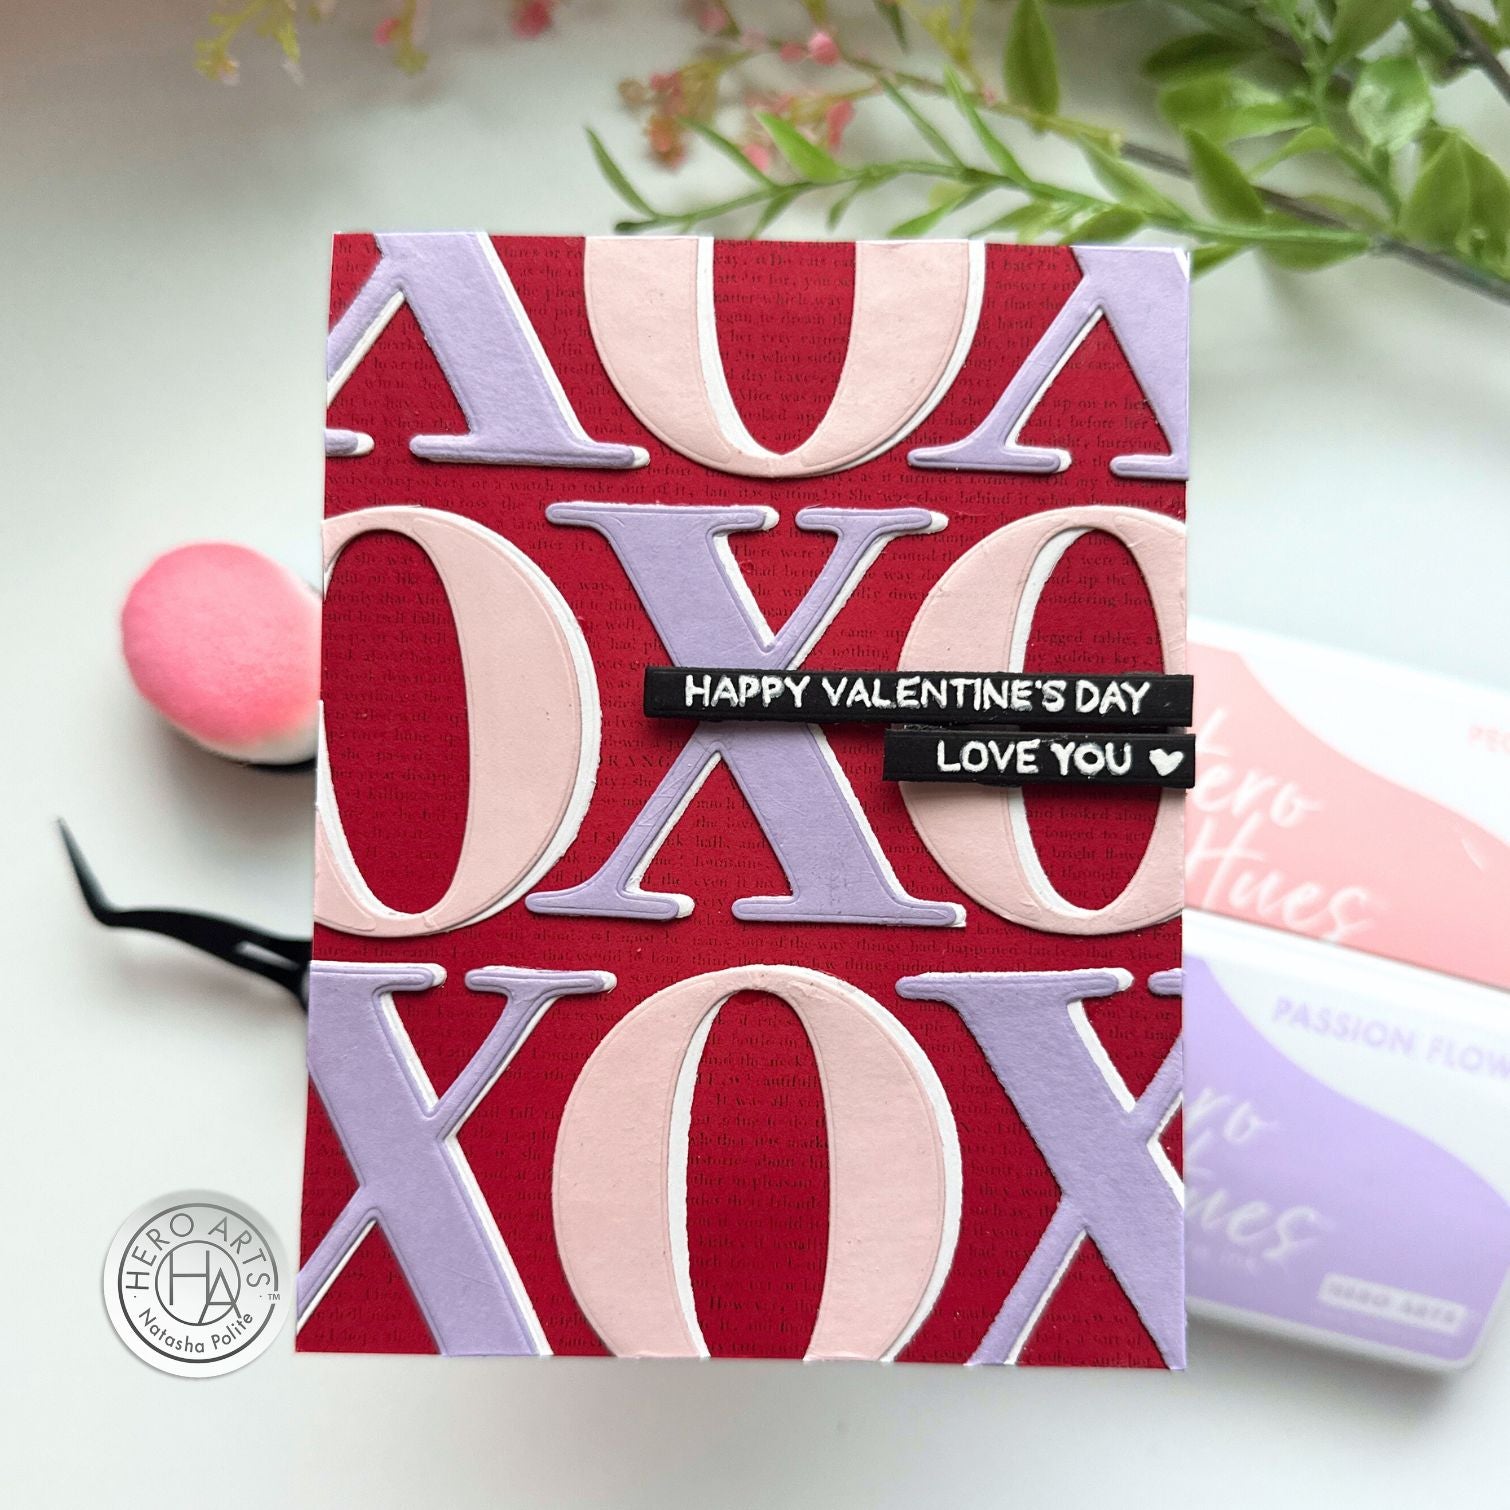
Once those were completed, I adhered them to the A2 card panel using Precision Glue . Setting that aside to dry, I stamped the Everyday Sentiments using Unicorn pigment ink onto Pitch Black cardstock. I then die cut the strips and went over each sentiment using a white gel pen to create a more handwritten look. I popped those up onto the card front using foam tape and aligned them to the right edge of the card.

I find this card to be simple, yet pack a punch. From the subtle details of the words in background, to all of the color throughout the card, I am sure someone would love to receive this.

I hope that I have provided you with some inspiration today. Have a crafty day!

Click on products to shop:
DF168 Letter O-R Fancy Dies (F) |...
DF170 Letter W-Z Fancy Dies (F) |...
CM673 Everyday Sentiment Strips |...
DF087 Sentiment Strips Fancy Die (F)...
CG839 Novel Prose Bold Prints | Hero...
AF600 Peony Core Ink Pad | Hero Arts
AF624 Cranberry Core Ink | Hero Arts
AF435 Intens-ified Black Ink Pad |...
AF249 Unicorn Pigment Ink | Hero Arts
PS300 Hero Hues Premium Cardstock...
PS303 Hero Hues Premium Cardstock...
PS337 Hero Hues Premium Cardstock...
PS323 Hero Hues Premium Cardstock...
PS325 Hero Hues Dove white | Hero Arts
GW102 Precision Glue XL | Hero Arts
HT100 Hero Tools Compact Cutter...

Leave a comment

Your email will not be published. Please note, comments need to be approved before they are published.


  • How to Make a Colorful Autumn Thank You Card with Die Cuts, BD-1127, BP-379, E3D-189, S5-526

    BD-1127

    How to Make a Colorful Autumn Thank You Card with Die Cuts

    Create a vibrant autumn thank-you card featuring a beautifully detailed Kokeshi doll, dimensional maple leaves, metallic accents, and an embossed background. In this step-by-step tutorial, you'll learn how to combine BetterPress impressions, watercolor marker coloring, die-cutting, embossing, and dimensional layering to create an elegant seasonal card. This project is perfect for cardmakers who enjoy coloring detailed images and building dimensional card fronts. The Autumn in...

  • How to Color BetterPress Scenes with Watercolor and Colored Pencils, BP-383, STNB-020, DC378

    AF724

    How to Color BetterPress Scenes with Watercolor and Colored Pencils

    Want to move beyond simple ink blending when using layering stencils? In this tutorial, you'll learn how to combine BetterPress printing, stencil coloring, watercolor painting, and colored pencil shading to create a detailed scenic card. By mixing coloring mediums, you can build additional texture, depth, and realism while using supplies you may already have in your craft room. This project features the Scenic Kyoto Press...

  • How to Use Reverse Foiling for Elegant Christmas Cards, BP-345, BP-314, S4-1452, BP-312, S5-526, S5-647

    BP-312

    How to Use Reverse Foiling for Elegant Christmas Cards

    Get more from your hot foil supplies by learning how to use the reverse foiling technique. In this step-by-step Christmas card tutorial, you'll create a beautiful snowflake background using leftover foil, then pair it with a dimensional poinsettia arrangement and festive sentiment. Reverse foiling is a fantastic way to reduce waste while creating an entirely different look from your original foiled design. Using the A2...