Thank You Cherry Much - Hero Arts
on July 27, 2022

Thank You Cherry Much

Hola everyone! Pocono Pam here! I am sharing a card featuring the Color Layering Cherries clear stamp set. I love how stamping just two layers for the cherries and leaves produce such great detail and dimension.

To create my Thank You card, I stamped Buffalo Check Pattern Bold Prints onto a 3.75" x 5" Peony cardstock panel in Peony ink. I matted the panel with Cherry cardstock and adhered it to an A2 card base.

Next, I stamped and layered the trio of cherries and leaves twice onto Peony cardstock with Cherry, Cranberry, Kiwi and Field Greens inks. Then, with the coordinating Frame Cut, I die-cut the cherries and lightly brushed them with White Iridescent Shimmer Mist.

To continue, I arranged the cherries onto the card panel. Before I glued them down, I decided to cut a set of leaves and glue them on the opposite side. I thought this added interest and balance to my card.

I stamped the sentiments from the set in Cranberry ink onto the panel. To complete my card, I die-cut several small Nesting Heart Infinity Dies in Cherry cardstock and adhered them to the card.

Thank you cherry much for stopping by. Have a great rest of your week!

Click on products to shop:
CM590 Color Layering Cherries | Hero...
HA ]
DF011 Color Layering Cherries Frame...
HA ]
CG855 Buffalo Check Pattern Bold...
HA ]
Nesting Hearts Dies | Hero Arts
HA ]
AF600 Peony Core Ink Pad | Hero Arts
HA ]
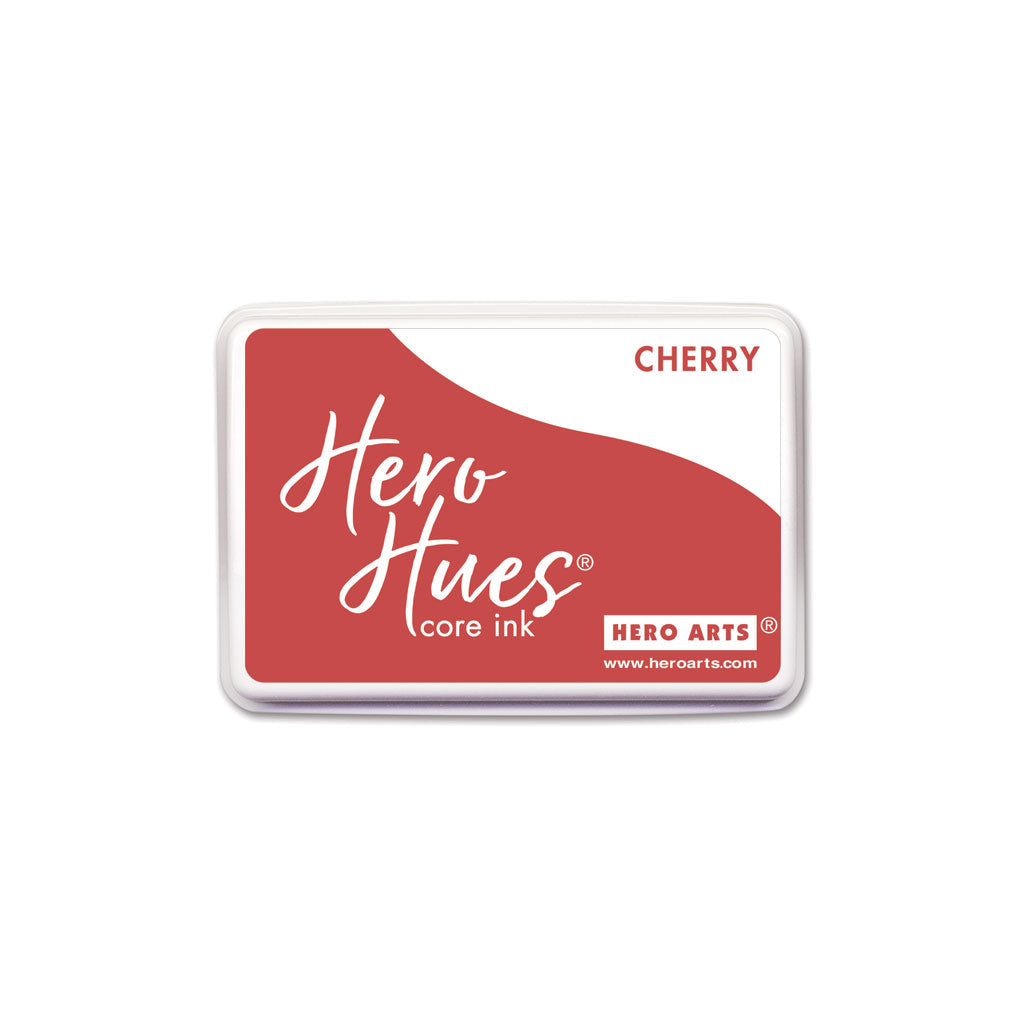
AF622 Cherry Core Ink | Hero Arts
HA ]
AF624 Cranberry Core Ink | Hero Arts
HA ]
AF661 Kiwi Core Ink | Hero Arts
HA ]
AF664 Field Greens Core Ink | Hero Arts
HA ]
WM151 White Iridescent Shimmer Mist |...
HA ]
PS300 Hero Hues Premium Cardstock...
HA ]
PS303 Hero Hues Premium Cardstock...
HA ]
PS400 Hero Hues Dove White Top Folded...
HA ]
HT100 Hero Tools Compact Cutter...
HA ]

Leave a comment

Your email will not be published. Please note, comments need to be approved before they are published.


  • How to Sew a Felt Santa Ornament: Step-by-Step Tutorial | Spellbinders

    Categories:Die Cutting

    How to Sew a Felt Santa Ornament: Step-by-Step Tutorial | Spellbinders

    Handmade felt ornaments add warmth, texture, and a nostalgic touch to Christmas decorating. In this detailed tutorial, you’ll learn how to die cut, stitch, assemble, and embellish a vintage-style Santa using wool felt and embroidery floss. The project can be finished with classic stitched details and holly or dressed up with beads and sparkling embellishments. The Vintage Santa Etched Dies cut the individual felt layers...

  • How to Make a Stitched Christmas Tree Card, S4-1558, SDS-212

    Categories:Die Cutting

    How to Make a Stitched Christmas Tree Card

    Create a beautiful handmade Christmas card featuring a layered, stitched Christmas tree. In this step-by-step tutorial, you'll learn how to combine die-cutting and simple stitching techniques to build a dimensional holiday card complete with a decorative pot, layered tree sections, and sparkling embellishments. This project is perfect for cardmakers who want to try stitching on cardstock. The stitching pattern is beginner-friendly, making it an excellent...

  • Fall Adventures Collection Introduction with Allison Frazier

    Allison Frazier

    Fall Adventures Collection Introduction with Allison Frazier

    Hello, friends – this is Allison Frazier, and I am so excited to introduce the first add-on to my Summer Camp collection with Spellbinders. The adorable critters are back, and they are ready for autumn with the new Fall Adventures Collection. There are three products in this collection – two die sets and a set of sentiment stamps. I hope you will be inspired to...