Make the Sentiment the Focal Point - Hero Arts
on January 23, 2024

Make the Sentiment the Focal Point

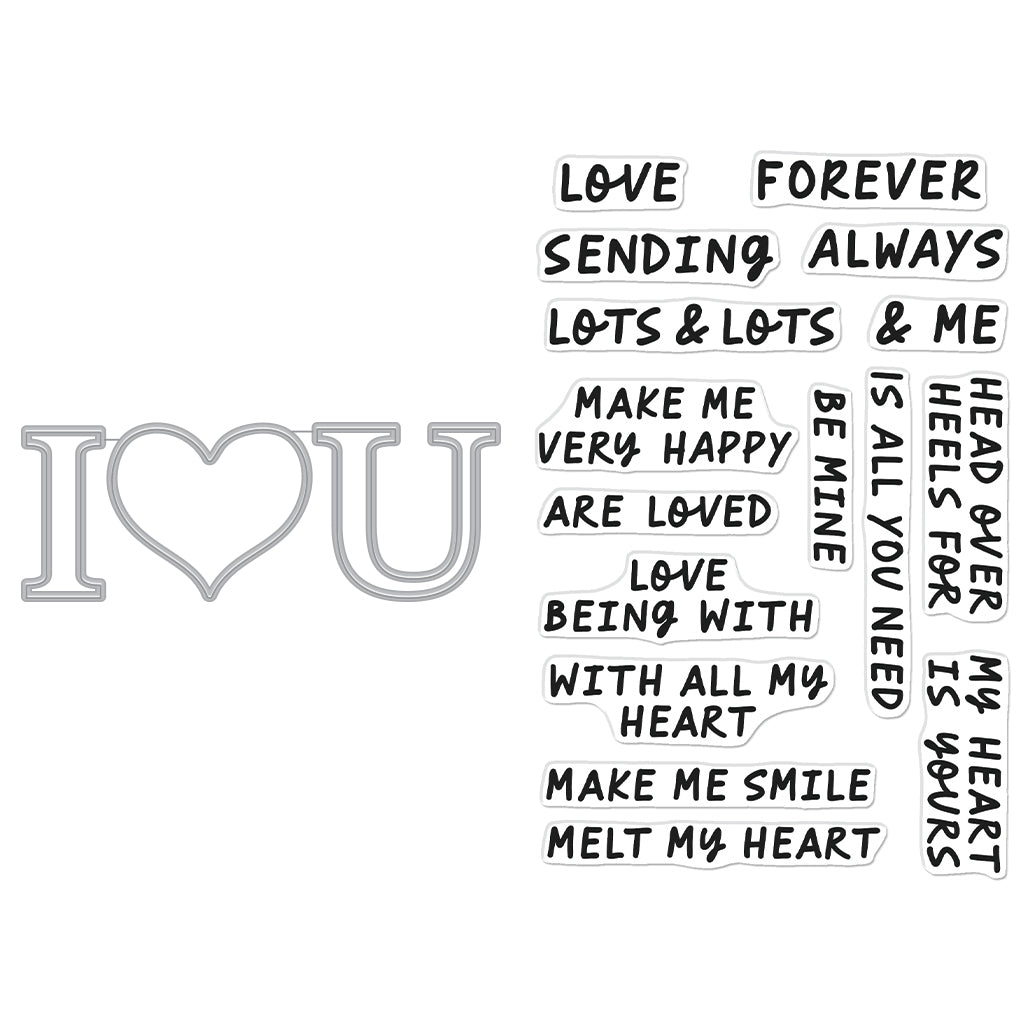
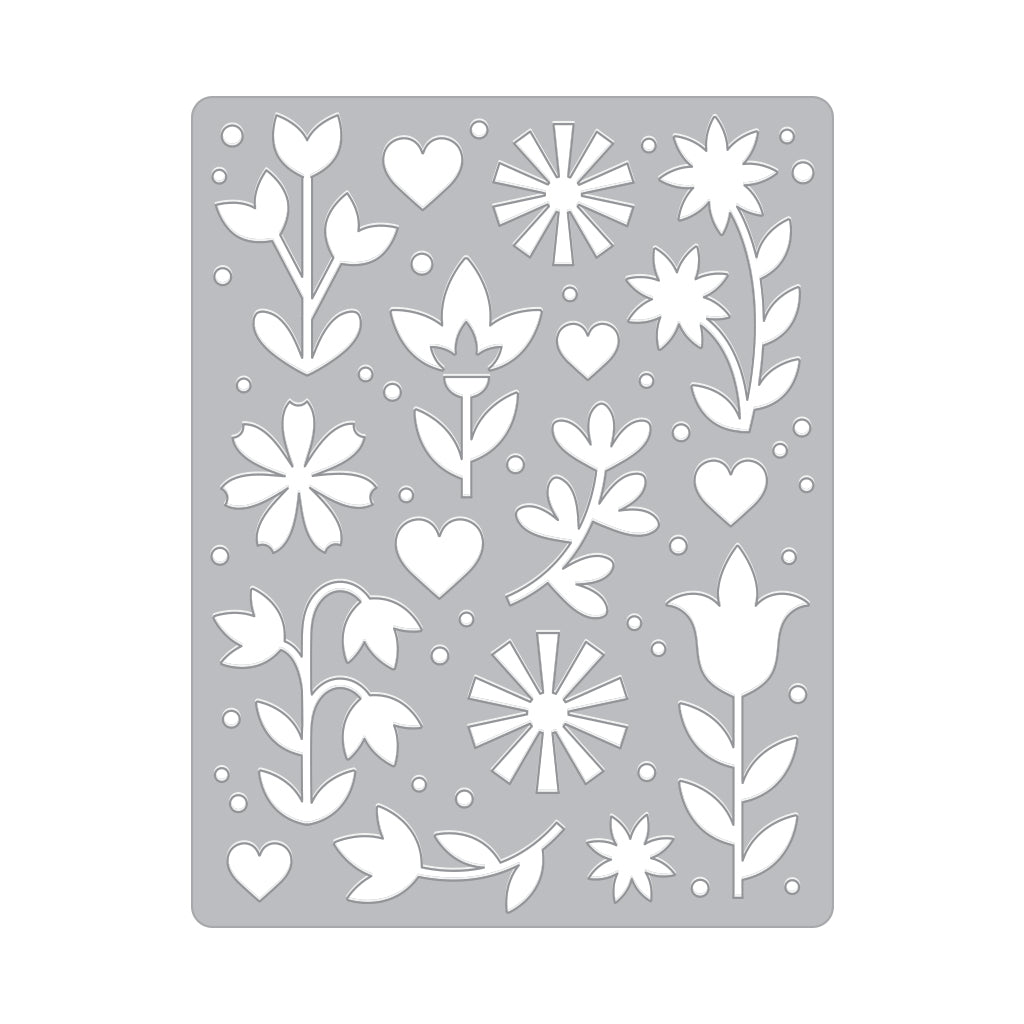
Hello there, Michelle here, and today I have a card to share using I Love U Stamp & Cut XL, creating a focal point for the sentiment, with the help of the Flower and Hearts Cover Plate. Both are new products from the January My Monthly Hero release.

U Are Loved by Michelle Short for Hero Arts

I started off my card by die cutting the 'U' from I Love U Stamp & Cut XL using Deluxe Smooth White cardstock. I cut it four times and stacked them one on top of another, adhering with Precision Glue. The accompanying sentiment from the stamp set was stamped onto Pitch Black cardstock using Clear Embossing & Watermark Ink.

U Are Loved by Michelle Short for Hero Arts

I applied White Embossing Powder and heat set. It was cut into a strip and temporarily adhered to the U. I did this so that it helped me with the placement of the flowers. I die cut the Flower and Hearts Cover Plate twice from Deluxe Smooth White cardstock.

U Are Loved by Michelle Short for Hero Arts

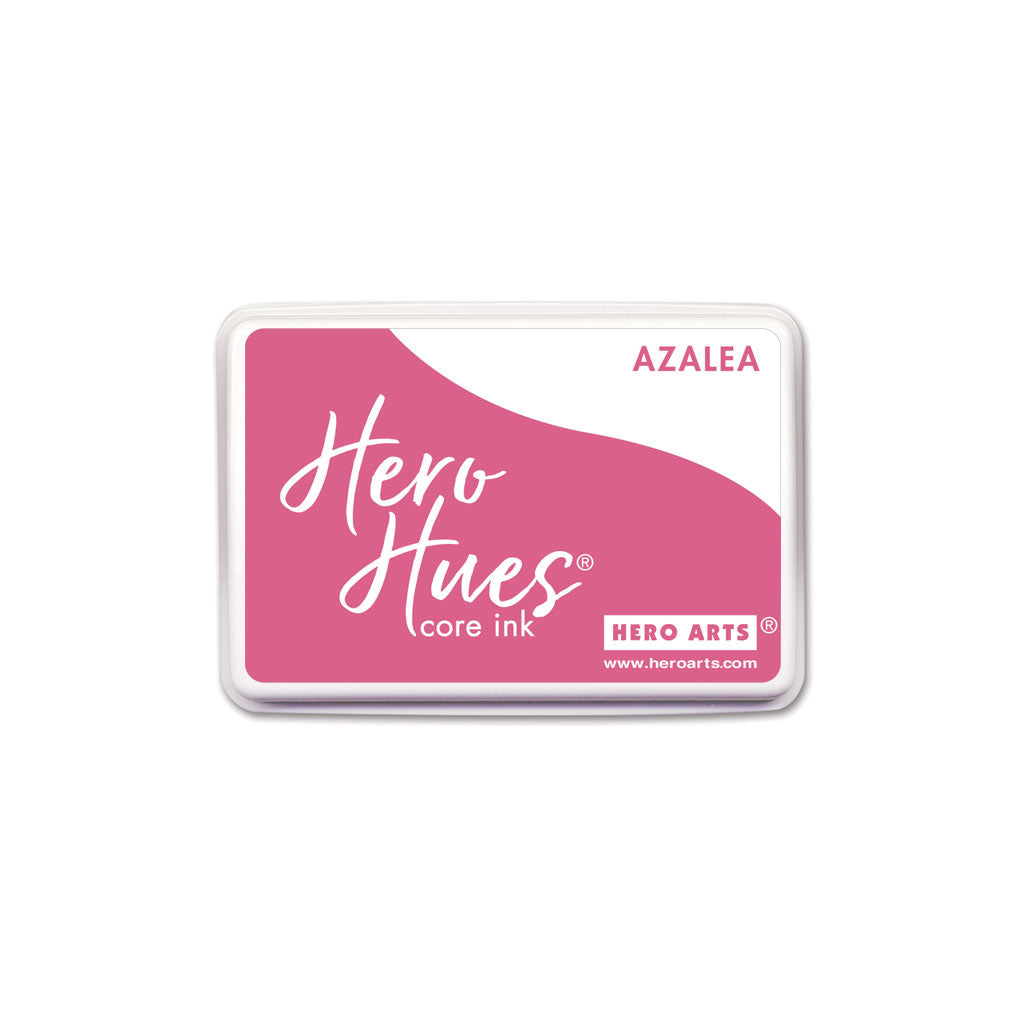
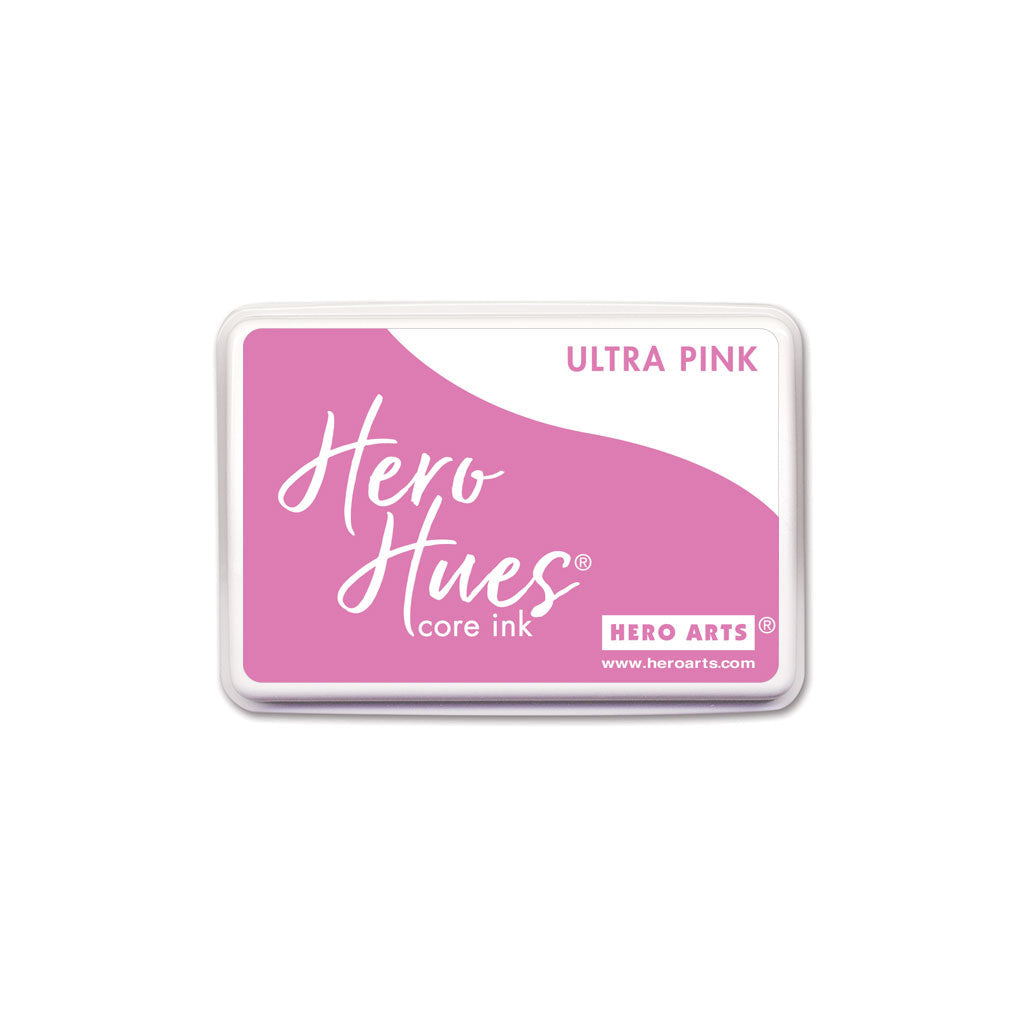
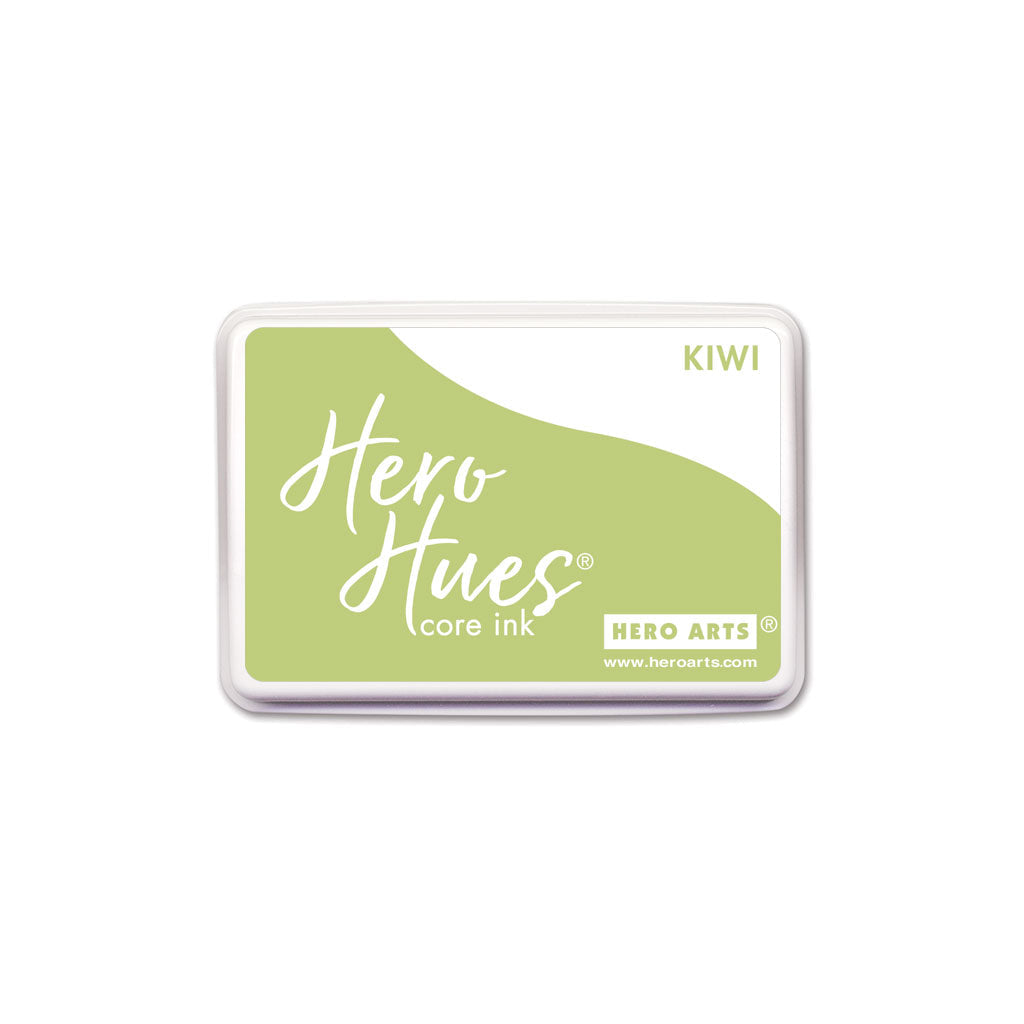
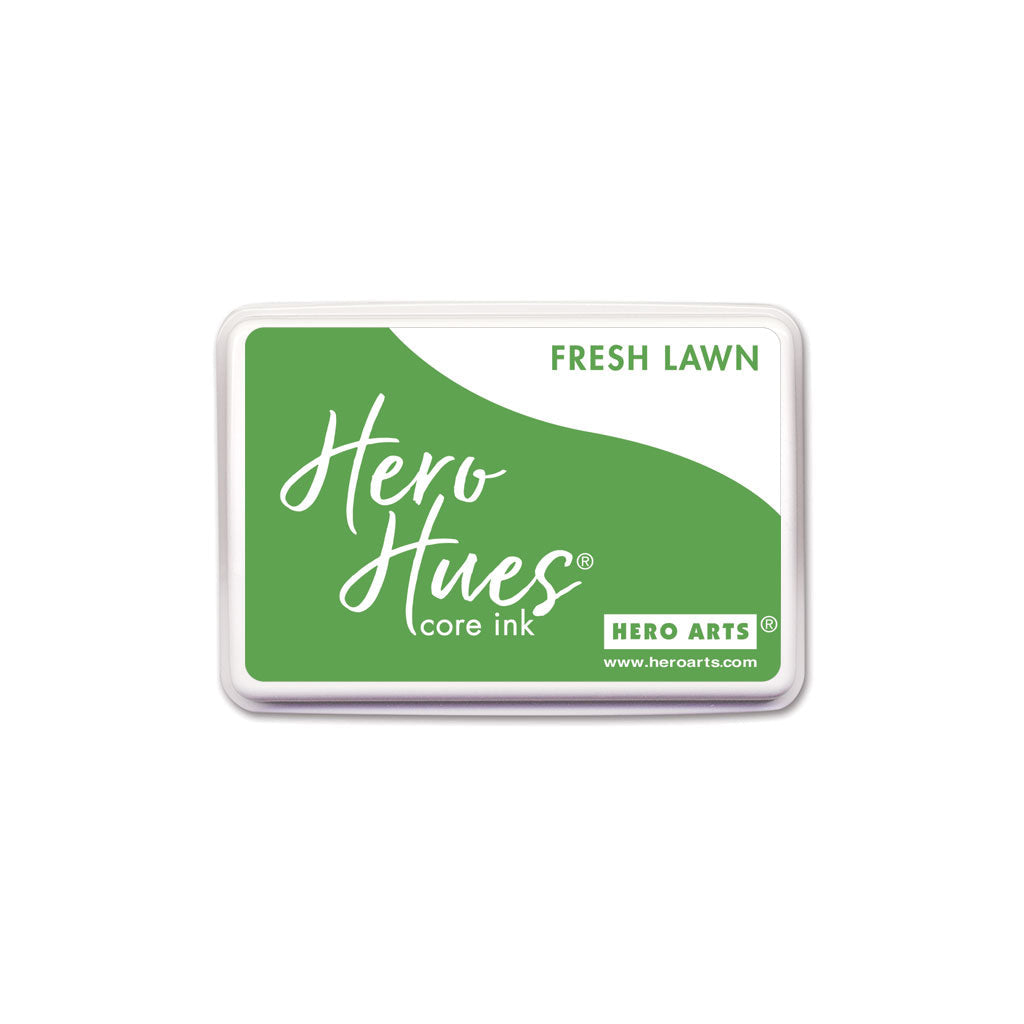
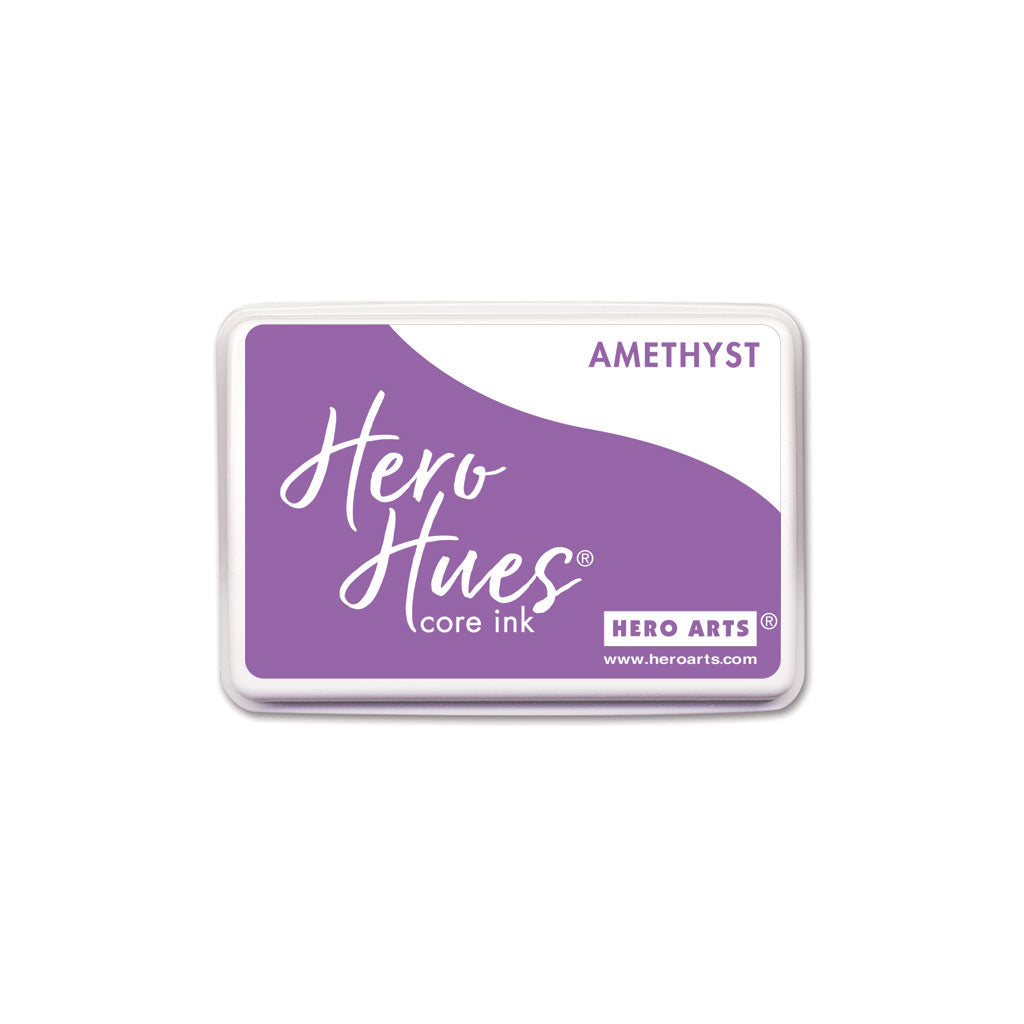
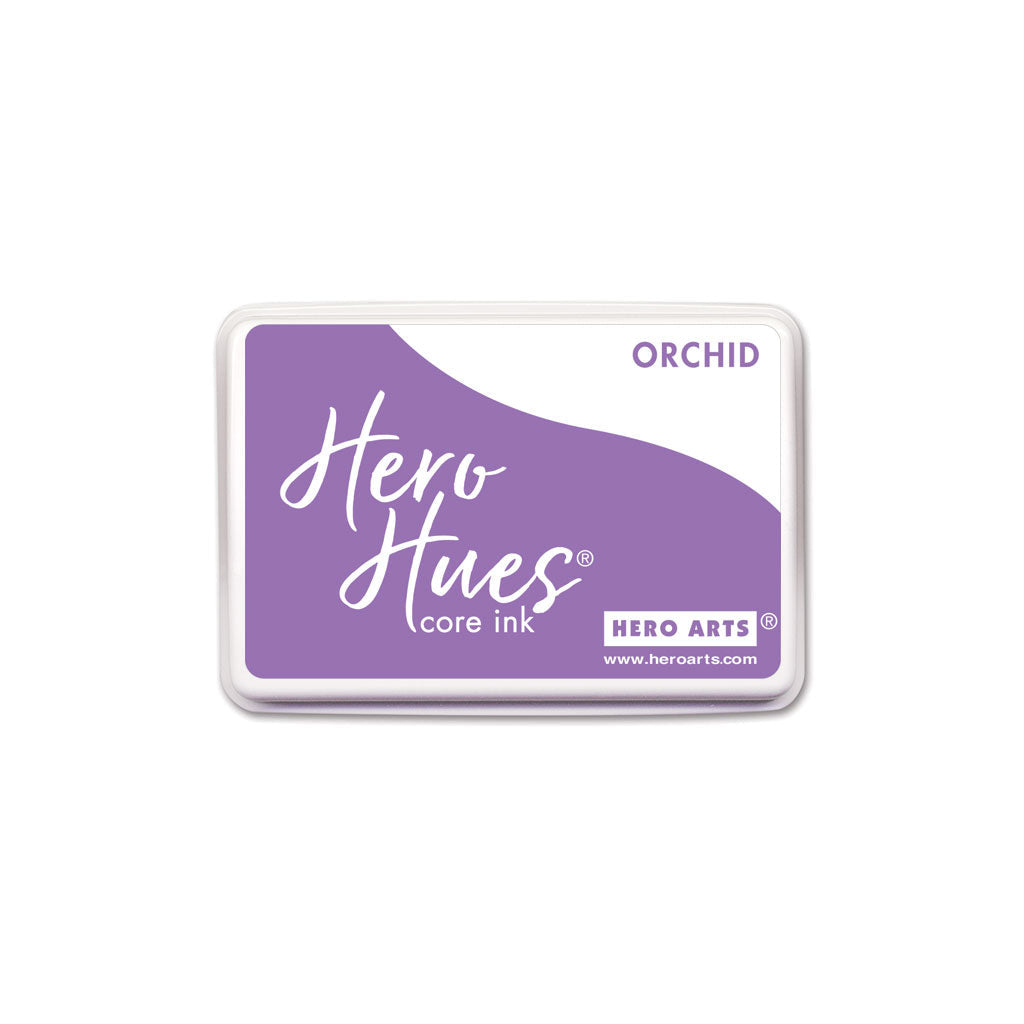
Using Small Ink Blending Brushes, I blended Core Inks on top. I used Kiwi and Fresh Lawn for the leaves and stems, Orchid and Amethyst for the purple flowers, and Ultra Pink and Azalea for the pink flowers.

U Are Loved by Michelle Short for Hero Arts

Using the sentiment as a guide, I adhered the flowers onto an A2 sized white card base with Precision Glue, cutting down pieces of the flowers as needed to fit the design. The U was then adhered on top, followed by the 'are loved', adhered with foam tape. To finish off, I die cut the Flower and Hearts Cover Plate again from White Glitter Paper and adhered a few of the dots around the flowers.

This was a fun way to make the sentiment the focal point of the card, using the flowers as an accompanying image. Thank you so much for stopping by today. I hope you have a wonderful day!

Click on products to shop:
DC310 I Love U Stamp & Cut XL | Hero...
HA ]
DF189 Flower and Hearts Cover Plate...
HA ]
AF604 Azalea Core Ink | Hero Arts
HA ]
AF603 Ultra Pink Core Ink | Hero Arts
HA ]
AF661 Kiwi Core Ink | Hero Arts
HA ]
AF665 Fresh Lawn Core Ink | Hero Arts
HA ]
AF720 Amethyst Core Ink | Hero Arts
HA ]
AF722 Orchid Core Ink | Hero Arts
HA ]
AF419 Clear Embossing & Watermark Ink...
HA ]
PS782 Deluxe Smooth White Cardstock...
HA ]
PS777 Glitter Paper Basics | Hero Arts
HA ]
PS323 Hero Hues Premium Cardstock...
HA ]
PW110 White Embossing Powder | Hero Arts
HA ]
MI004 Hero Tools Ink Blending Brush...
HA ]
GW101 Precision Glue | Hero Arts
HA ]

Leave a comment

Your email will not be published. Please note, comments need to be approved before they are published.


  • How to Make a Cute Autumn Squirrel Card with Fall Adventures Dies, S4-1573, S5-738, S3-591, STP-292, S5-740

    Categories:Die Cutting

    How to Make a Cute Autumn Squirrel Card with Fall Adventures Dies

    Create a charming autumn card featuring an adorable squirrel dressed in overalls and surrounded by pumpkins, apples, hay bales, colorful leaves, and harvest-themed accents. In this step-by-step tutorial, you'll learn how to assemble layered character dies, create dimensional autumn accessories, stamp a coordinating sentiment, and build a cheerful fall scene full of seasonal details. This project is perfect for cardmakers who enjoy character-based die-cut scenes...

  • How to Make a Cookie-Loving Chompster Birthday Card, S5-778, S5-779, STP-295

    Categories:Die Cutting

    How to Make a Cookie-Loving Chompster Birthday Card

    Create a fun birthday card featuring Chompster enjoying his favorite snack. In this step-by-step tutorial, you'll learn how to assemble the Chompster character, create dimensional cookies, build a colorful propeller hat, and arrange all the die-cut pieces into a playful birthday card design. This project is perfect for cardmakers who enjoy character-based die cutting and whimsical birthday cards. By combining the Top It Off and...

  • How to Make a Festive Felt Santa Ornament | Spellbinders

    Categories:Die Cutting

    How to Make a Festive Felt Santa Ornament | Spellbinders

    A handmade felt Santa ornament is a colorful way to add stitching, texture, and personality to your Christmas décor. In this detailed tutorial, you’ll learn how to die cut wool felt, organize and layer the individual pieces, add embroidery stitches and beads, and finish the project with a secure backing and hanging loop. The Festive Santa Etched Dies create a playful Santa holding a decorated...