Posted by Hero Arts
on October 08, 2023


Our next LIVE Make-Along event is this weekend! Join Kelly Taylor to make along with the September 2023 My Monthly Hero kit. Gather your supplies and create a card with Kelly from start to finish.
👉🏼 When: Sunday, October 8 at noon PT/3pm ET
👉🏼 Where: Hero Arts Facebook and YouTube
In addition to the sold out September My Monthly Hero Kit, the following supplies will be used:
PS781 Luxe White Watercolor Paper
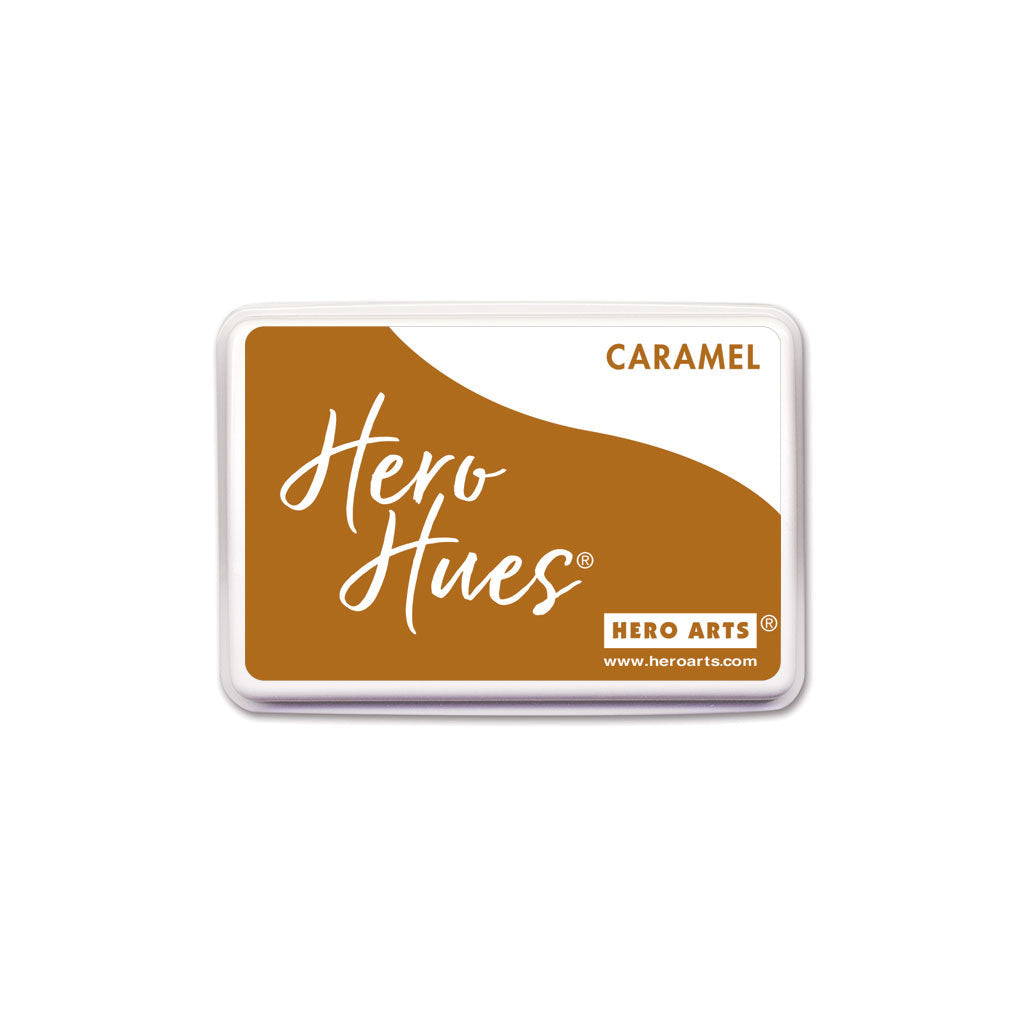
AF744 Caramel Core Ink
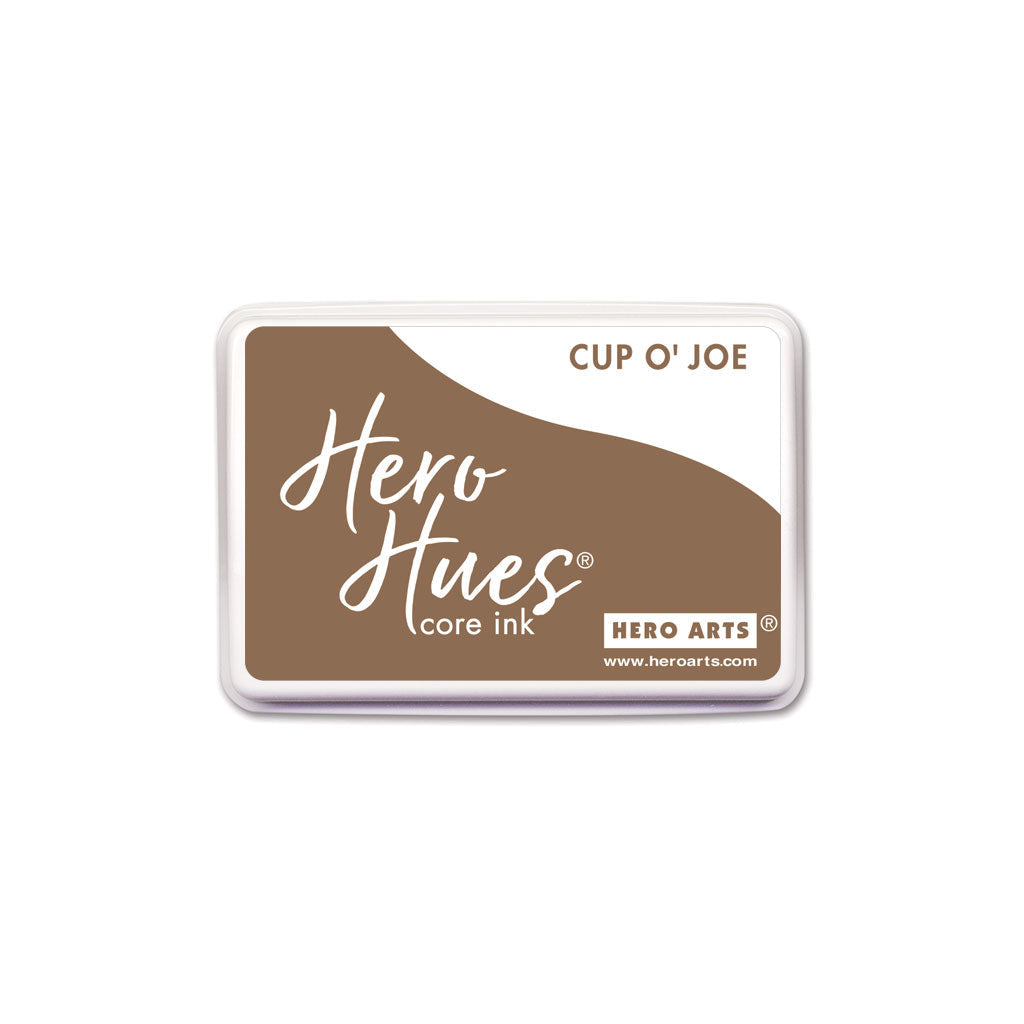
AF745 Cup O' Joe Core Ink
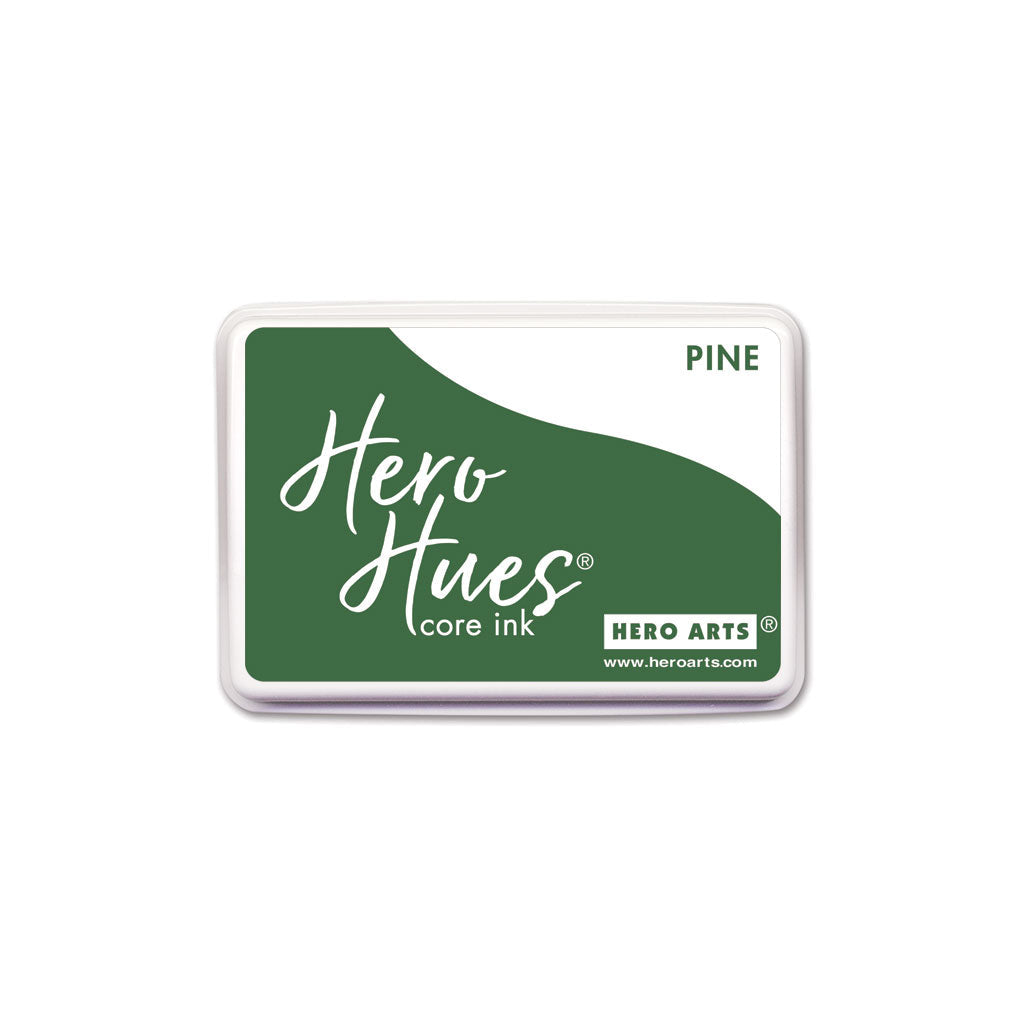
AF668 Pine Core Ink
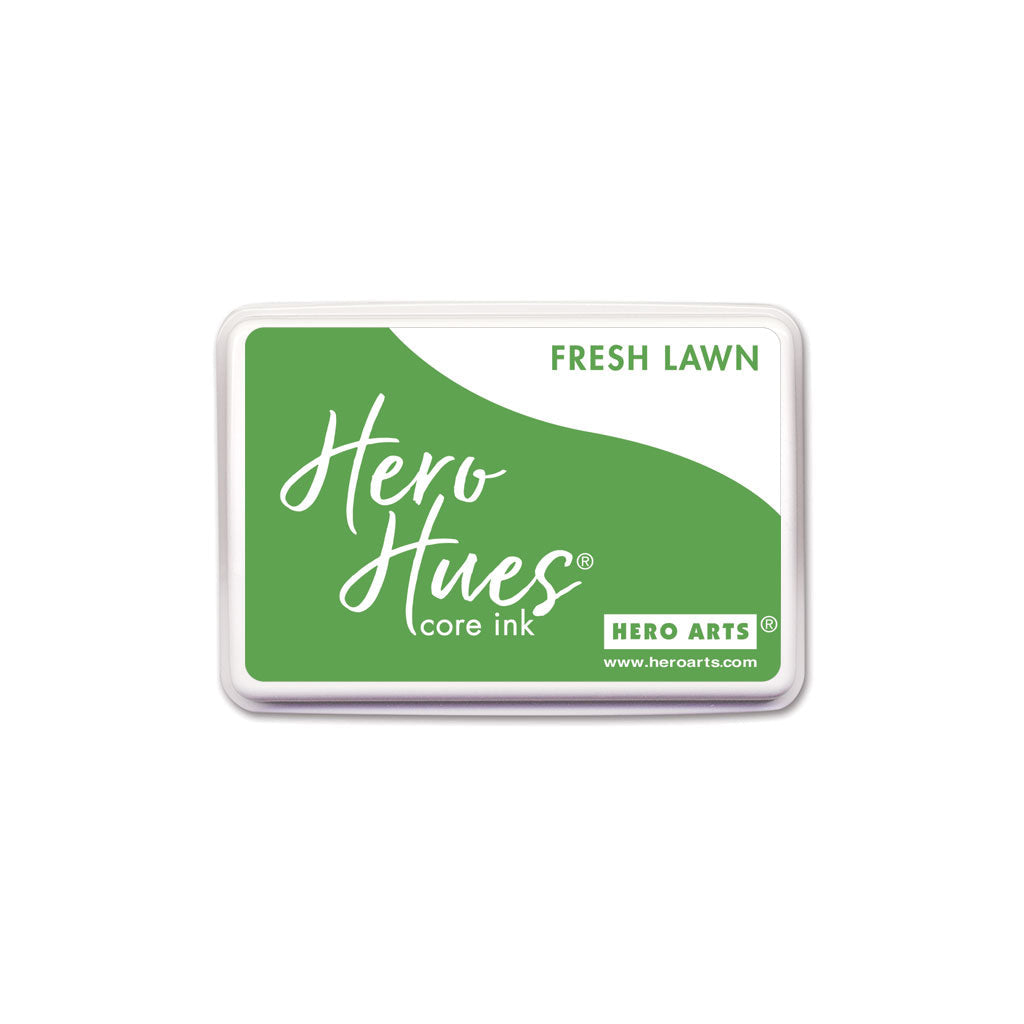
AF665 Fresh Lawn Core Ink
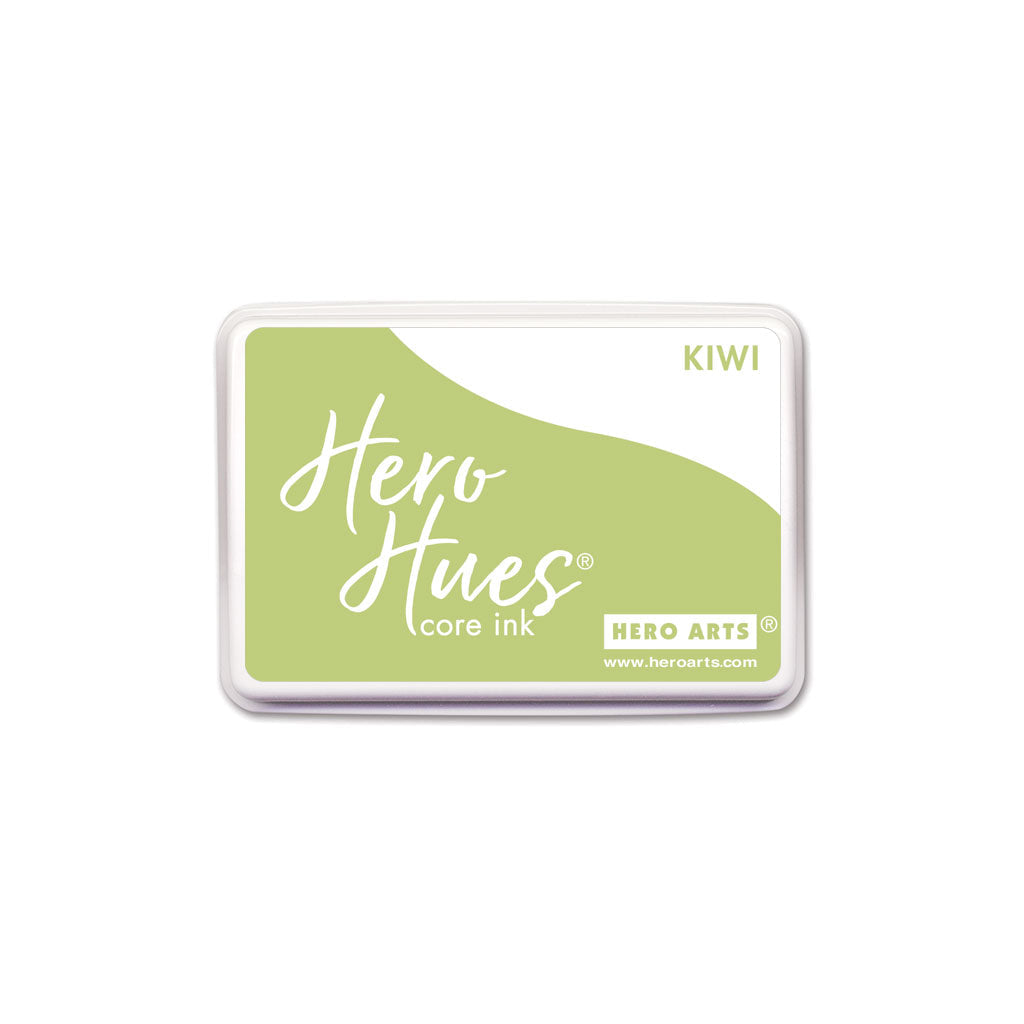
AF661 Kiwi Core Ink
AF742 Wet Cement Core Ink
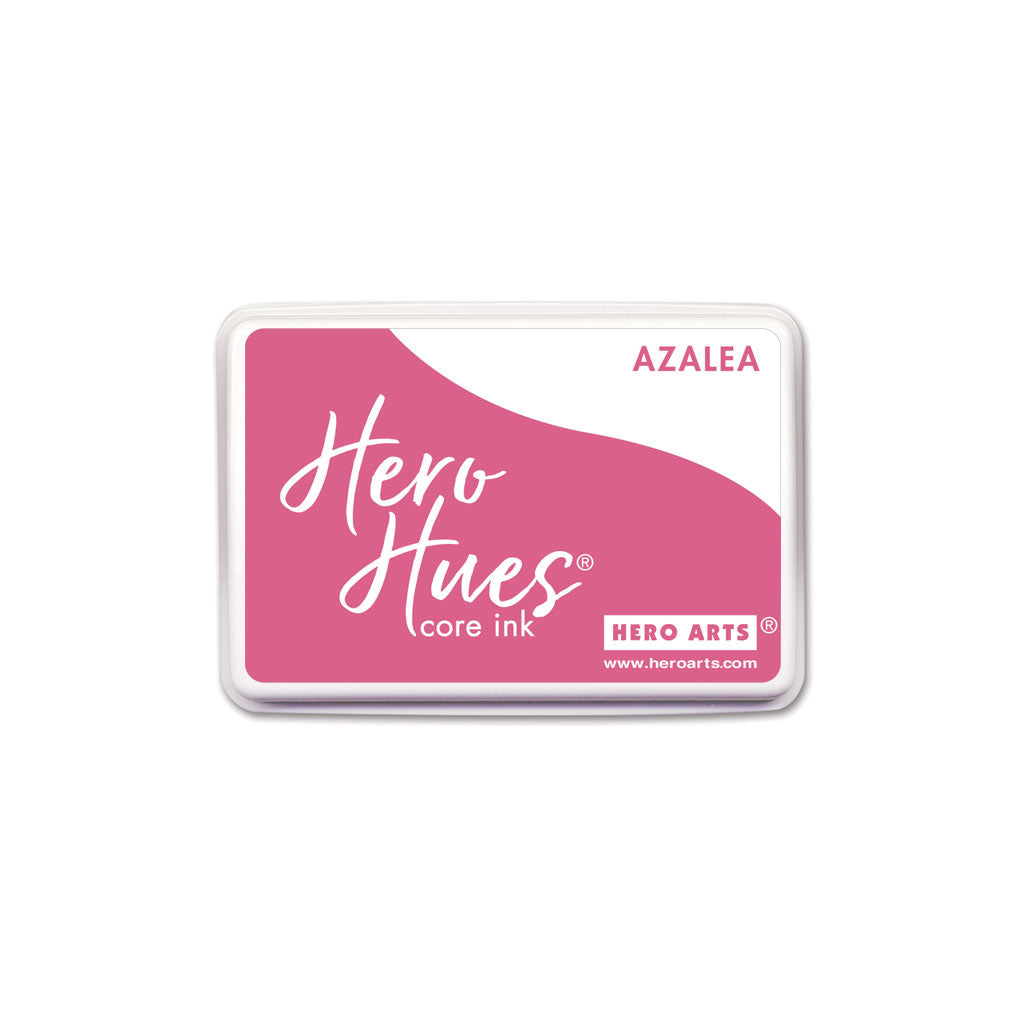
AF604 Azalea Core Ink
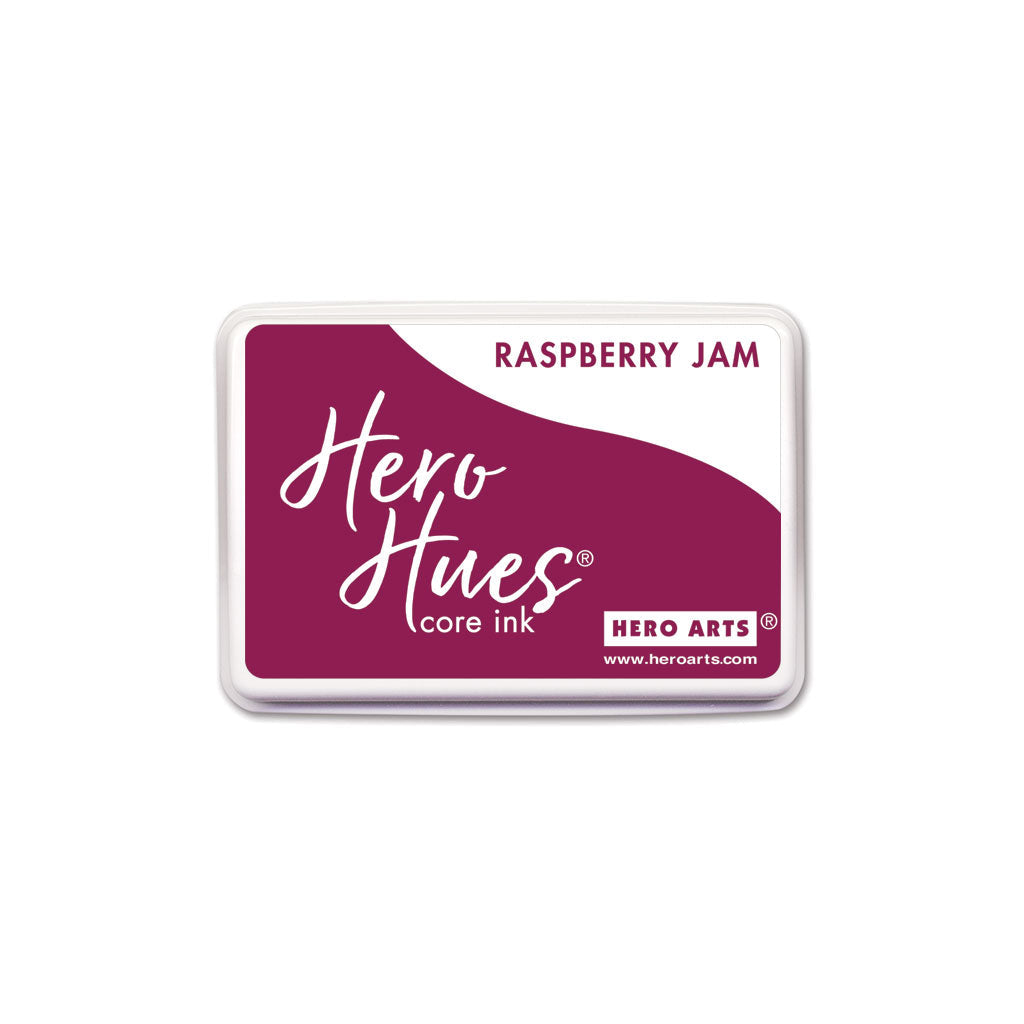
AF724 Raspberry Jam Core Ink
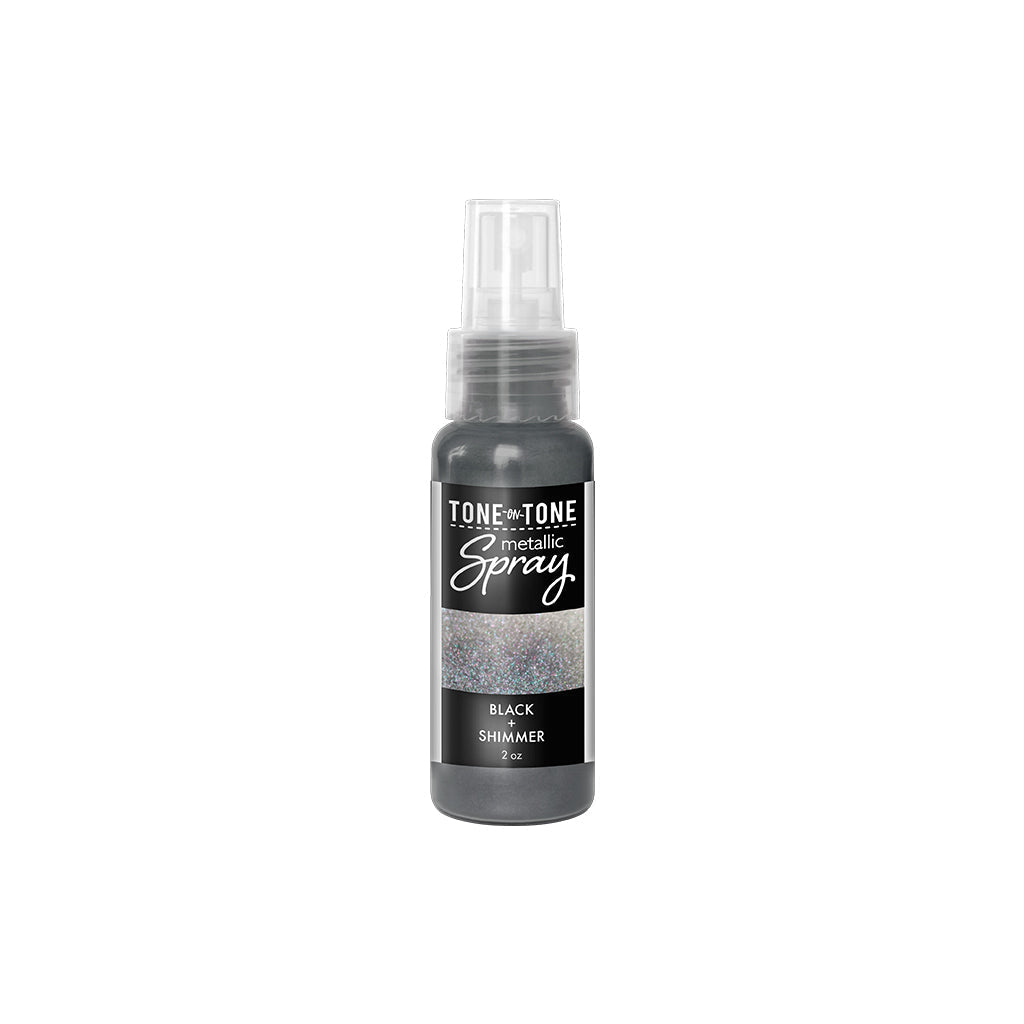
WM205 Black + Shimmer Tone-on-Tone Metallic Spray
WM209 Green + Shimmer Tone-on-Tone Metallic Spray
WM206 Orange + Shimmer Tone-on-Tone Metallic Spray
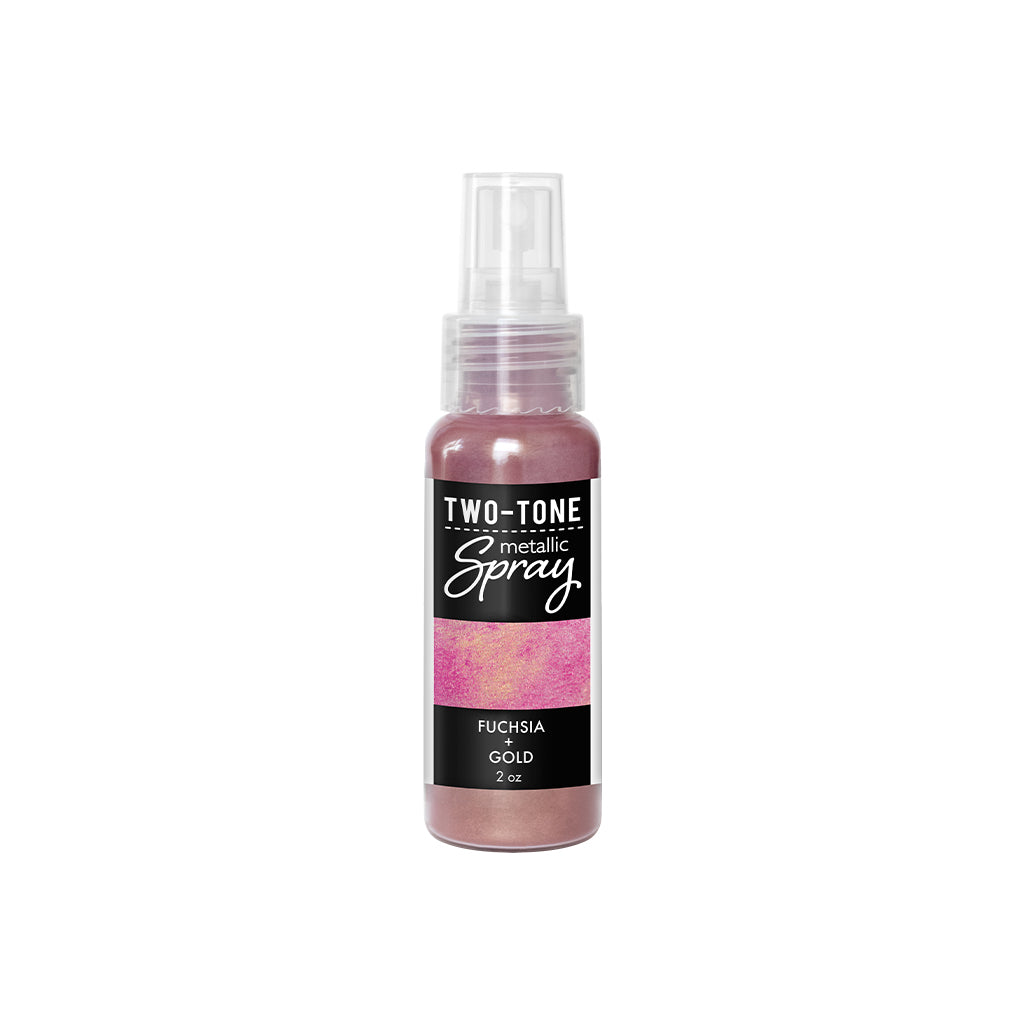
WM200 Fuchsia + Gold Two-Tone Metallic Spray
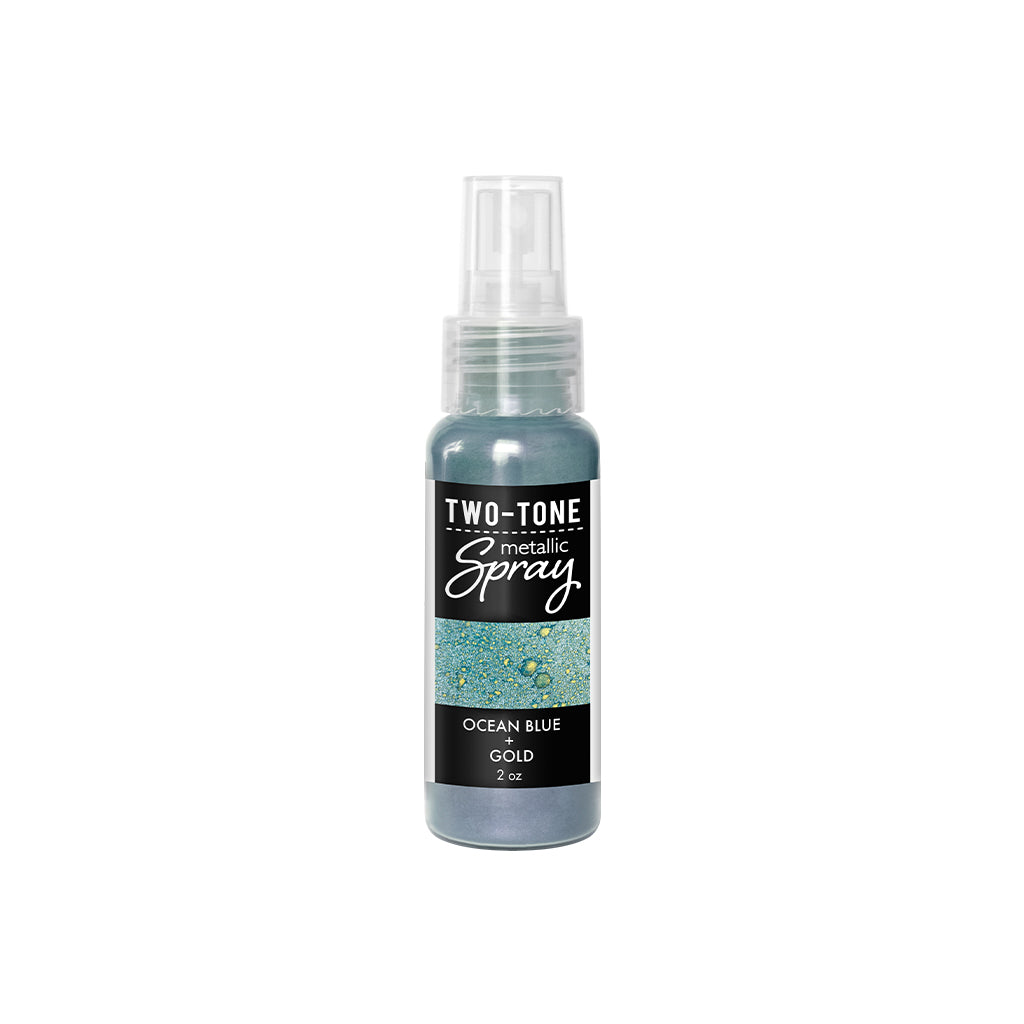
WM204 Ocean Blue + Gold Two-Tone Metallic Spray
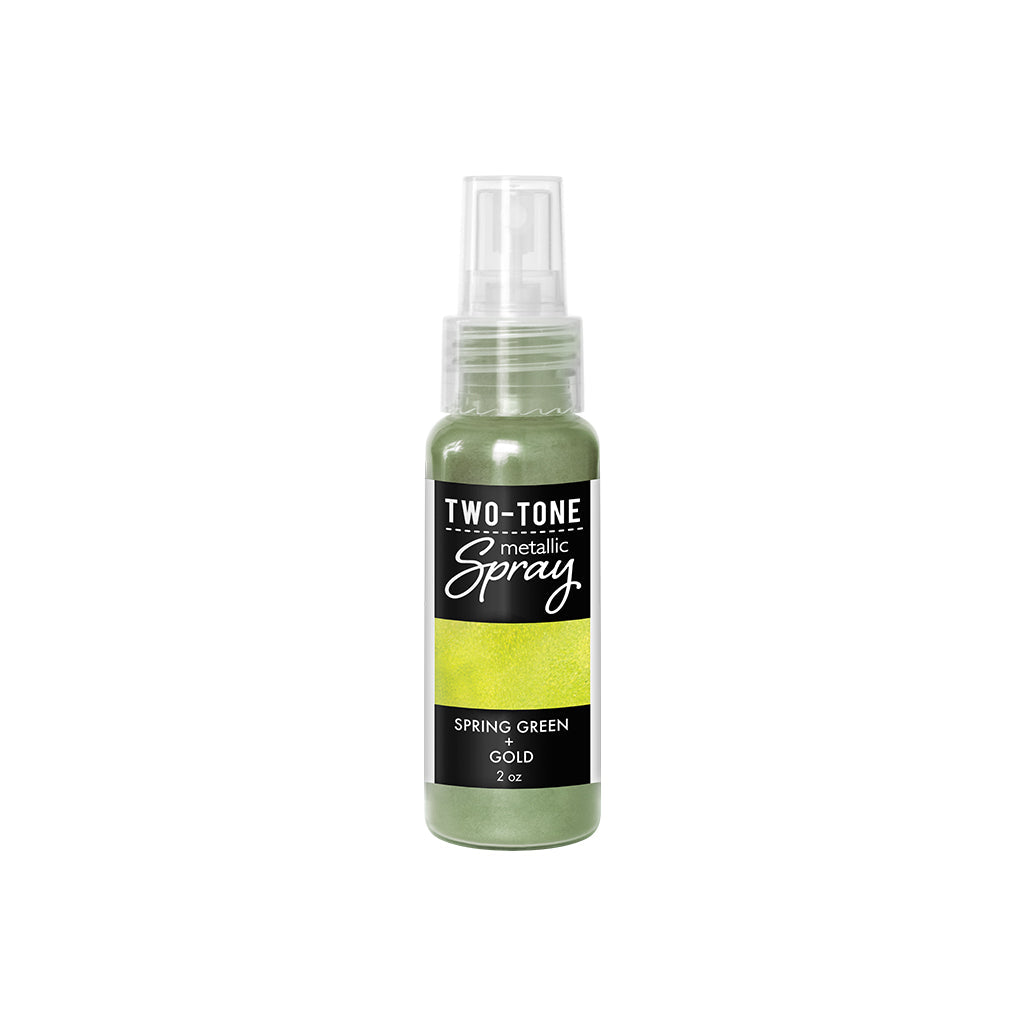
WM202 Spring Green + Gold Two-Tone Metallic Spray
NK452 Gold Hero Wax
PW100 Gold Embossing Powder
AF419 Embossing & Watermark Ink
PS323 Pitch Black Cardstock
HT215 Hero Tools Palette Knife
PS400 Dove White Top Folded Cards
GW101 Precision Glue
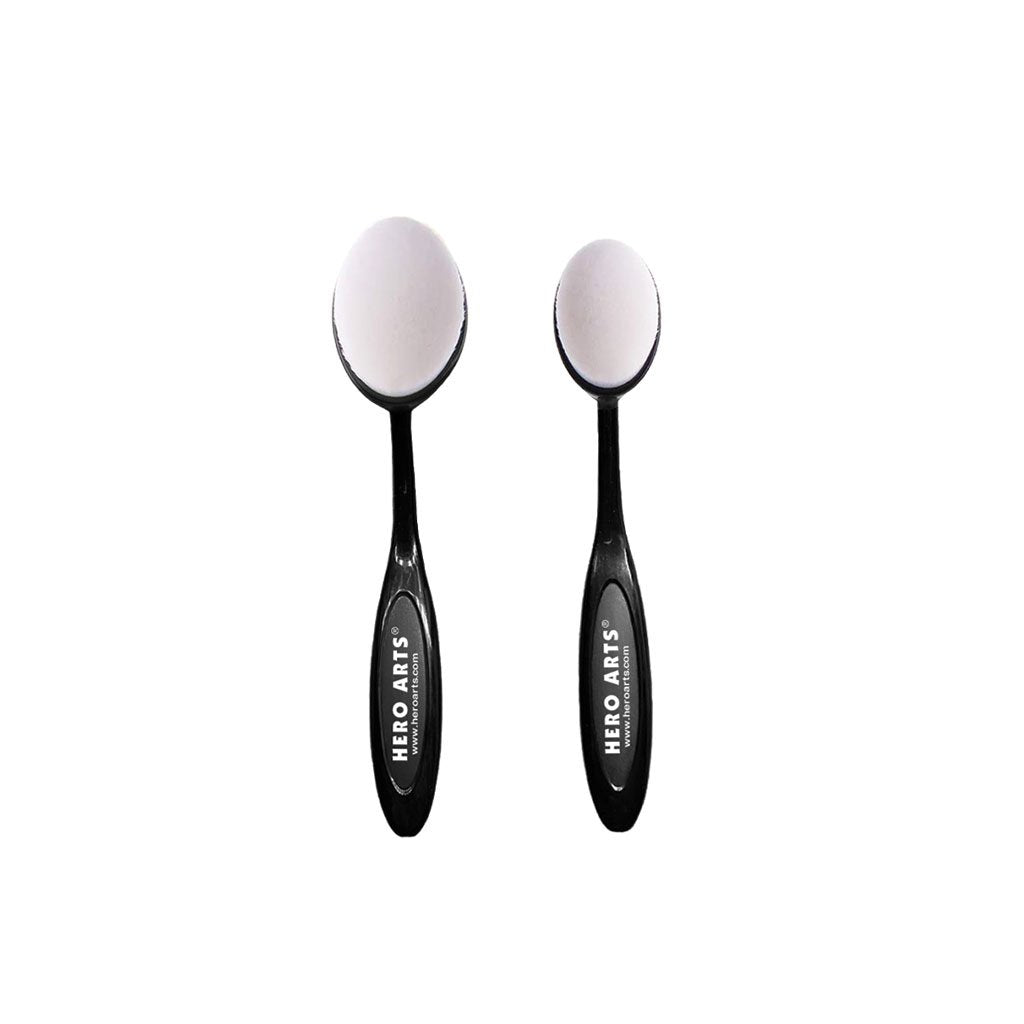
MI004 Hero Tools Ink Blending Brush Small
MI003 Ink Blending Brushes
Paint Brush
Water
Non-Porous Work Surface like a glass or craft mat.
Foam Adhesive
Stamp Positioning Tool, ex. MISTI
Die-cutting Machine
Heat Tool
Low-tack Tape
Anti-Static Tool
Paper Trimmer
Gems
Instructions:
- Cut Watercolor paper in half so you have two 4.25 x 5.5 inch panels.
- Die Cut Autumn Frame from the center of one watercolor panel. Hold in place with low tack tape.
- Using the first stencil add Caramel and Cup of Joe Core Inks to the pinecone and acorn. Use Kiwi, Fresh Lawn, and Pine to add Shading to the leaves. Use Wet Cement lightly to add shading underneath the Mushrooms.
- Using the second stencil with Wet Cement lightly to add shading underneath the Mushrooms. Use Caramel and Cup of Joe Core Inks add color to the acorn. Use Kiwi, Fresh Lawn, and Pine to add Shading to the leaves on this layer.
- Using the third stencil add shading the pinecone and acorn with Cup of Joe Core Ink. Add color to the mushroom caps with Azalea Core Ink. Add shading to them with Raspberry Jam Core Ink. Use Kiwi, Fresh Lawn, and Pine to add Shading to the leaves on this layer.
- Tap out a small amount of powder from Green + Shimmer Tone-on-Tone Metallic Spray, Spring Green + Gold Two Tone Metallic Spray, Orange + Shimmer Tone-on-Tone Metallic Spray, and Fuchsia + Gold Two Tone Metallic Spray, into separate piles onto your work surface.
- Add a small amount of water to and paint onto die cut piece matching the watercolors to the ink colors previously used. Use paint brush to splatter some of each color onto the die cut piece. Set aside to dry. Do not clean up spray piles.
- Add clean water to your second watercolor panel. Concentrate water to the center. Tap some powder from the Black + Shimmer Tone-on-Tone Metallic Spray towards the bottom of the water. Working upwards drop in powder from Green + Shimmer Tone-on-Tone Metallic Spray, Ocean Blue + Gold Two Tone Metallic Spray, and Spring Green + Gold Two Tone Metallic Spray. Tap with paintbrush until happy with the background blending. Add spatters of your spray piles into background. Set Aside to Dry.
- Reapply the last stencil (detail layer) and add Gold Hero Wax using the Hero Tools Palette Knife or your finger. Clean stencil immediately. Set Aside to Dry.
- Treat Pitch Black Cardstock with your anti-static tool. Stamp sentiment with Embossing & Watermark Ink. Sprinkle on Gold Embossing Powder, tap off excess, and heat set. Trim into labels.
- Adhere background panel to card base using Precision Glue. Adhere die cut panel to background with foam adhesive. Adhere sentiment labels with foam adhesive. Add gems.
If you cannot join us for the live event, no problem! The video will be available to watch on replay on YouTube or Facebook whenever it is convenient for you.
We hope to see you there!

|