All is Calm Polar Bears Night Scene - Hero Arts
Posted by Ilina Crouse on September 27, 2023

All is Calm Polar Bears Night Scene

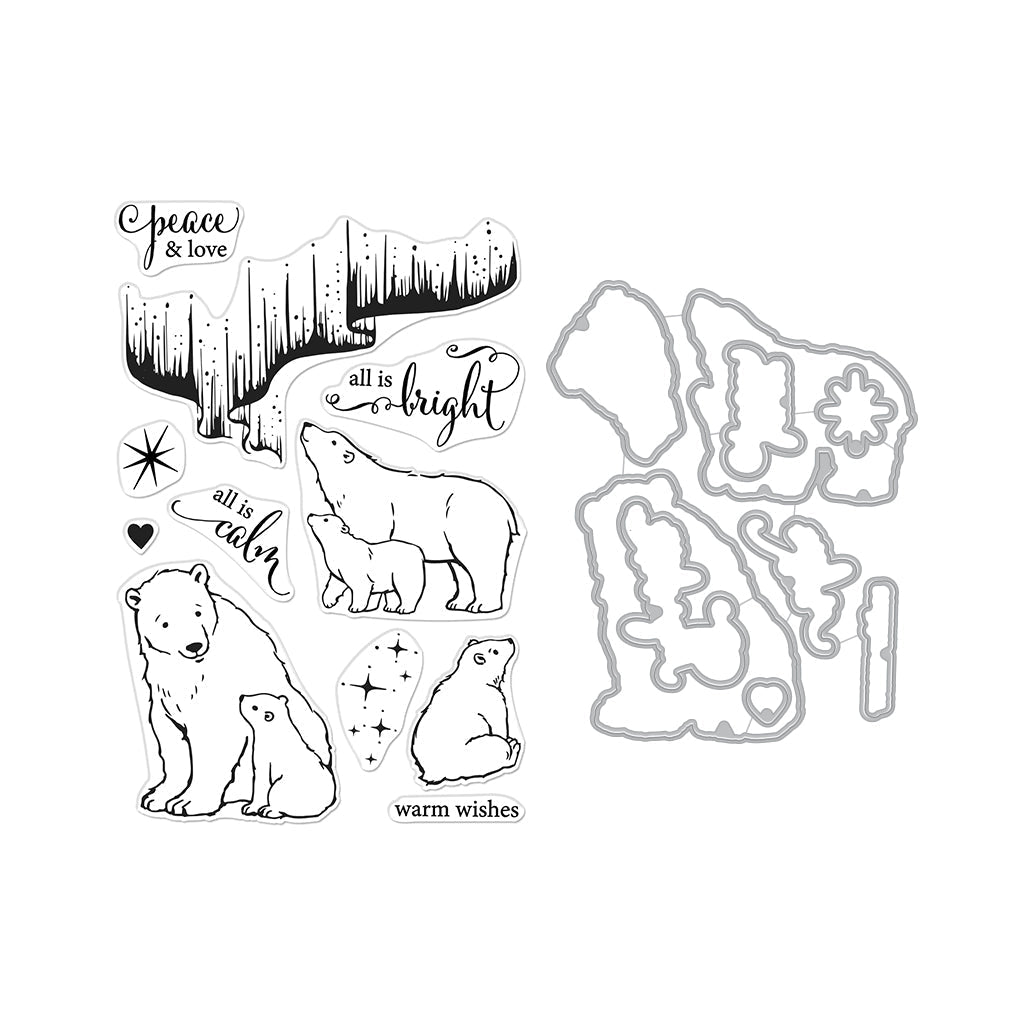
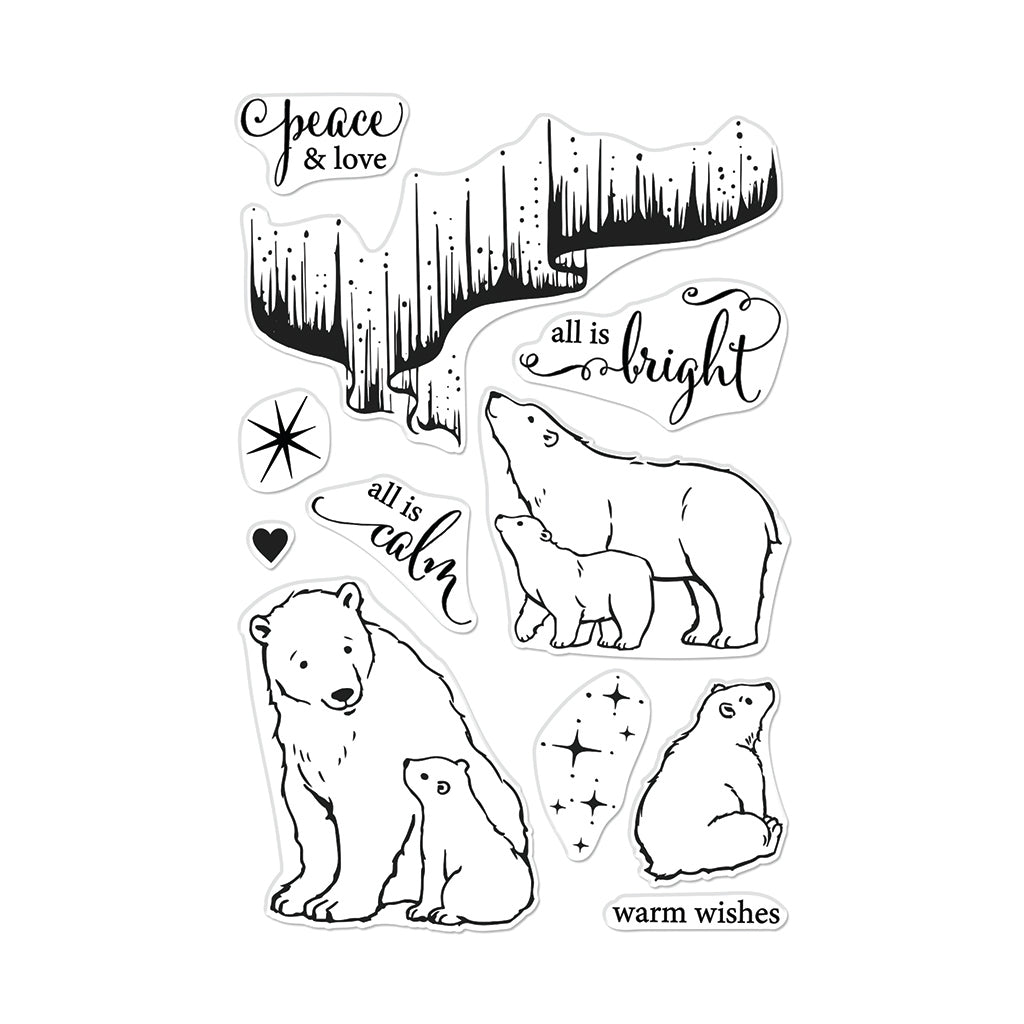
Hi everyone! Ilina here! Today I am sharing a night scene card using the new Northern Lights Polar Bears Bundle.

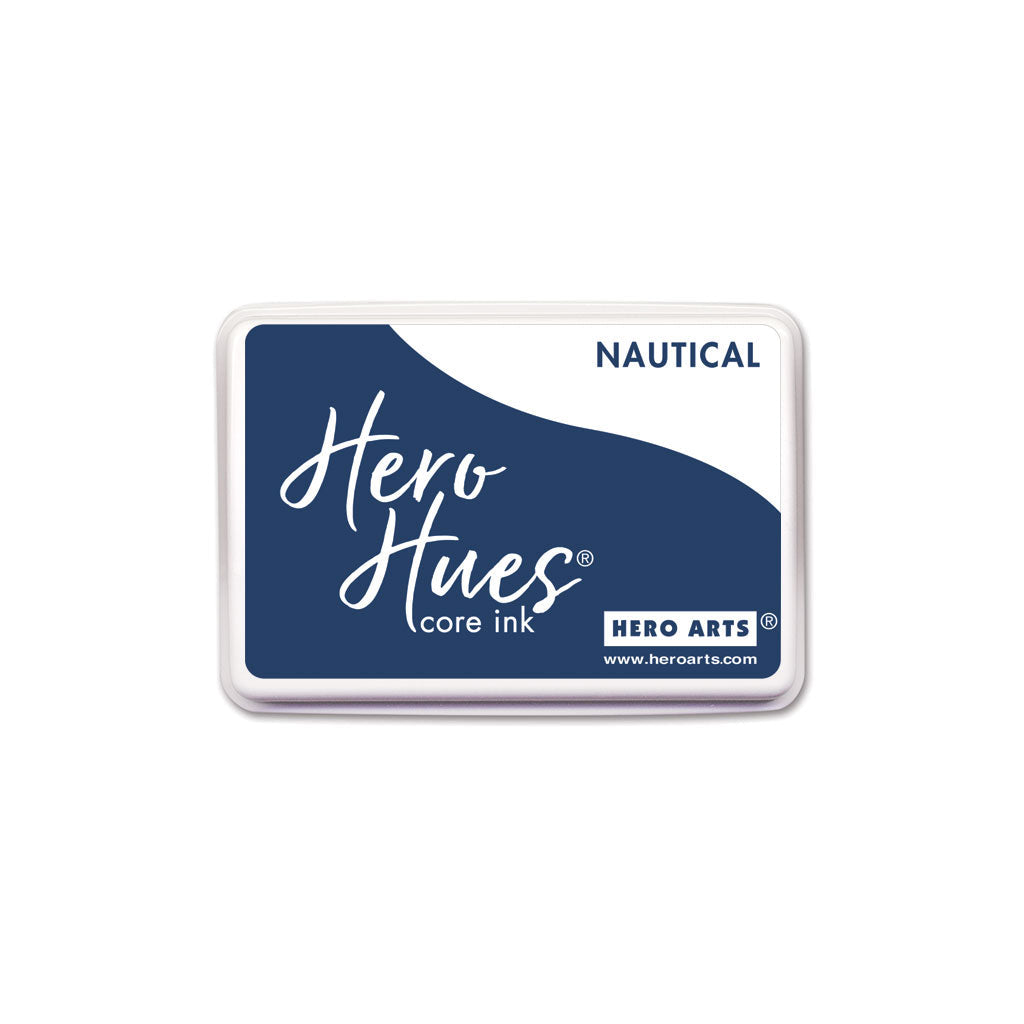
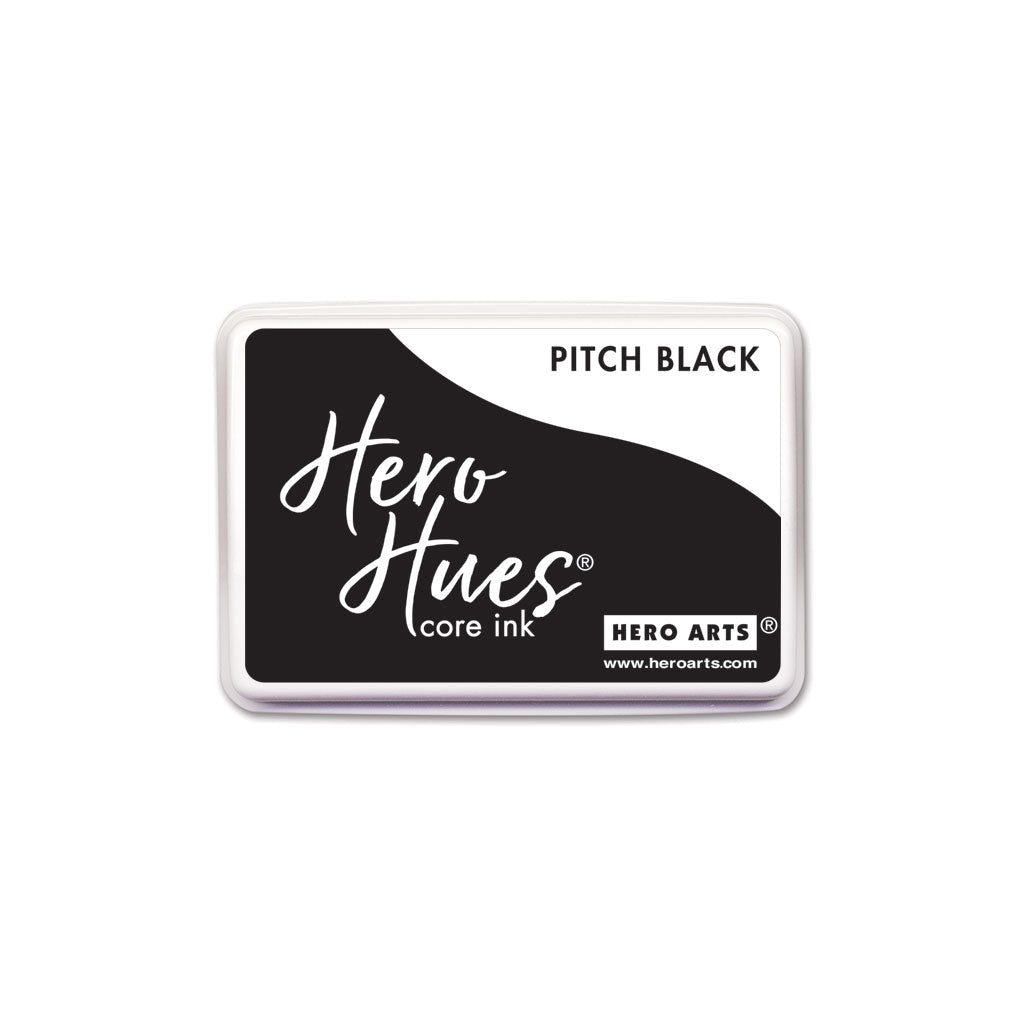
To create the background, start with an 4 1/4" x 5 1/2" piece of Nautical cardstock. To add some depth, use an Extra Large Ink Blending Brush to add Nautical and Pitch Black ink around the sides of the panel, leaving the center as is.

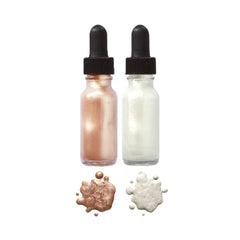
Trim the panel to 4" x 5 1/4". Using White and Gold Glimmer Metallic Inks and a paint brush, add splatters to the background. Set aside to dry completely. Once completely dry, stamp the Northern Lights image using Clear Embossing and Watermark Ink and emboss using Iridescent Blue Embossing Powder.

Stamp bears image and sentiment and color the images using your coloring medium of choice (I used Copic markers). Die cut the sentiment and image using the coordinating dies.

Cut a 3/4" x 4" piece of White Glitter Paper paper and adhere on the bottom of the Nautical Panel. Using foam adhesive, adhere the bears image.

Die cut a circle from Vellum Layering Paper using Circle Infinity Dies. Add the die cut sentiment on one side of the circle and adhere it to the upper left corner of the panel. Trim the excess using scissors.

Using foam adhesive, craft foam, or a few stacked pieces of cardstock, adhere the panel to a Dove White Top Folded Card to finish your card.

Thank you so much for stopping by. Hope you have an AMAZING day!

Click on products to shop:
SB375 Northern Lights Polar Bears...
HA ]
CM718 Northern Lights Polar Bears |...
HA ]
DI199 Nesting Circle Infinity Dies...
HA ]
AF706 Nautical Core Ink | Hero Arts
HA ]
AF764 Pitch Black Core Ink | Hero Arts
HA ]
AF419 Clear Embossing & Watermark Ink
HA ]
GM104 Rose Gold and White Glimmer...
HA ]
GM100 Gold & Pewter Glimmer Metallic...
HA ]
PW153 Iridescent Blue Embossing...
HA ]
MI007 Hero Tools Ink Blending Brush...
HA ]
PS316 Hero Hues Premium Cardstock...
HA ]
PS777 Glitter Paper Basics | Hero Arts
HA ]
PS772 Classic Vellum Layering Paper (10)
HA ]
PS400 Hero Hues Dove White Top Folded...
HA ]

Leave a comment

Your email will not be published. Please note, comments need to be approved before they are published.

2 comments

Cynthia Olheiser,

This is beautiful!

Marilee DeMars,

I love your card!


  • Hey Boo! Classic Mouse Halloween, S5-772, S5-487, S6-270, BP-387, S5-774

    BD-1026

    Classic Mouse Halloween Card with Trick or Treat Costume Party Dies

    Dress up adorable Classic Mouse characters in Halloween costumes! This step-by-step tutorial shows how to transform the Classic Mouse Wedding dies into a vampire and witch using the Trick or Treat Costume Party collection, then finish the card with layered backgrounds and a foiled Halloween sentiment.

  • Color Blocking with Classic Mouse Costume Party, S6-270, S5-774, E3D-188, BP-387

    Spellbinders Blog

    How to Make a Classic Mouse Halloween Card with Costume Party Dies

    Dress up adorable Classic Mouse characters as the Queen of Hearts and a magician in this playful Halloween card tutorial. Learn how to combine layered die cuts, bold color blocking, 3D embossing, and metallic accents to create a striking handmade Halloween card.

  • Fangtastic Drac, S6-272, BP-387, BP-385, S5-487, BD-1026

    BD-1026

    How to Make a Dracula Halloween Card with the Drac Die Set

    Create an adorable Halloween card featuring Drac from Simon Hurley's Halloween Hugs Collection. This step-by-step tutorial shows how to assemble the layered vampire die cuts, create an ink-blended night sky, add optional hot foiled bats, and finish the card with a playful Halloween sentiment.