Posted by Channin Pelletier
on November 07, 2023


Hello friends!! It’s Channin here and in today’s video I’m creating a holiday card featuring the elements from the new Classic and Premium November My Monthly Hero Kit.
Watch below or on the Hero Arts YouTube channel.
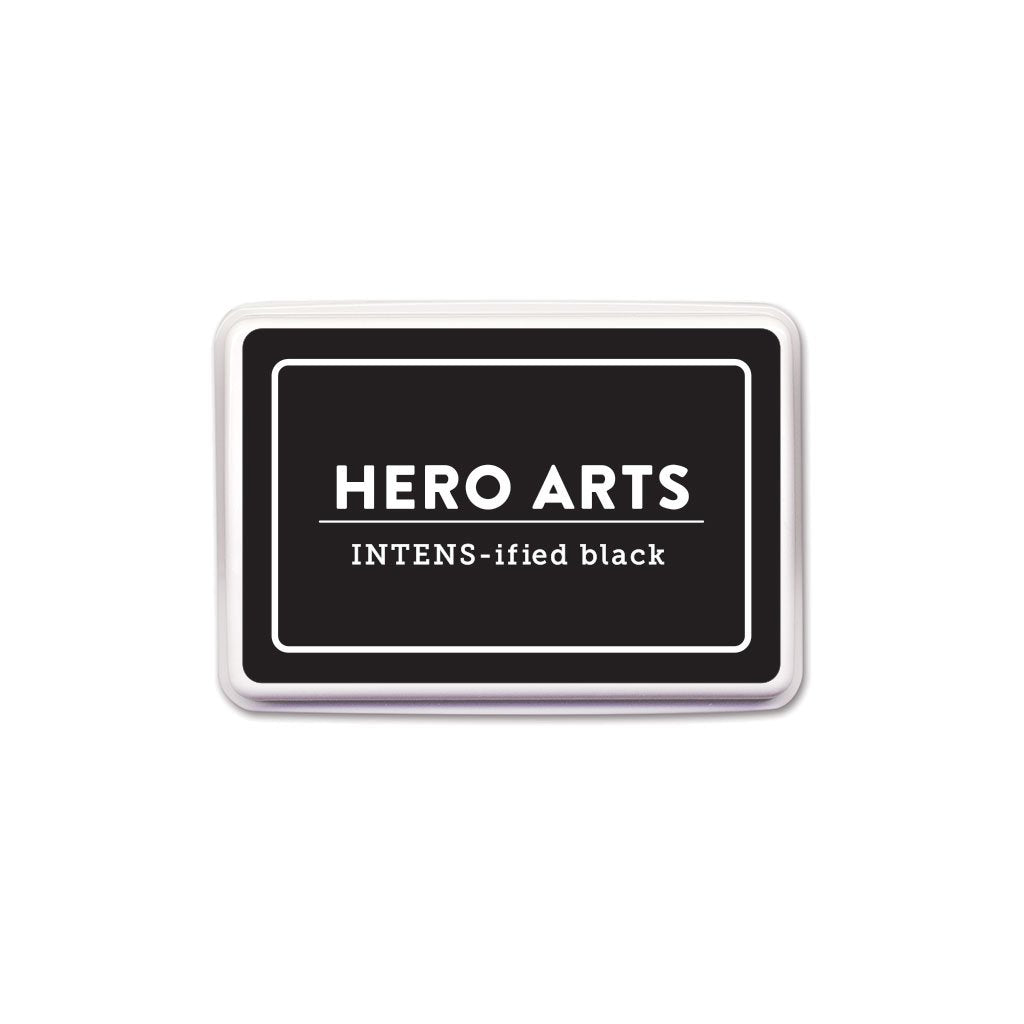
To create this card I first stamped several images from the Mail Art clear stamp set ( Classic & Premium ) in INTENS-ified Black ink onto Dove White cardstock. I then Copic colored the images and die cut them out with the matching dies ( Classic & Premium ).
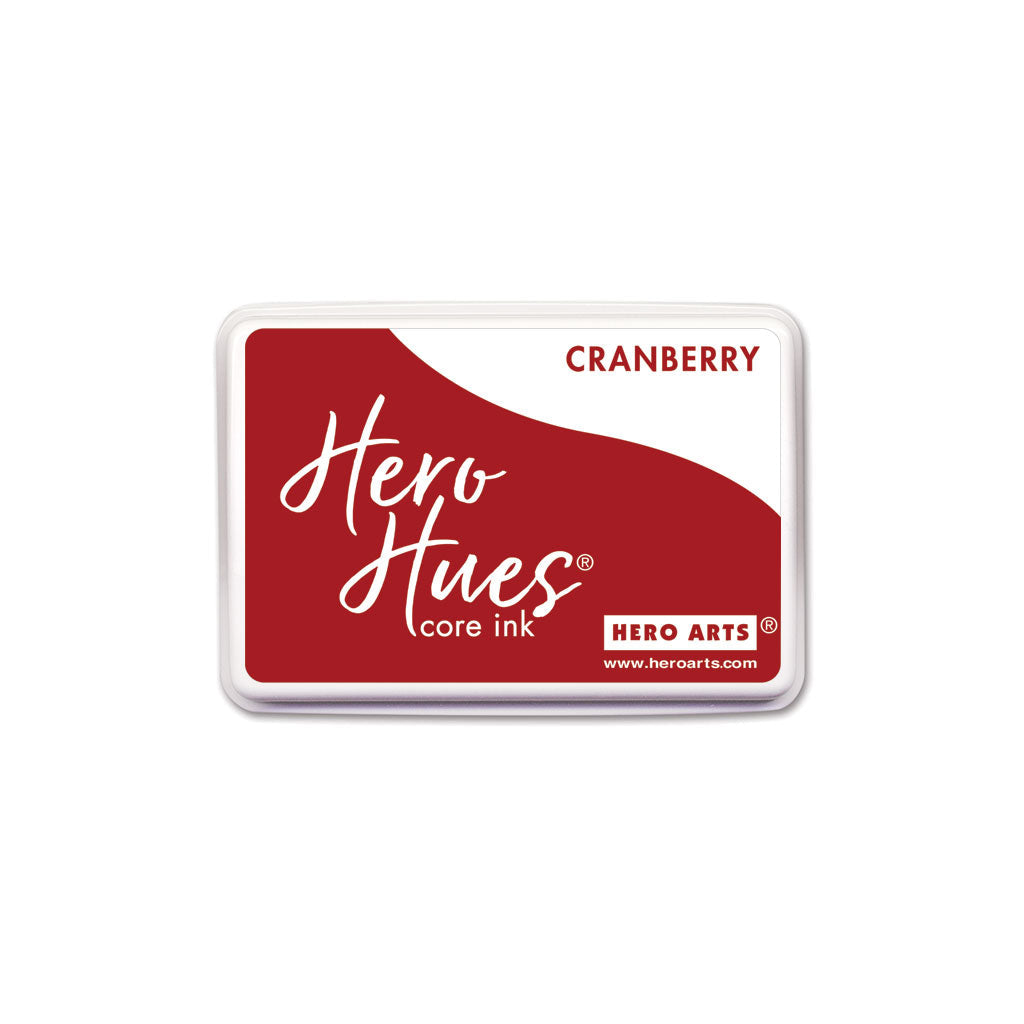
Next, I die cut six postage stamp rectangles (two large and four small) using the Postage Stamp Frame Fancy Dies ( Classic & Premium ) out of Cherry cardstock. I then stamped borders onto the rectangles in Cranberry Core Ink and set aside.

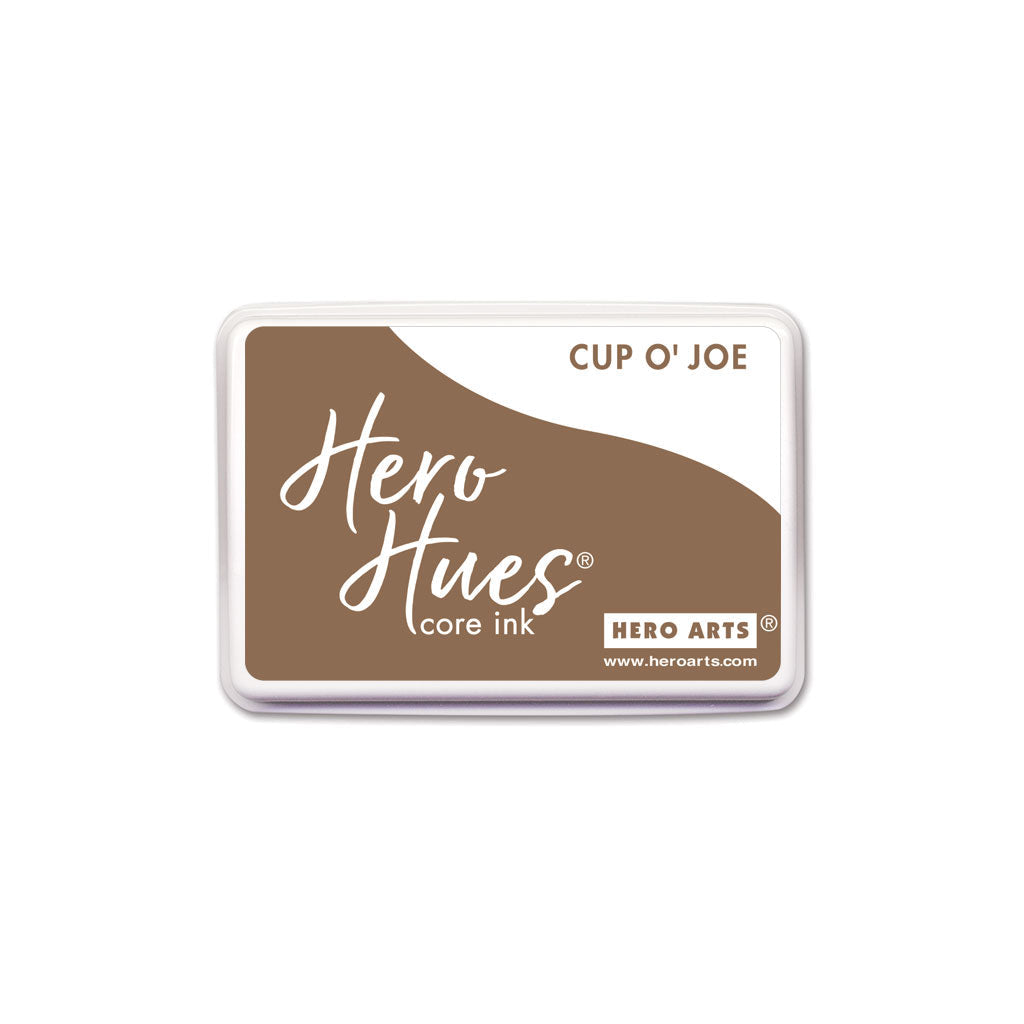
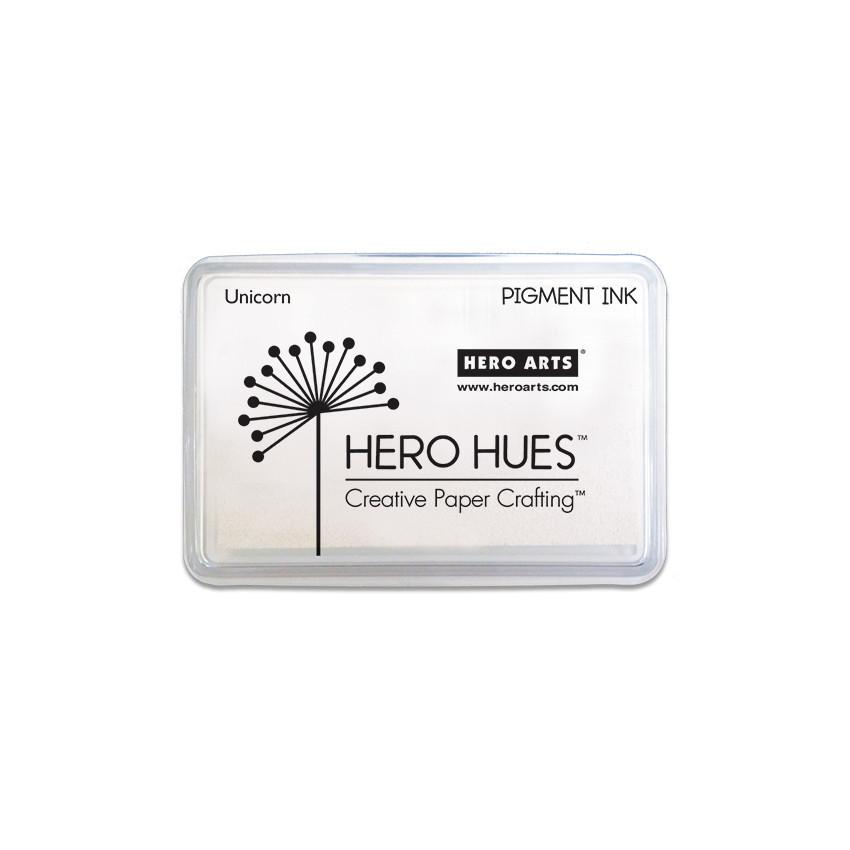
Next, I ink-blended the sides of an A2 (4 1/4” x 5 1/2”) panel of Sand cardstock with Cup o’ Joe Core Ink. I then pressed some Unicorn Pigment Ink down onto acetate, added water and then splattered the panel with the watered-down ink. When the ink had dried I adhered the panel to the front of an A2 top-folding Dove White card base .
Next, I adhered the postage stamp rectangles to the card front with foam adhesive. I then adhered the Copic colored images to the rectangles. I did have to trim down the mailbox image so it would fit and then colored the cut end with a white gel pen to create the look of a white border.

Next, I stamped a sentiment onto Pitch Black cardstock in Embossing & Watermark Ink . I then poured white embossing powder over the sentiment and heat set. I then die cut the sentiment out with the matching die and adhered it to the card front with foam adhesive.
For the envelope, I first created two postage stamp masks with the Postage Stamp Frame Fancy Dies. I then adhered the masks to a red envelope. Next, I ink blended over the masks and the envelope with Cranberry Core Ink. I then removed the larger postage stamp mask and the stamped a frame and an owl in Cranberry . Next, I ink-blended along the edge of the smaller postage stamp mask to added definition to the edge, then removed the mask and stamped a frame and mouse image also in Cranberry .
I hope you enjoyed my envelope and card. Thank you so much for stopping by!
 Click on products to shop:
|