Posted by Emily Midgett
on August 17, 2023

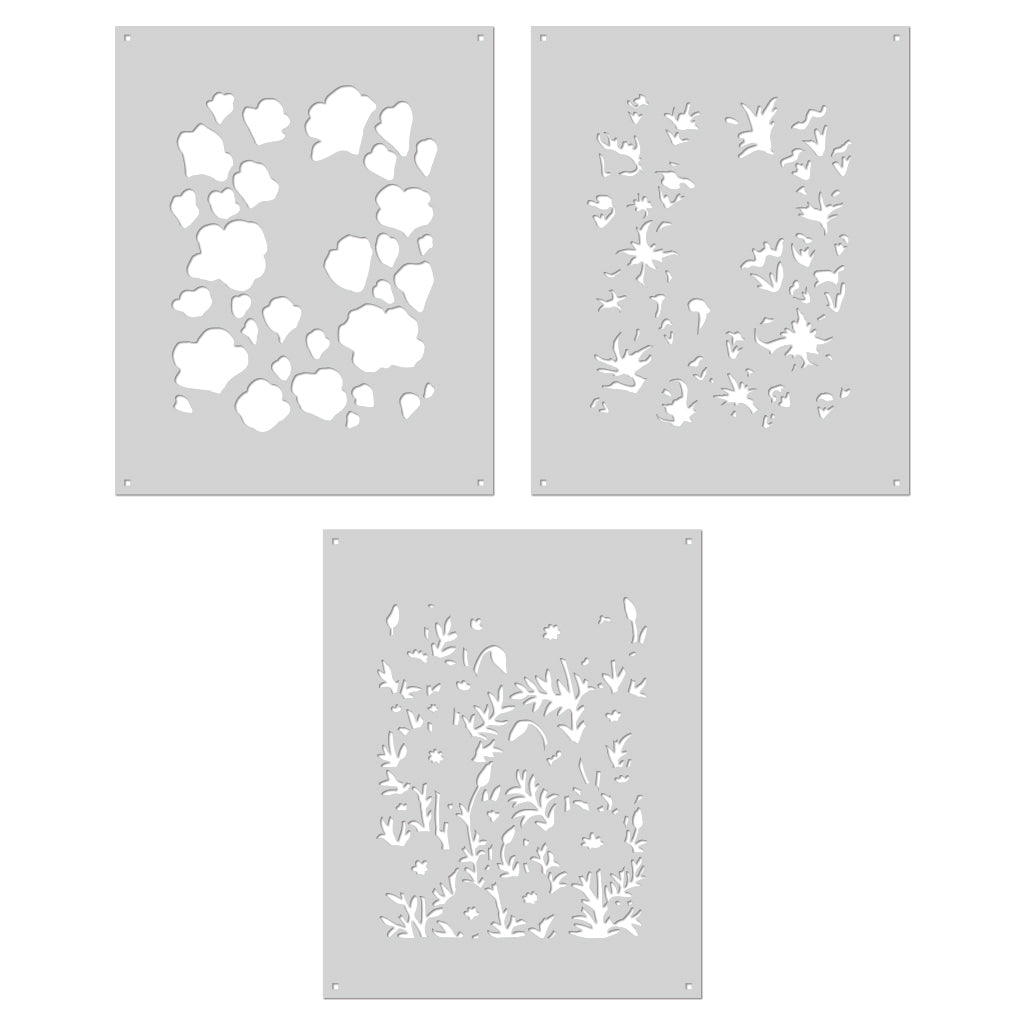
Hi friends! Emily Midgett here with you today, and I have some inspiration using the absolutely gorgeous new Golden Poppies stamp set and coordinating Color Layering Stencils. My initial inclination was to do some no-line watercoloring (how gorgeous are those flowers?), but the stencils make things so much easier and quicker that I couldn't resist playing with them! I have two cards to share with you today, one with a bold black outline, and one with a softer no-line look, so let's get started with the details!

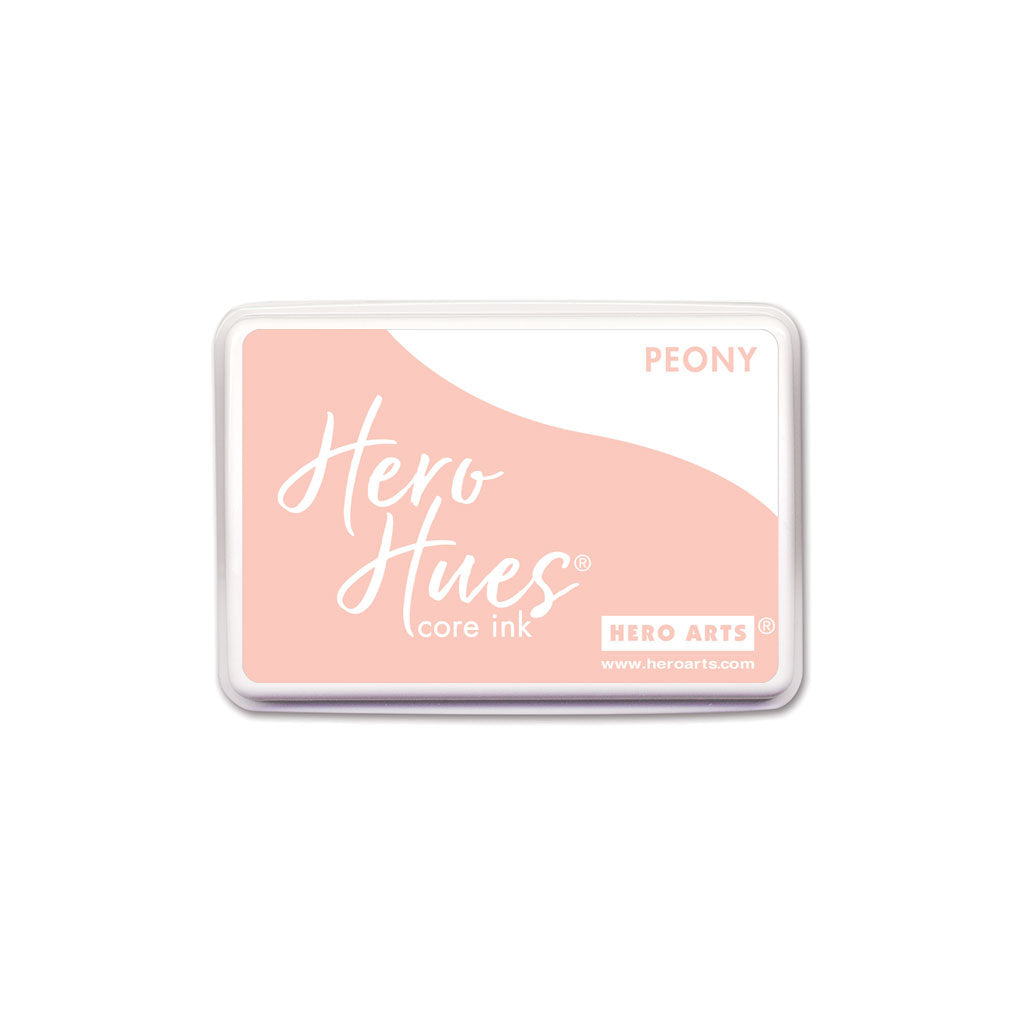
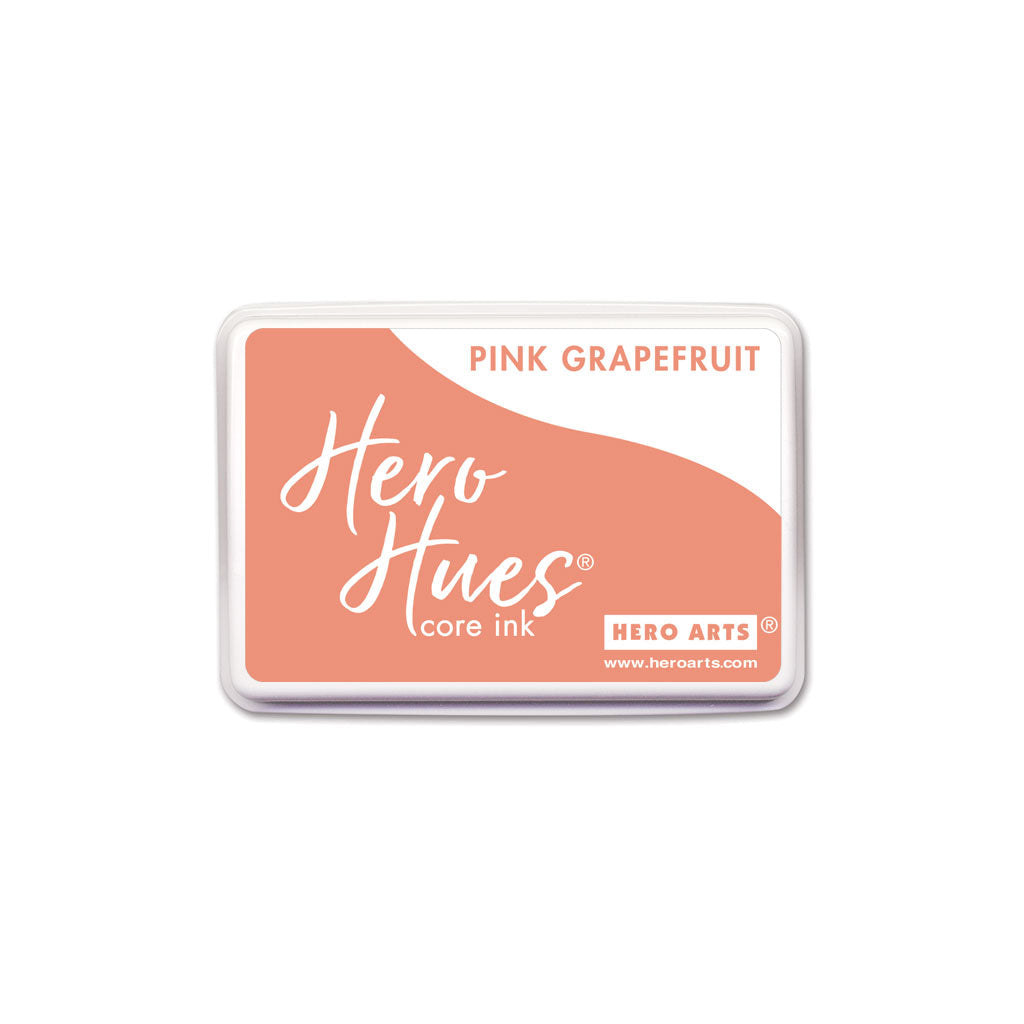
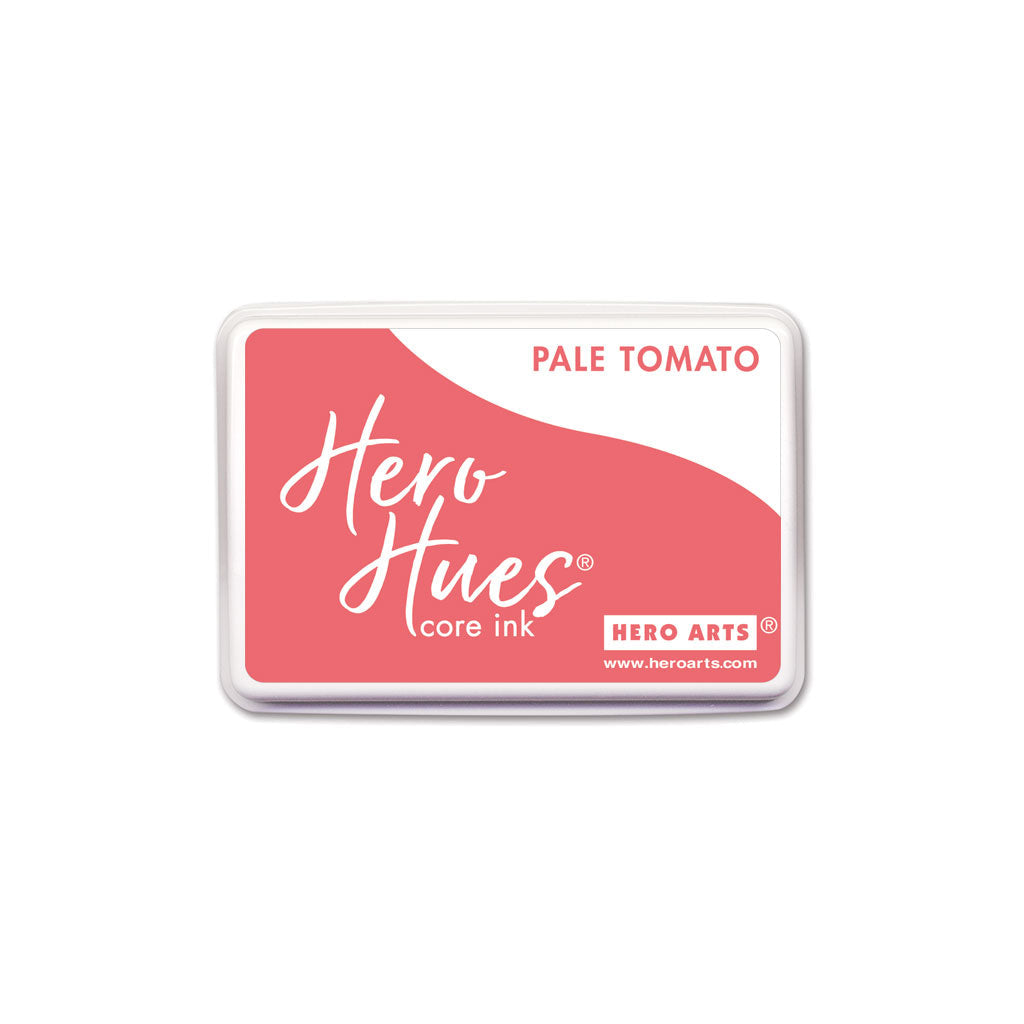
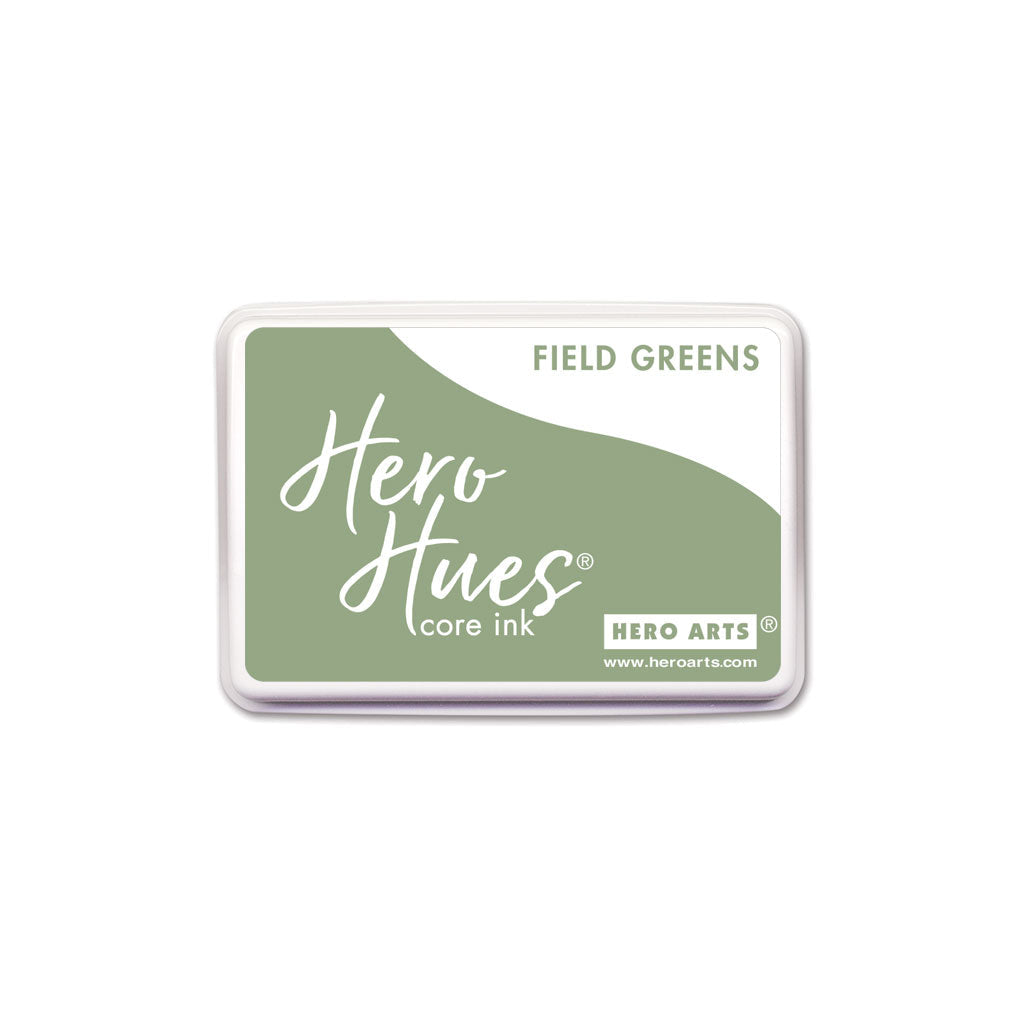
Both of my projects featured the same ink colors for the flowers and foliage: Peony or Pink Grapefruit for the flower base layer, Pale Tomato for the details, and Field Greens. I love the combination of the pale peachy coral with the olive green of the Field Greens. So pretty!

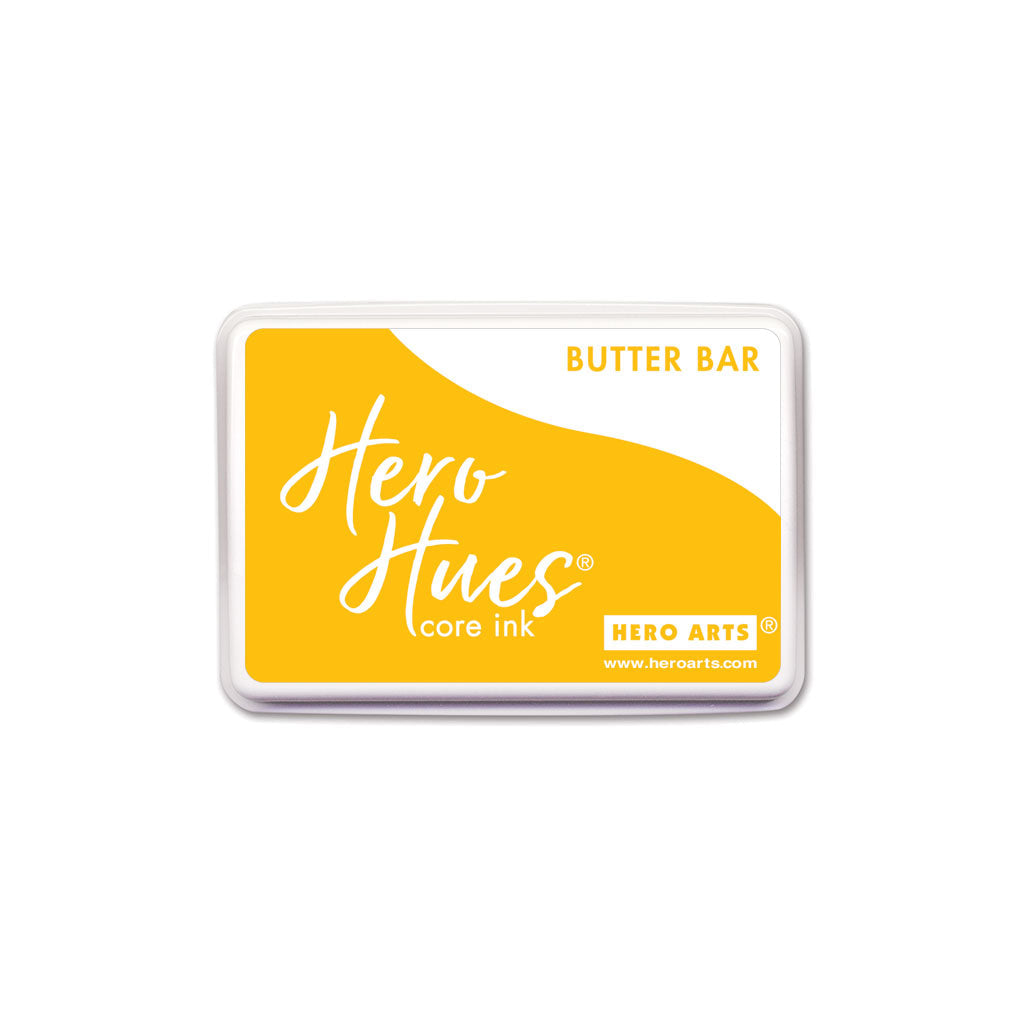
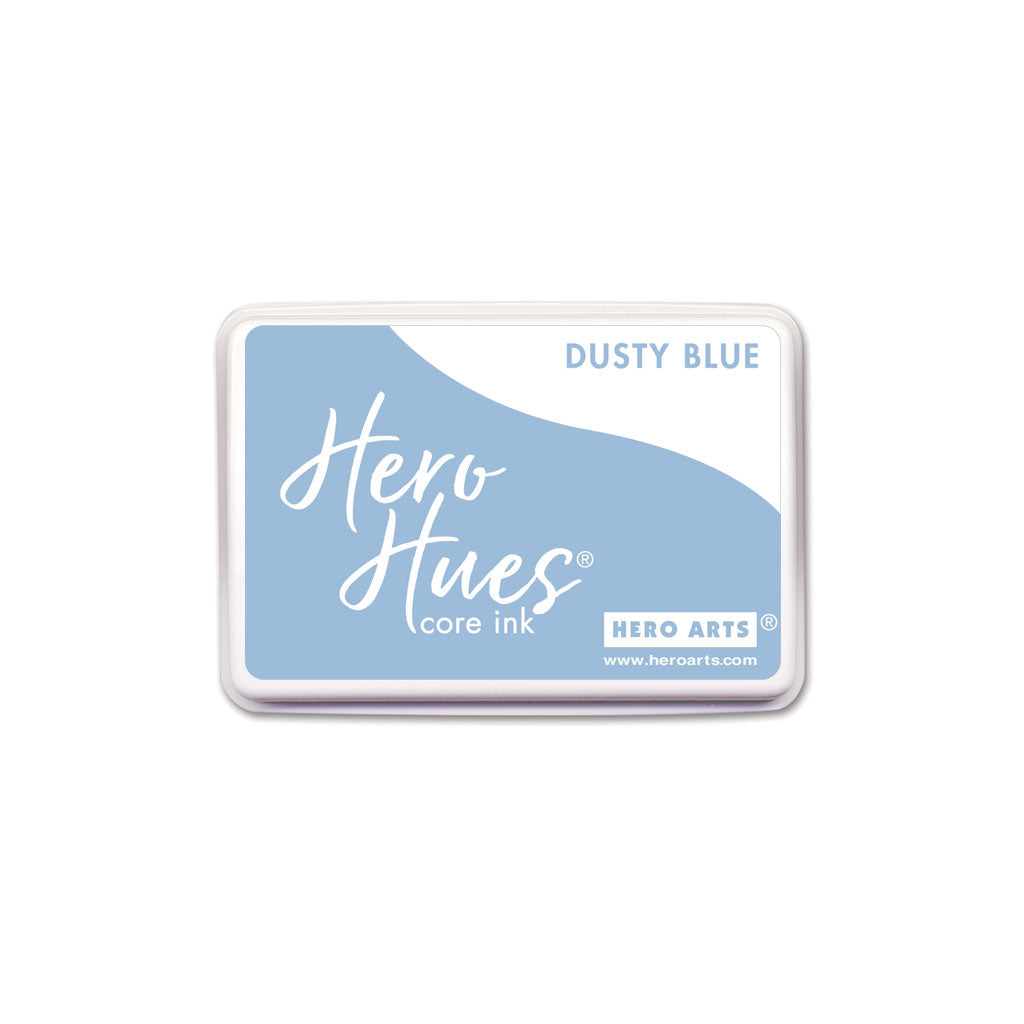
For my first project, I stamped the bold black outline from Golden Poppies using Moonstone pigment ink, then embossed it with clear embossing powder to enhance those bold lines even further. Before putting the stencils to work, I blended a bit of a sunset sky by lightly blending Butter Bar, Peony, and Dusty Blue ink on the entire panel. The super subtle ink blended sky is so light that it was easily covered by the ink blending! I then used blending brushes with the Color Layering Stencils with Pink Grapefruit, Pale Tomato, and Field Greens inks over the top.

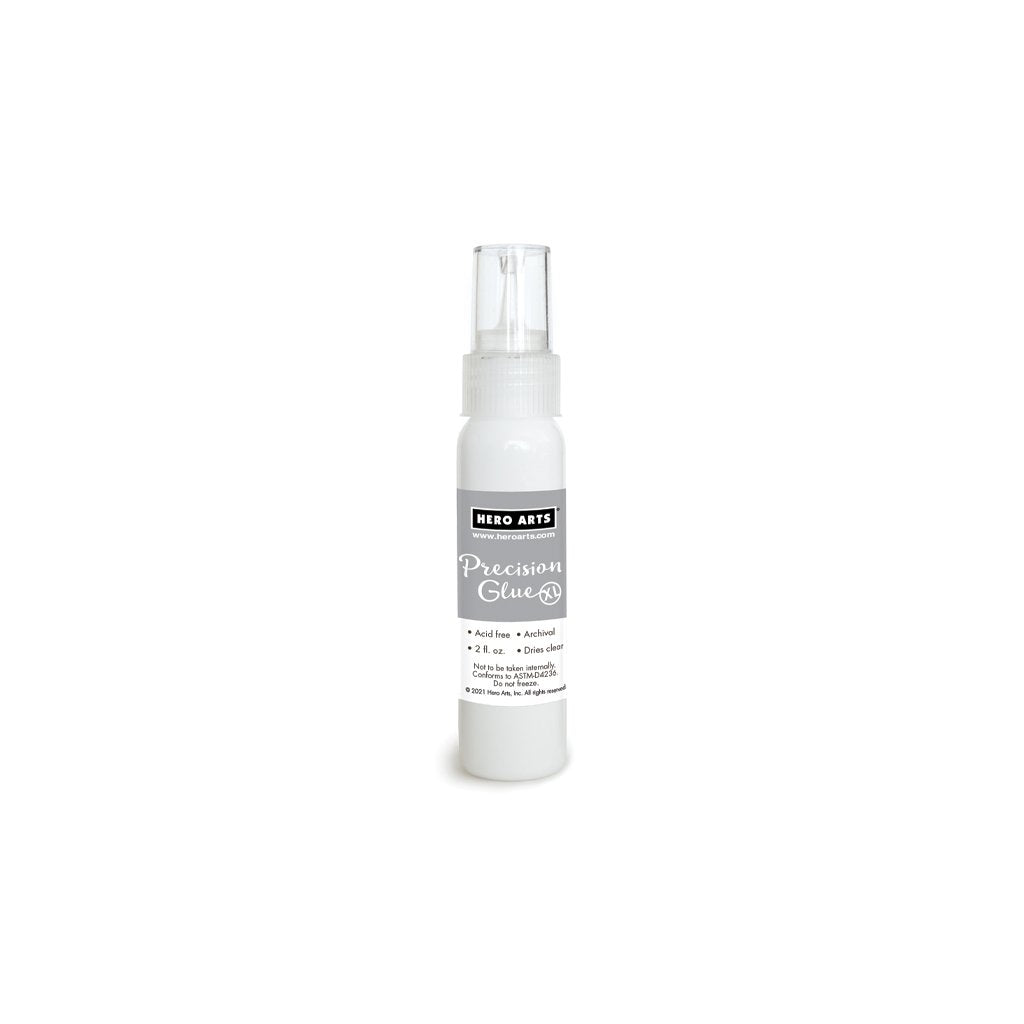
After I had finished stenciling my image, I trimmed down the stenciled background and matted it with an ever-so-slightly larger piece of Pitch Black cardstock, which I think enhances those bold black lines so nicely! I white heat embossed a greeting from the Golden Poppies stamp set onto a strip of Pitch Black cardstock. I used Precision Glue to place the floral panel in the center of my A2 white card base, then used foam adhesive to pop up the greeting in the center of the floral panel.

For my second card, I used the handy dandy squares that are laser etched into the corners of the Color Layering Stencils to stencil the images without stamping first! It creates such a pretty, graphic background pattern even without the lines! For this version, I used Peony, Pale Tomato, and Field Greens. The softer Peony ink base on the flowers allows the Pale Tomato shadows from the second stencil to stand out a bit more. After I had finished stenciling all of the images on the white cardstock panel, I placed my stamp directly over the top of the stenciled panel using my MISTI, then stamped the outline layer from the Golden Poppies stamp set using Granite ink. The pale gray subtly distinguishes one petal from another, but also keeps it from overpowering the softness of the stenciled images!
After I had finished stenciling and stamping, I die cut the image using one of the Arches Infinity Dies. I lightly blended Peony and Pale Tomato around the edges to create a soft pink glow.

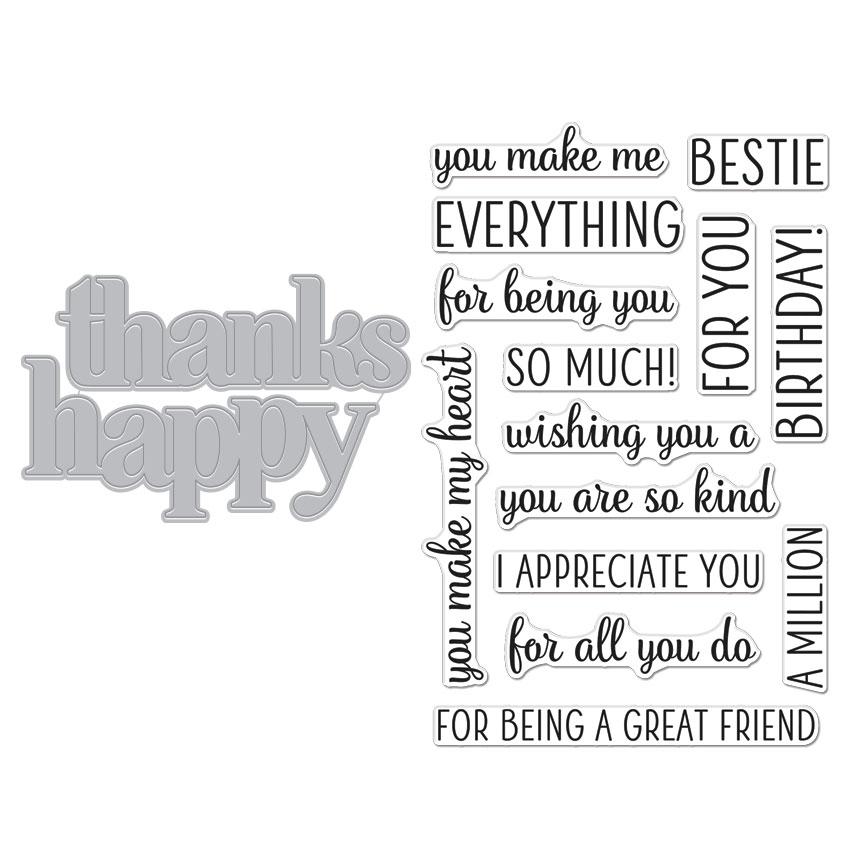
Next, it was time for the sentiment. I used the Happy Thanks Stamp & Cut to create a coordinating olive green sentiment. I die cut the "thanks" twice from Palm cardstock and adhered them together with Precision Glue to add a little extra strength to the delicate die cut, then heat embossed the coordinating greeting on a strip of Palm cardstock to coordinate. I popped up the floral arch die cut on an A2 panel of Palm cardstock using foam adhesive, then added some vellum die cut butterflies, cut using Layering Vellum and the Delicate Butterfly dies. I arranged the sentiment and butterflies carefully on the floral arch, finally adding a few gray enamel dots from the Neutrals Enamel Dots pack.
Well, that's all for my projects today! If you haven't tried the Hero Arts layering stencils yet, you are really missing out; they are so incredibly easy with which to work, and they make adding unique coloring to your projects a breeze! Thanks so much for reading, and have a marvelous day!

|